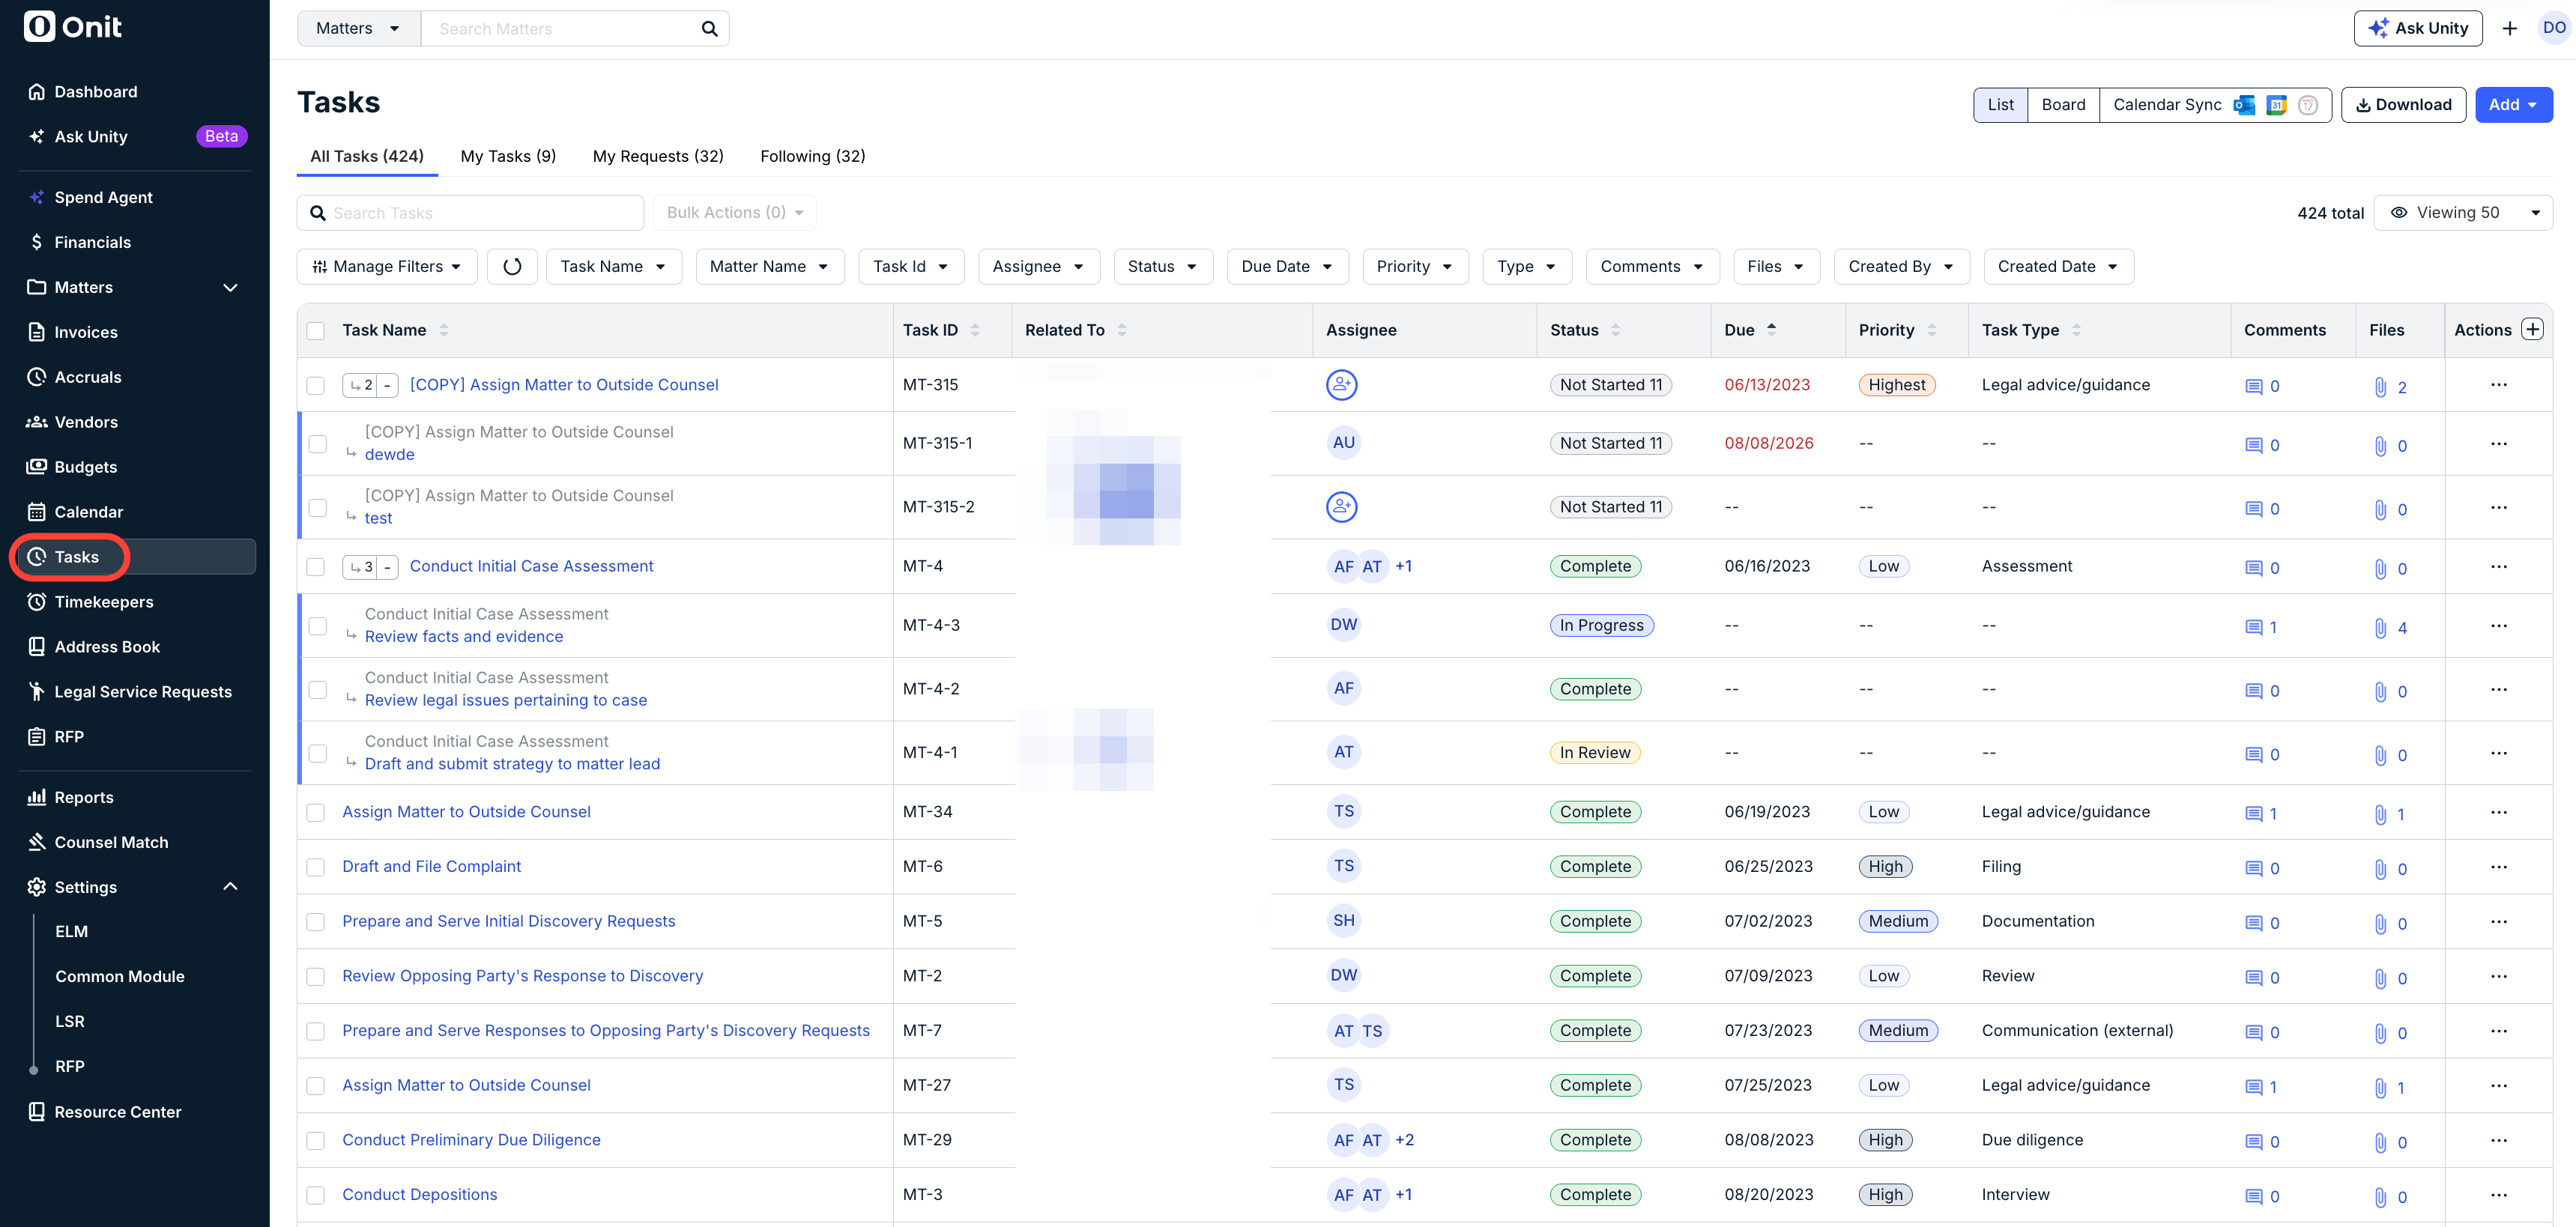
The Tasks Workbench is a consolidated list view of all your associated tasks across matters, including those to which you are assigned and those which you created. You can access the workbench by going to Tasks from the left-side navigation bar in Unity.
This article covers the following topics:
Viewing and Editing Tasks
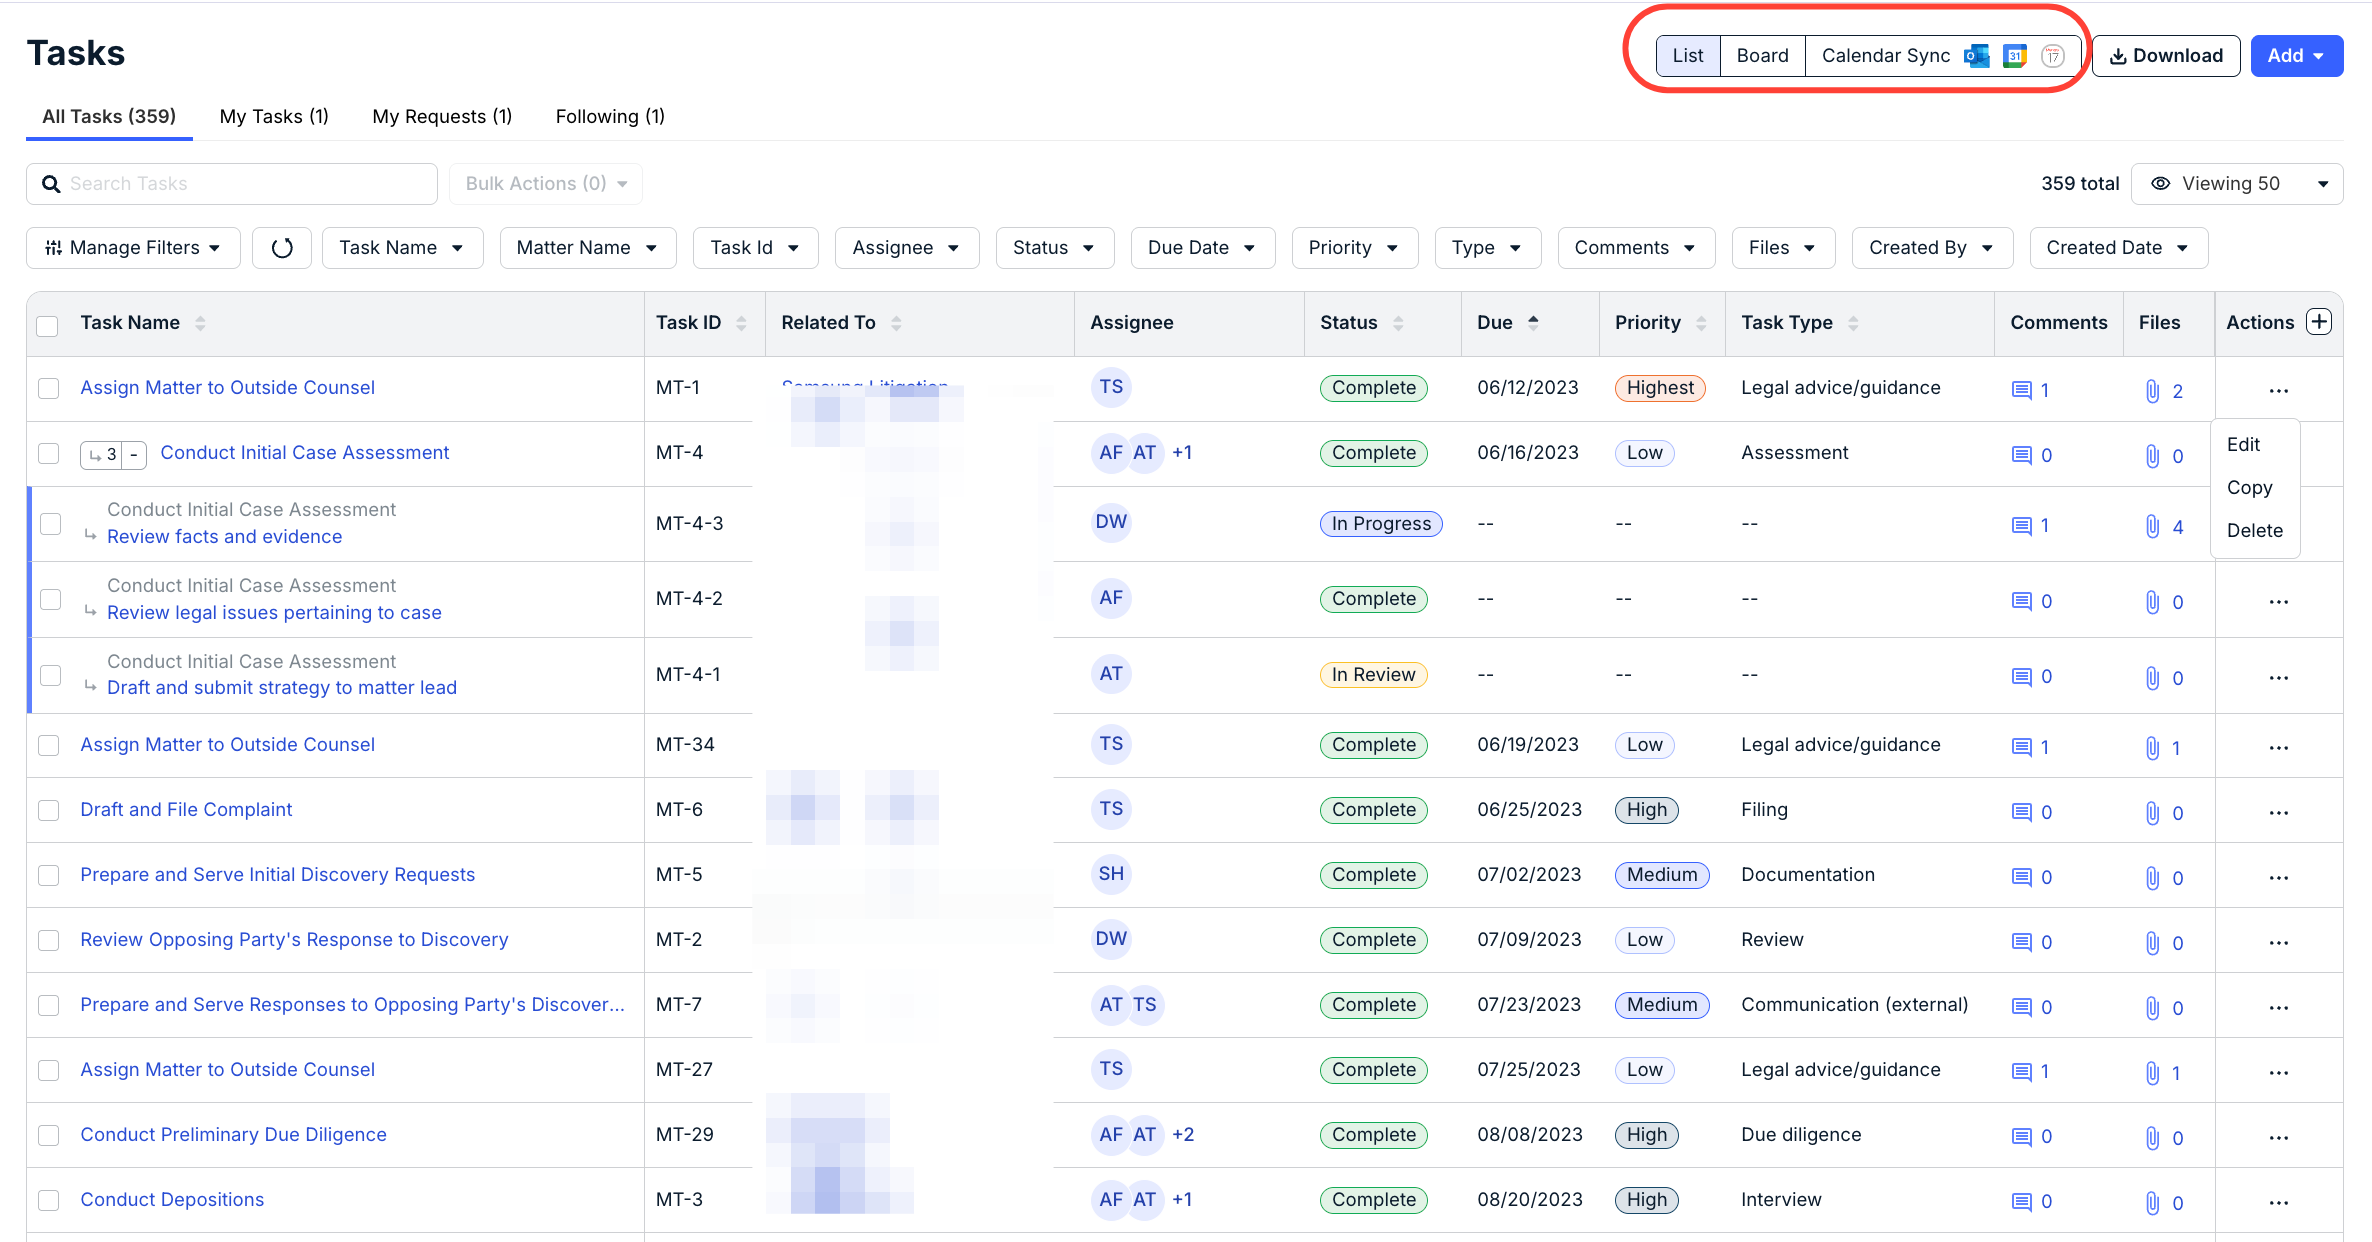
On the Task screen, you can see key task information, including Task Name, Task ID, Assignee, Status, Due date, Priority, Task Type, Comments, Files and Files. Under the Actions column, use the three-dot button to Edit, Copy, or Delete the task. Use the up/down arrows next to each column to sort by that column. Use the Search Tasks bar to search through the tasks. Use the Manage Filters and other drop-down menus to specify what tasks you want to see on the screen. You can use the Bulk Actions button and the check boxes to Edit or Delete the tasks. Click Download to download the tasks as an Excel file.
Note that you can use the top selector menu to choose whether you want to view the tasks in a List, Calendar, or Board view. Click the Calendar Sync button to synchronize with Apple Calendar, Google Calendar, Microsoft Outlook, and other calendar applications.
To view and/or edit a task from the consolidated list view, click on the hyperlinked task name. The task details will pop up on the right-hand side of the screen,
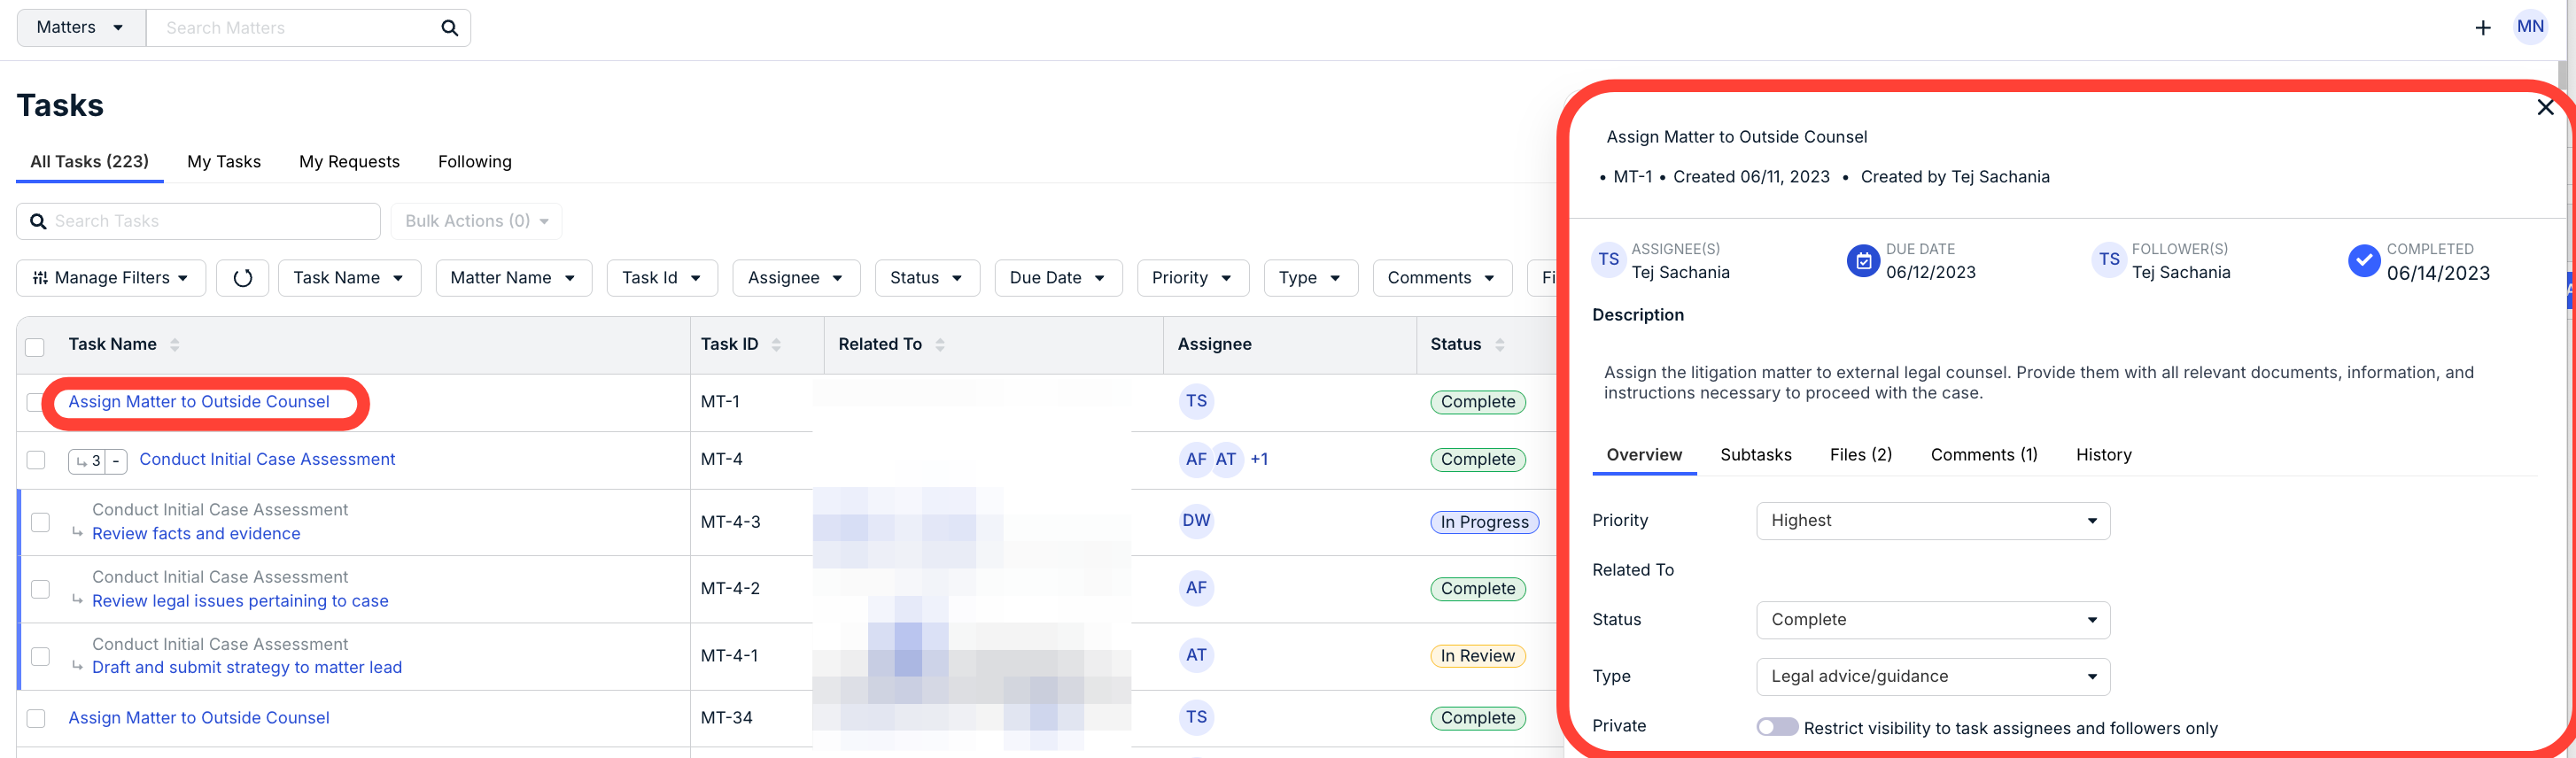
From here, you can make updates, such as changing the name, editing the description, modifying the assignee(s) and due date, attaching files, or creating subtasks.
Bulk Editing or Deleting Tasks
Select boxes for the tasks you want to bulk update, or select all tasks by using the box above the table. Click the Bulk Actions button and select one of the following: Edit or Delete. For example, you can move multiple tasks into a different status.
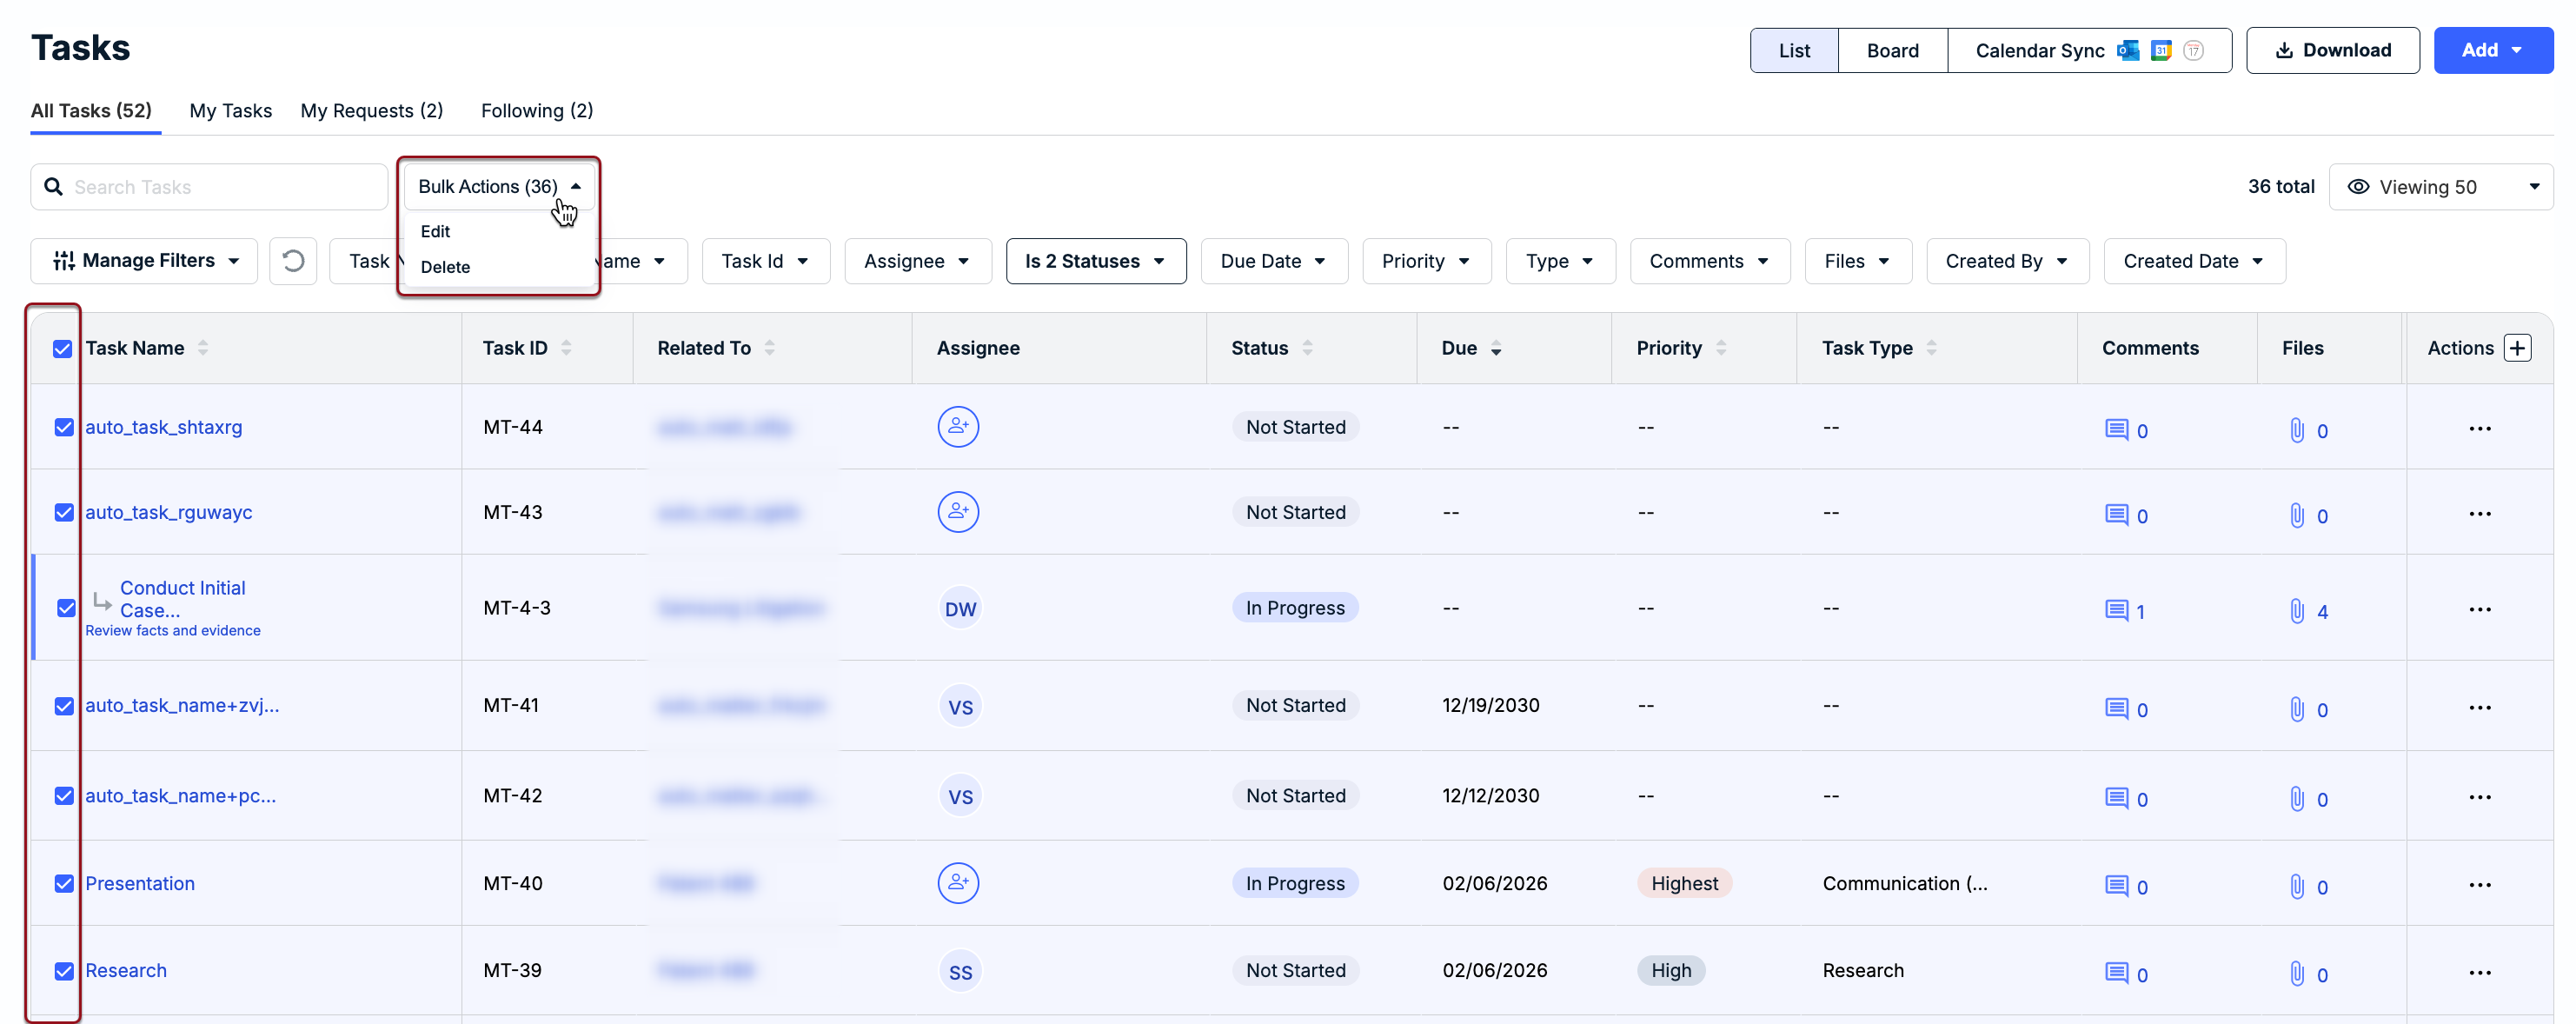
Bulk Edits
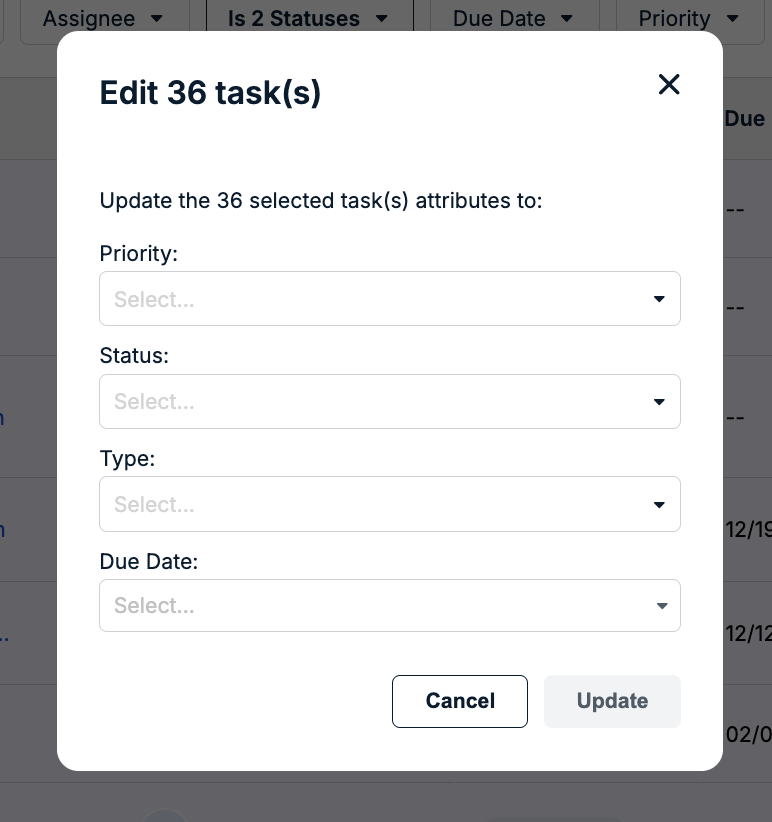
Modify any of the following fields (at least one field must be updated to continue) and click Update:
- Priority
- Status
- Type
- Due Date
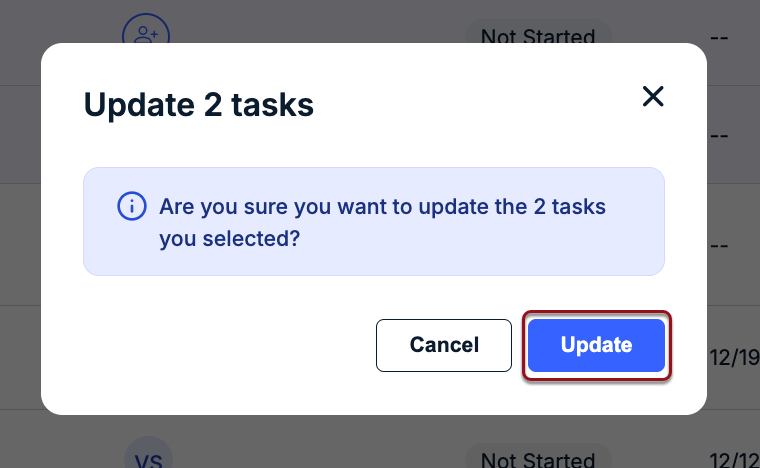
Click Update again when prompted to confirm.
Bulk Delete
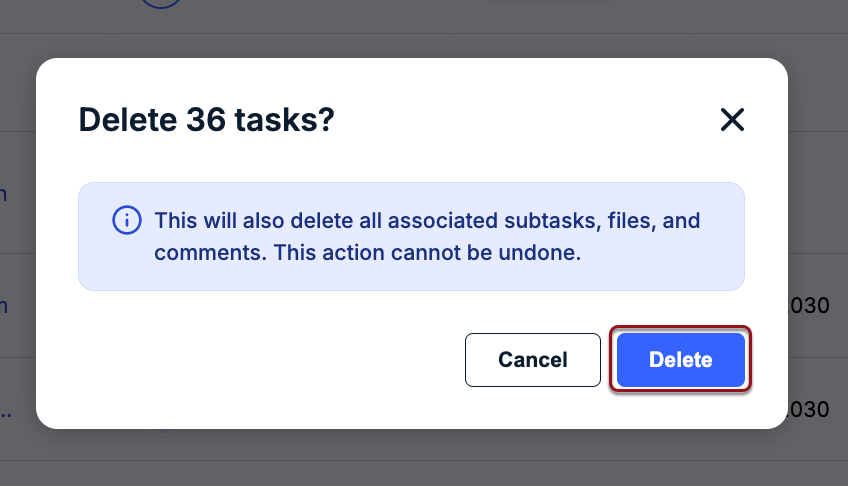
Click Delete when prompted to confirm.
Kanban Board View
In addition to a consolidated list, you can click Board to switch to a Kanban board view. This allows you to quickly see tasks grouped by status in card format.
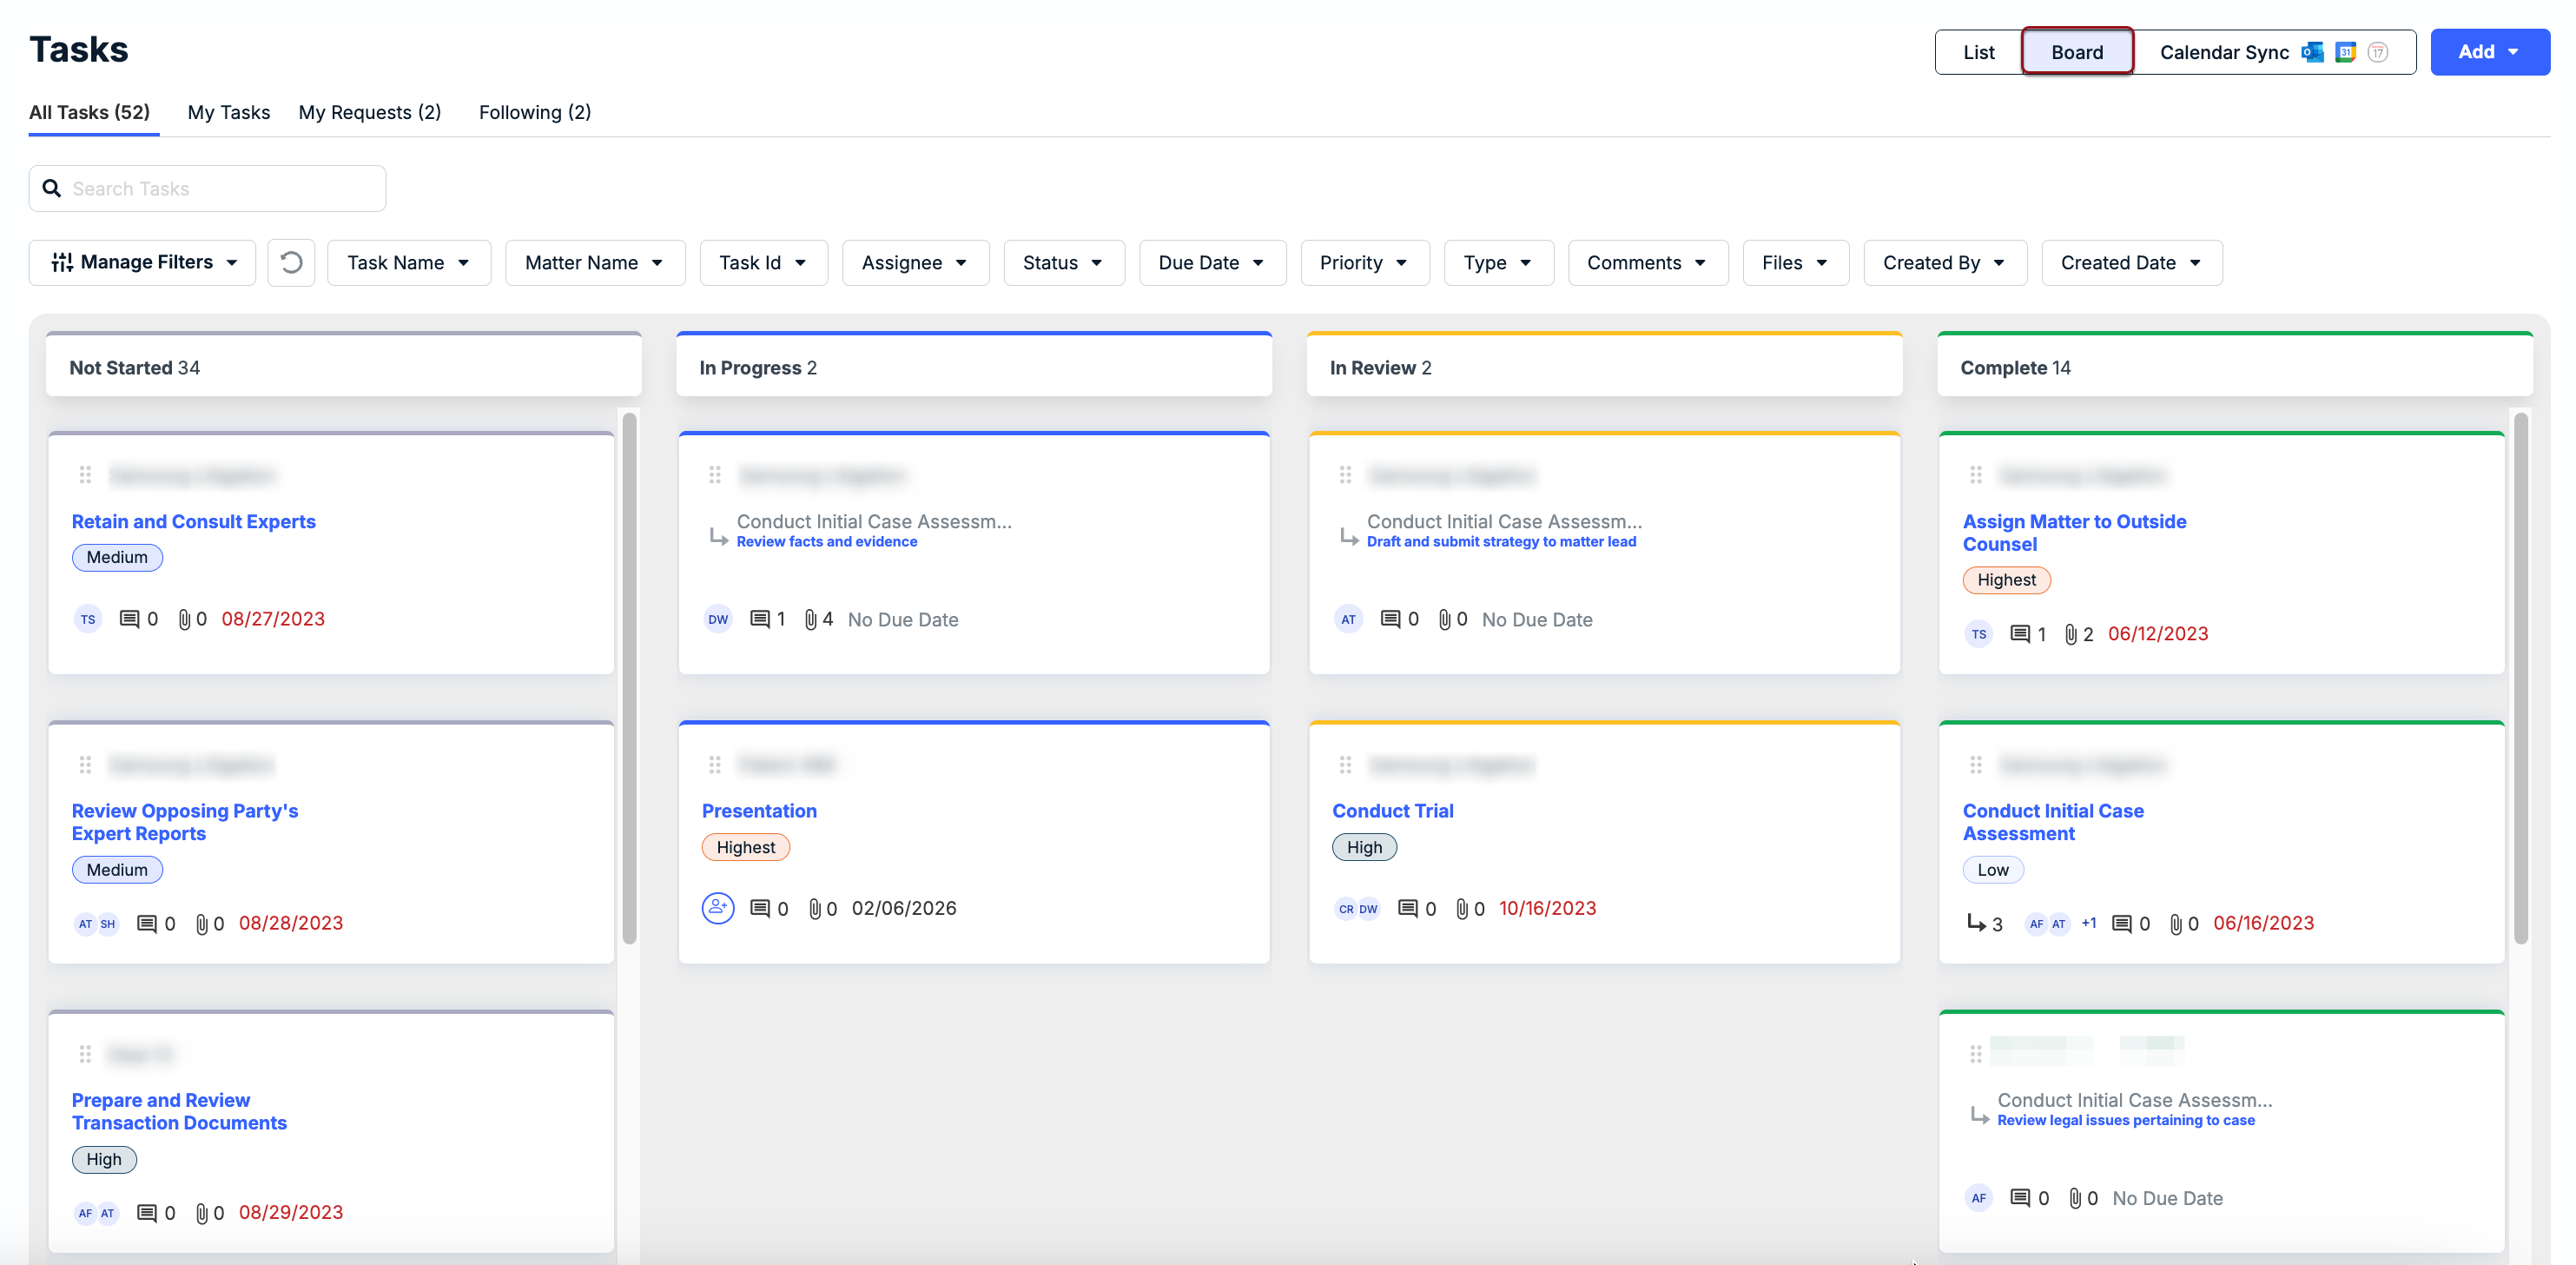
From here, you can see a quick overview of individual tasks, use the tabs to see only tasks to which you are assigned or tasks you created, open individual tasks for viewing or editing, and apply filters to further narrow the board view based on criteria such as priority or type. Additionally, you can quickly update the status of individual tasks by dragging the relevant card from one column to another.
Creating New Tasks
When creating tasks from the workbench, you must associate it with a specific matter. For instructions on how to create a task from a matter record, click here.
Click Add in the top-right corner and select one of the following:
- Create a task
- Create task from template

Select an existing matter from the Related to* dropdown list or start typing to filter the list. Selecting a matter is required to move forward with creating/saving the task.
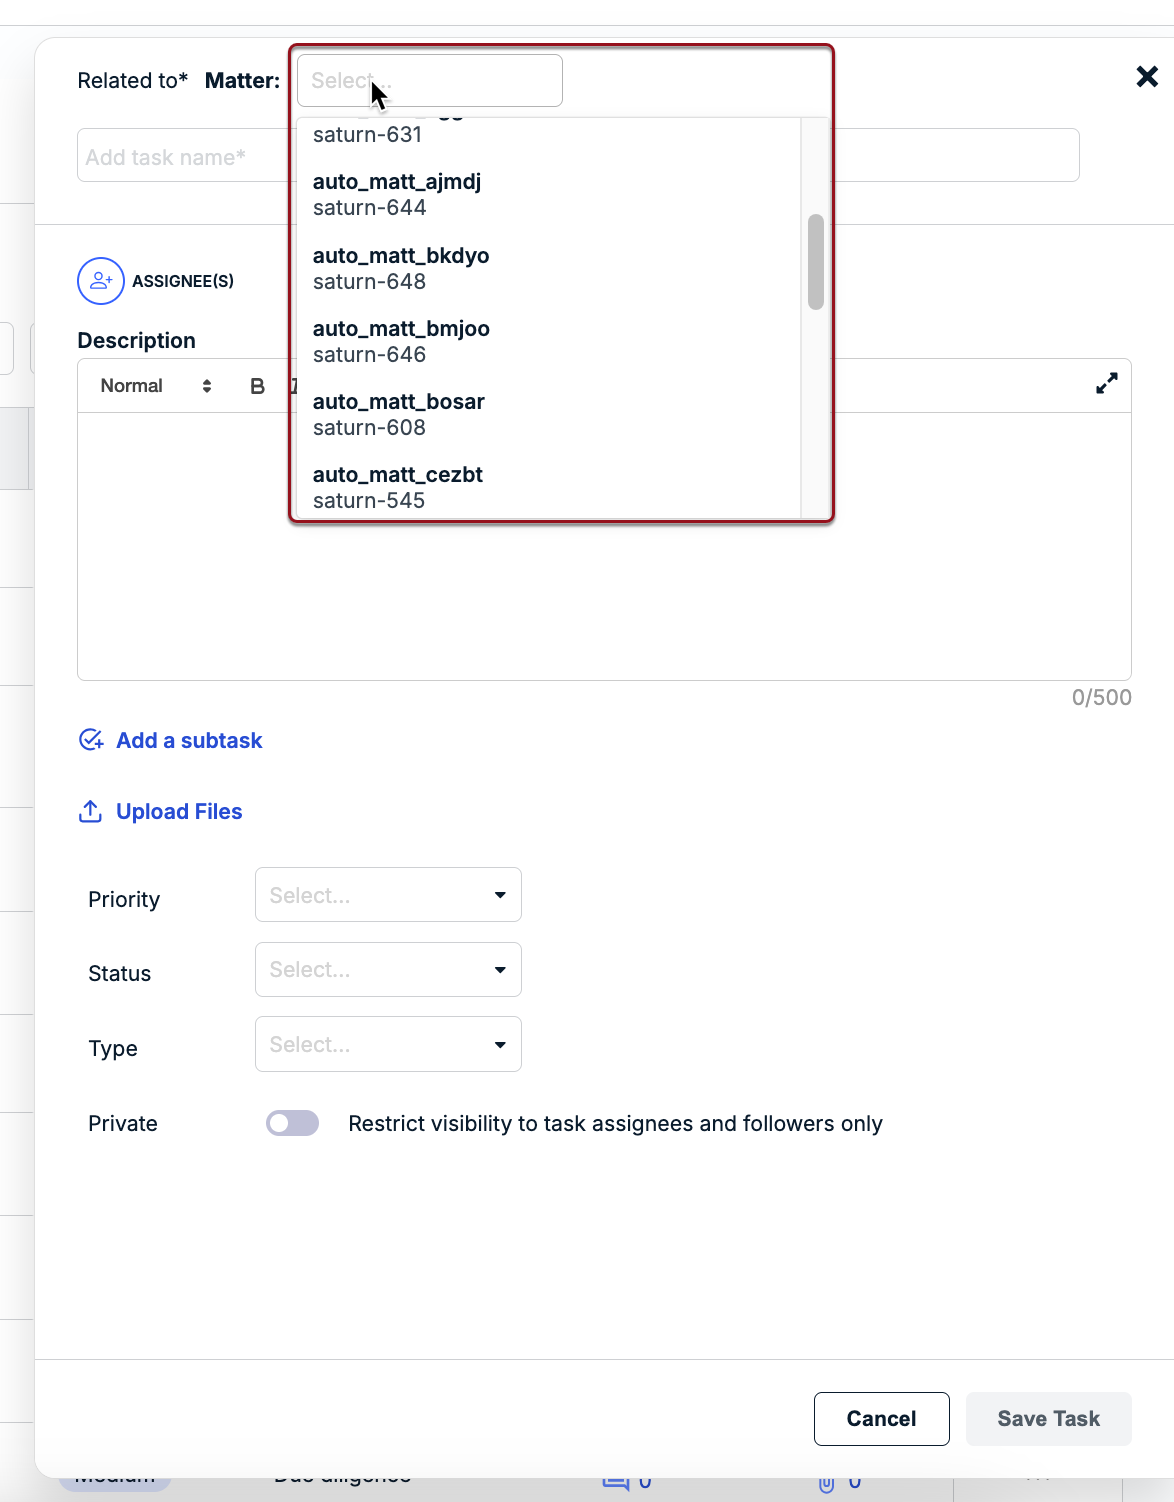
Enter a task name (minimum required field) and fill/select additional fields as needed, such as selecting assignees, setting a due date, choosing a priority, and adding a description. Click Save Task in the bottom-right corner.