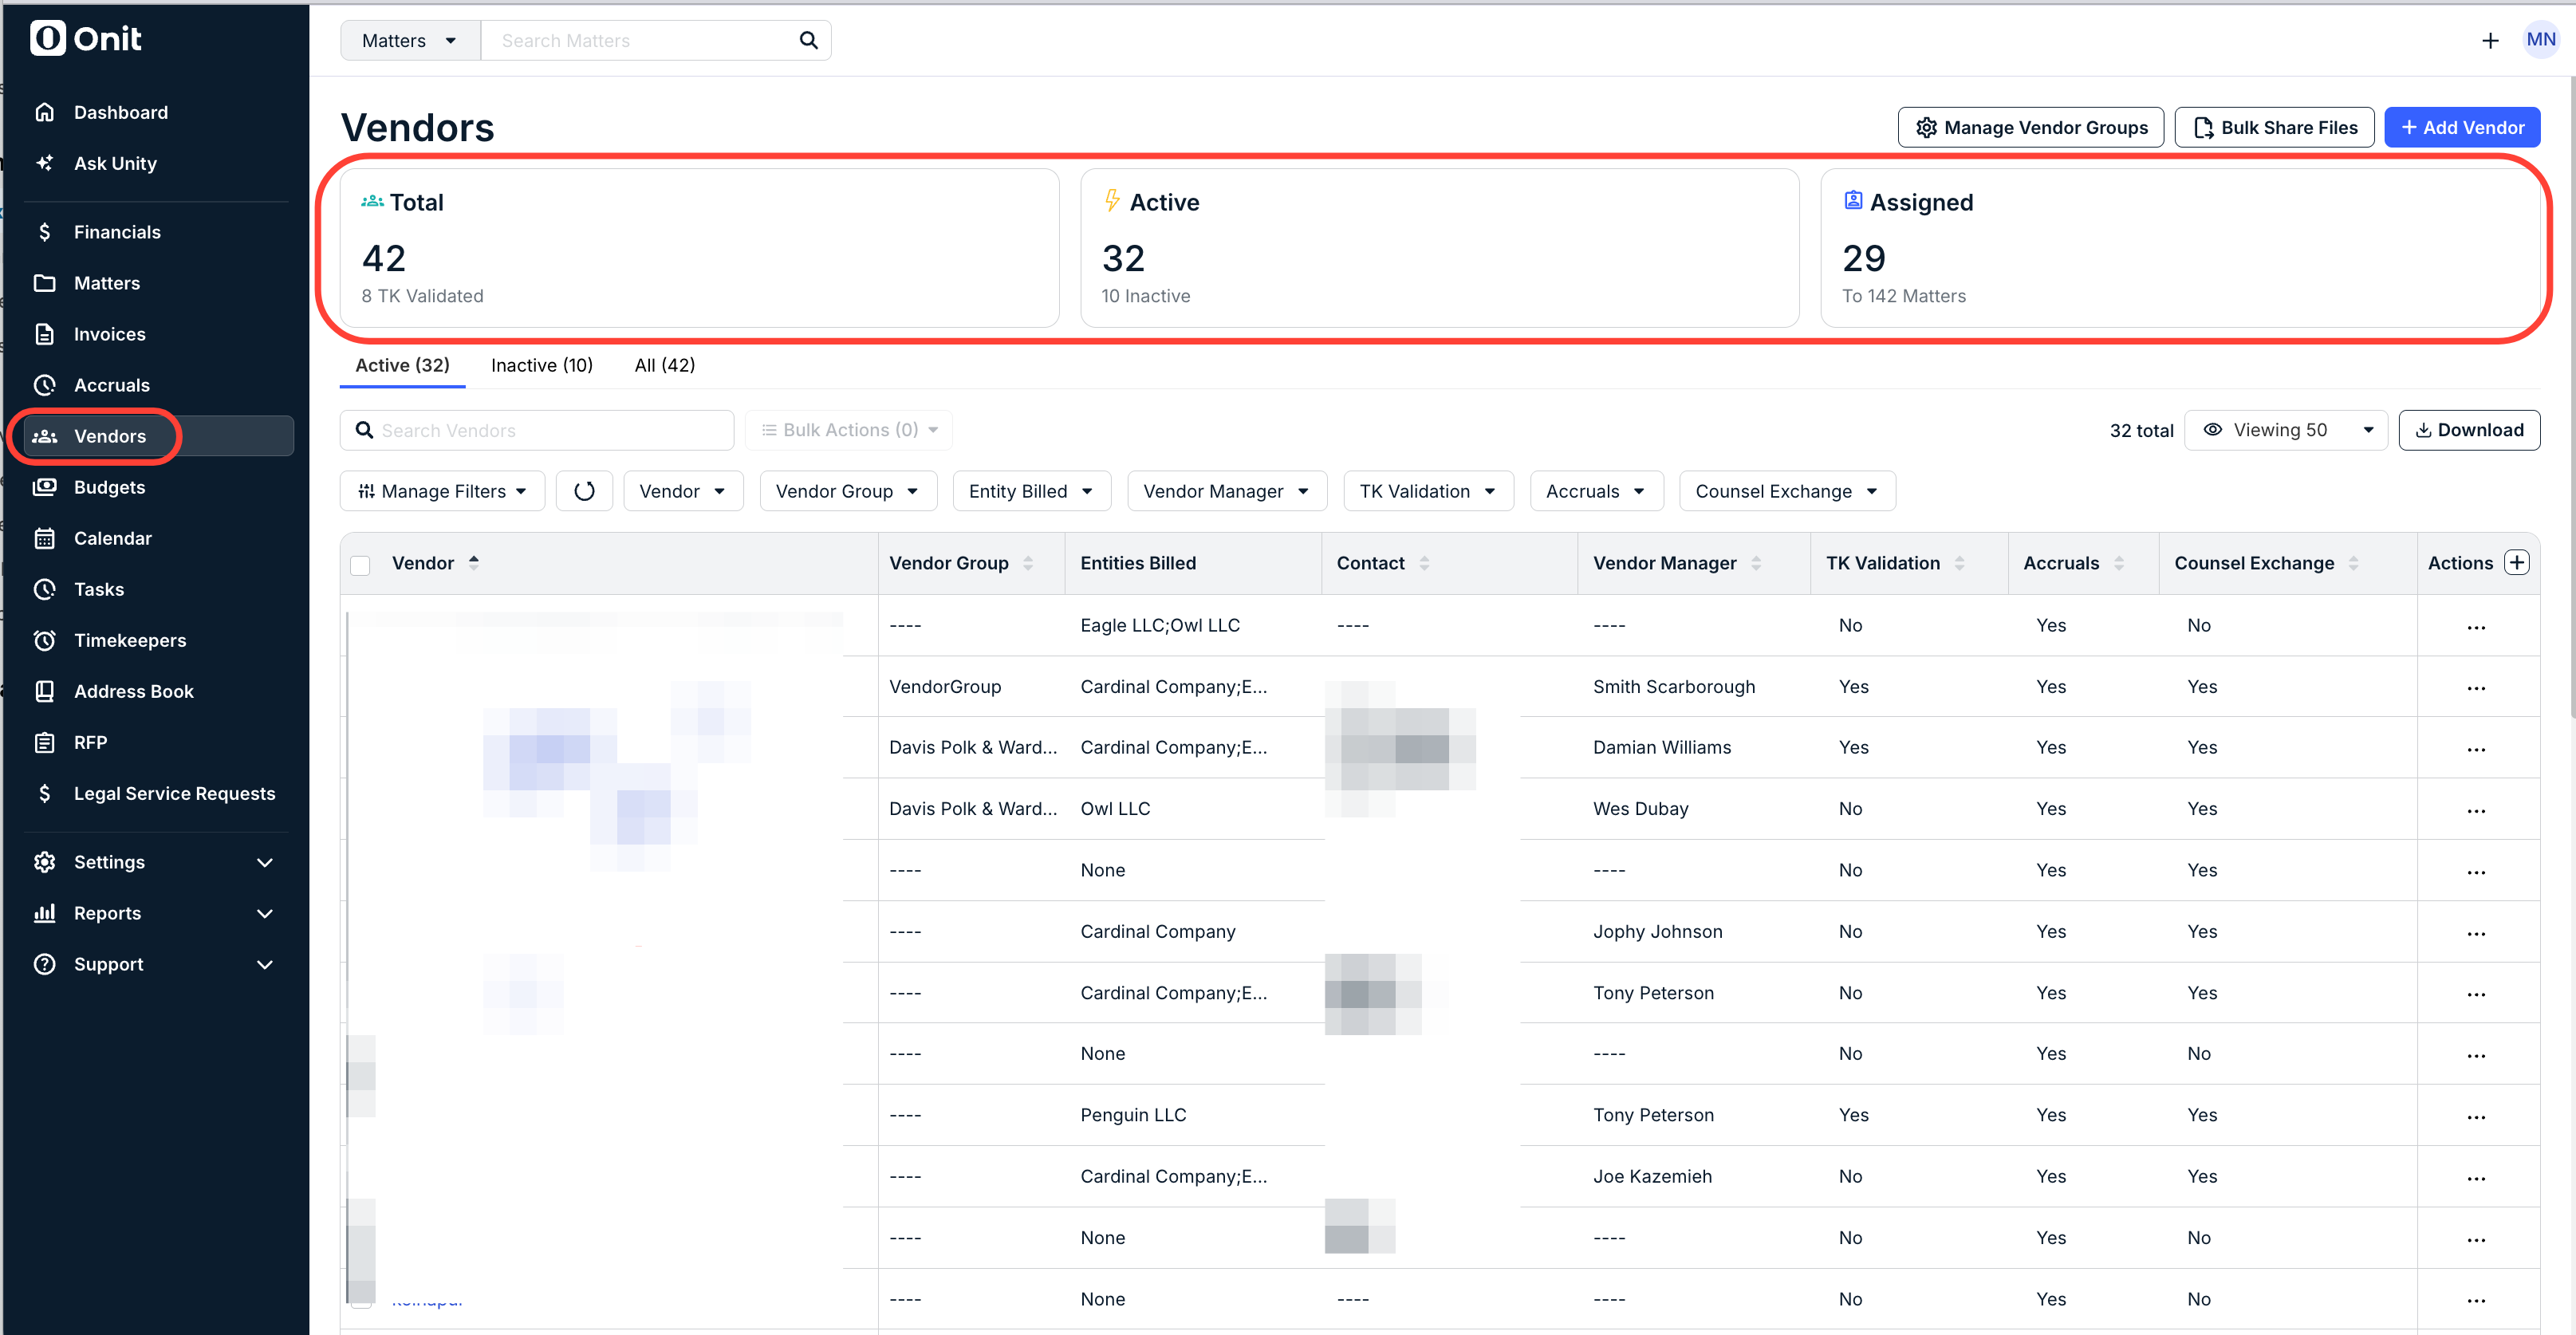
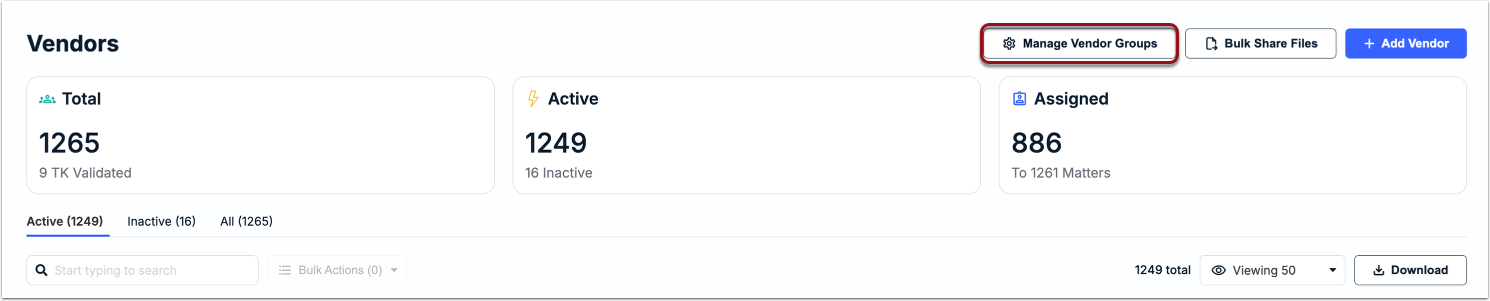
Go to the Vendors menu from the left-side navigation bar to view all outside counsel or firms added by your organization. The top of the page shows metrics for quick reference, such as the total number of vendor records and the number assigned to matters.
From the list view, you can do the following:
- See general information about vendors and sort/filter the list view
- Open individual vendor records to see associated matters, pending matters, and other details
- Add a new vendor record
- Export the default or filtered list view as a spreadsheet
- Take quick actions for individual vendors or apply bulk actions
- Share general files with multiple vendors
- Add and manage Vendor Groups for better organization, filtering & reporting
Sorting and Filtering the Vendor List
All active vendors are displayed. Use the tabs above the list to quickly filter the list to show only inactive vendors or all vendors. You can re-sort the list in ascending or descending order by clicking on any column name. By default, the list is sorted by vendor name in alphabetical order. The table displays the following columns of information for each vendor:
- Vendor: Name entered for the vendor; click on the name to open their record.
- Vendor Group: Only appears if Vendor Groups are enabled in your environment to categorize vendors into groups based on criteria such as office or region.
- Entities Billed: Name of the default Legal Entity associated with the vendor, if assigned.
- Contact: First and last name of the vendor’s designated point of contact. This contact typically receives default email communications regarding billing.
- Vendor Manager: First and last name of the internal user assigned as the vendor’s main point of contact.
- TK Validation: If the Timekeeper Rate Validation setting is enabled, this displays Yes if it is turned on for the specific vendor. Click here for more information.
- Accruals: Displays Yes if accruals are enabled for the request of unbilled estimates
- Counsel Exchange: Displays Yes if at least one person from the firm has Counsel Exchange access to bill for work on legal matters.
- Actions: Displays … (more) menu with options to Activate/Inactivate and Edit Vendor Manager.
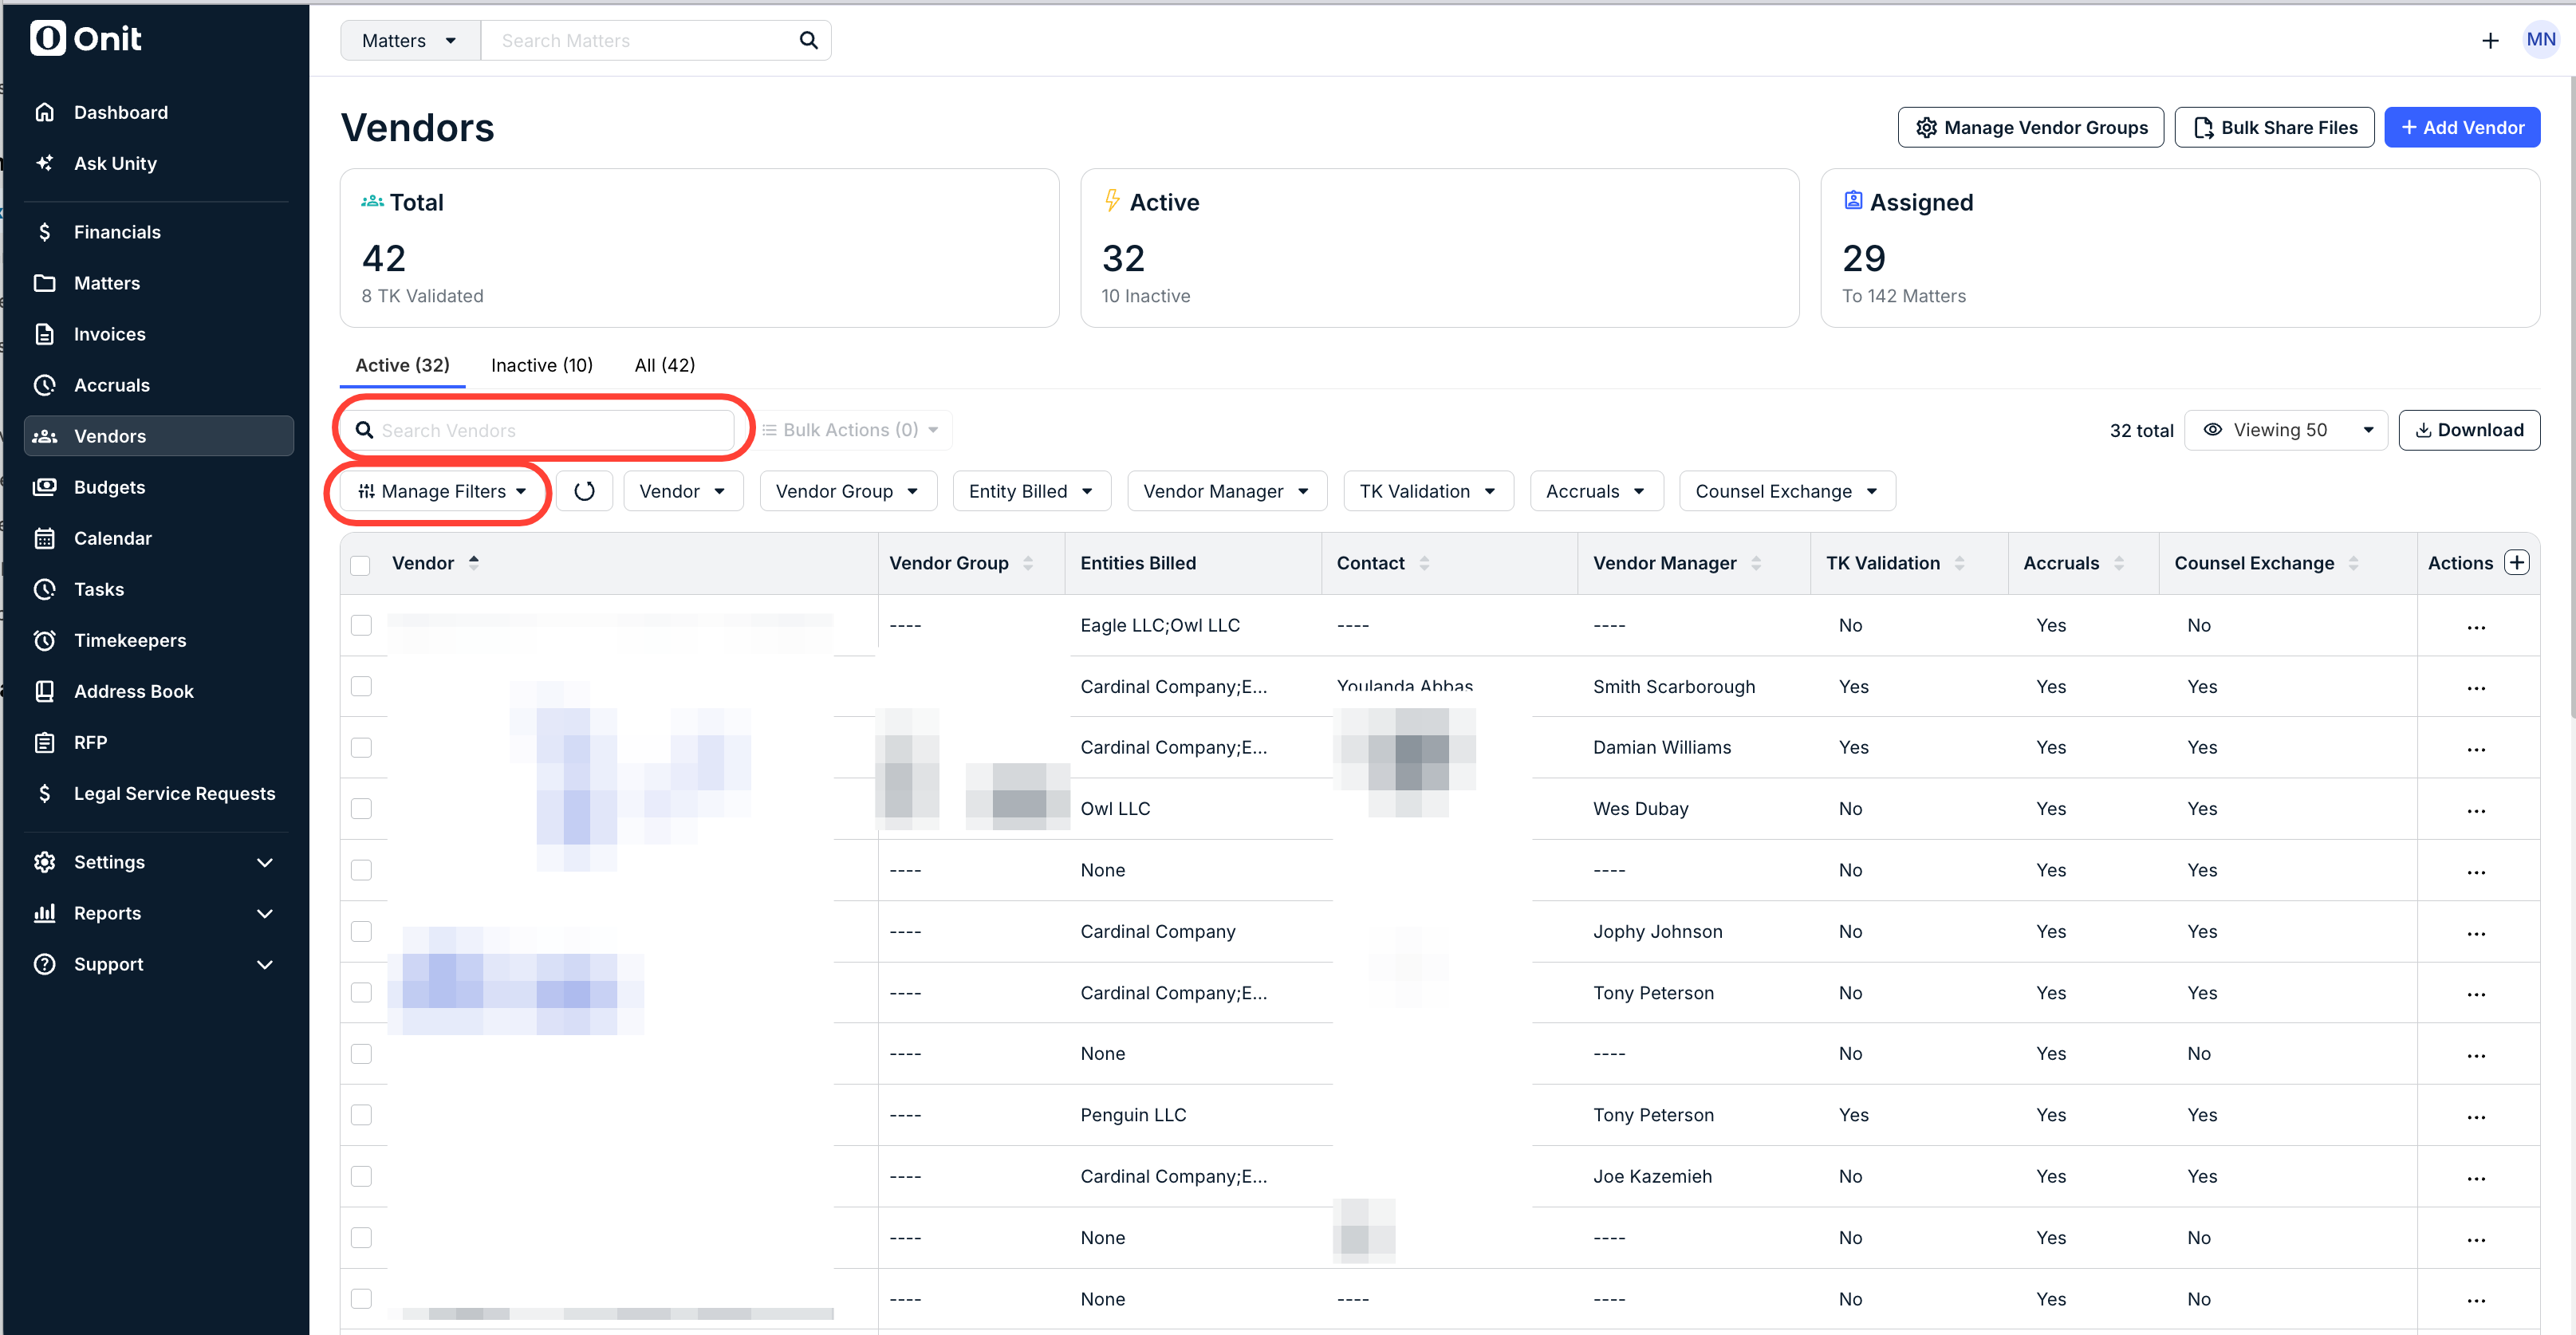
You can further customize this view by using the filters above the table. Additionally, you can use the Search field above the list to find vendors that match specific keywords, such as a firm name or Vendor Manager name; the list filters as you type.
Exporting Vendor List
Click Download above the table to export the current view of your vendor list as an Excel file (includes any applied filters or sorting). The file includes the following information: ID, Vendor Name, Entities Billed, Contact Name, Vendor Manager, Status, TK Validation (i.e., Yes or No), Vendor Portal (i.e., number of users), and additional data captured in the vendor record.

Quick Actions for Individual Vendors
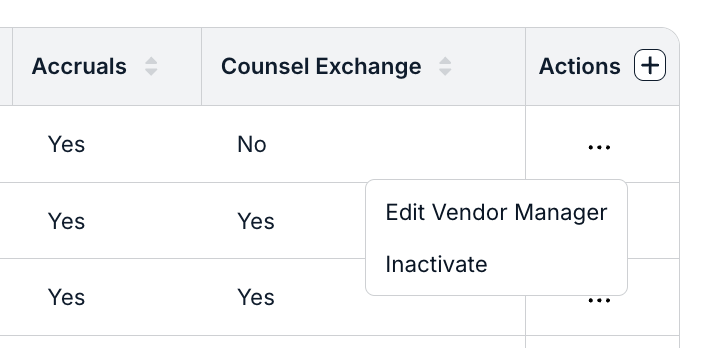
From the list view, click the ... (more) menu under the Actions column for an individual vendor and select one of the following: Inactivate/Reactivate or Edit Vendor Manager.
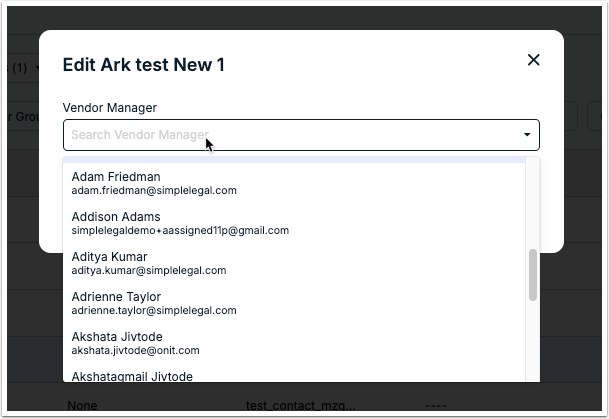
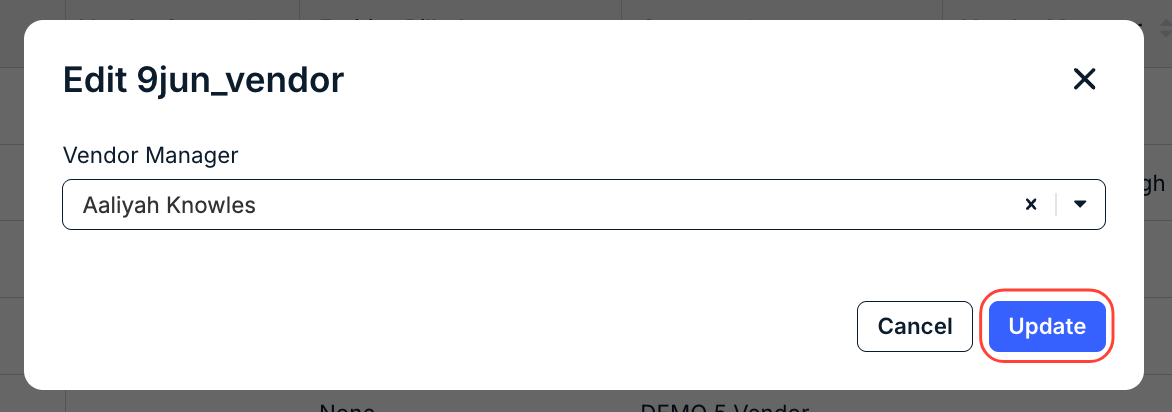
A Vendor Manager is an internal user assigned as the firm's main point of contact. Select a user from the list and click Update.
Applying Bulk Actions to Vendors
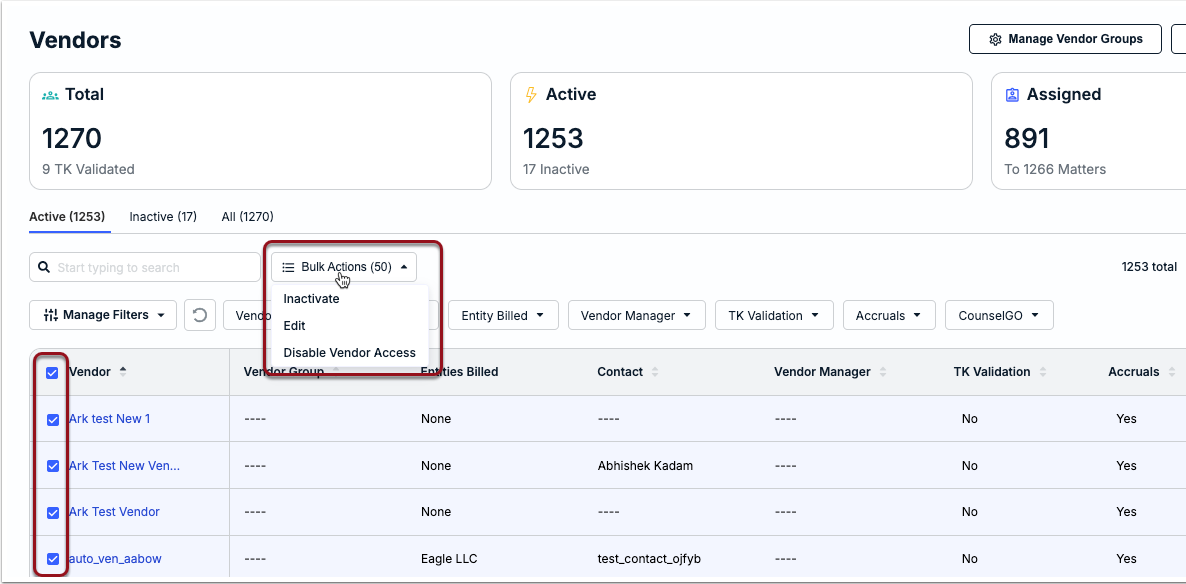
You can apply the same changes across vendors, such as deactivating/reactivating or modifying settings for multiple firms by selecting boxes for one or more vendors and clicking Bulk Actions above the list.
Inactivating / Reactivating Vendors in Bulk
Choosing Inactivate or Reactivate for the selected vendors requires confirmation. Click Update to continue.

Editing Vendors in Bulk
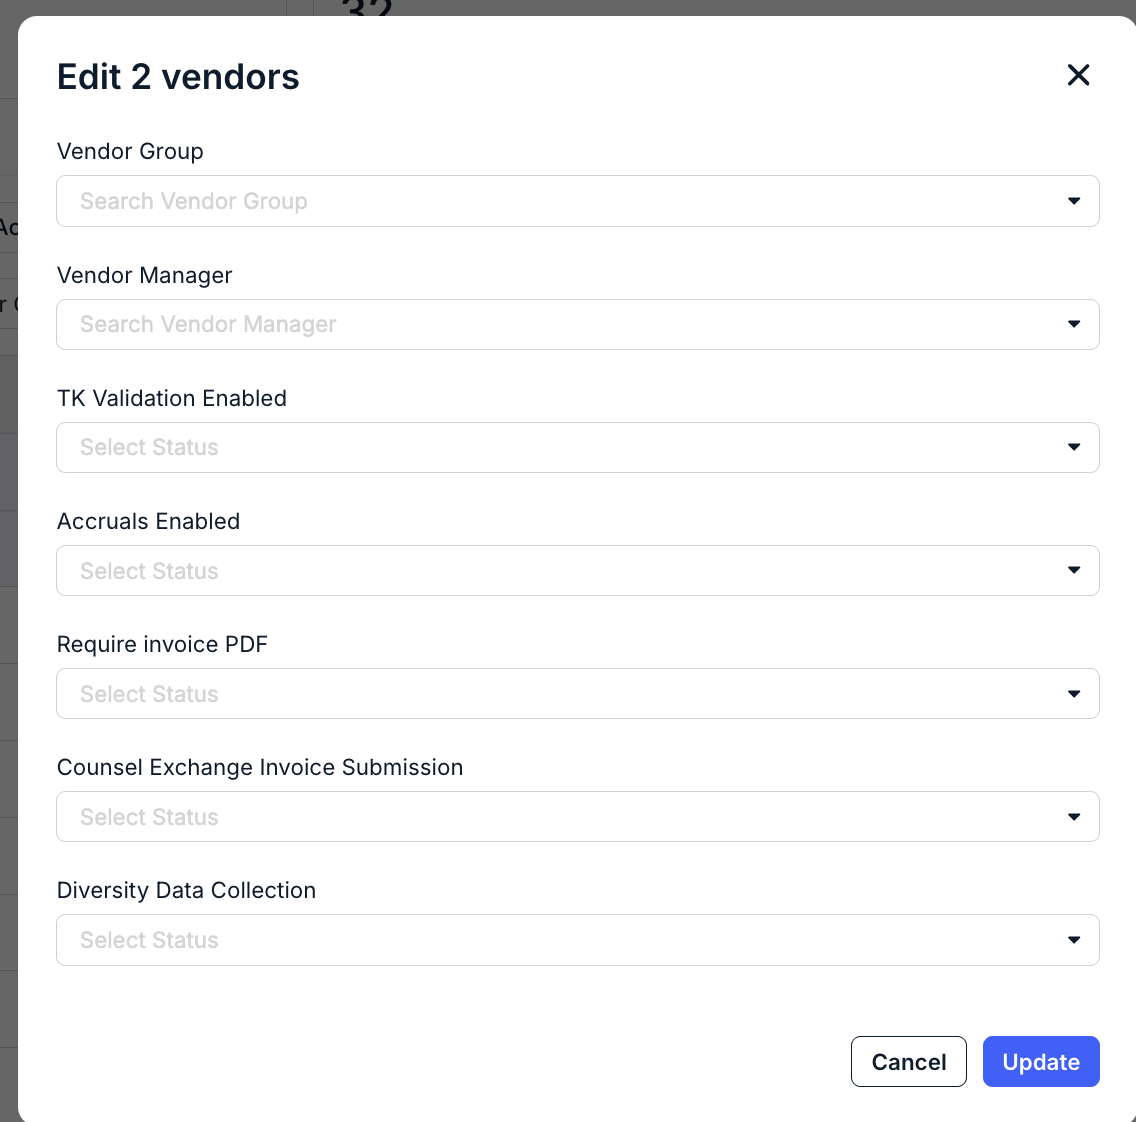
The Edit window allows for the following bulk updates depending on settings in your environment:
- Vendor Group: Assign all selected vendors to the same Vendor Group.
- Vendor Manager: Assign all selected vendors to the same internal Vendor Manager or choose None to remove all assigned Vendor Managers from selected vendors.
- TK Validation Enabled: Set to ON or OFF for all selected vendors.
- Accruals Enabled: Set to ON or OFF for all selected vendors.
- Require Invoice PDF: Set to ON or OFF for all selected vendors.
- Counsel Exchange Invoice Submission: Set to ON or OFF for all selected vendors.
- Diversity Data Collection: Set to ON or OFF for all selected vendors.
Click Update in the bottom-right corner to apply your changes across the selected vendors.
Share General Files with Multiple Vendors
Customers can also share general files in bulk with selected vendors. These files are not associated with specific matters and can include billing guidelines and other standard documentation that need to be sent to vendors who are supporting your legal department.
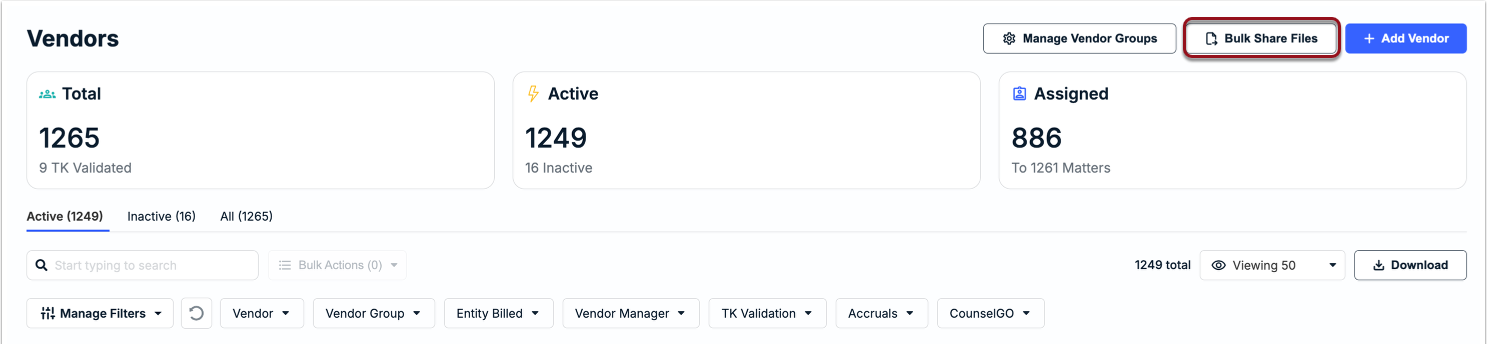
To get started, click Bulk Share Files above the vendor list to find/select the files for sharing.
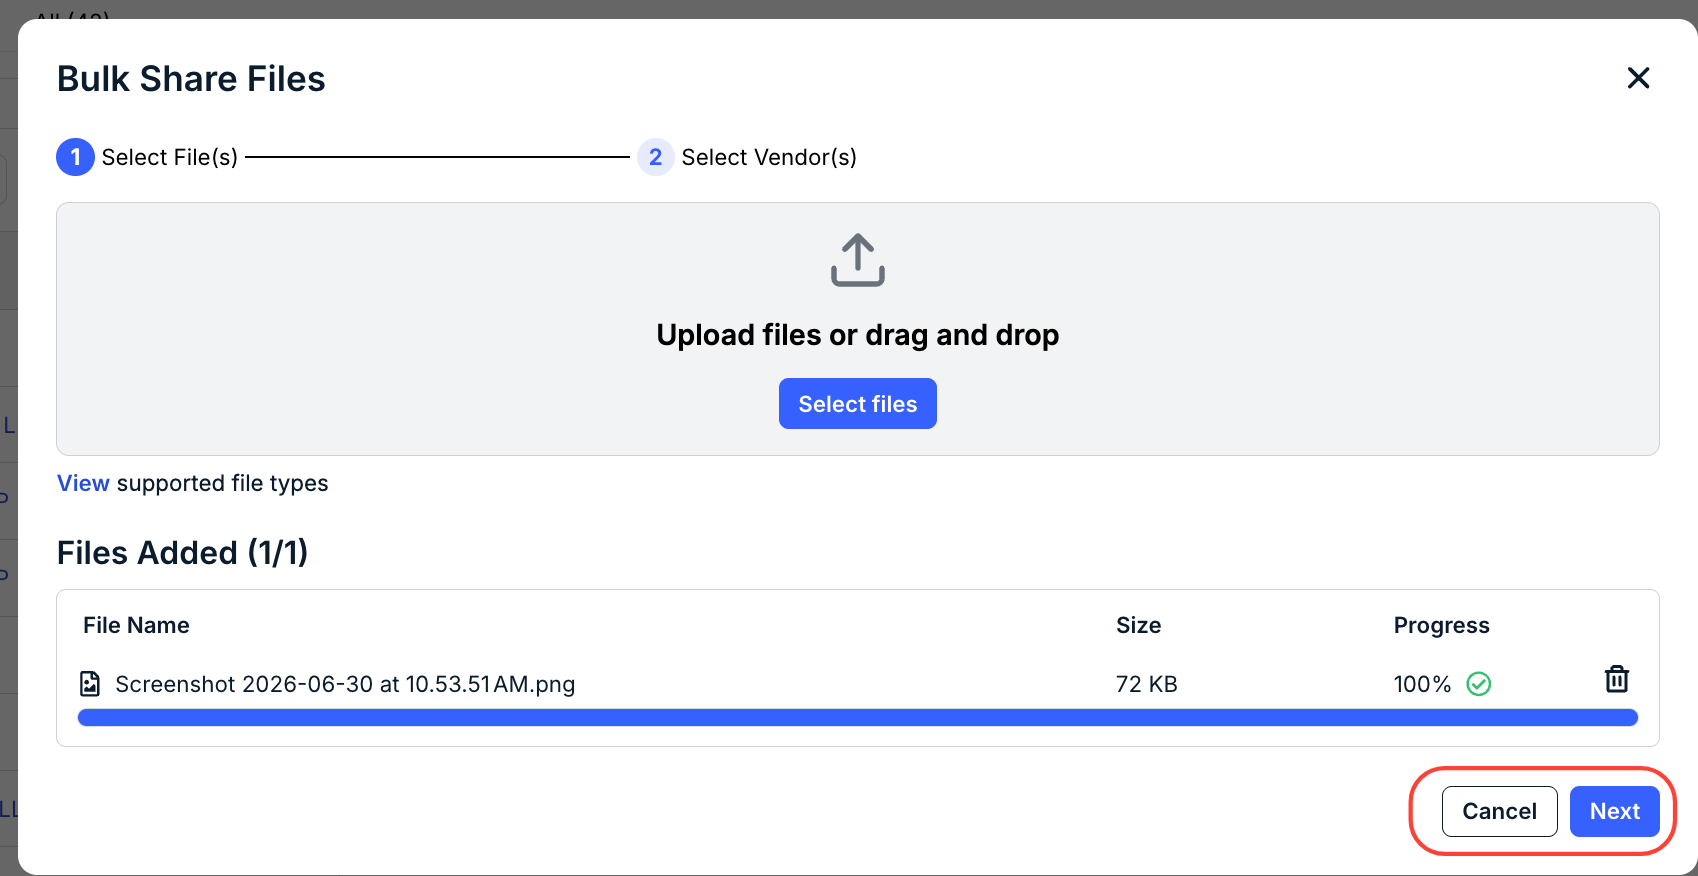
The Bulk Share Files screen will appear. Click Select Files to upload the files you want to share in bulk, or drag and drop them onto the screen.

Uploaded files will appear under the Files Added section. Click the Delete (trash can) button to delete the file.
Click Next to select the vendors you want to distribute the files to or Cancel to back out.
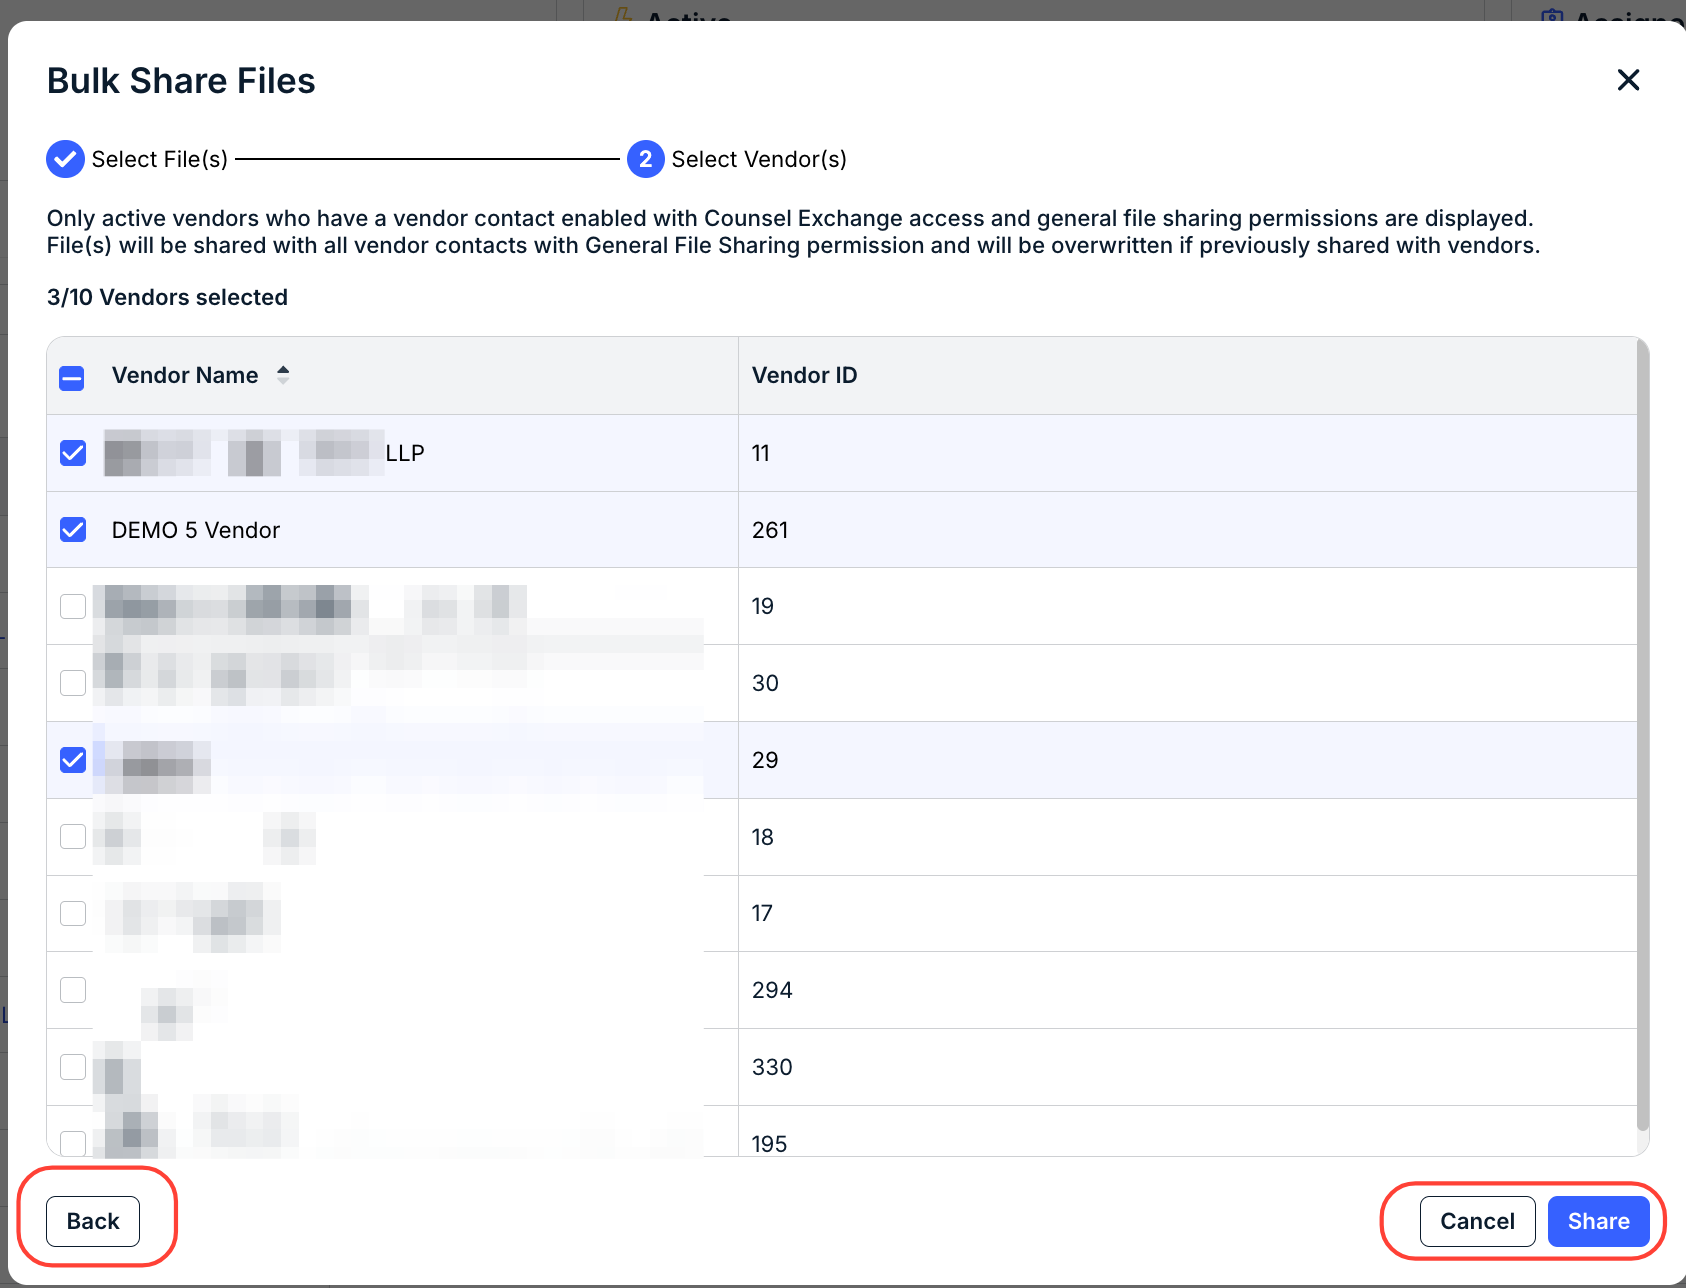
Select the vendors you want to share the files with. Click Share to share the files, Back to return to the prior screen, or Cancel to back out entirely.
Manage Vendor Groups
Vendors can be grouped in Unity for better organization, reporting, and metrics tracking. Uses for vendor groups include:
- Grouping of multiple offices/locations that belong to the same firm/vendor
- Categorizing vendors by matter group or "type" to better understand overall activity
Creating a New Vendor Group
1. Click Manage Vendor Groups above the table.
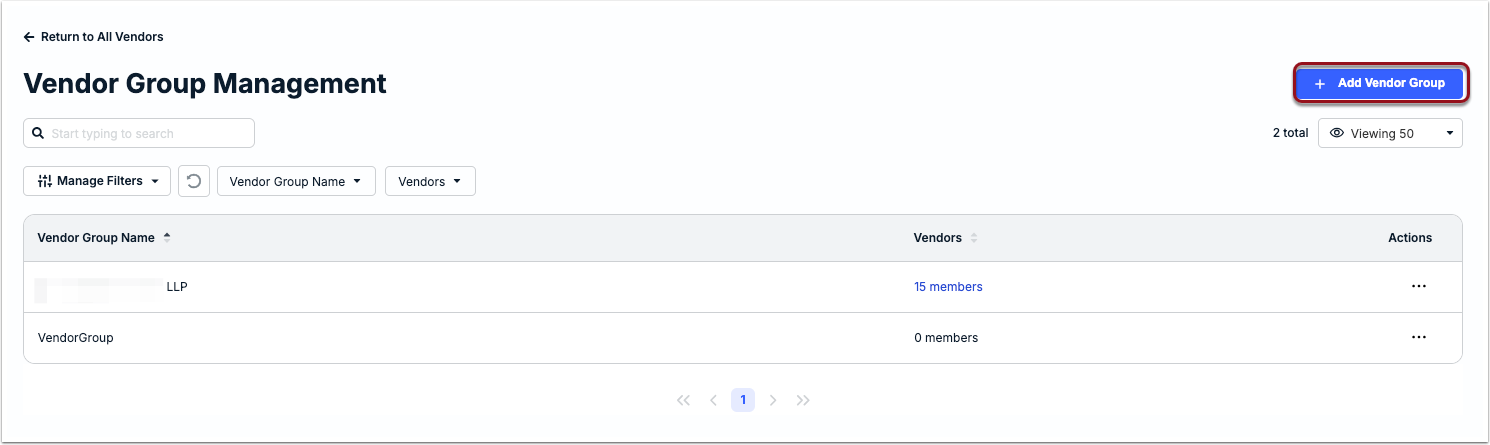
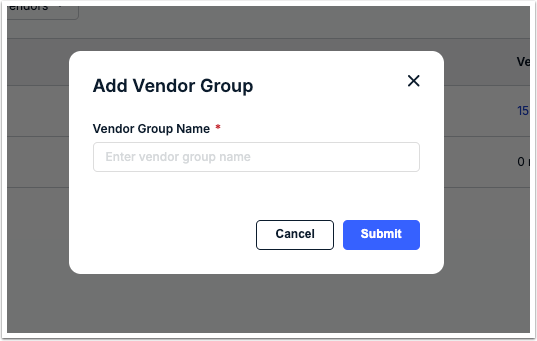
2. Click + Add Vendor Group.
3. Enter a group name and click Submit.
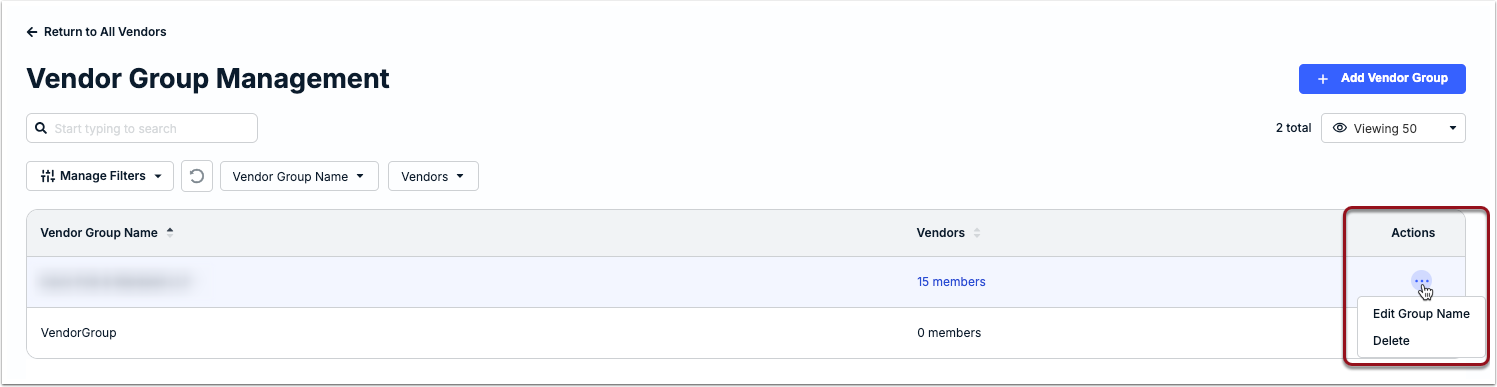
Editing or Deleting Vendor Groups
Use the ... (more) option under the Actions column to edit or delete
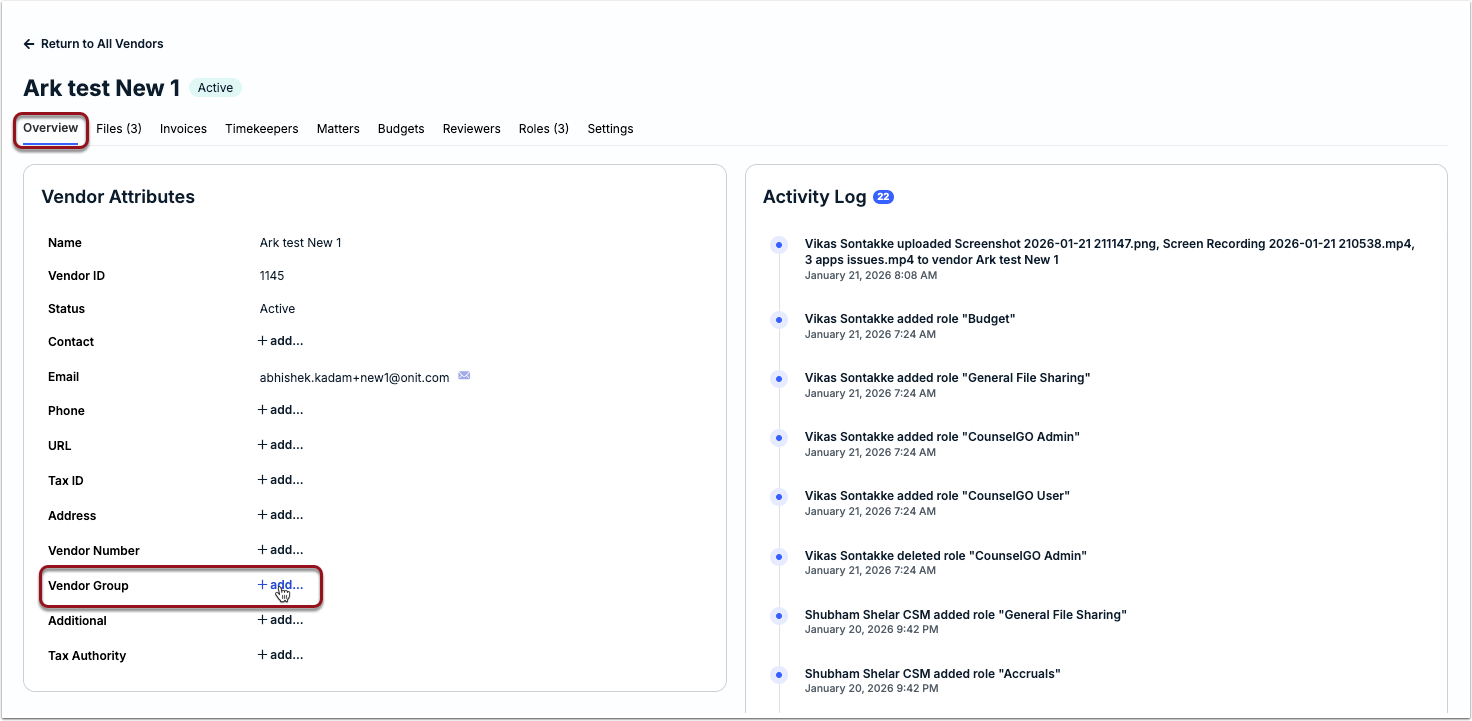
Assigning a Vendor to a Group
Once a Vendor Group is created, you can assign it to individual vendors by going to the Overview tab and clicking +add... for the Vendor Group field under the Vendor Attributes section.
Alternatively, you can assign a Vendor Group to multiple vendors at once by using the bulk edit option on the list page.