The import option can be used to create or update records in bulk by uploading a CSV file that maps values to supported system fields. For example, you can add unique descriptions to 60 matters at once by formatting them into a CSV file for upload instead of manually finding, opening, and updating each matter one at a time.
You can either download and fill in one of our CSV templates or prepare your own file for upload. Using our templates is not required but highly recommended to avoid processing errors or having to start from scratch. When you upload a CSV file for import, you will be prompted to confirm and/or update which column headers in the file map to relevant fields in the system.
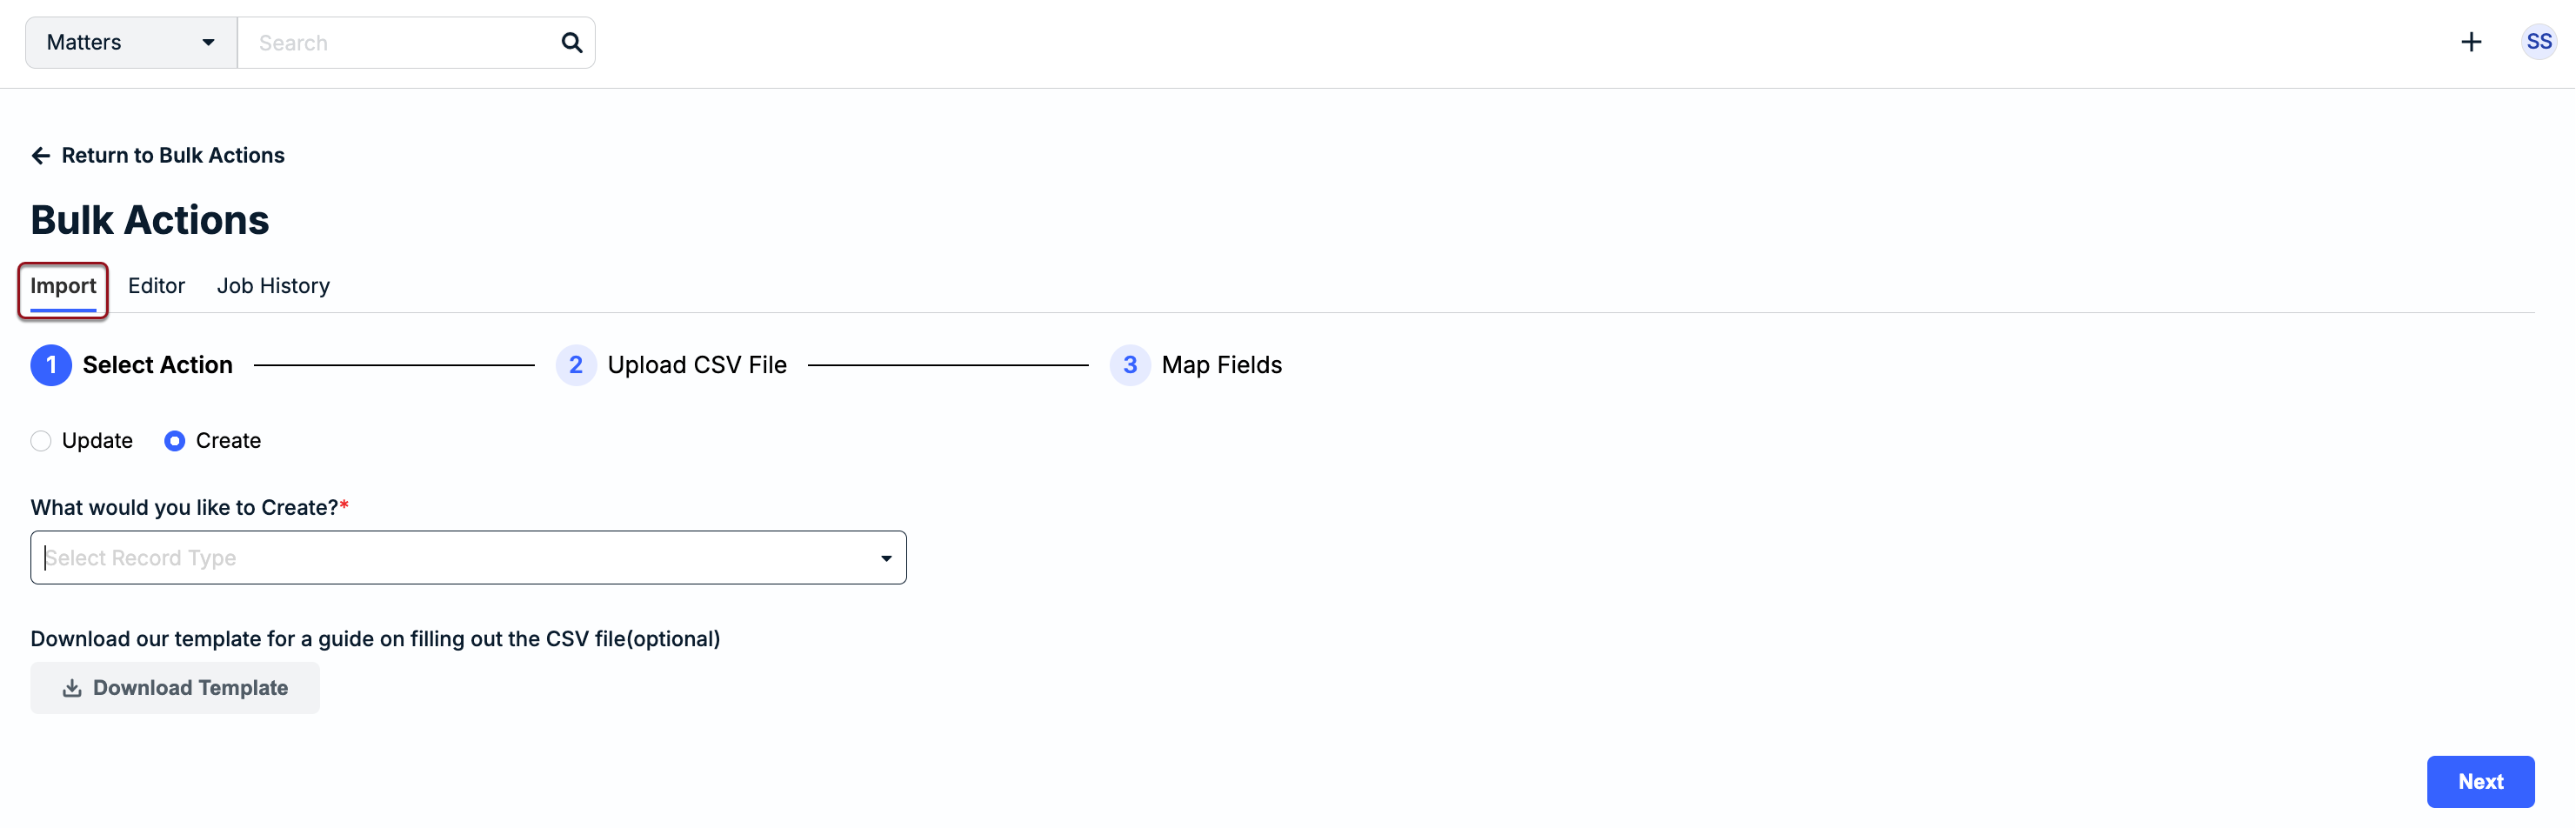
This article covers instructions for downloading the CSV templates available in Unity and step-by-step instructions on how to upload/import a prepared CSV file. To get started, go to Settings > Bulk Actions and switch to the Import tab.
Downloading CSV Templates
Follow these steps to download CSV templates when creating or updating records in bulk.
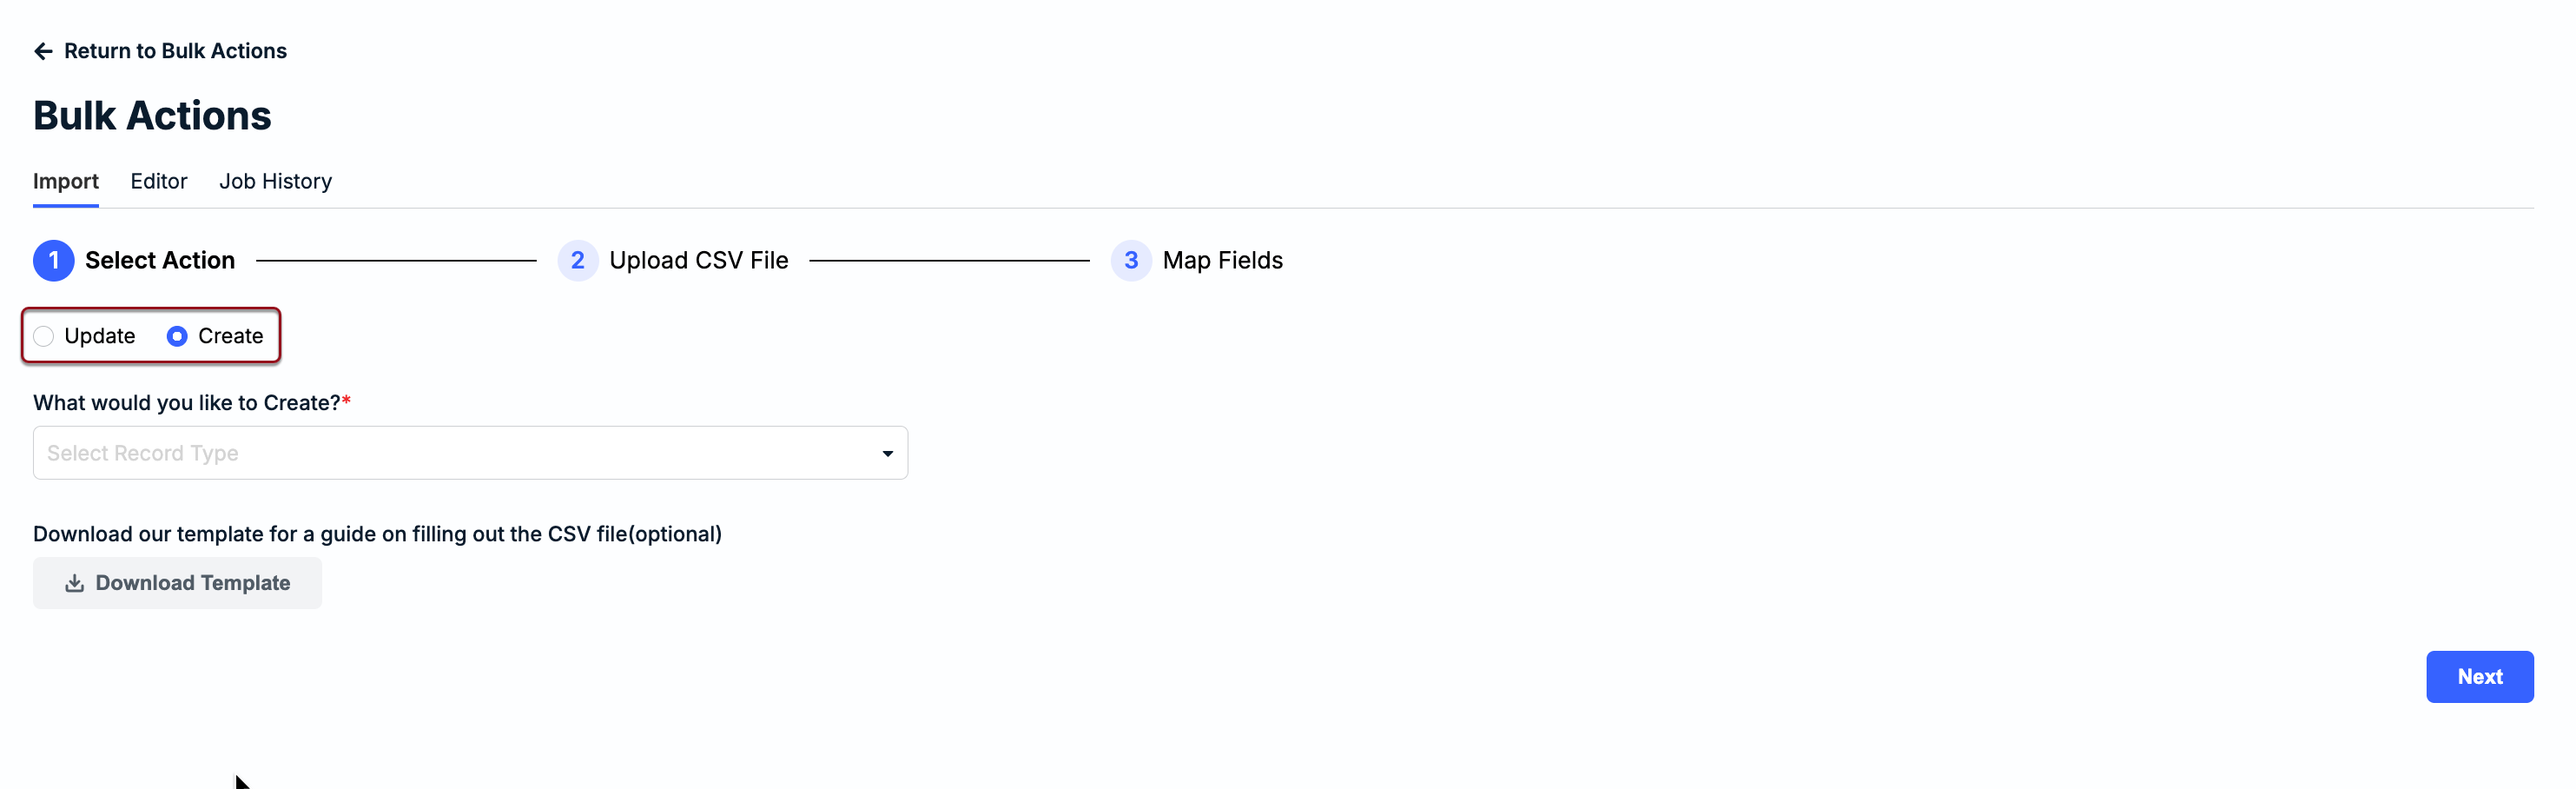
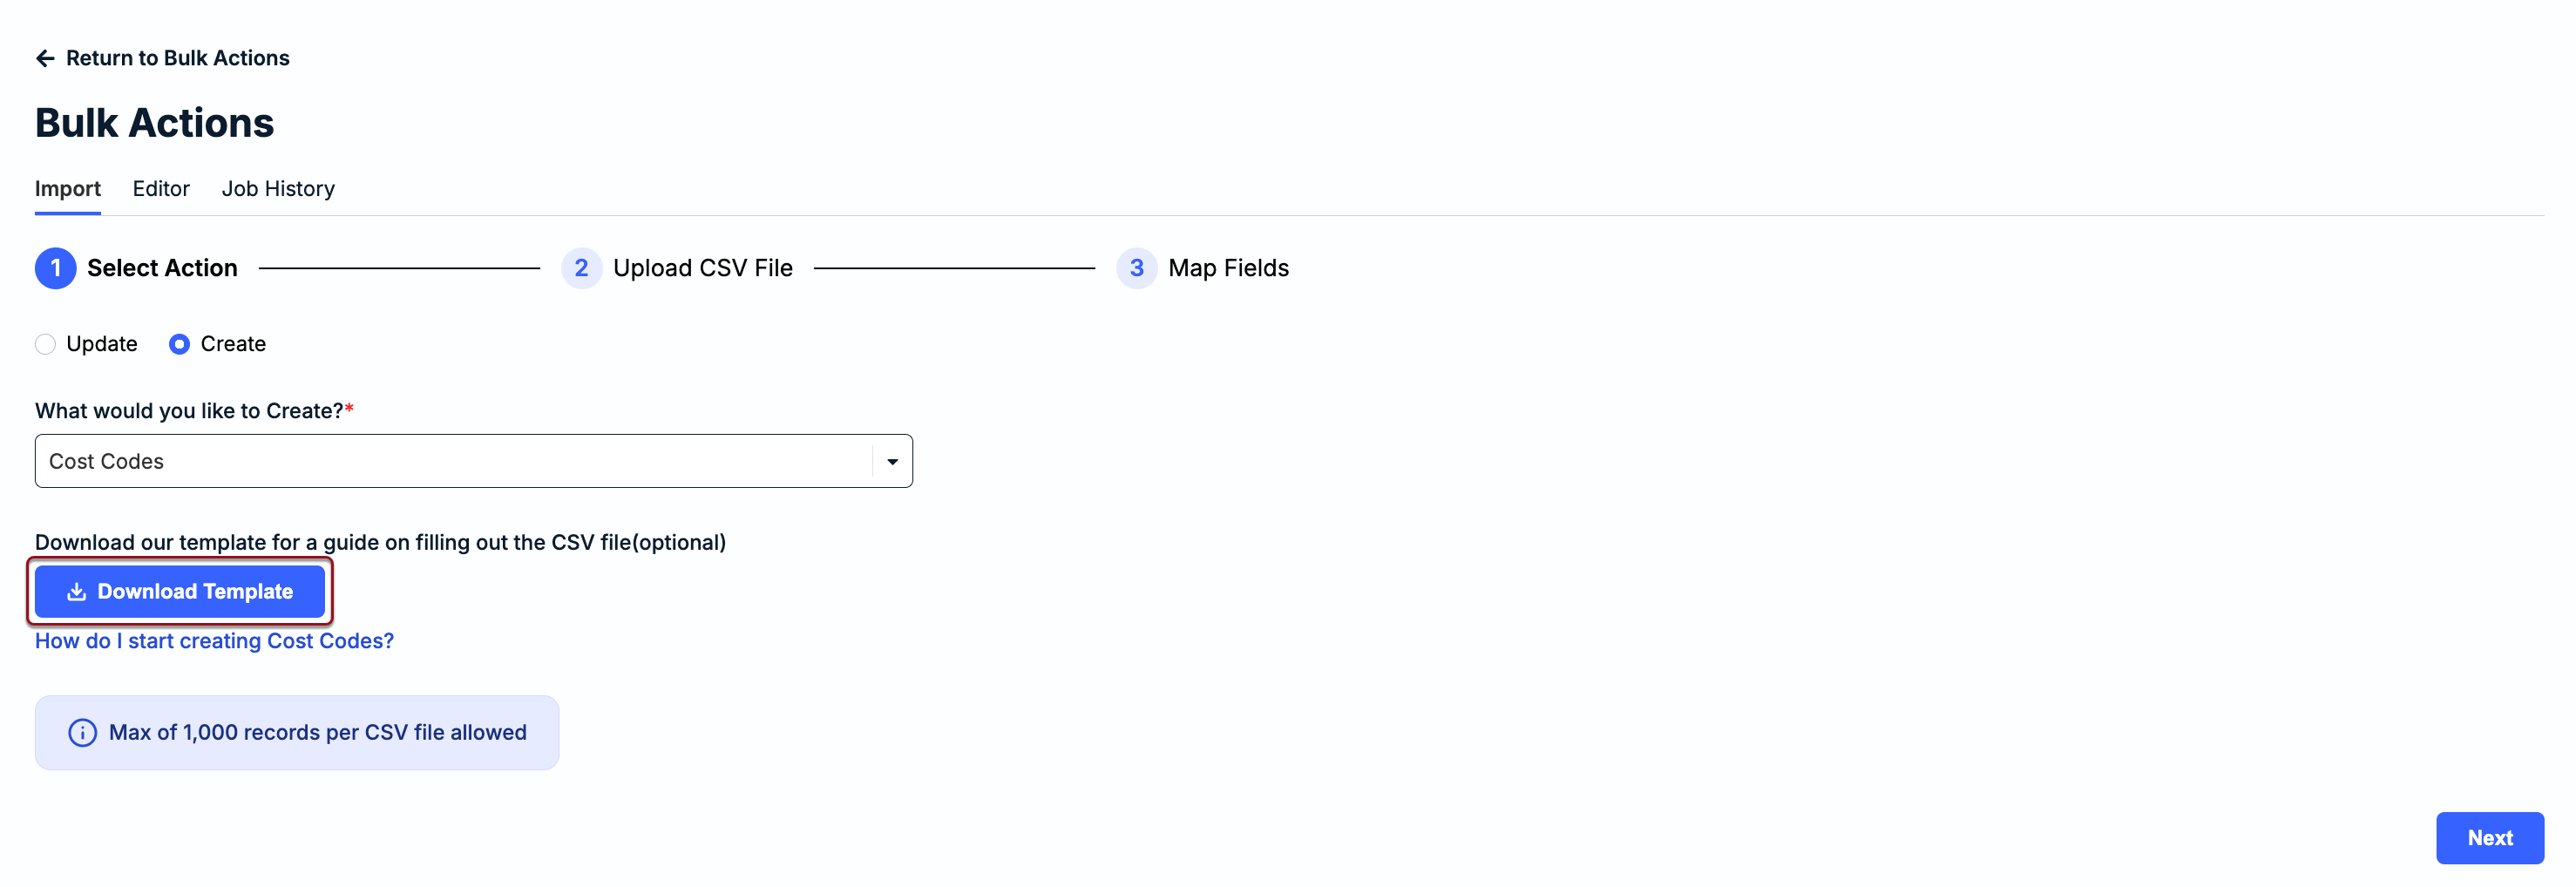
1. From the Import tab, select Create or Update.
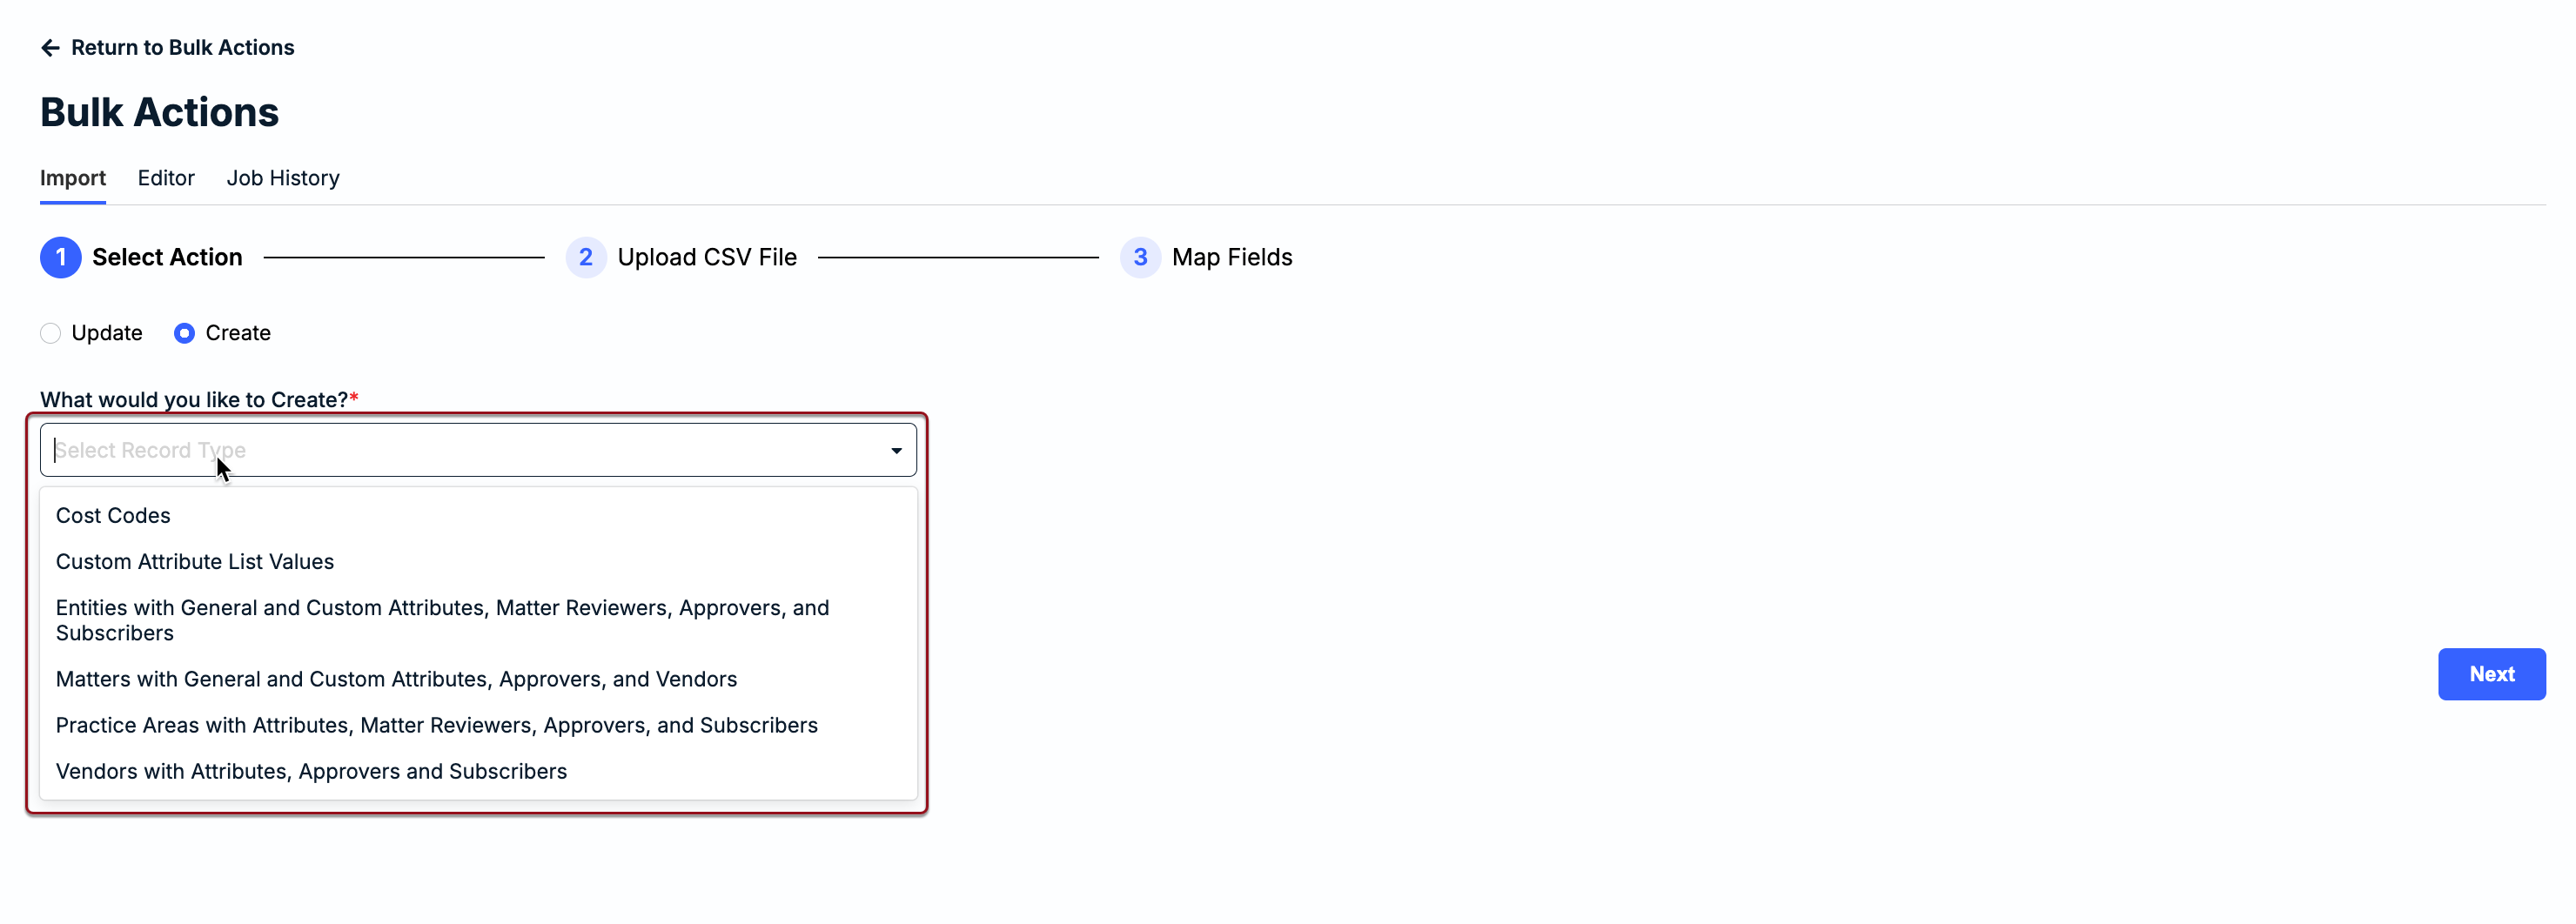
2. Select an option from the What would you like to..? dropdown.
- If Create was selected in Step 1, choose one of the following options:
- Cost Codes
- Custom Attribute List Values
- Legal Entities with General and Custom Attributes, Approvers, and Subscribers
- Matter Groups (or Practice Areas) with Attributes, Approvers, and Subscribers
- Matters with General and Custom Attributes, Approvers, and Vendors
- Vendors with Attributes, Approvers, and Subscribers
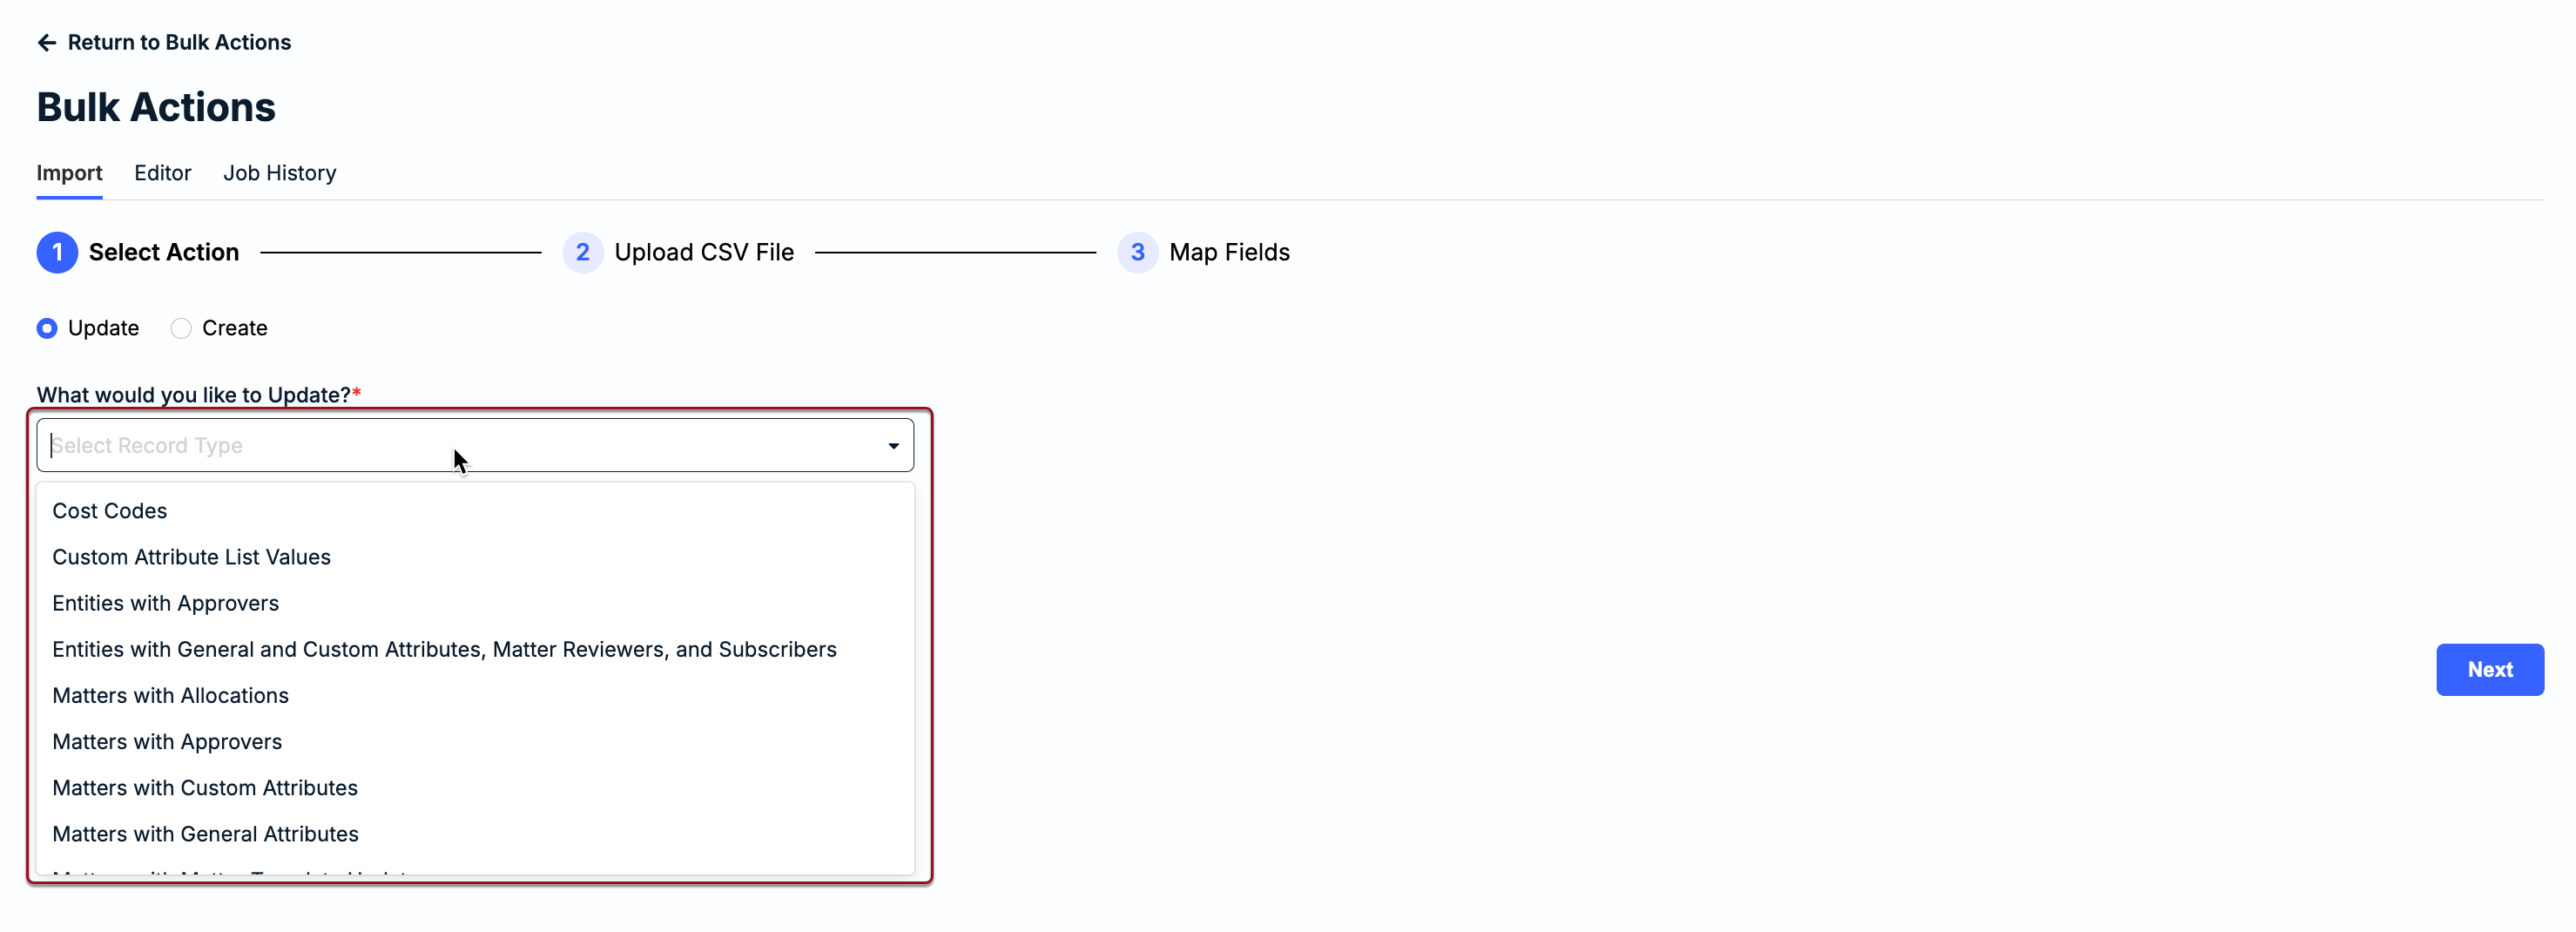
- If Update was selected in Step 1, choose one of the following options:
- Cost Codes
- Custom Attribute List Values
- Legal Entities with Approvers
- Legal Entities with General and Custom Attributes and Subscribers
- Matter Groups (or Practice Areas) with Approvers
- Matter Groups (or Practice Areas) with Attributes and Subscribers
- Matters with Allocations
- Matters with Approvers
- Matters with Custom Attributes
- Matters with General Attributes
- Matters with Matter Template Update
- Matters with Subscribers
- Matters with Vendors
- Vendors with Approvers
- Vendors with Attributes and Subscribers
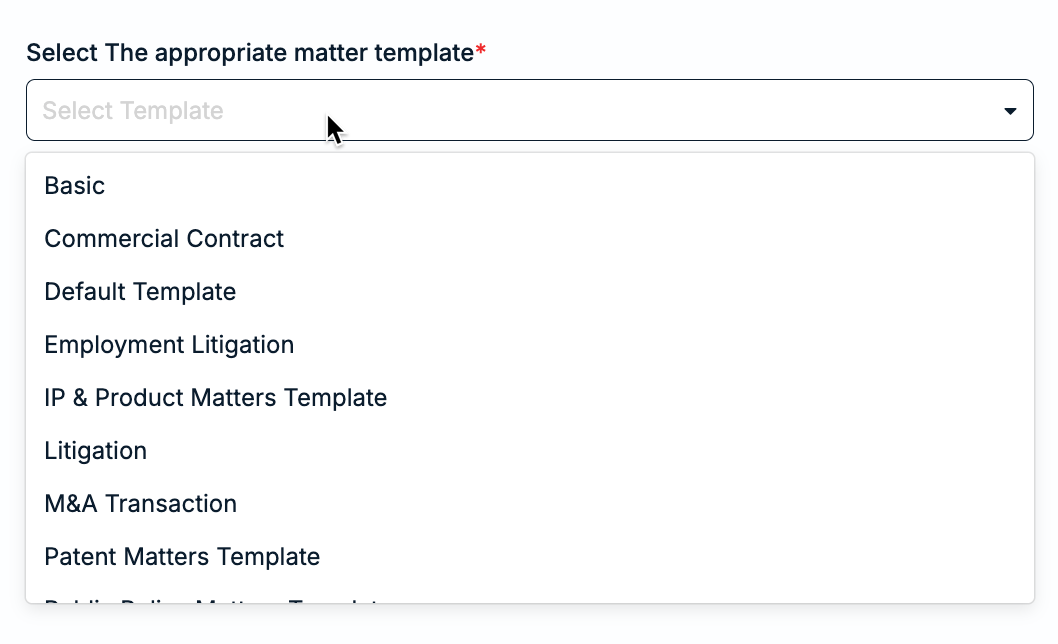
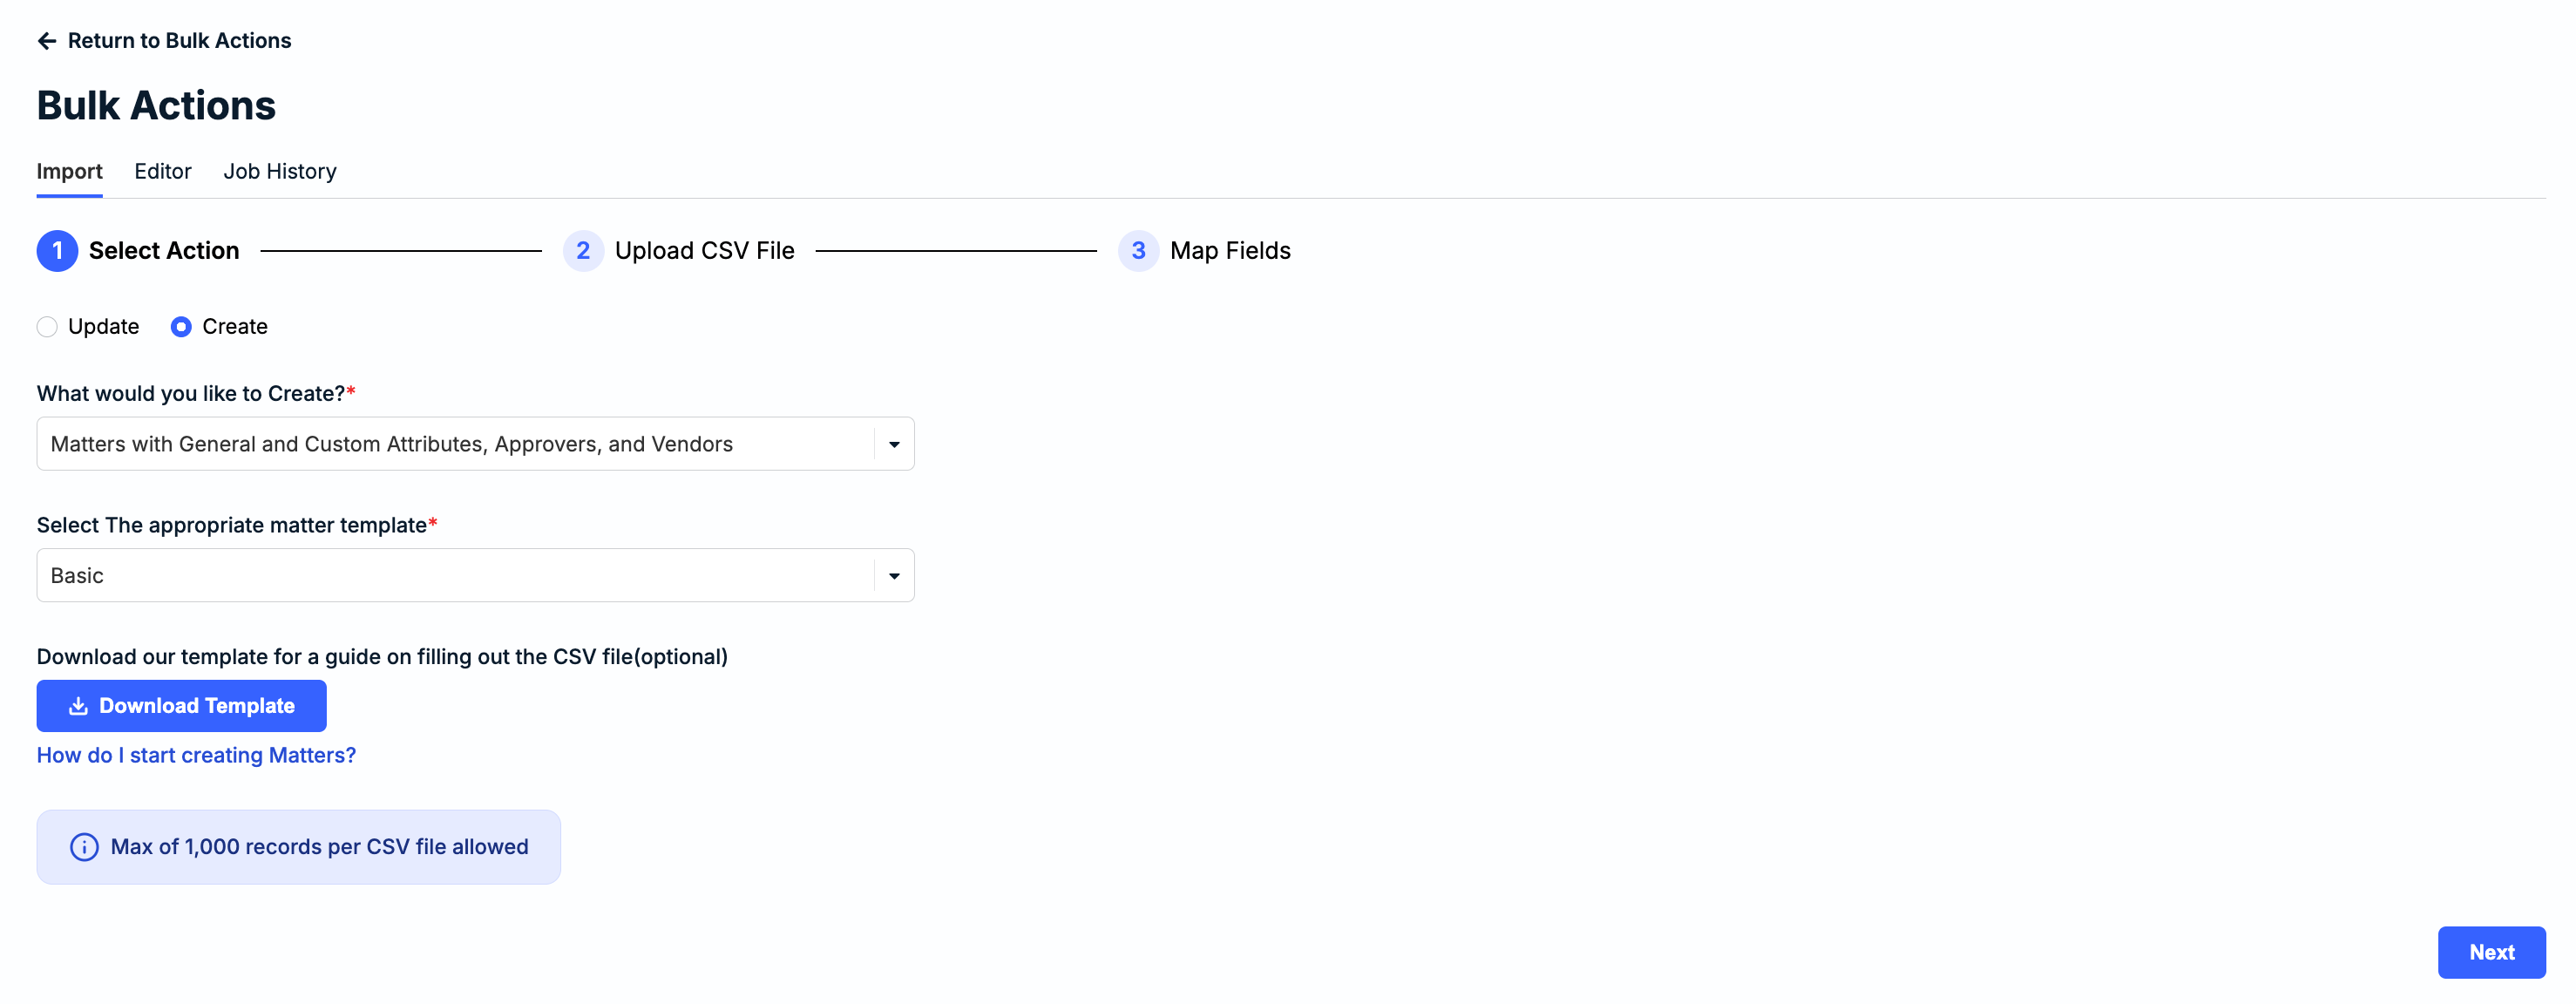
2a. You must choose a matter template to move on to to Step 3 if you selected any of the following:
Create > Matters with General and Custom Attributes, Approvers, and Vendors
Update > Matters with Custom Attributes
Update > Matters with Matter Template Updates
3. Click Download Template to open and save the CSV file on your computer.
The CSV templates are populated with column headers that map to supported system fields. Which fields can be updated as part of an import depends on the selected bulk action type.
Creating New Records
Below is an example of a CSV template for creating new matters. The column headers displayed are driven by the fields in the matter template selected in Step 2a above. Values must be included for any fields labeled as required in parentheses on the CSV template.

CSV templates for creating new matters include the following:
- A column header for each general attribute (e.g., columns A-G in example above)
- A column header for each custom attribute (if applicable; none shown in example above)
- A column header for Level 1 Invoice Reviewers-ALL only (e.g., column H in example above)
- A column header for Level 2 Invoice Reviewers-ALL only (e.g., column I in example above)
- A column header for vendors ID(s) (e.g., column J in example above)
See the following articles for more details on supported fields and formatting requirements:
Updating Existing Records
The first column header (i.e., column A) in all CSV templates for bulk updates to records is ID (i.e., Client Matter ID, Vendor ID, Cost Code ID, Matter Group ID, Legal Entity ID, OR Custom Attribute List Value ID). Values for IDs and at least one other column are required for each row. The remaining column headers displayed are driven by the bulk action and record type.
Below is an example of the CSV template for Matters with General Attributes.

Values must be included for any fields labeled as required in parentheses on the CSV template. See the articles below for more details on supported fields and formatting requirements:
- CSV Import: Cost Codes
- CSV Import: Custom Attribute List Values
- CSV Import: Legal Entities with Approvers
- CSV Import: Legal Entities with General and Custom Attributes and Subscribers
- CSV Import: Matter Groups with Approvers
- CSV Import: Matter Groups with Attributes and Subscribers
- CSV Import: Matters with Allocations
- CSV Import: Matters with Approvers
- CSV Import: Matters with Custom Attributes
- CSV Import: Matters with General Attributes
- CSV Import: Matters with Matter Template Update
- CSV Import: Matters with Subscribers
- CSV Import: Matters with Vendors
- CSV Import: Vendors with Approvers
- CSV Import: Vendors with Attributes and Subscribers
Uploading CSV File for Import
Follow the steps below once your CSV file is prepared and ready for import:
1. Select Create or Update.
2. Choose the relevant record type (and matter template, if prompted per the section above).
3. Click Next in the bottom-right corner.
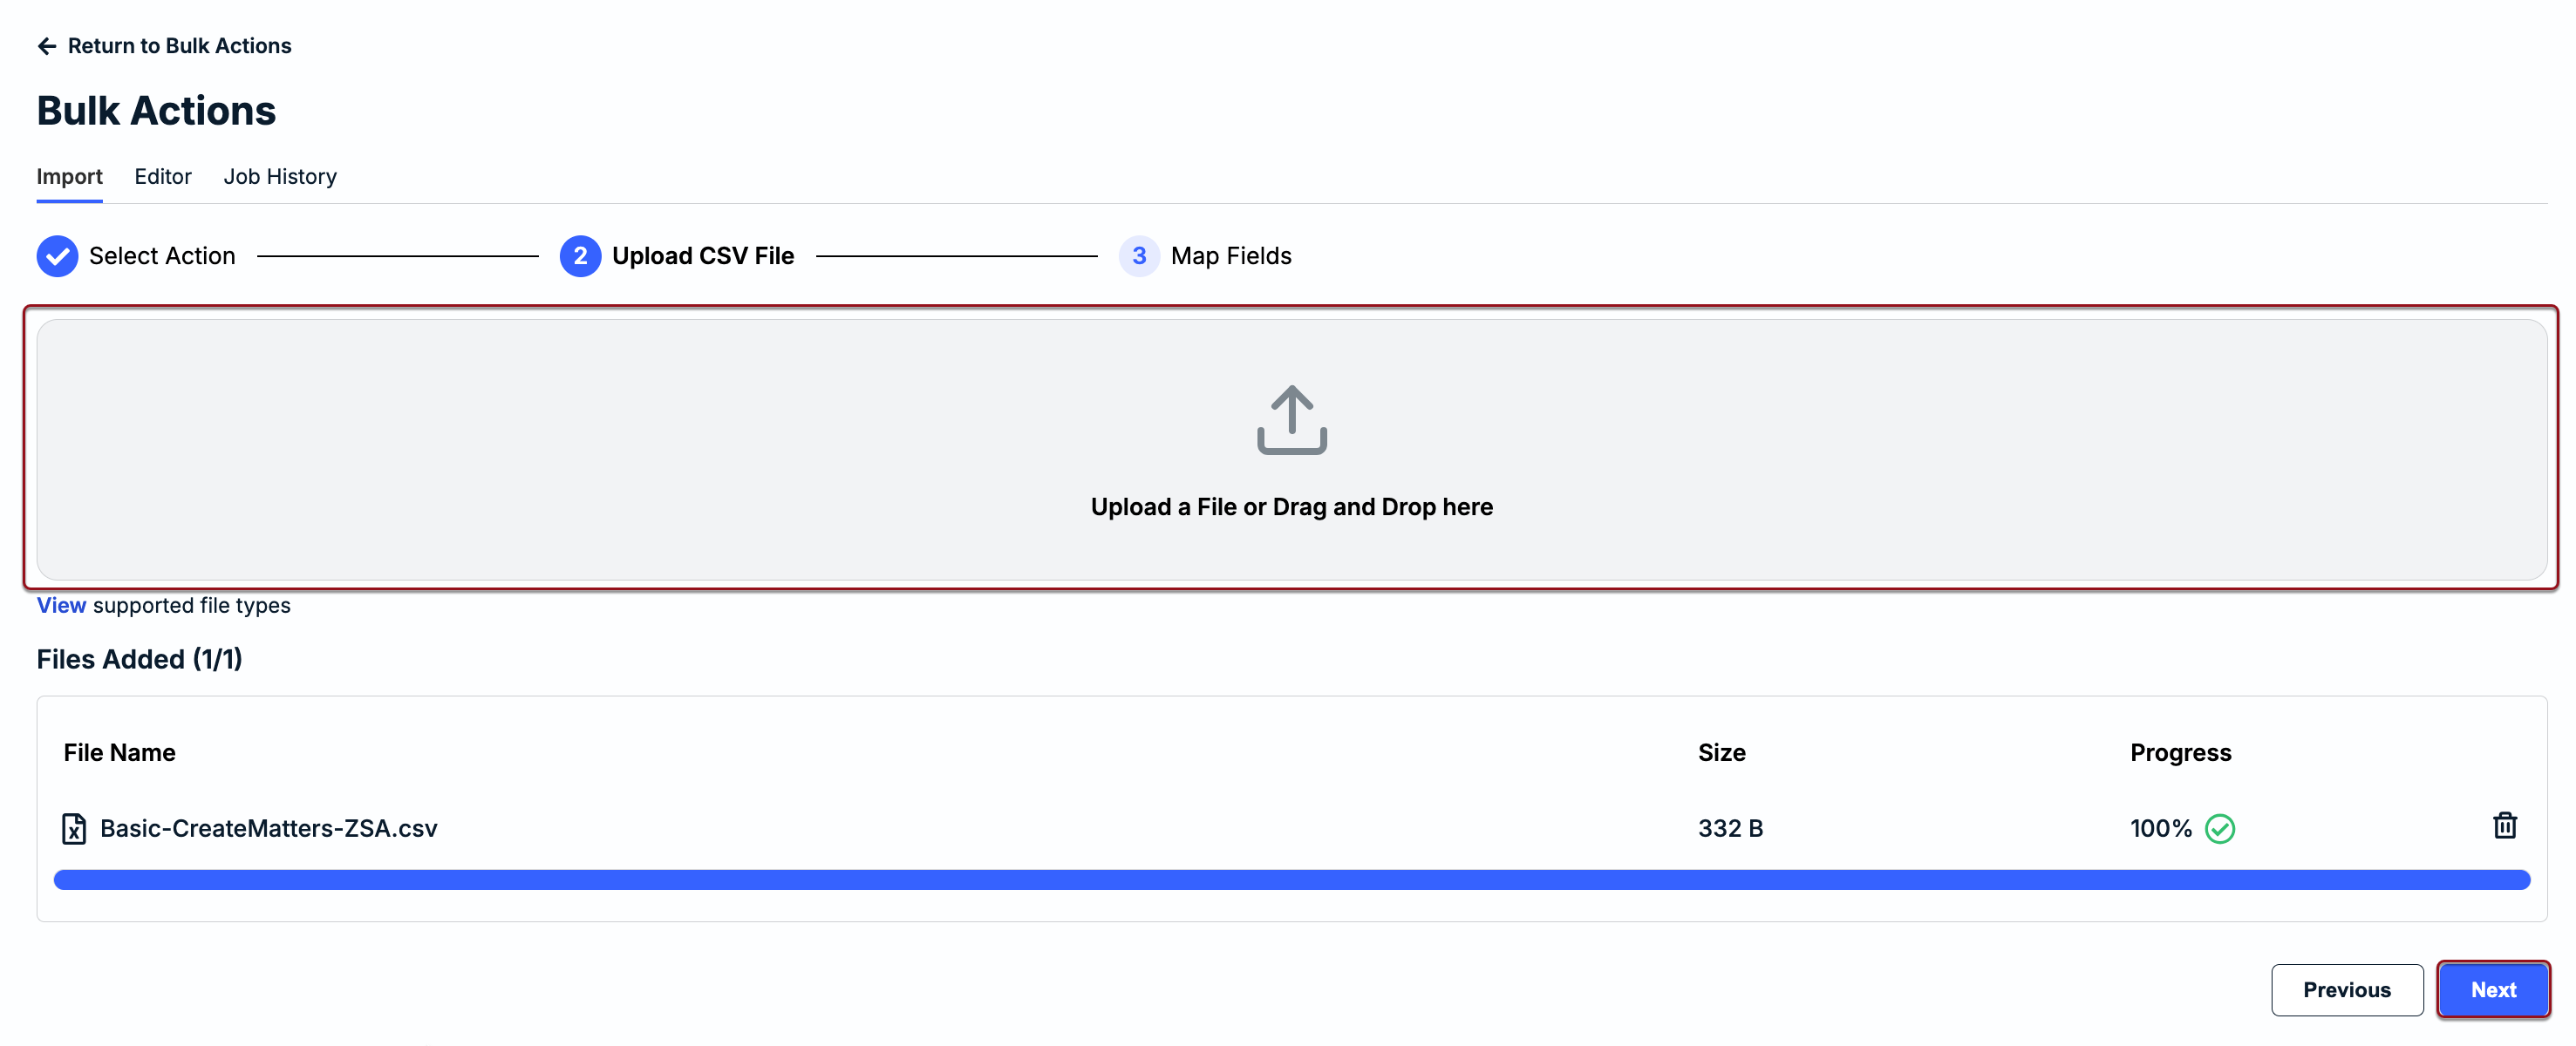
4. Drag and drop the CSV file into the upload section, or click within the upload box to find/select the file.
5. Click Next.
6. Under Map Fields, confirm that the Onit fields (left column) are mapped to the relevant column headers in your CSV file (right column). Fields that are required are marked with asterisks (*) and highlighted in red for reference.
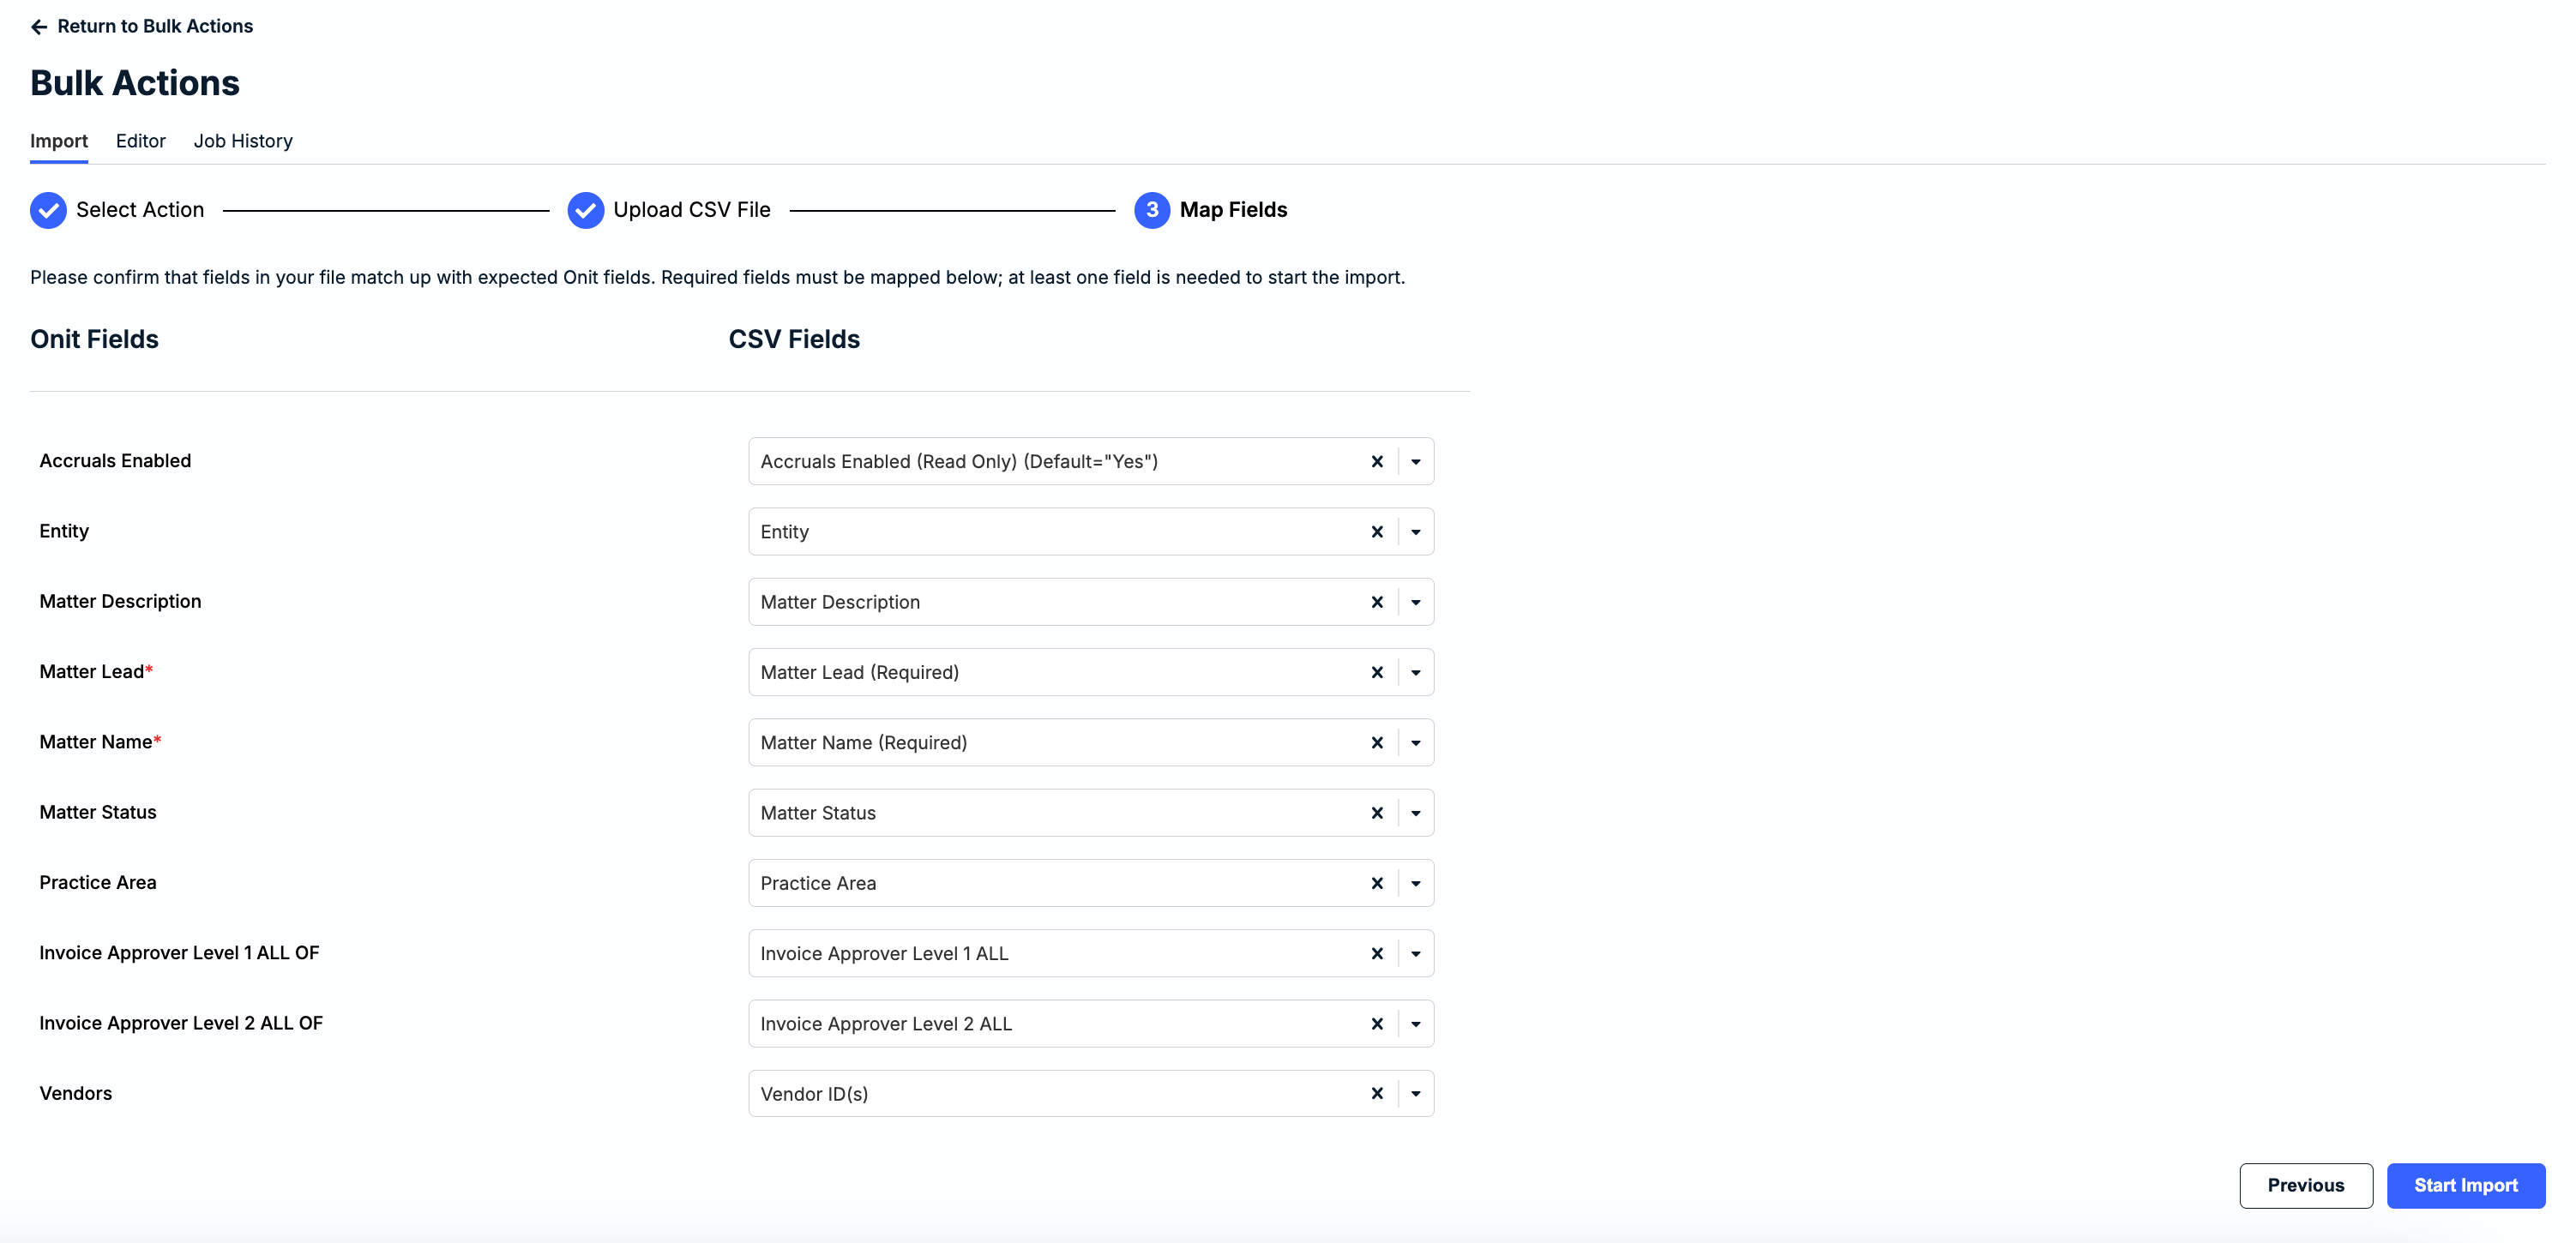
7. Click Start Import in the bottom-right corner.
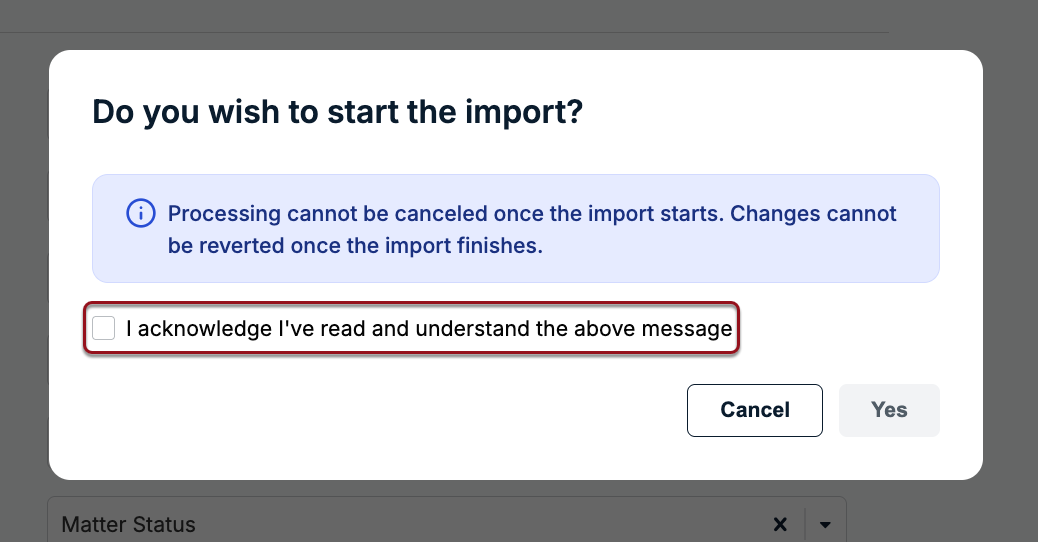
8. Click the box for I acknowledge I've read and understand the above message and then click Yes.
You will be redirected to the Job History tab to see the status. Processing time varies depending on the number of rows in your file. If a bulk action job fails, download the error file from the Job History page to see which records were not successfully updated or created and why.