Scheduling Reports in Onit Enhanced Reporting
Here's how to schedule reports within enhanced reporting:
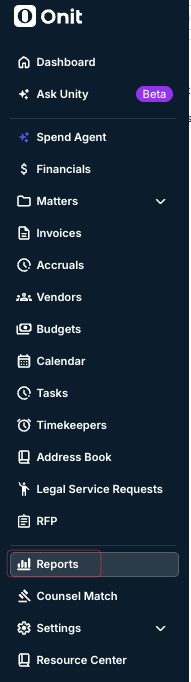
- Open the "Reports" function on the left-hand side menu in Unity.
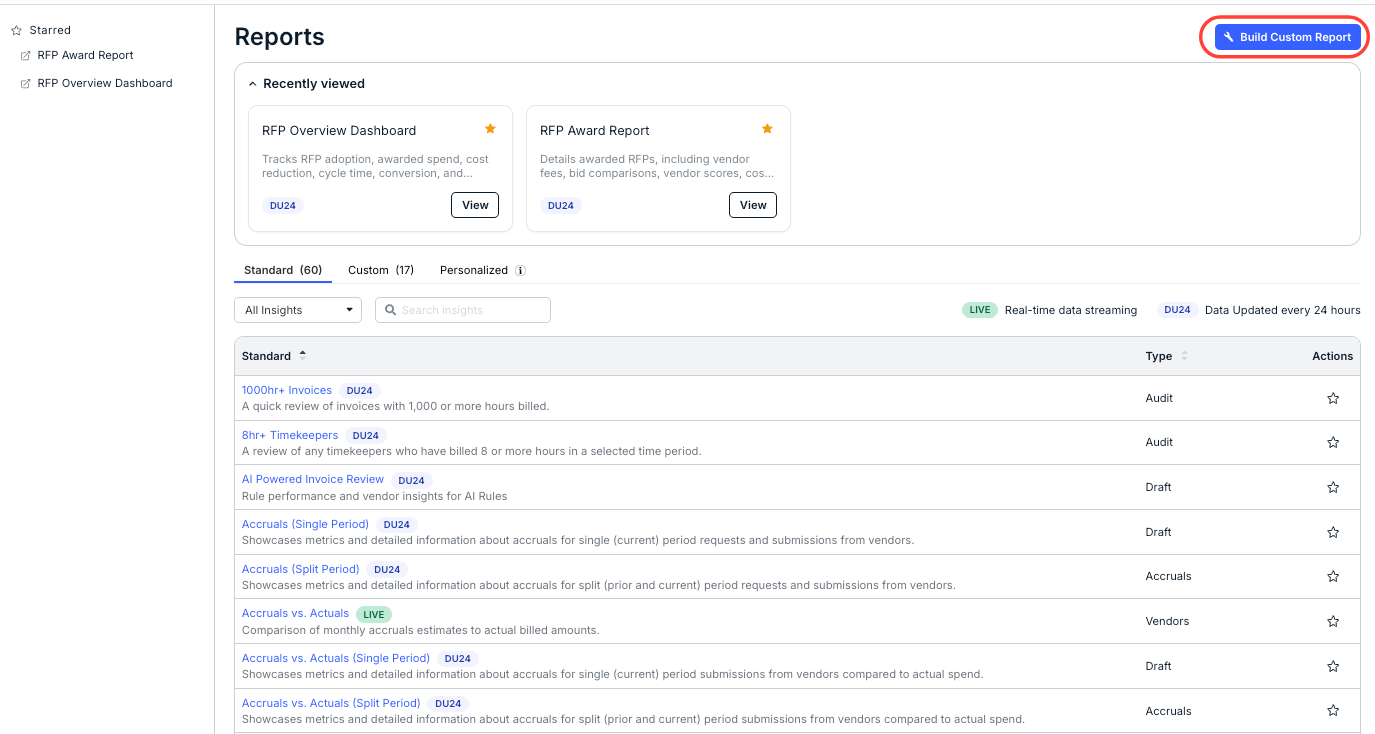
- On the Reports screen, click on "Build Custom Report."
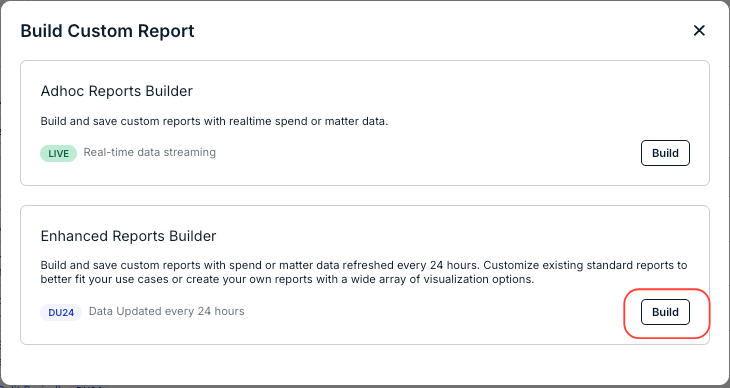
- The "Build Custom Report" screen will appear; click on "Build" next to Enhanced Reports Builder
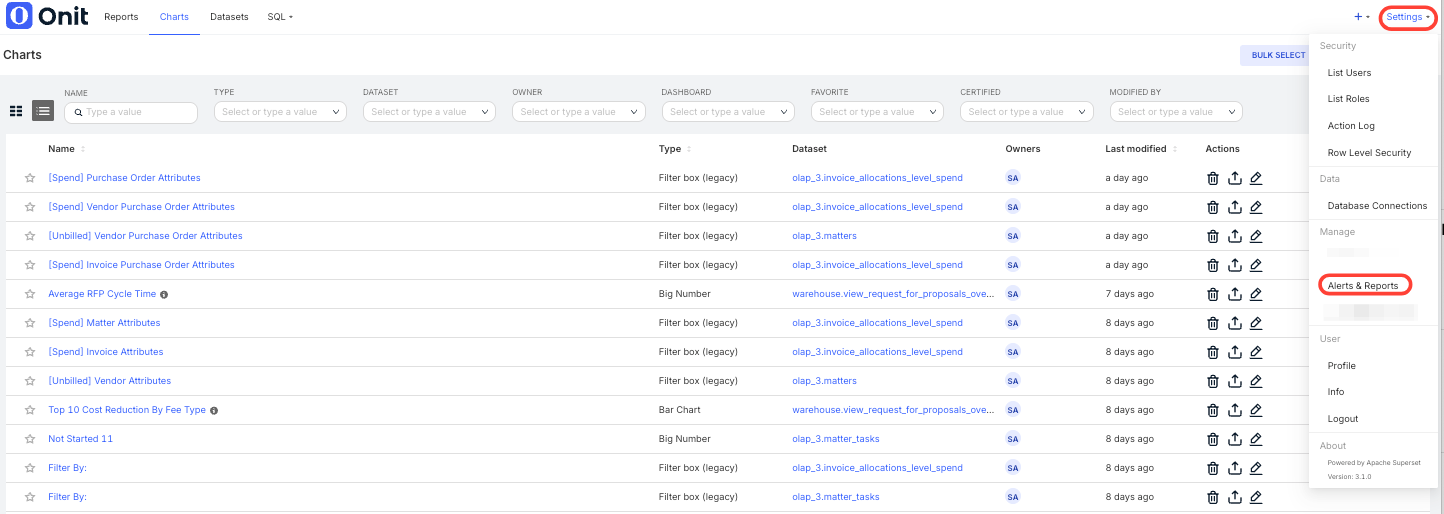
- The Enhanced Reports Builder will appear; go to the "Settings" section on the upper-right hand corner and then click on "Alerts & reports"
- Click on the "Reports" tab in the "Alerts & reports" section
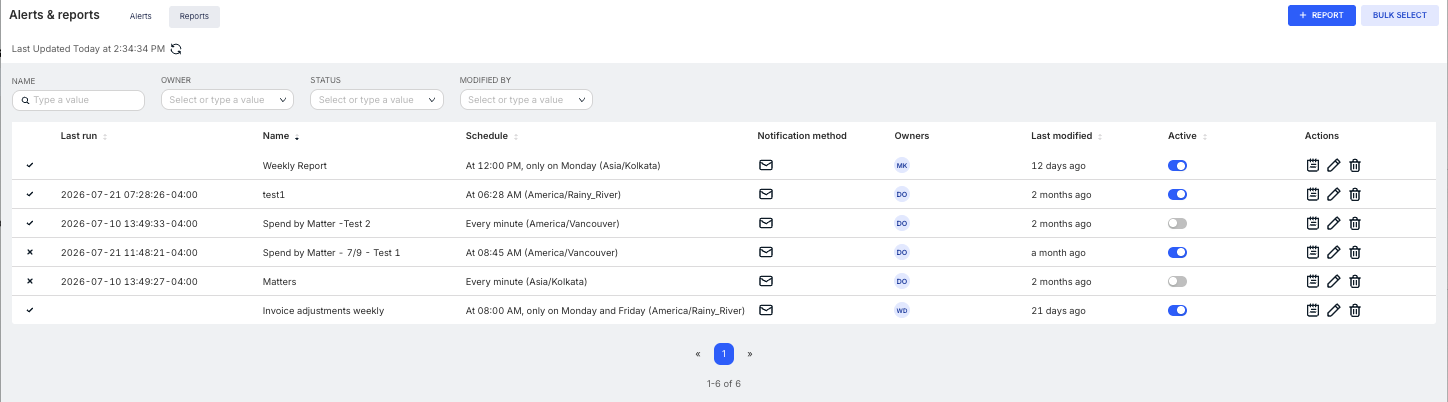
Here, you'll see the existing report schedules; you can see the Sent/Failed status (check box or X), Last run time, Name, Schedule, Notification method, Owners, Last modified, Active toggle, and an Actions menu. Click the up/down arrow on each column to sort by that column. Use the top Name bar to search through the database or the Filter drop-downs to filter what you want to see on the screen.
Use the Active toggle to set the report schedule to active or inactive.
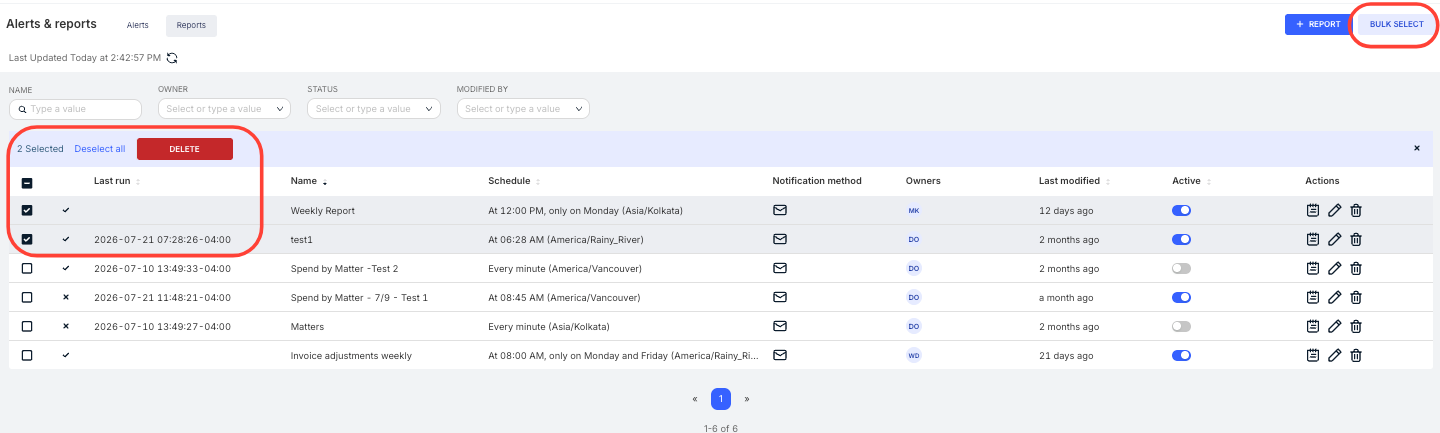
Use the Bulk Select function to bulk delete report schedules.
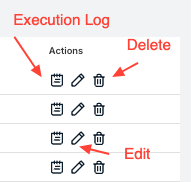
Use the Actions menu to view the Execution Log, Edit the report, or Delete the report schedule.
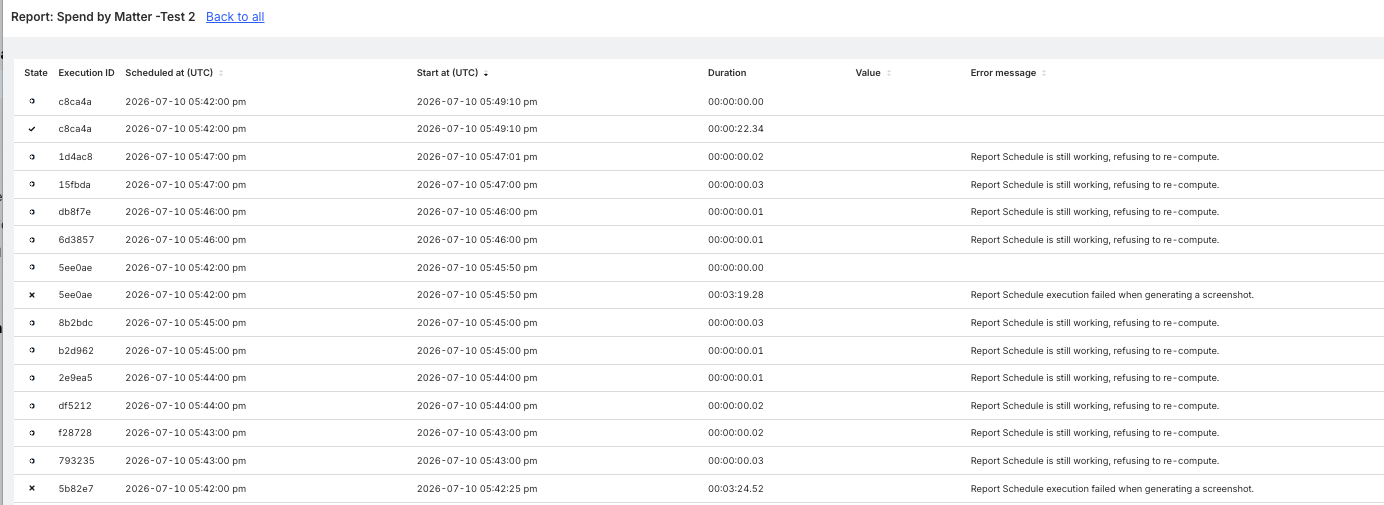
The Execution Log shows the State, Execution ID, Scheduled at and Start at times, Duration, Value, and Error Message.
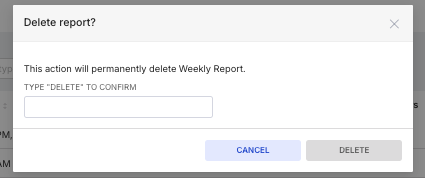
If you click the Delete button, this message will appear; type DELETE to confirm the report.
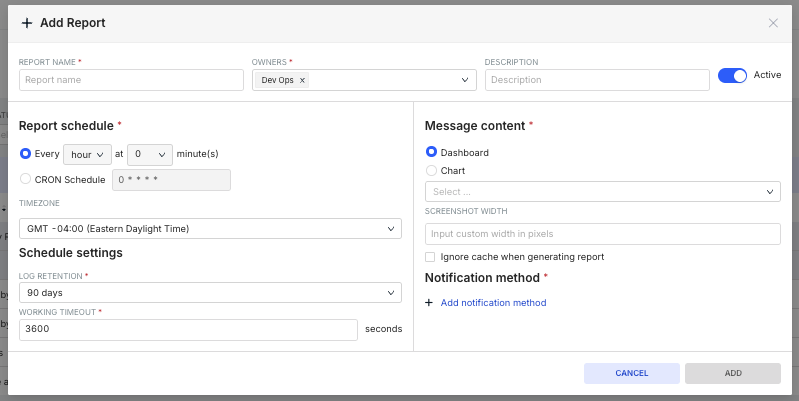
Clicking Edit will bring up the screen detailed below when creating a report.
- Click "+Report" to create a new report schedule.
You'll have to fill out the:
- Report Name
- Owners
- Description (optional)
- Active / Inactive toggle
- Report Schedule: You can choose a specific time or fill out a CRON schedule, along with a Timezone from a drop-down menu. Note that the minimum schedule is 24 hours.
- Schedule Settings: You'll have to specify the Log Retention (30, 60, 90 days or None) and the Working Timeout, in seconds
- Message Content: Choose either a Dashboard or a Chart and select the dashboard or chart from a drop-down menu; you can also specify the Screenshot Width and choose if you want to Ignore cache when generating report by clicking the checkbox (this forces a fresh pull at report generation time).
- Notification method: Click + Add notification method to add a notification method.
Click Add to add the report or Cancel to back out.
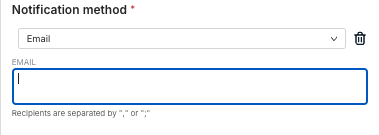
If you select the Email notification method, fill out the emails separated by a comma. Email recipients must exist in Unity, meaning reports cannot be sent outside the organization or to personal emails.
You'll see the new report schedule appear in the Reports directory.