If a vendor cannot submit an invoice via Counsel Exchange, a Filtered user or Admin can manually upload it in Unity. Here's how to do that:
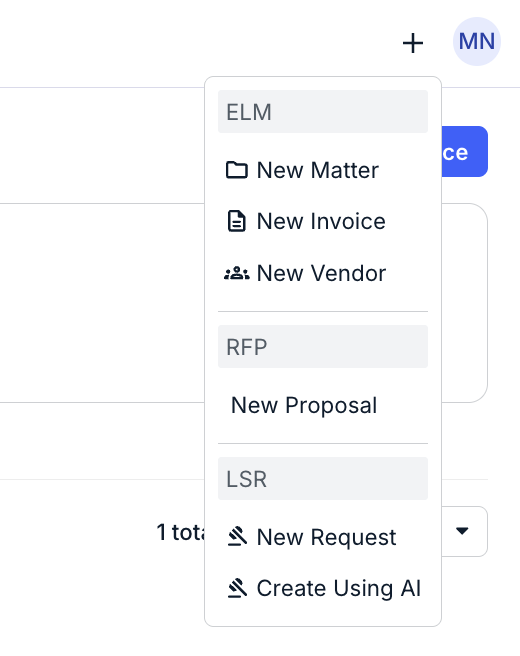
1. Go to the quick-add menu (+) in the top navigation bar and select New Manual Invoice.
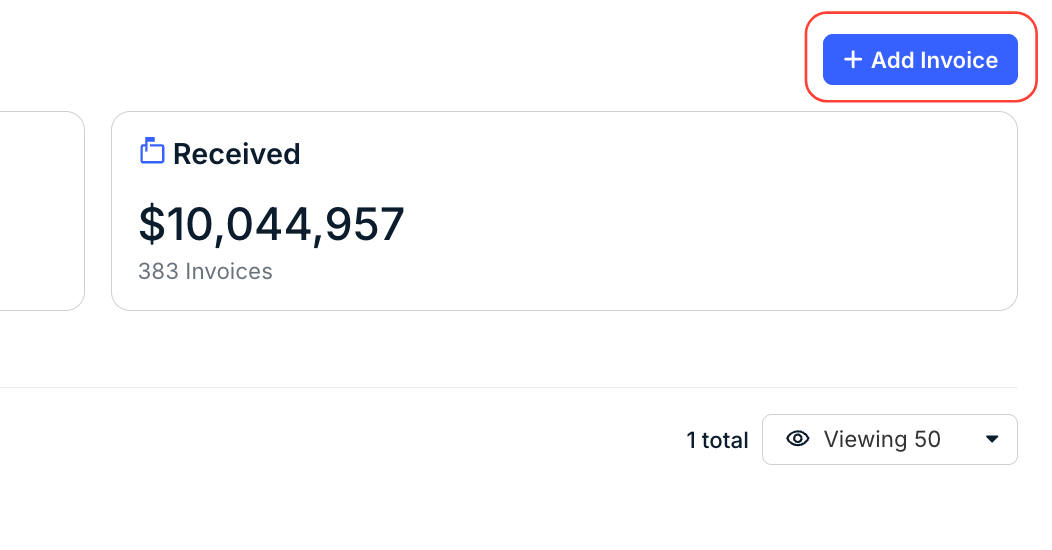
You can also add an invoice directly from the Invoices screen by clicking Add Invoice.
2. Select the Vendor and Matter from the dropdown lists. Only matters assigned to the selected vendor are displayed.
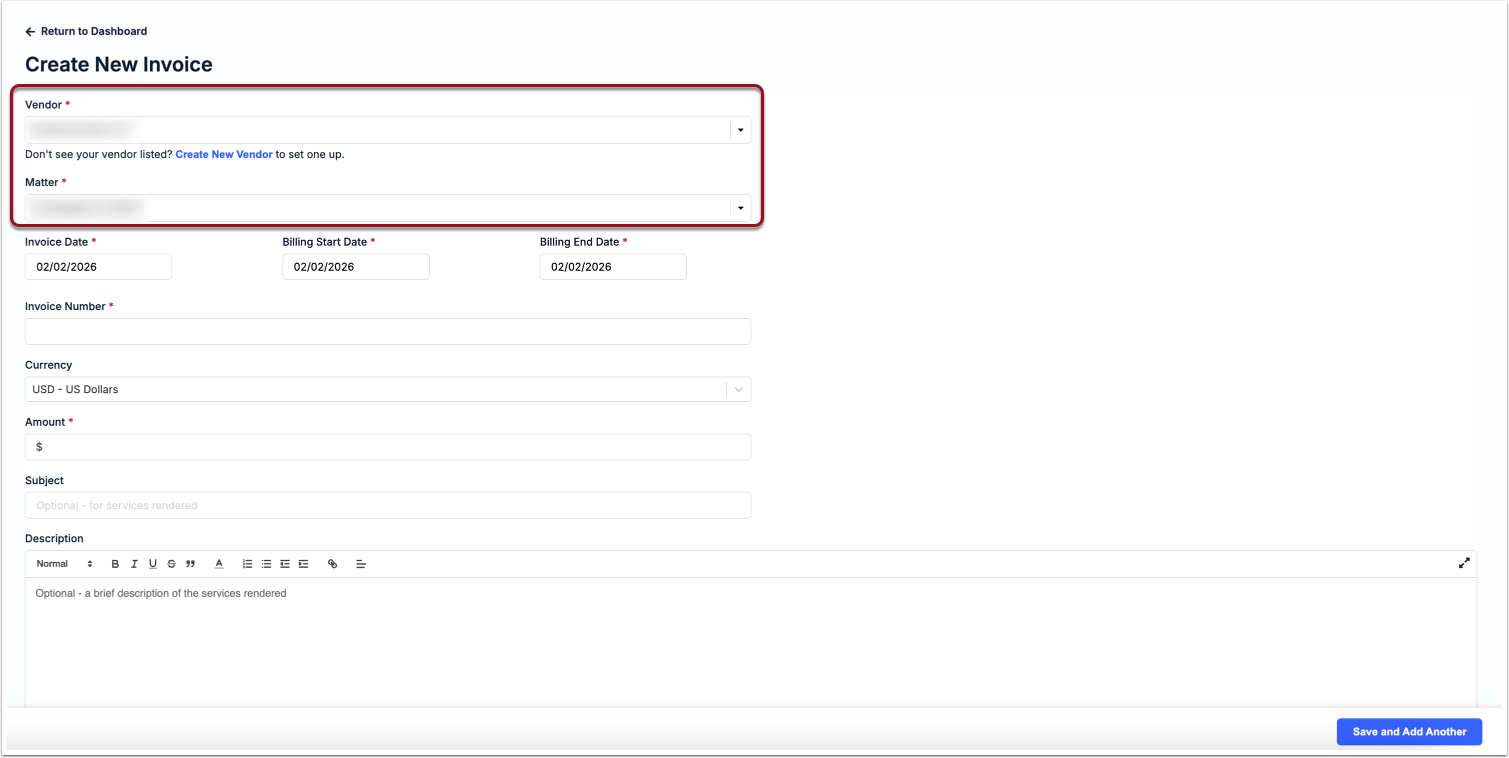
3. Fill in the remaining optional/required fields (see below):
- Invoice Date (required): Select the date the invoice is being created/submitted.
- Billing Start Date (required): Select the date for the beginning of the invoice billing period.
- Billing End Date (required): Select the last day of the invoice billing period.
- Invoice Number (required): Enter a unique number for identification purposes.
- Currency: Change if needed; auto-populates system default currency.
- Amount (required): Enter the total amount being billed by the vendor in 00 or 00.00 format.
- Subject (optional): Enter a brief line about the scope of work or expenses.
- Description (optional): Enter a summary or brief description of the work being billed to provide additional context.
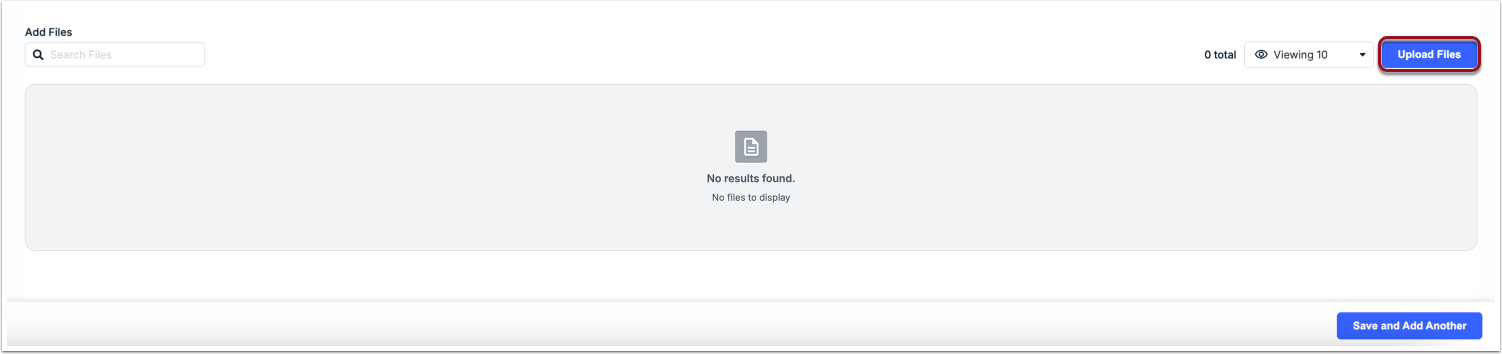
4. Click Upload Files to add any attachments (optional).
5. Click Save and Add Another in the bottom-right corner.
The invoice will be added to the Received tab under the Invoices list. From the invoice details page, you can view the details or take other actions, such as approving or rejecting the invoice (if applicable), reviewing or updating the default assigned reviewers, and adding comments.
For more information, click here.