Using the Address Book
The Address Book contains a directory of all essential contacts for your organization. To open the book, click on the Address Book link on the left-hand navigation bar.
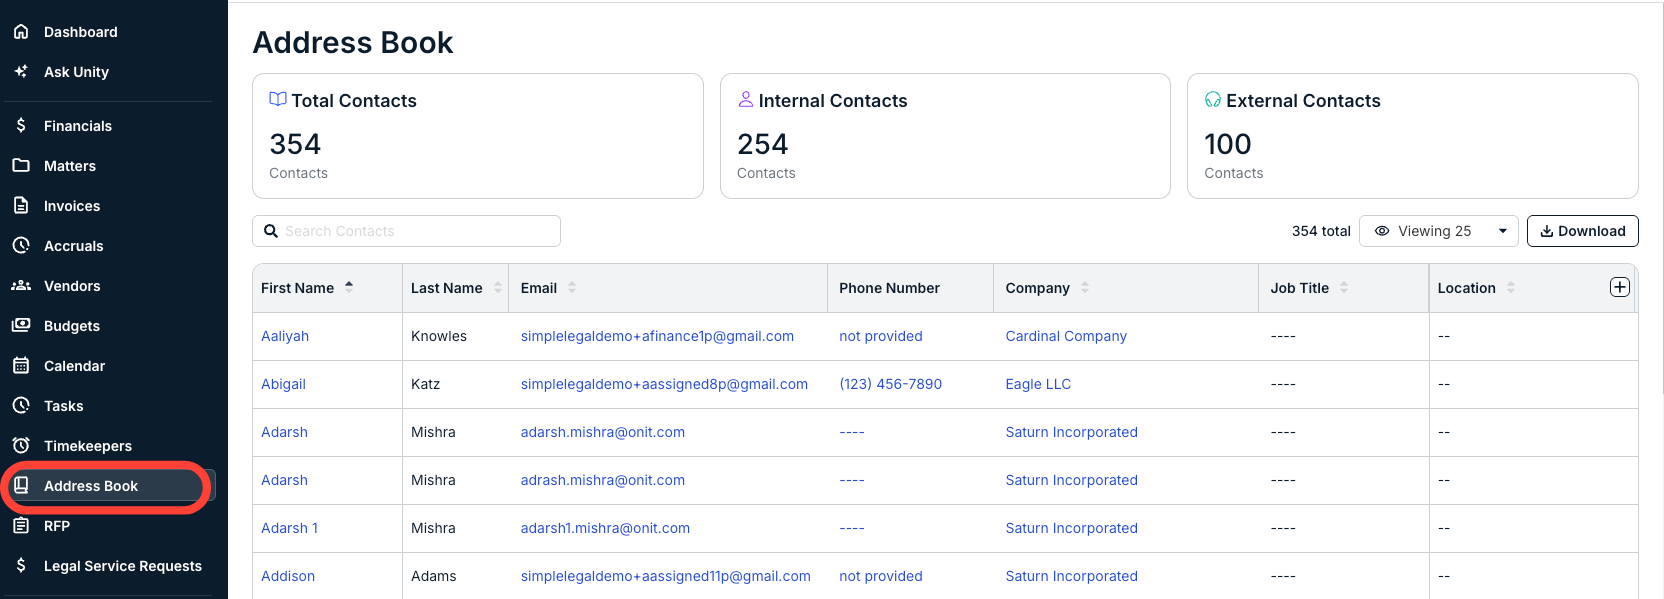
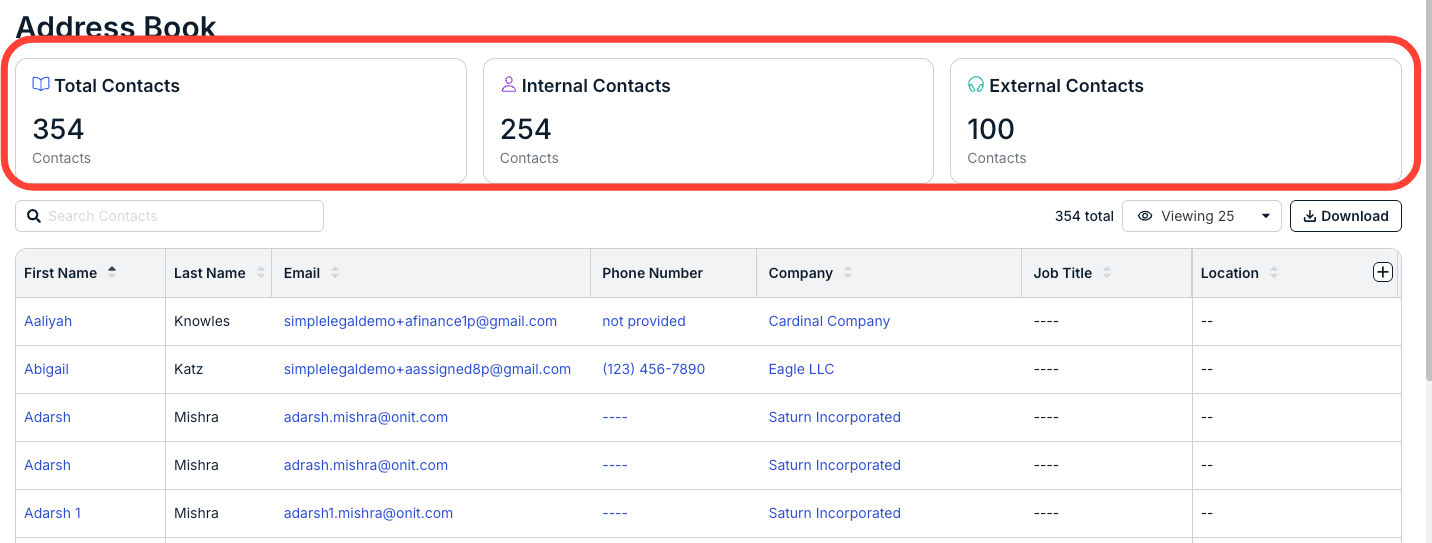
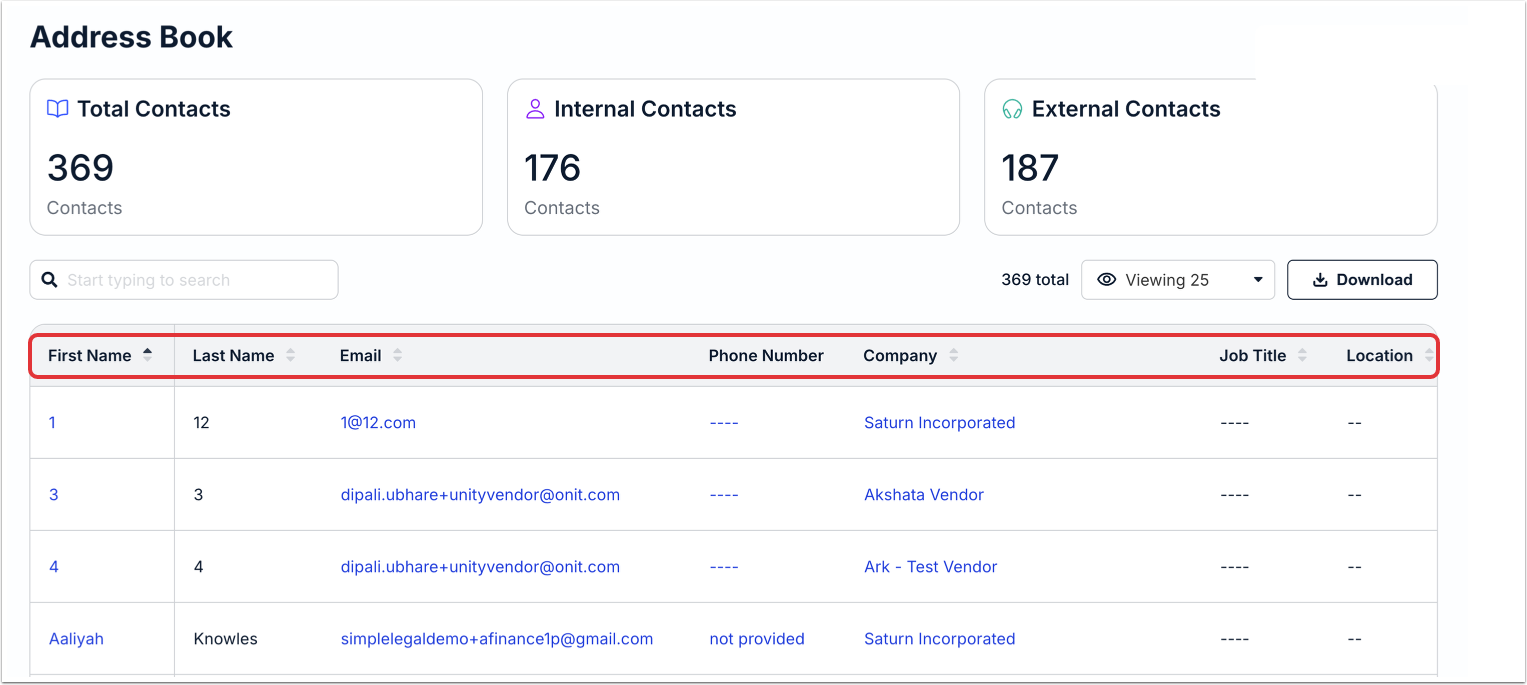
On the top of the screen, you'll see a section detailing the number of Total Contacts, Internal Contacts, and External Contacts.
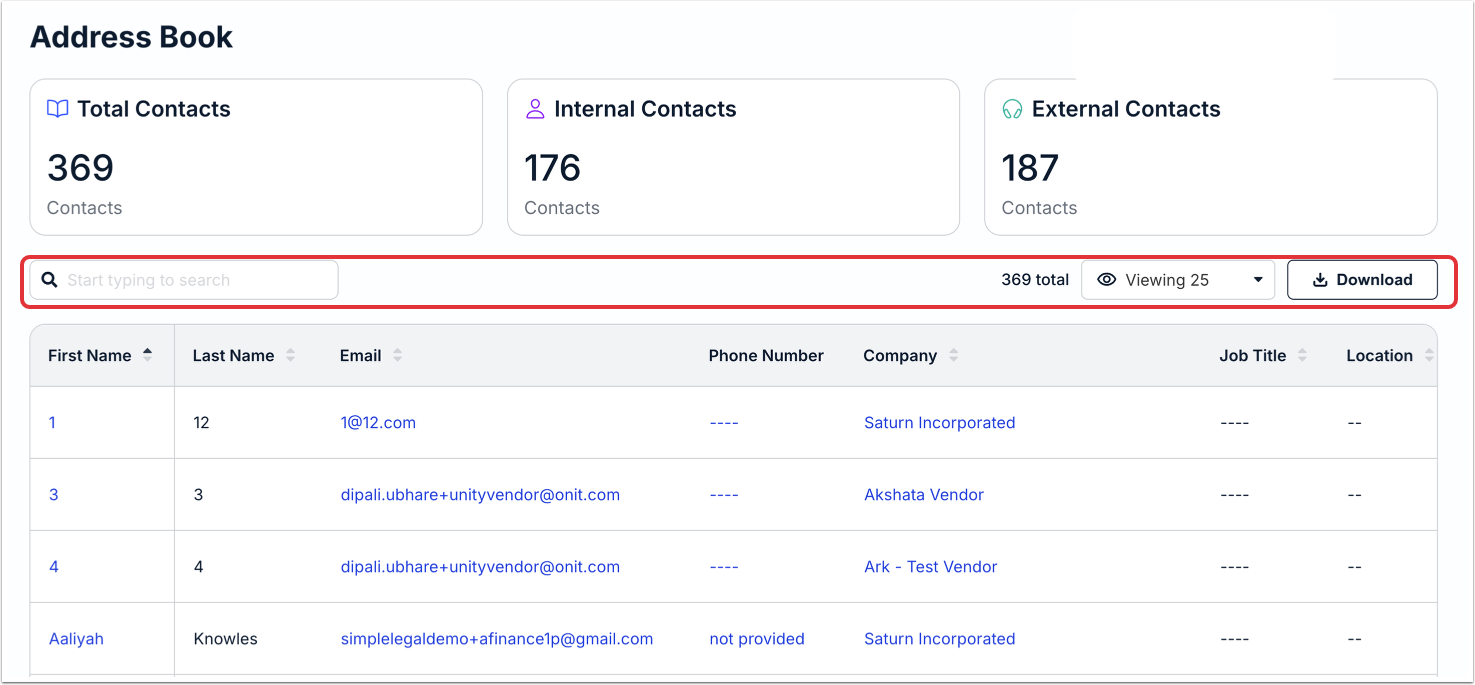
Below that section, you'll see a Search Bar that allows you to search directly for a contact. Additionally, you'll see a drop-down menu that allows you to display the number of contacts per page, as well as a Download option that enables you to download the information in CSV format.
The main Contacts section displays the contact:
- First Name (with links to their main contact pages)
- Last Name
- Phone Number
- Company
- Job Title
- Location
Editing / Managing Contacts
Click on the link on the contact's First Name to go directly to their Contact page. The Contact page is divided into five tabs:
- Overview
- Pending Invoices
- Contact Affiliations
- Calendar Management
- Settings
We'll go through these tabs here.
Overview
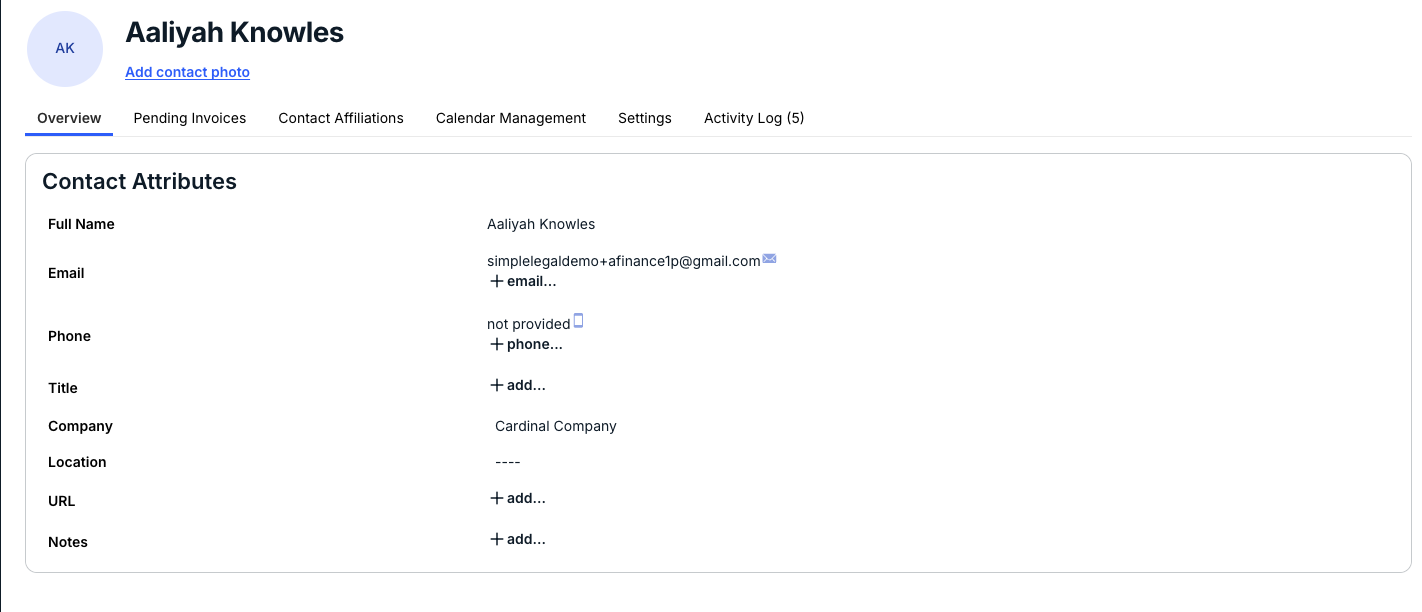
The Overview tab delivers key information about the contact, including:
- Contact Name (click on Add contact photo to add a photo to their contact information)
- Contract Attributes, including Full Name, Email, Phone, Title, Company, Location, URL, and Notes. Click on +add to add more information or the edit (pencil) icon to edit the existing information.
Pending Invoices
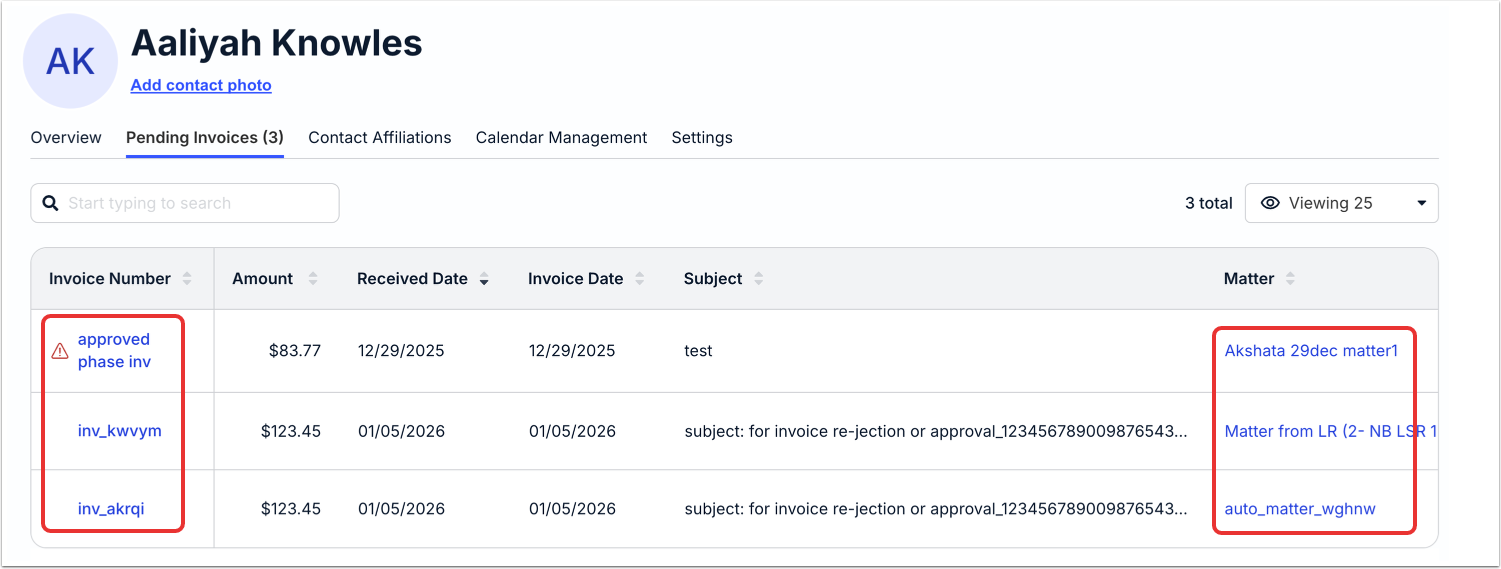
The Pending Invoices tab will show all pending invoices the contact is associated with. Use the search bar to search for different invoices; you can also use the drop-down menu to display the number of associated matters on the page.
The main page of the Pending Invoices tab will show the Invoice Number, Amount, Received Date, Subject, and Matter associated with the contact. Use the up/down arrows next to each column to sort by that column. Click on the link in the Invoice Number section or the Matter section to go directly to that link.
Contact Affiliations
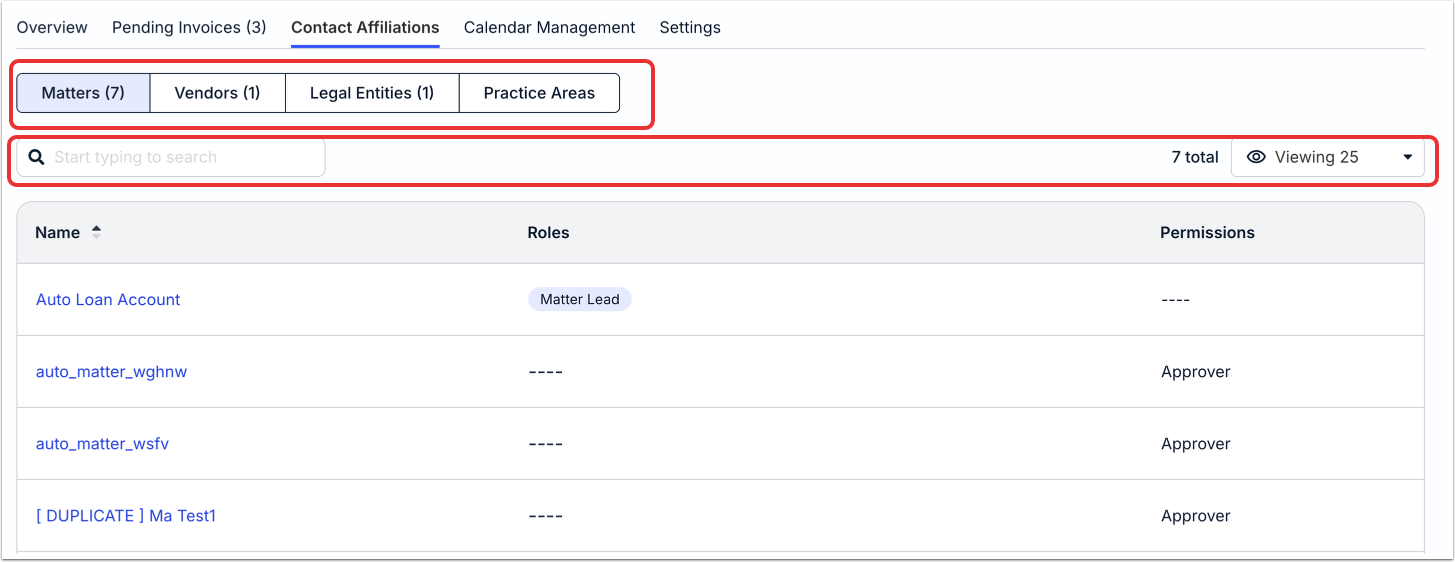
Associated matters are shown by default. Use the menu within Contact Affiliations to view which Matters, Vendors, Legal Entities, and Practice Areas the user is associated with (if applicable). To open a corresponding record (e.g., matter, vendor, etc.), click on the hyperlinked name.
The Matters tab displays the matter Name, associated Roles, and Permissions. Use the search bar to search for different matters; you can also use the drop-down menu to display the number of associated matters on the page. Use the up/down arrows next to each column to sort by that column.
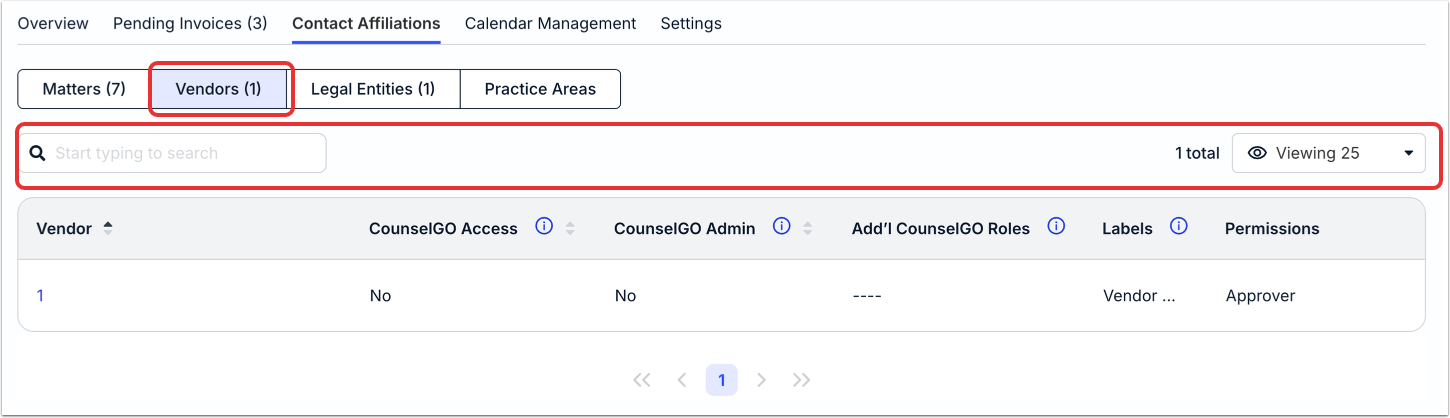
The Vendors tab displays the vendor Name, Counsel Exchange Access, Counsel Exchange Admin, Additional Counsel Exchange Roles, Labels, and Permissions. Use the search bar to search for different matters; you can also use the drop-down menu to display the number of associated matters on the page. Use the up/down arrows next to each column to sort by that column.
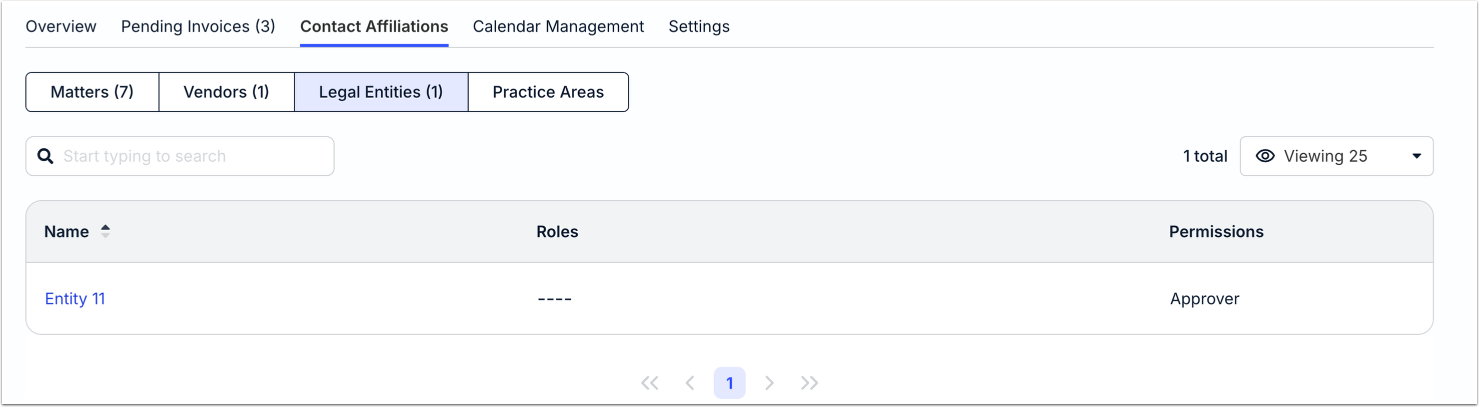
The Legal Entities tab displays the entity Name, Roles, and Permissions. Use the search bar to search for different matters; you can also use the drop-down menu to display the number of associated matters on the page. Use the up/down arrows next to each column to sort by that column.
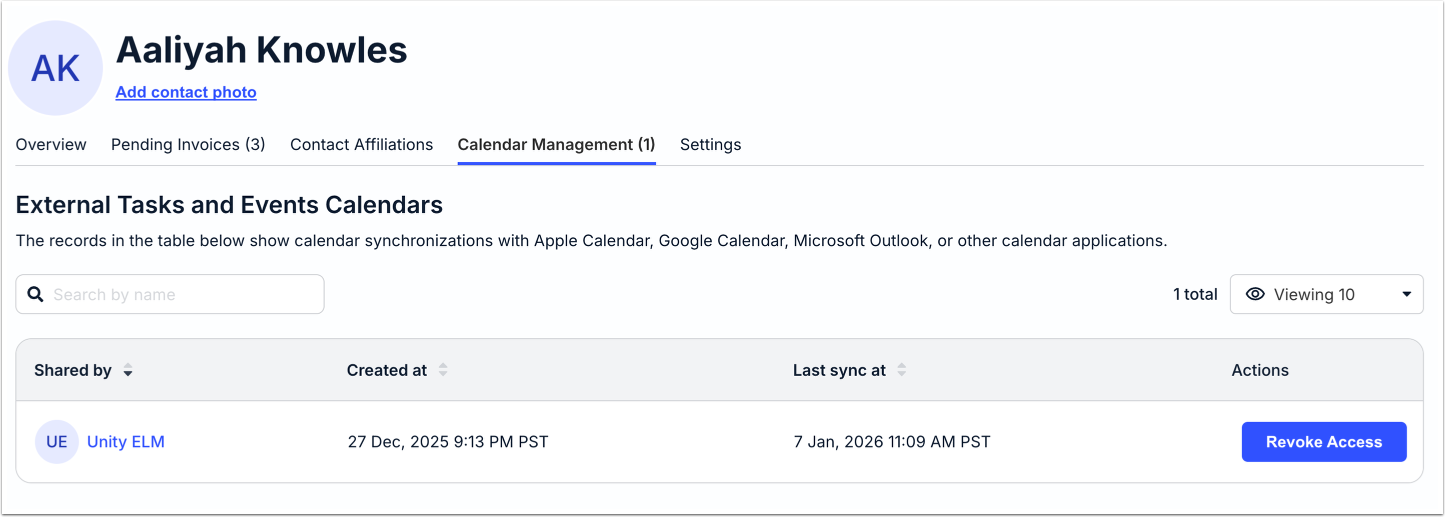
Calendar Management
Use the Calendar Management section to view calendar synchronizations with Apple Calendar, Google Calendar, Microsoft Outlook, or other calendar applications. Use the search bar to search for different tasks and events calendars; you can also use the drop-down menu to display the number of associated tasks and event calendars on the page. Use the up/down arrows next to each column to sort by that column.
The main screen will display a Shared by name, the Created at time, the Last sync at time, and the option to Revoke Access under Actions.
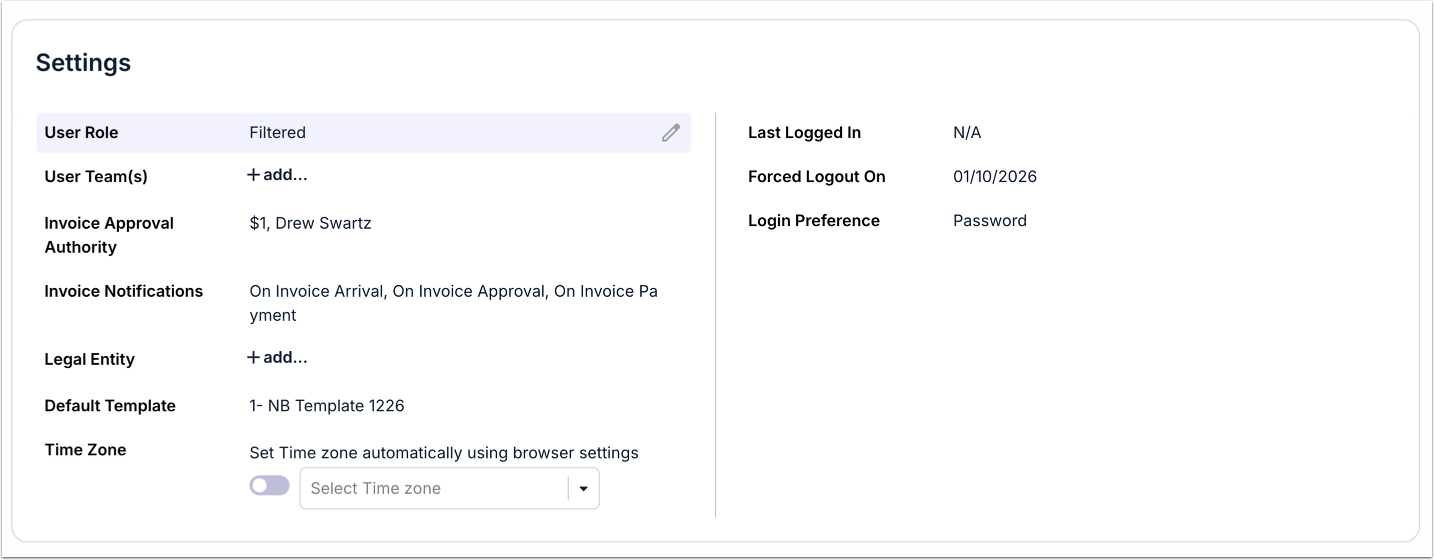
Settings
Under Settings, you'll be able to tweak some of the important contact settings. Click on the Edit (pencil) or +add buttons to edit or add:
- User Role
- User Team(s)
- Invoice Approval Authority
- Invoice Notifications
- Legal Entity
- Default Template
- Time Zone (select from the drop-down menu or toggle to set automatically)
You can also see the Last Logged In, Forced Logout On, and Login Preference information.
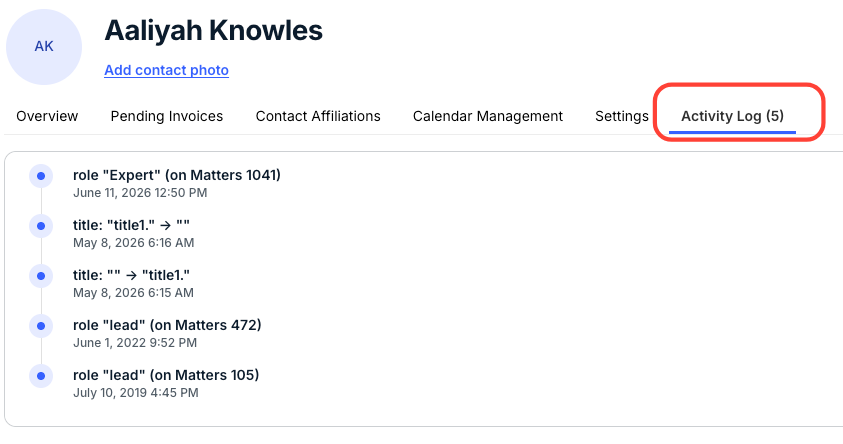
Activity Log
Click on Activity Log to see a quick summary of the user's recent activity.
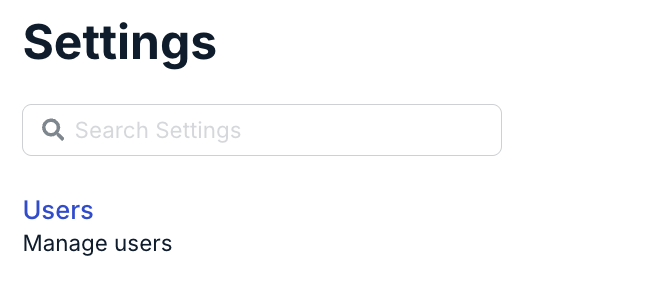
Managing Users
To deactivate users, go to the Settings section and open up Users.
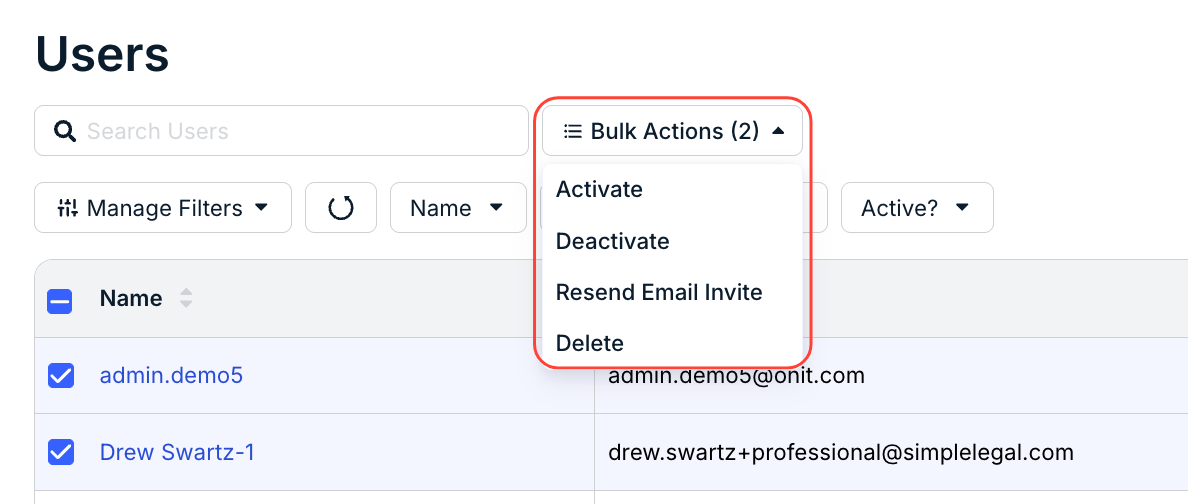
Here, you can Deactivate or Delete users from the three-button Actions menu.
NOTE: Use the Delete button to delete users that have errors or typos in their creation or should just be permanently removed from the system; use the Deactivate button to remove users that are just not active any longer.
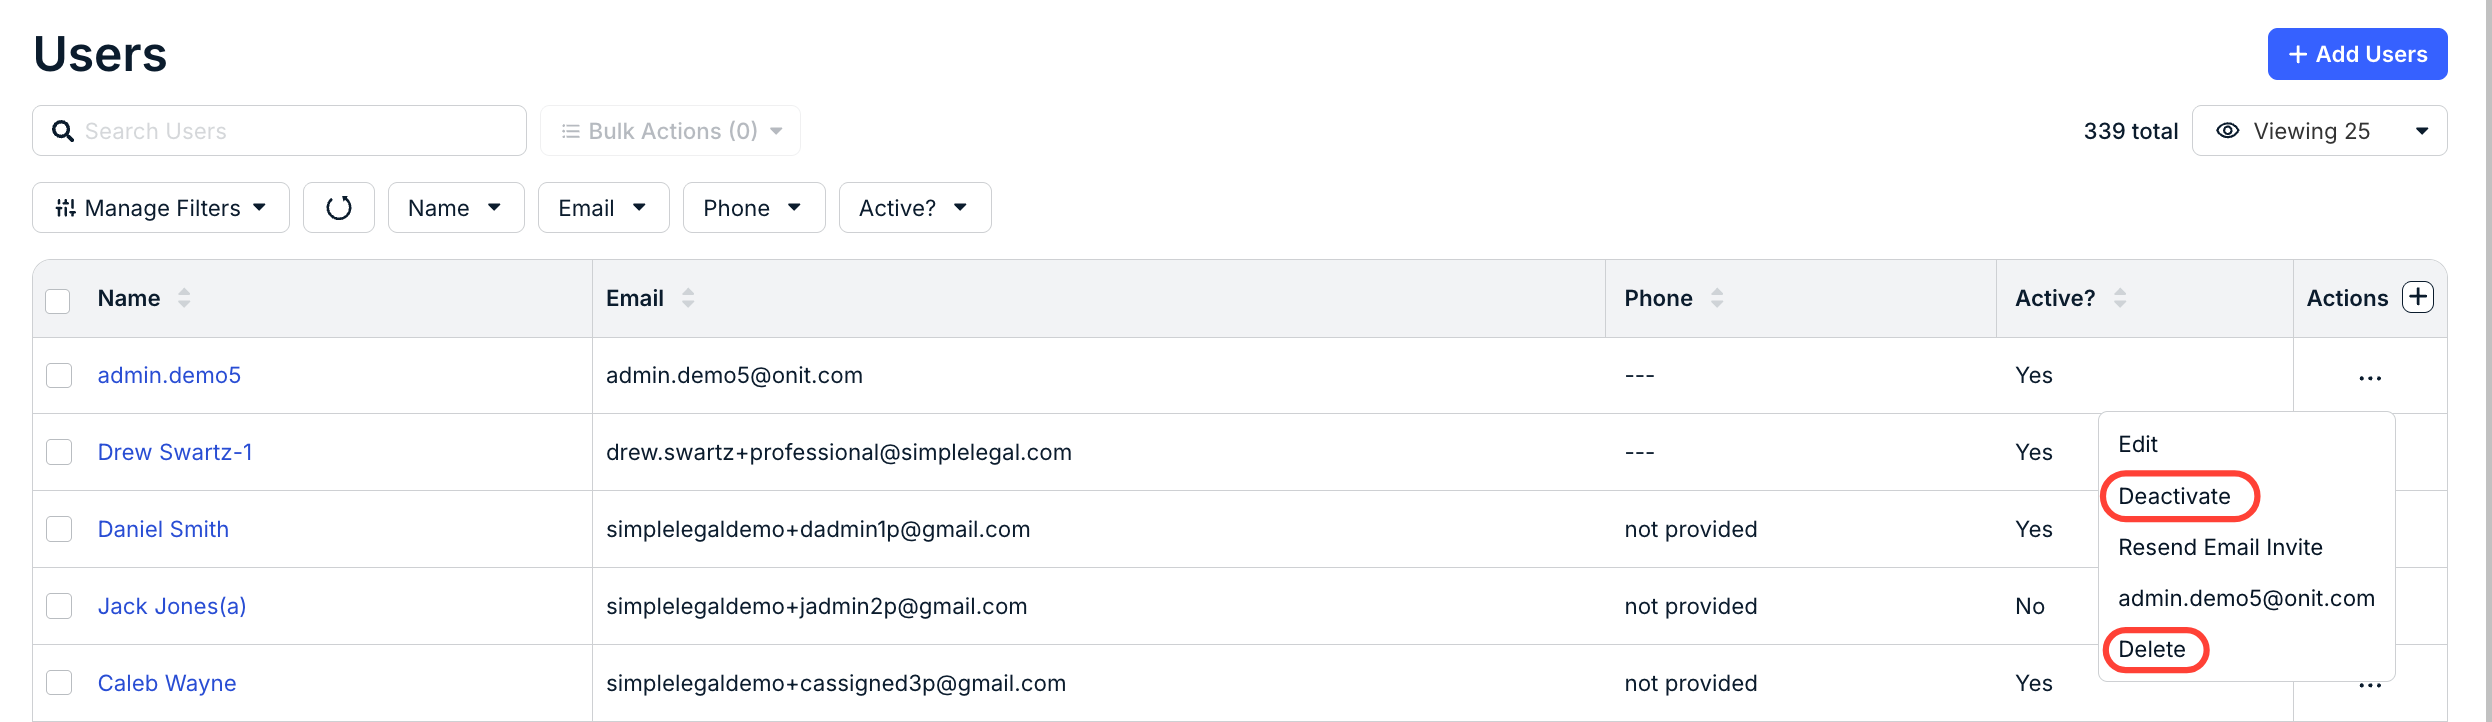
You can also use the Bulk Actions menu and the check boxes on the left-hand side of the screen to deactivate/activate or delete users in bulk.