Unity's Document Management System (DMS) provides a way for your legal department to store your files in the same system with your matters. The system has all the important document features needed by a legal department, such as folder organization, document previewing, file versioning, and full-text search. Content searches support common file types, such as .doc, .docx, .xlsx, .pptx, .pdf, or .rtf.
This article covers the Settings > Document Settings menu, which is used to manage the following:
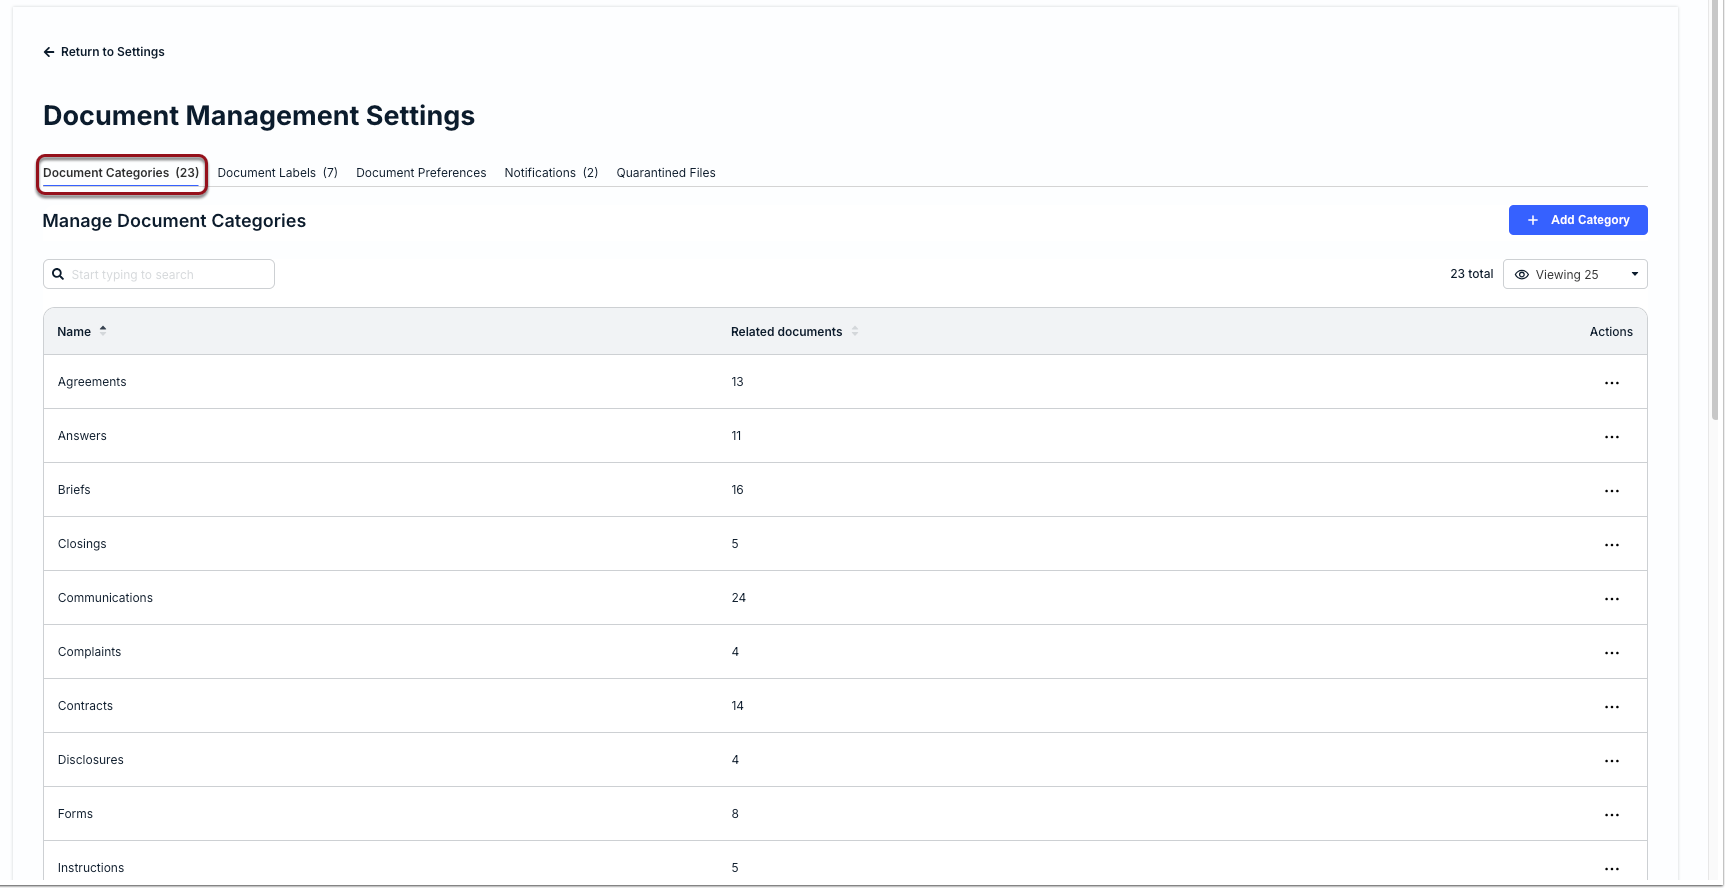
Document Categories
Unity includes various built-in categories to tag matter files with single words or short phrases that help with quickly identifying a document's purpose (e.g., disclosure) and searching for documents. Admins can further manage document categories and create custom categories by going to Document Settings > Document Categories.
Adding a Custom Document Category
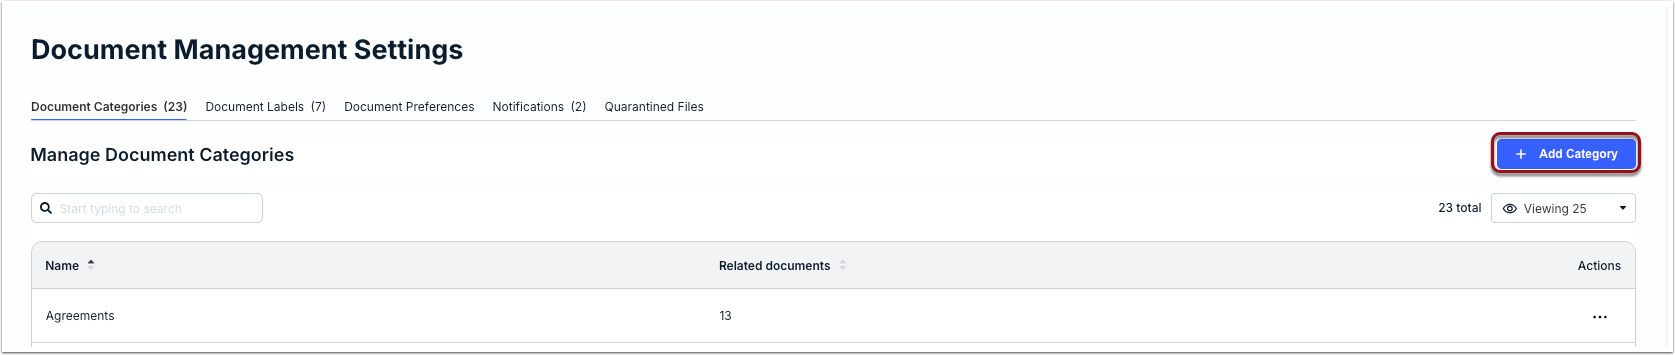
1. Click + Add Category in the top-right corner.
2. Enter a descriptive category name of up to 50 characters and click Save.
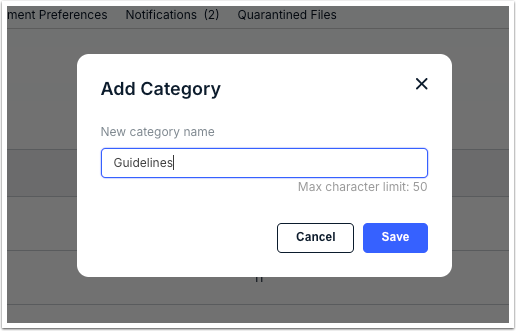
Category names must be unique; duplicate names will cause an error message
Renaming or Editing a Category
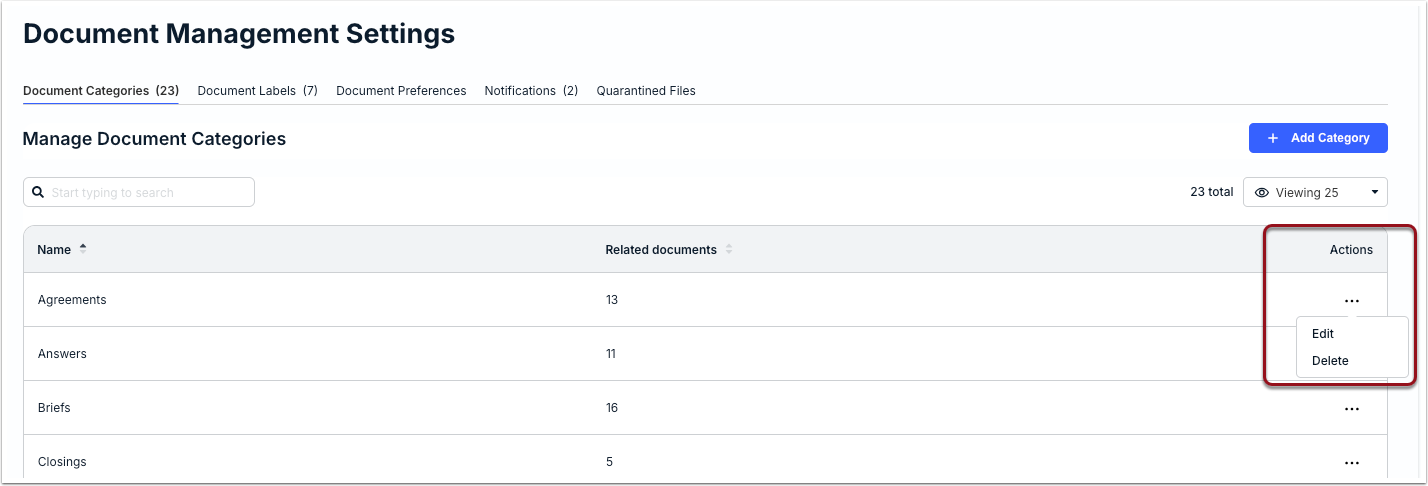
1. Find the category on the list, click the ... (more) option under the Actions column, and select Edit.
2. Update the name and click Save.
Once saved, the updated category name will be reflected on existing and new related matter documents.
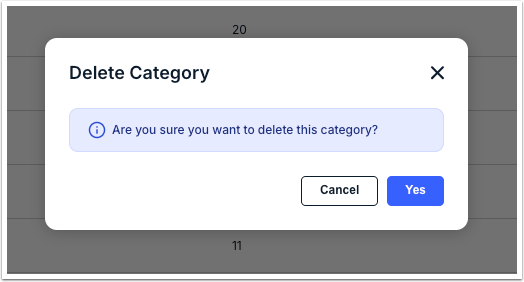
Deleting a Category
Categories can only be deleted if there are no related documents attached to it. Before moving forward, make sure to reassign the documents to other categories. If there are a lot of related documents, you may want to consider renaming the category instead.
1. Find the category on the list and confirm the Related documents column displays ----.
2. Click on the ... (more) option under the Actions column and select Delete.

3. Click Yes when prompted to confirm.
Built-In Categories
The default categories built into Unity are listed below in alphabetical order:
- Agreements
- Answers
- Briefs
- Closings
- Communications
- Complaints
- Contracts
- Disclosures
- Forms
- Instructions
- Letters
- Motions
- Offers
- Opinions
- Orders
- Pleadings
- Precedents
- Reports
- Research
- Resolutions
- Rules
- Statements
- Statutes
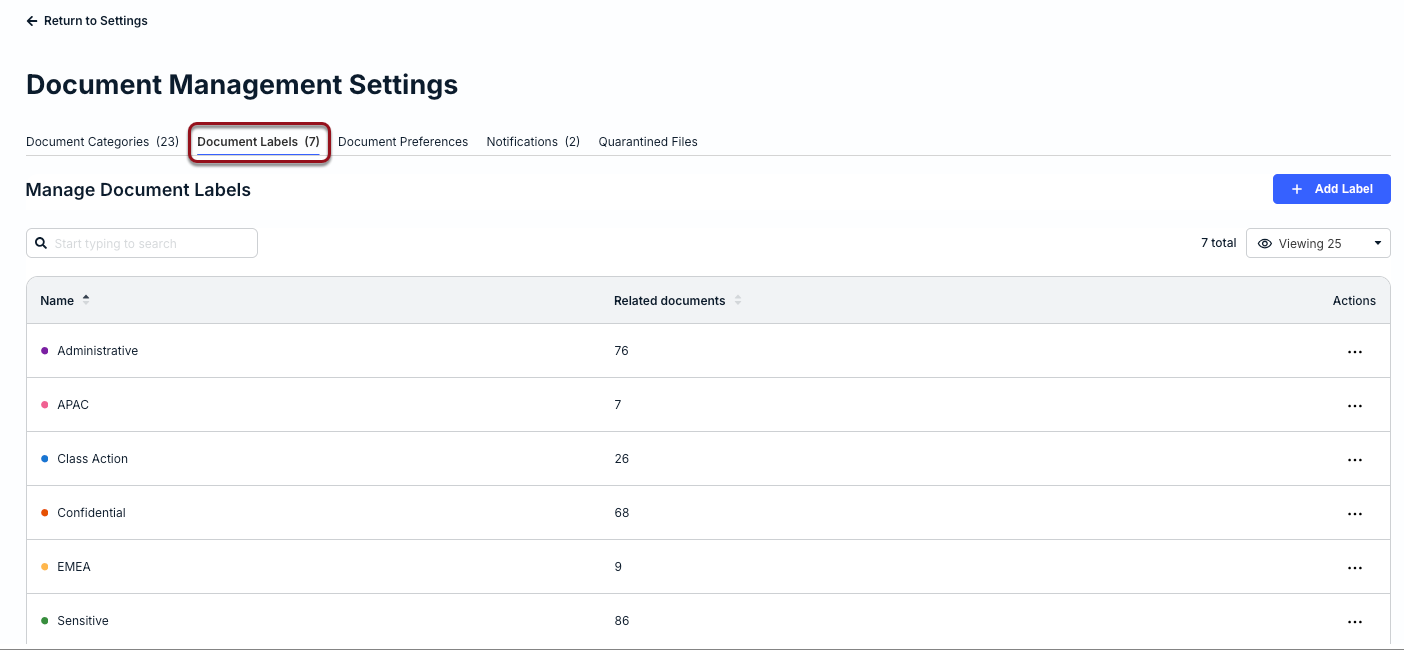
Document Labels
Labels are an additional way to group and categorize documents associated with matters in Unity. These are color-coded tags made up of single words or short phrases, such as "Time Sensitive" or "Classified," that help with identifying document types and searching for matter files. Assigning categories and/or labels to documents is optional.
Document labels can be customized and further managed by going to Settings > Document Settings > Document Labels.
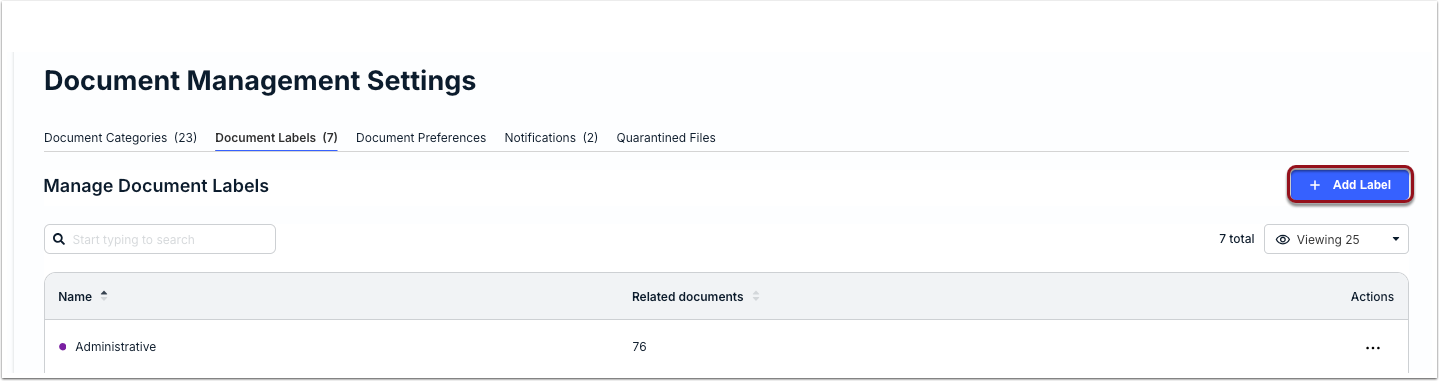
Adding a Custom Document Label
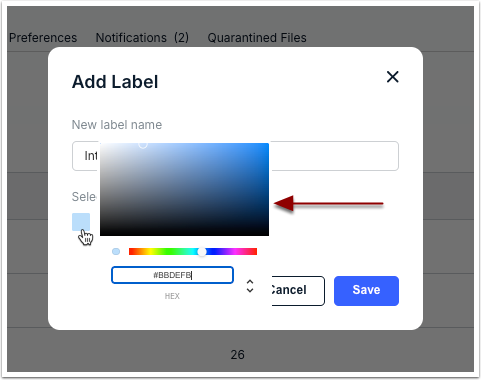
Label colors are used as a secondary marker for document searching and tagging. By default, the same color is set when creating a new label unless otherwise changed per the steps below. You can also change the color at any time by editing the label.
1. Click + Add Label in the top-right corner.
2. Enter a descriptive label name of up to 50 characters.
3. Click under Select label color to change the default color (optional).
4. Click Save.
Editing a Document Label & Color
1. Find the label on the list, click the ... (more) option under the Actions column, and select Edit.
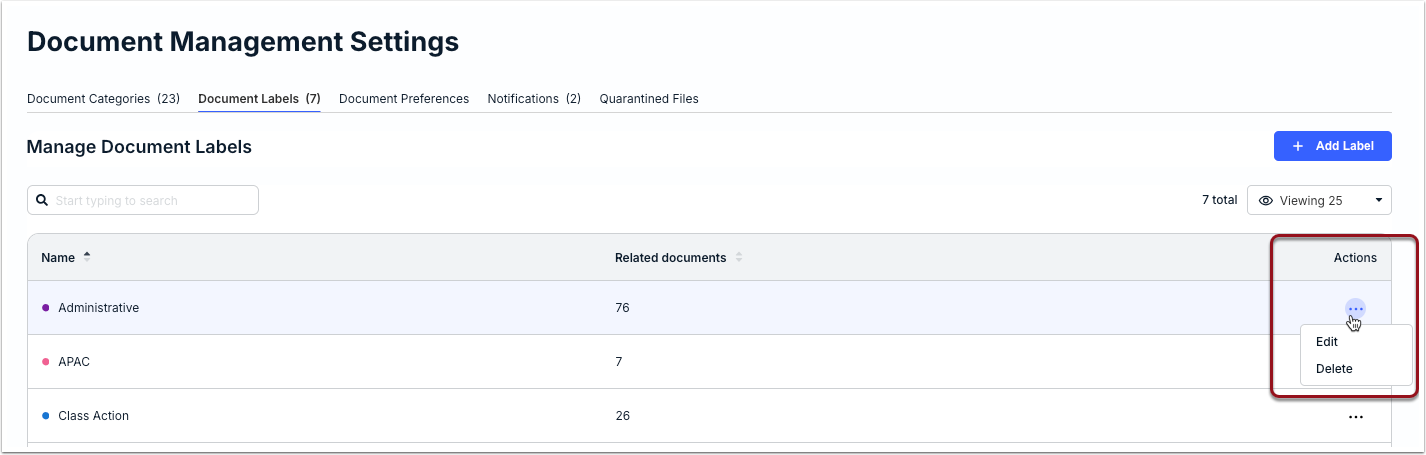
2. Change the name and/or select a different label color, and then click Save.
Once saved, the label name and/or color will be updated for any related documents.
Deleting a Document Label
Labels can only be deleted if there are no related documents attached to it. Before moving forward, make sure to change the labels on related documents, if applicable. If there are a lot of related documents, you may want to consider renaming the label instead.
1. Find the label on the list and confirm the Related documents column displays ----.
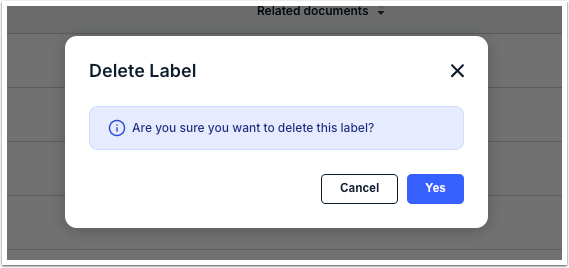
2. Click on the ... (more) option under the Actions column and select Delete.
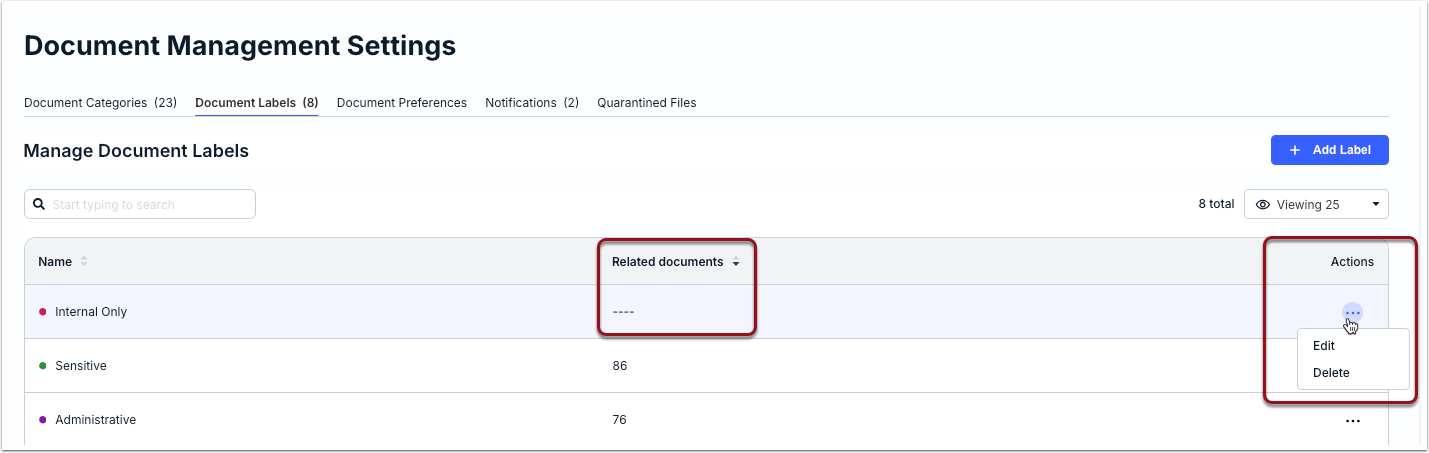
3. Click Yes when prompted to confirm.
Document Preferences
Go to Settings > Document Settings > Document Preferences to manage the following:
- Enable or disable the document preview option
- Enable or disable matter file sharing to and from vendors

About Document Preview
Customers using our built-in DMS can enable document previews via Google for the following supported file extensions: .pdf, .doc, .docx, .xls, .xlsx, .ppt, and .pptx. This option can be enabled or disabled by admins.
When users click on a supported file, it will direct them to Google's preview version at https://docs.google.com with a secured download link.
About Matter File Sharing
Matter File Sharing allows customers and outside counsel to share files between them via Unity and the Vendor Portal for specific matters. This provides a secure and efficient way to collaborate on matters without requiring the use of outdated methods and email clutter.
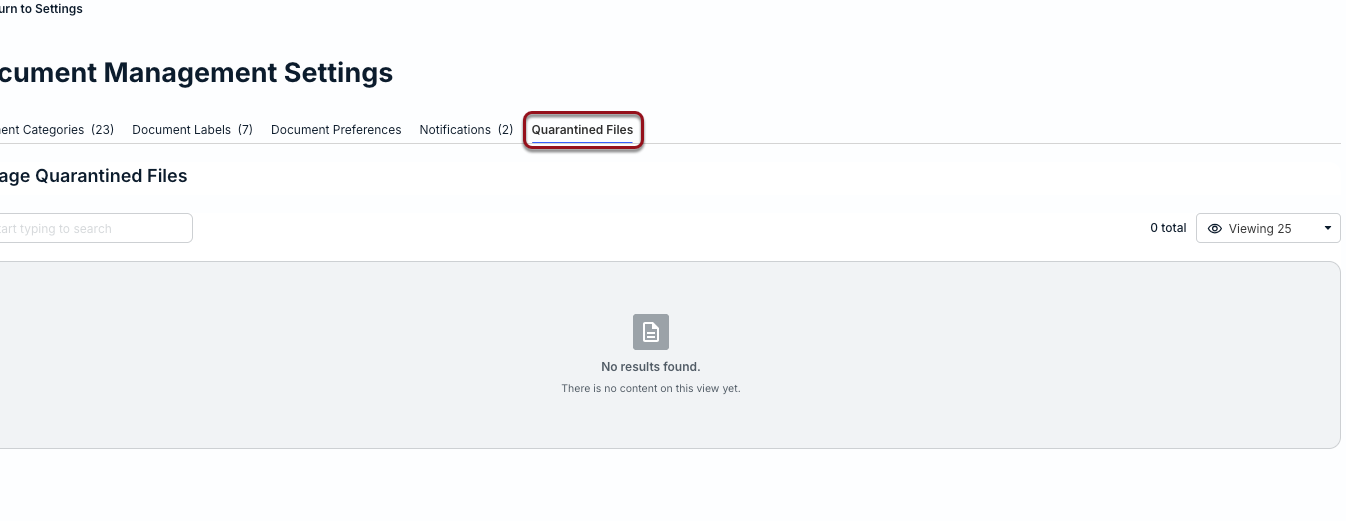
Quarantined Files and Admin Notifications
All new matter files uploaded by users go through a virus scan before they can be viewed, downloaded, or shared. Files that do not pass the virus scan are flagged as potentially malicious and quarantined so that they cannot be opened, downloaded, or shared by users.
Admins, however, can view the list of quarantined files and remove them by going to Settings > Document Settings > Quarantined Files. Quarantined files can be deleted but cannot be opened or downloaded from this page.
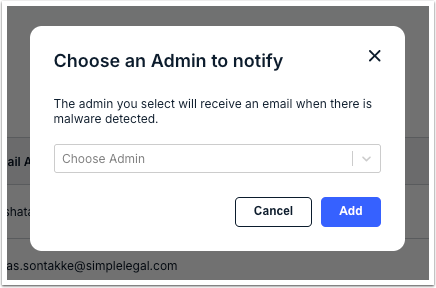
By default, only the user who uploaded the file is notified that there was an issue with the virus scan. Follow the steps below to automatically notify one or more Unity admins of any new quarantined files.
1. Switch to the Notifications tab from Settings > Document Settings.
2. Click + Add Admin in the top-right corner.
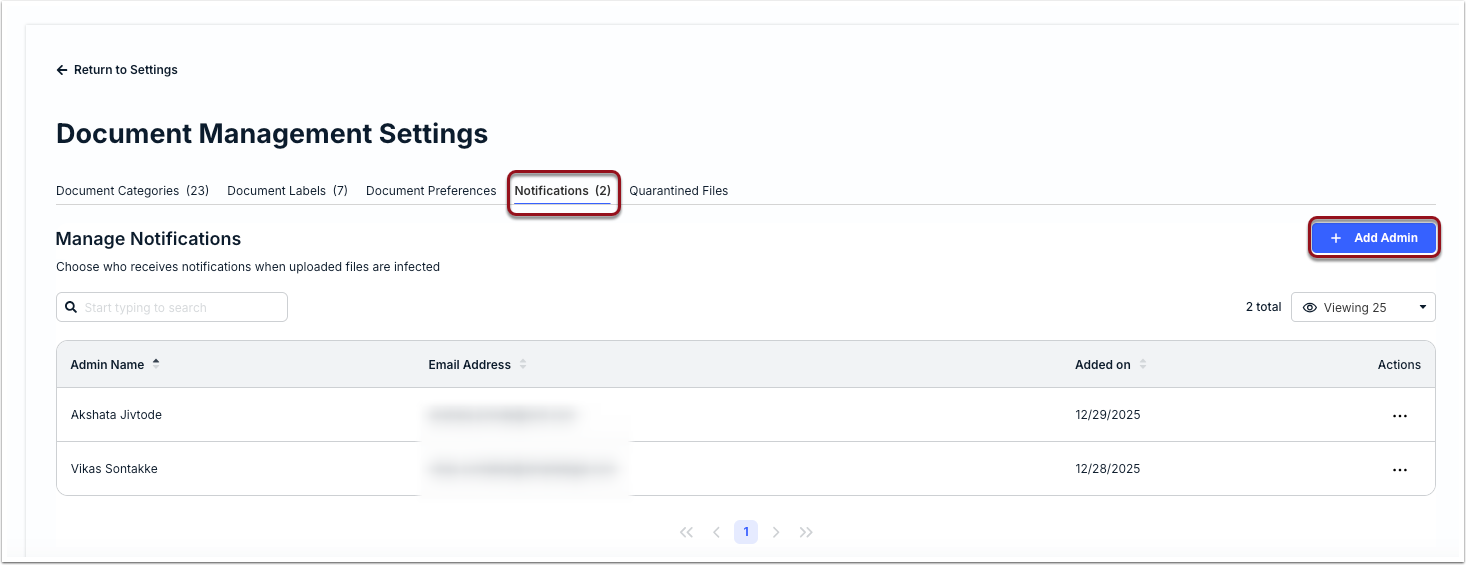
3. Select the admin from the dropdown list and click Add.
4. Repeat steps 1-3 to notify additional admins.
To stop the automated notifications from going to an admin, click on the ... (more) option under the Actions column and select Delete. Click Delete when prompted to confirm.