An invoice submitted by a vendor appears in Unity for review and approval. Invoices can be found and opened in several ways, including using the Invoices List page or going to the Invoices tab in vendor records and/or matter records. This article covers the details page for individual invoice records and the actions that can be taken by reviewers or admins, including how to make adjustments and assign reviewers.
Each invoice details page is separated into the following tabs, sections, and menus:
- Information & Amount Tiles
- Invoice Actions
- Reviewers
- Overview
- Invoice Verification
- Insights
- Allocations
- Our Files
- Comments
- Notes
- Activity
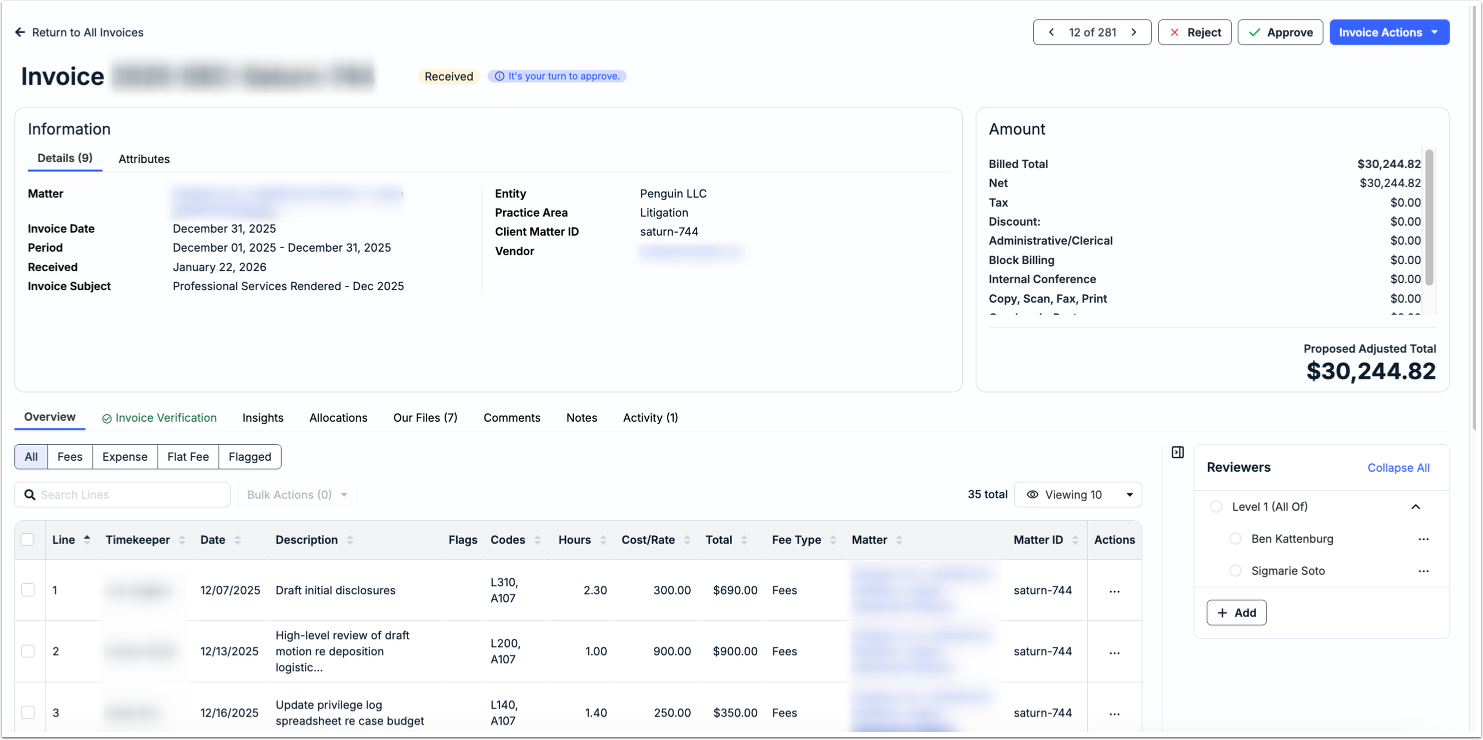
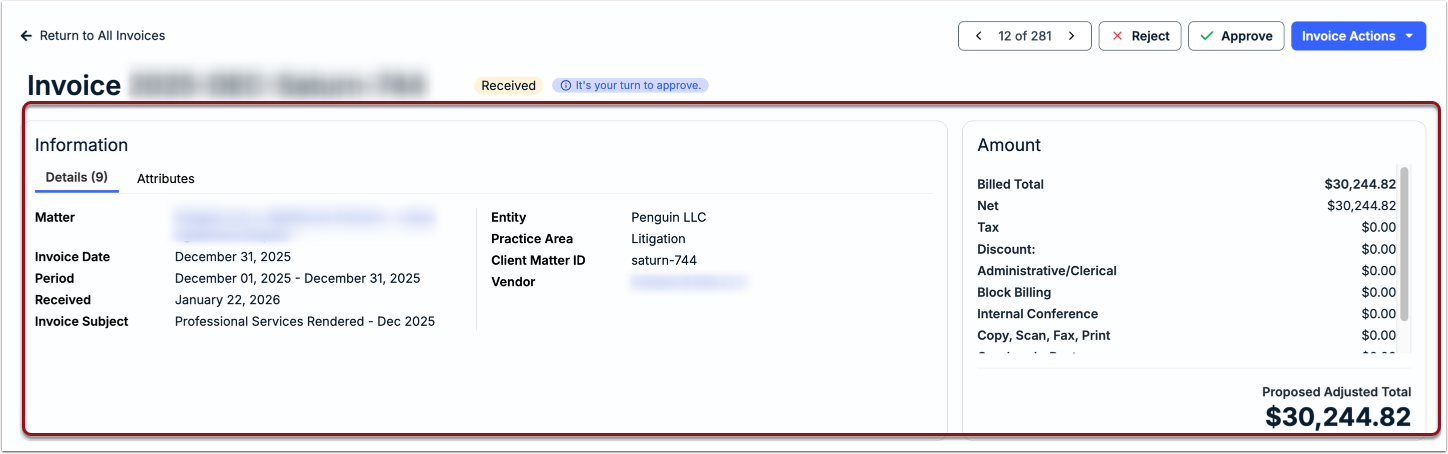
Information and Amount Tiles
The two tiles at the top of the invoice record display general information, including the associated matter and vendor, the billed total, relevant dates, and designated attributes (e.g., Legal Entity, Practice Area). To see any custom attribute fields or assigned PO number (if applicable), switch to the Attributes tab.
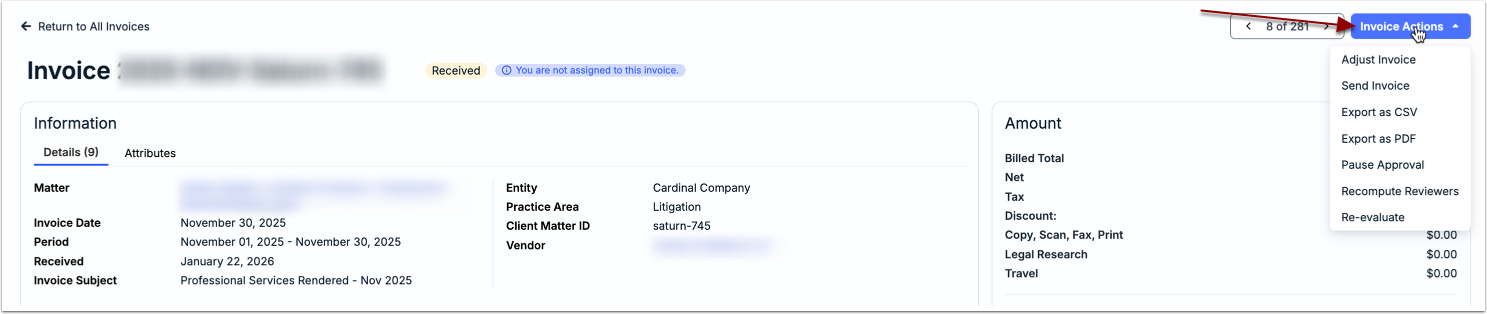
Invoice Actions
Click the Invoice Actions button in the top-right corner of an invoice's details page to apply the options described below. Which options are available depend on your role, the invoice's status, and whether certain features and/or settings are enabled.
- Adjust Invoice: Make adjustments to the total of an invoice; click here for instructions.
- Send Invoice: Email the invoice details to internal users or vendor contacts. From the email modal, you can modify the subject line, add more details or comments in the body of the email, and choose to attach a PDF copy and/or any associated attachments.
- Export as CSV: Download an invoice in any status as a CSV file.
- Export as Excel: Download an invoice in any status as an Excel file.
- Pause Approval: Change the status from Received to On Hold if further investigation or research is required.
- Resume Approval: Change the status from On Hold to Received.
- Revert to Received: Only appears for invoices in the following statuses: Approved, Sent to AP, or Paid.
- Mark Sent to AP OR Mark Paid: Manually change from Approved to Paid or Sent to AP statuses.
- Undo Autorejection: Move an invoice from Rejected to Received if it was automatically rejected due to billing guidelines.
- Recompute Reviewers: Only applies if Invoice Review Rules are active and have recently been updated.
- Re-evaluate: Only applies if your organization is using Onit's Spend Agent for AI-driven validation and flagging. This option prompts Spend Agent to rerun the validation check on the invoice (e.g., if billing guidelines have changed or other updates have been made).
Reviewers
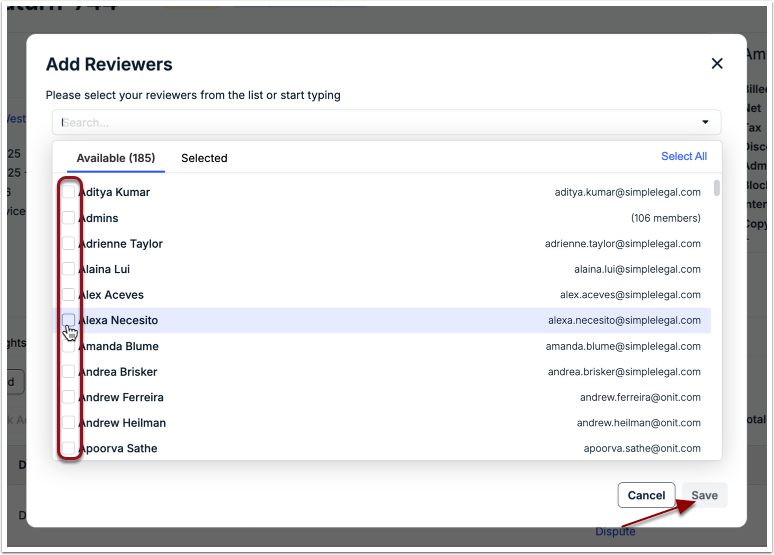
Reviewers are internal users assigned to approve, adjust, and/or reject invoices submitted by vendors. Depending on system settings, default reviewers may already be assigned to some pending invoices. Go to the Reviewers section on the right side of the page to view and update assigned reviewers.
Click on the caret icon to expand and view the list.
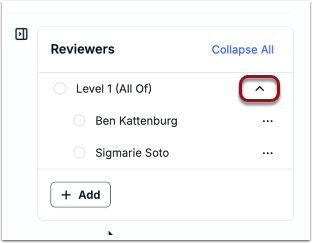
Click + Add, select one or more user names from the list, and click Save.
Reviewer Action
If it is your turn to review an invoice to which you are assigned, you can click Approve or Reject from the top-right corner of the invoice once you have verified the information and/or made any necessary invoice total or line item adjustments.

If there are other assigned reviewers, the invoice will appear in their review queue once you complete your approval. Rejecting an invoice ends the review cycle. For additional information about rejecting invoices, click here.
Overview
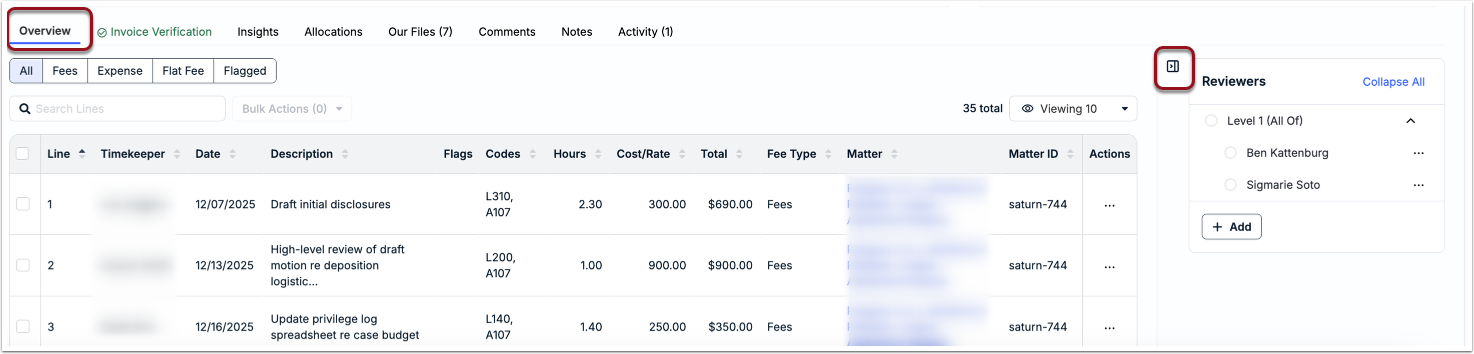
The Overview tab displays all line items attached to the invoice. You can use the sub-tabs above the list to filter by line type or to only see any line items flagged by the system for potential adjustment or further review. By default, the Reviewers section on the right side of the details page is expanded. Click the collapse icon to hide the list of reviewers and expand the line item view.
From this tab, you can use the ... (more) option under the Actions column to do one of the following: Edit Line Item, Edit Line Item Allocations, or Update Matter. For additional details on adjusting individual line items, click here.
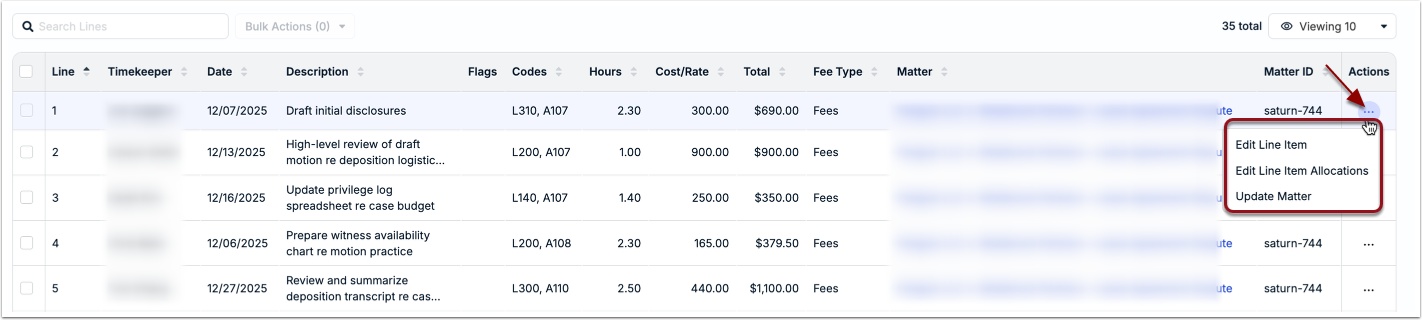
In addition, you can select multiple or all invoices to apply the following bulk actions: Update Matter or Adjust To Zero.
Invoice Verification
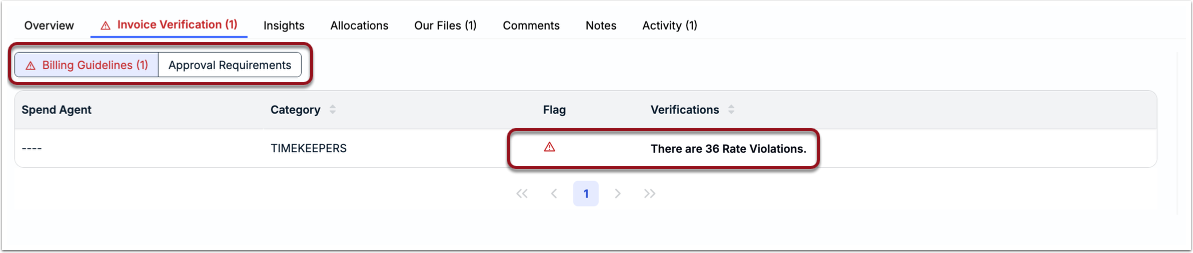
The Invoice Verification tab displays any violations found when the invoice is run against billing guidelines. If your organization is also using Spend Agent for AI-powered validation, the findings will be displayed here if a default billing guidelines document is set.

You can switch between the Billing Guidelines and Approval Requirements sub-tabs to see additional details. If any violations require action or further review, a warning icon appears next to the tab, as shown in the image below.
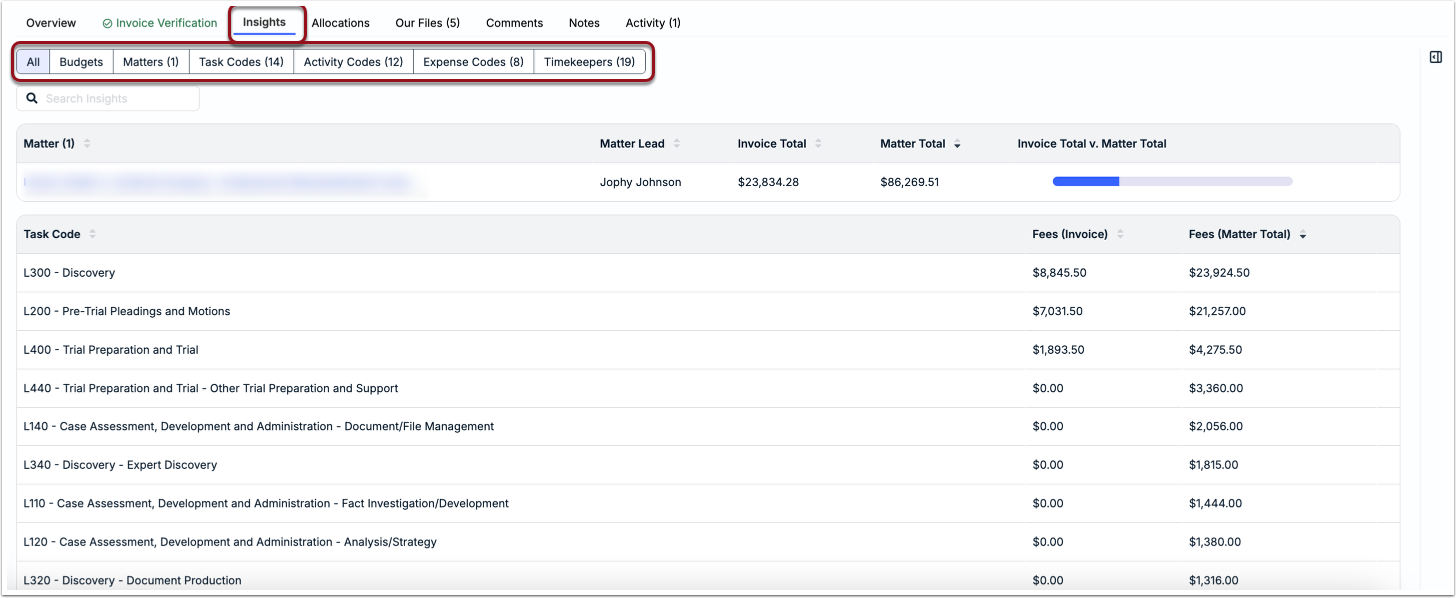
Insights
Use the Insights tab to see the distribution of certain data points associated with the invoice, such as how much of the invoice total makes up the total spend for the associated matter and/or budget (if applicable) and how spend is distributed across task codes, timekeepers, and more. Use the tabs above the table to quickly filter the list by specific categories.
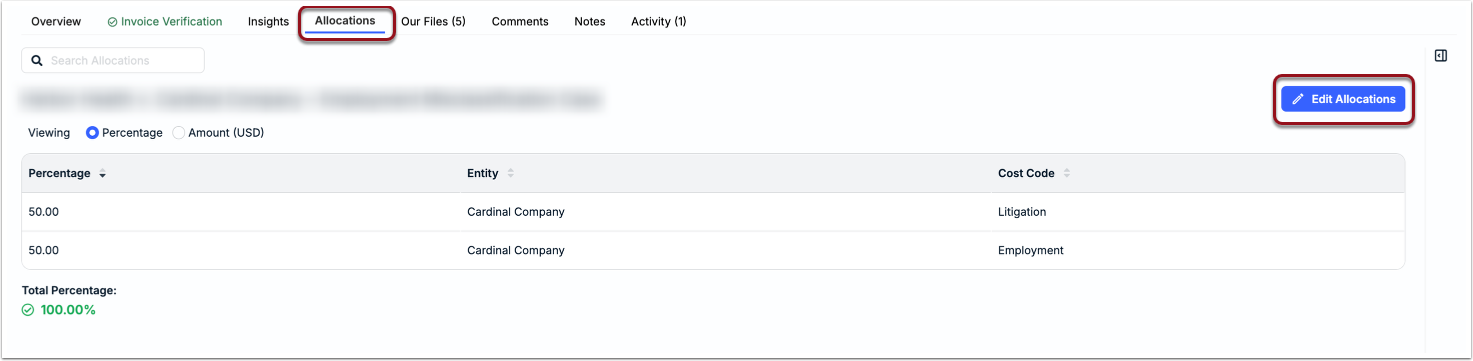
Allocations
Allocations is a system of dividing funds among various attributes assigned to an invoice to help categorize and track spend. Unity has two out-of-the-box allocatable attributes: Legal Entities and Cost Codes.
On invoices, a specific percentage of costs can be assigned to one, both, or none of these attributes. For example, 50% of an invoice's amount can be allocated to Cost Code 1 and the other 50% to Cost Code 2. How and if allocations are used depend on your organization's needs and system settings.
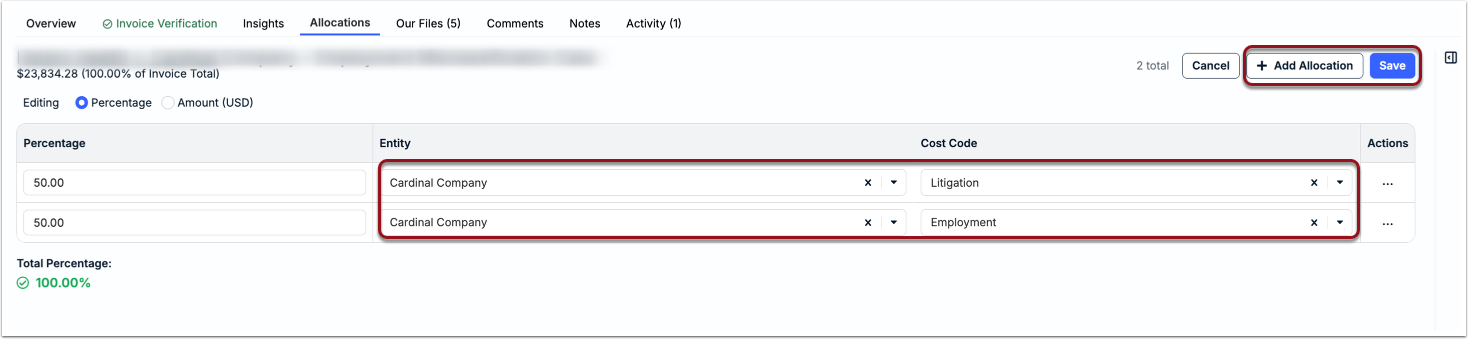
To allocate some or all invoice spend to a specific Cost Code or Legal Entity, click Edit Allocations from this tab.
Enter the allocation percentage value (i.e., 1-100) and choose the relevant Legal Entity and/or Cost Code. The allocation percentage must equal 100. Click +Add Allocation if splitting the allocations among multiple attributes. Click Save when finished.
Our Files
The Our Files tab displays any supporting documentation attached to the invoice by the vendor or added by an internal user/reviewer in Unity. You can check under the Source column to see whether it was uploaded internally or from the vendor portal.
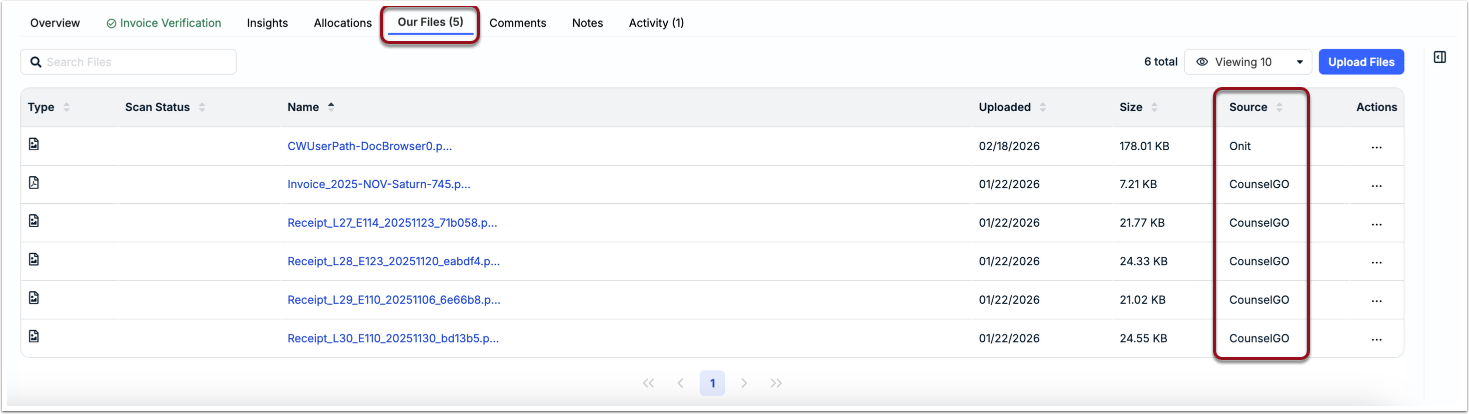
Click on a file name to open it in a separate browser tab, or click the ... (more) option under the Actions column to select the download option. To add more files to an invoice, click Upload Files in the top-right corner. Click here for more information on supported file types.
Comments
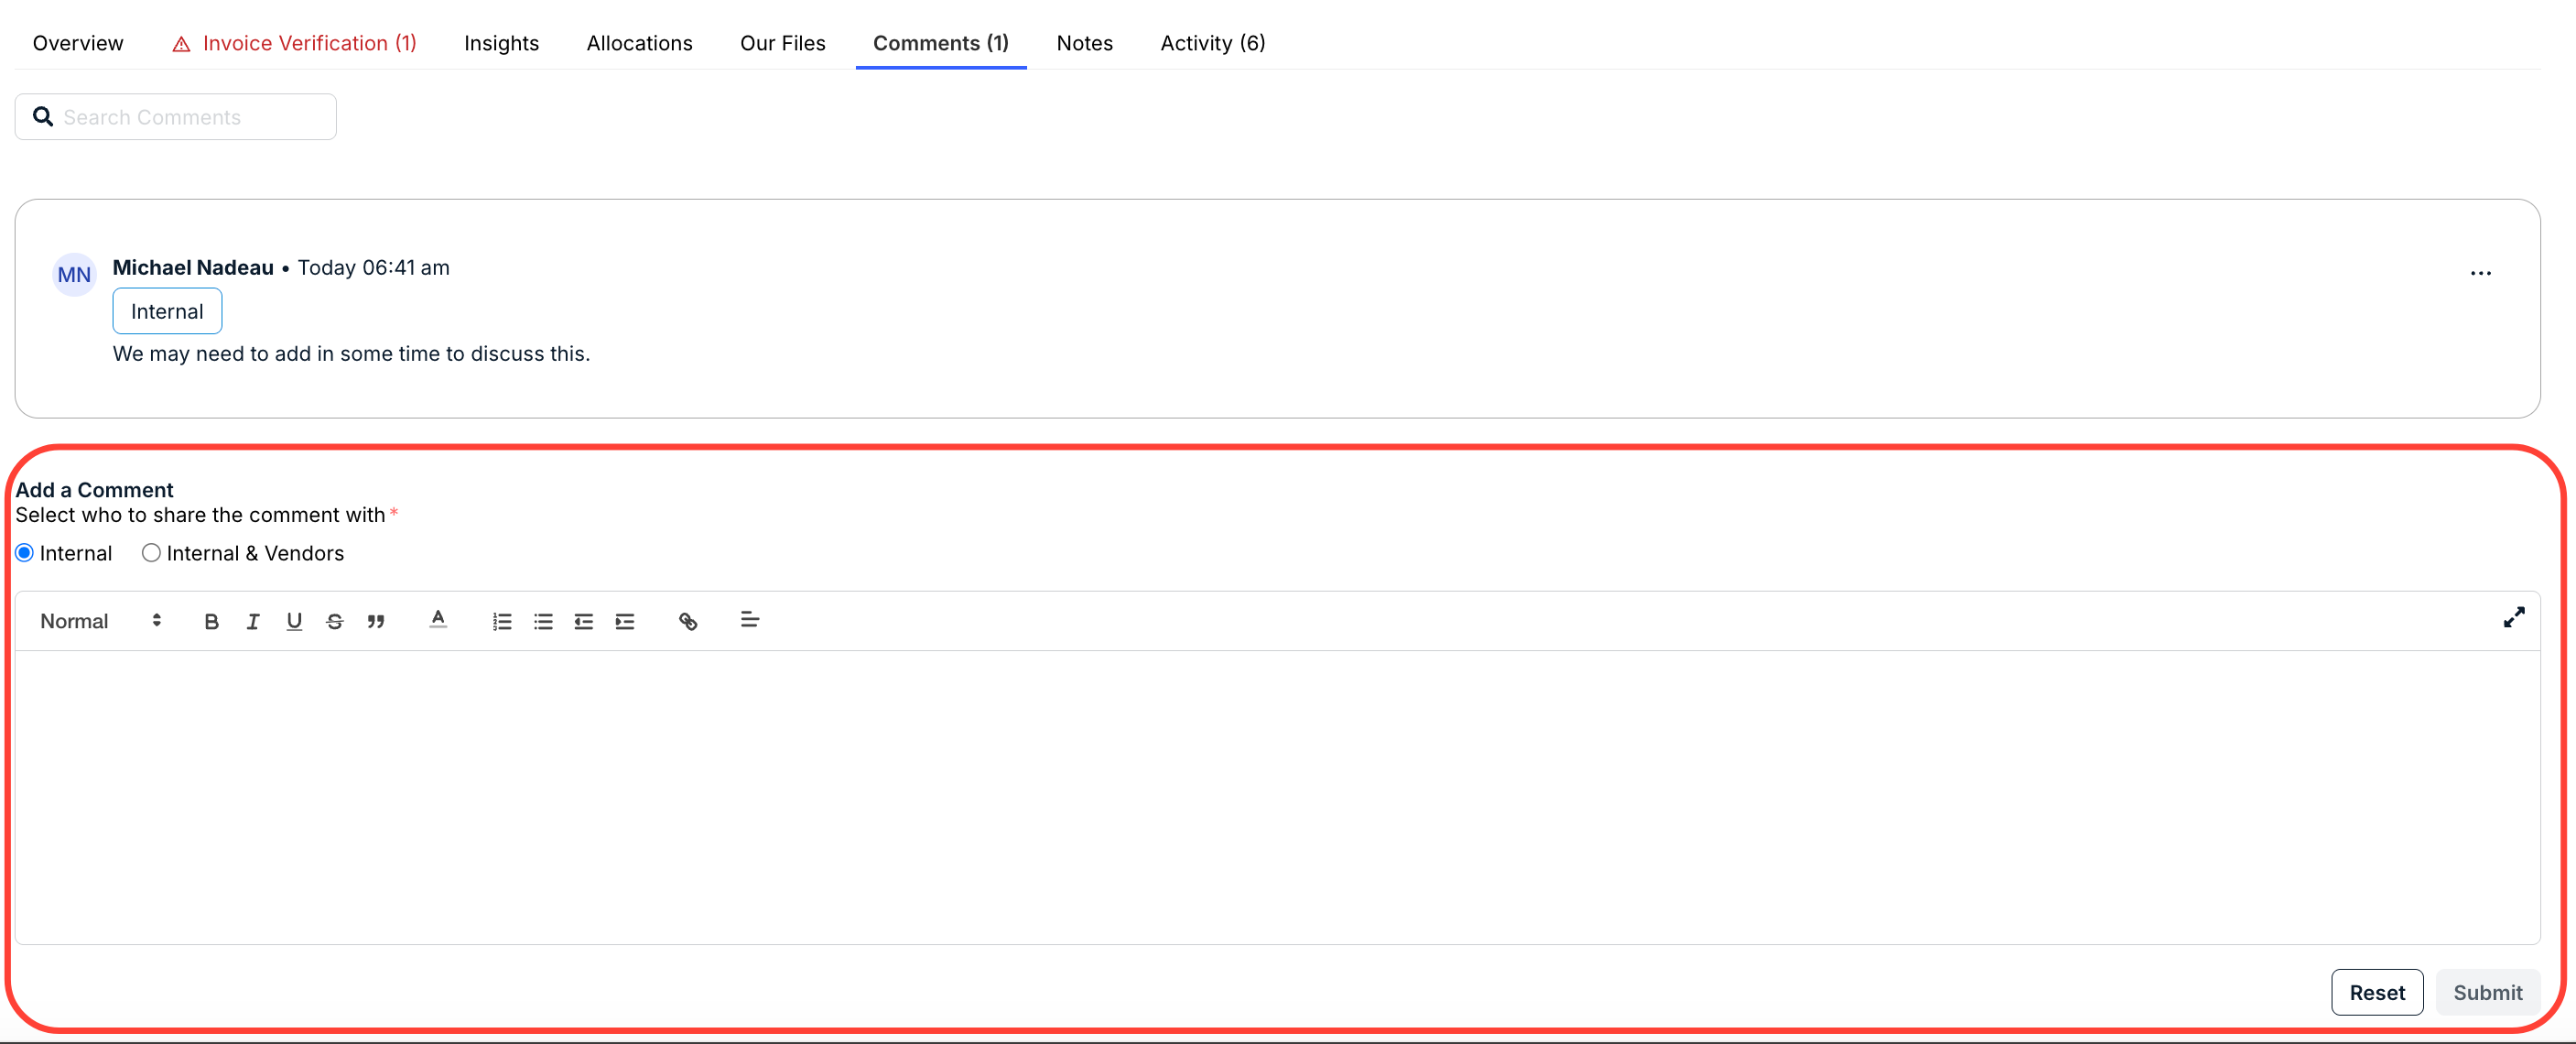
To review any internal comments or add your own, switch to the Comments tab. Existing comments will show the audience (Internal or Internal & Vendors, the message text, and the time of the post.
Under the Select who to share the comment with text, you can choose between Internal and Internal & Vendors.
Enter your comments into the rich text editor and then click Submit. You can also click Reset to reset the comments.
Notes
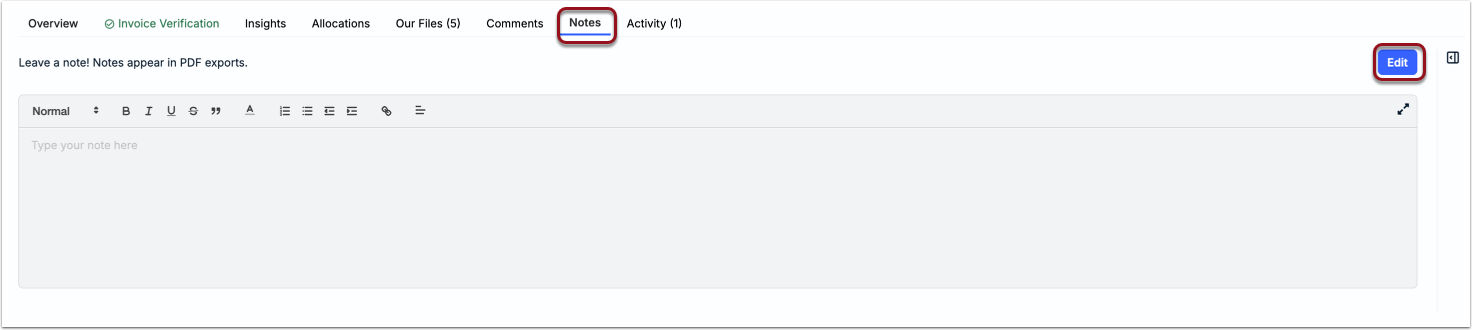
The Notes tab allows reviewers and admins to add text that will be visible in the PDF export of the invoice (also visible to vendors). To add a note, click Edit in the top-right corner, enter your notes in the text editor, and click Save.
Activity
Switch to the Activity tab in the bottom half of the invoice to see a list of actions taken by users or by automated system triggers, including reviewer assignments/updates, status changes, line-item adjustments, and comments. For reach recorded activity, the log displays the date, user name, category (i.e., type of action), and a description of the activity. To see the full list, click on Go to Activity Log.
