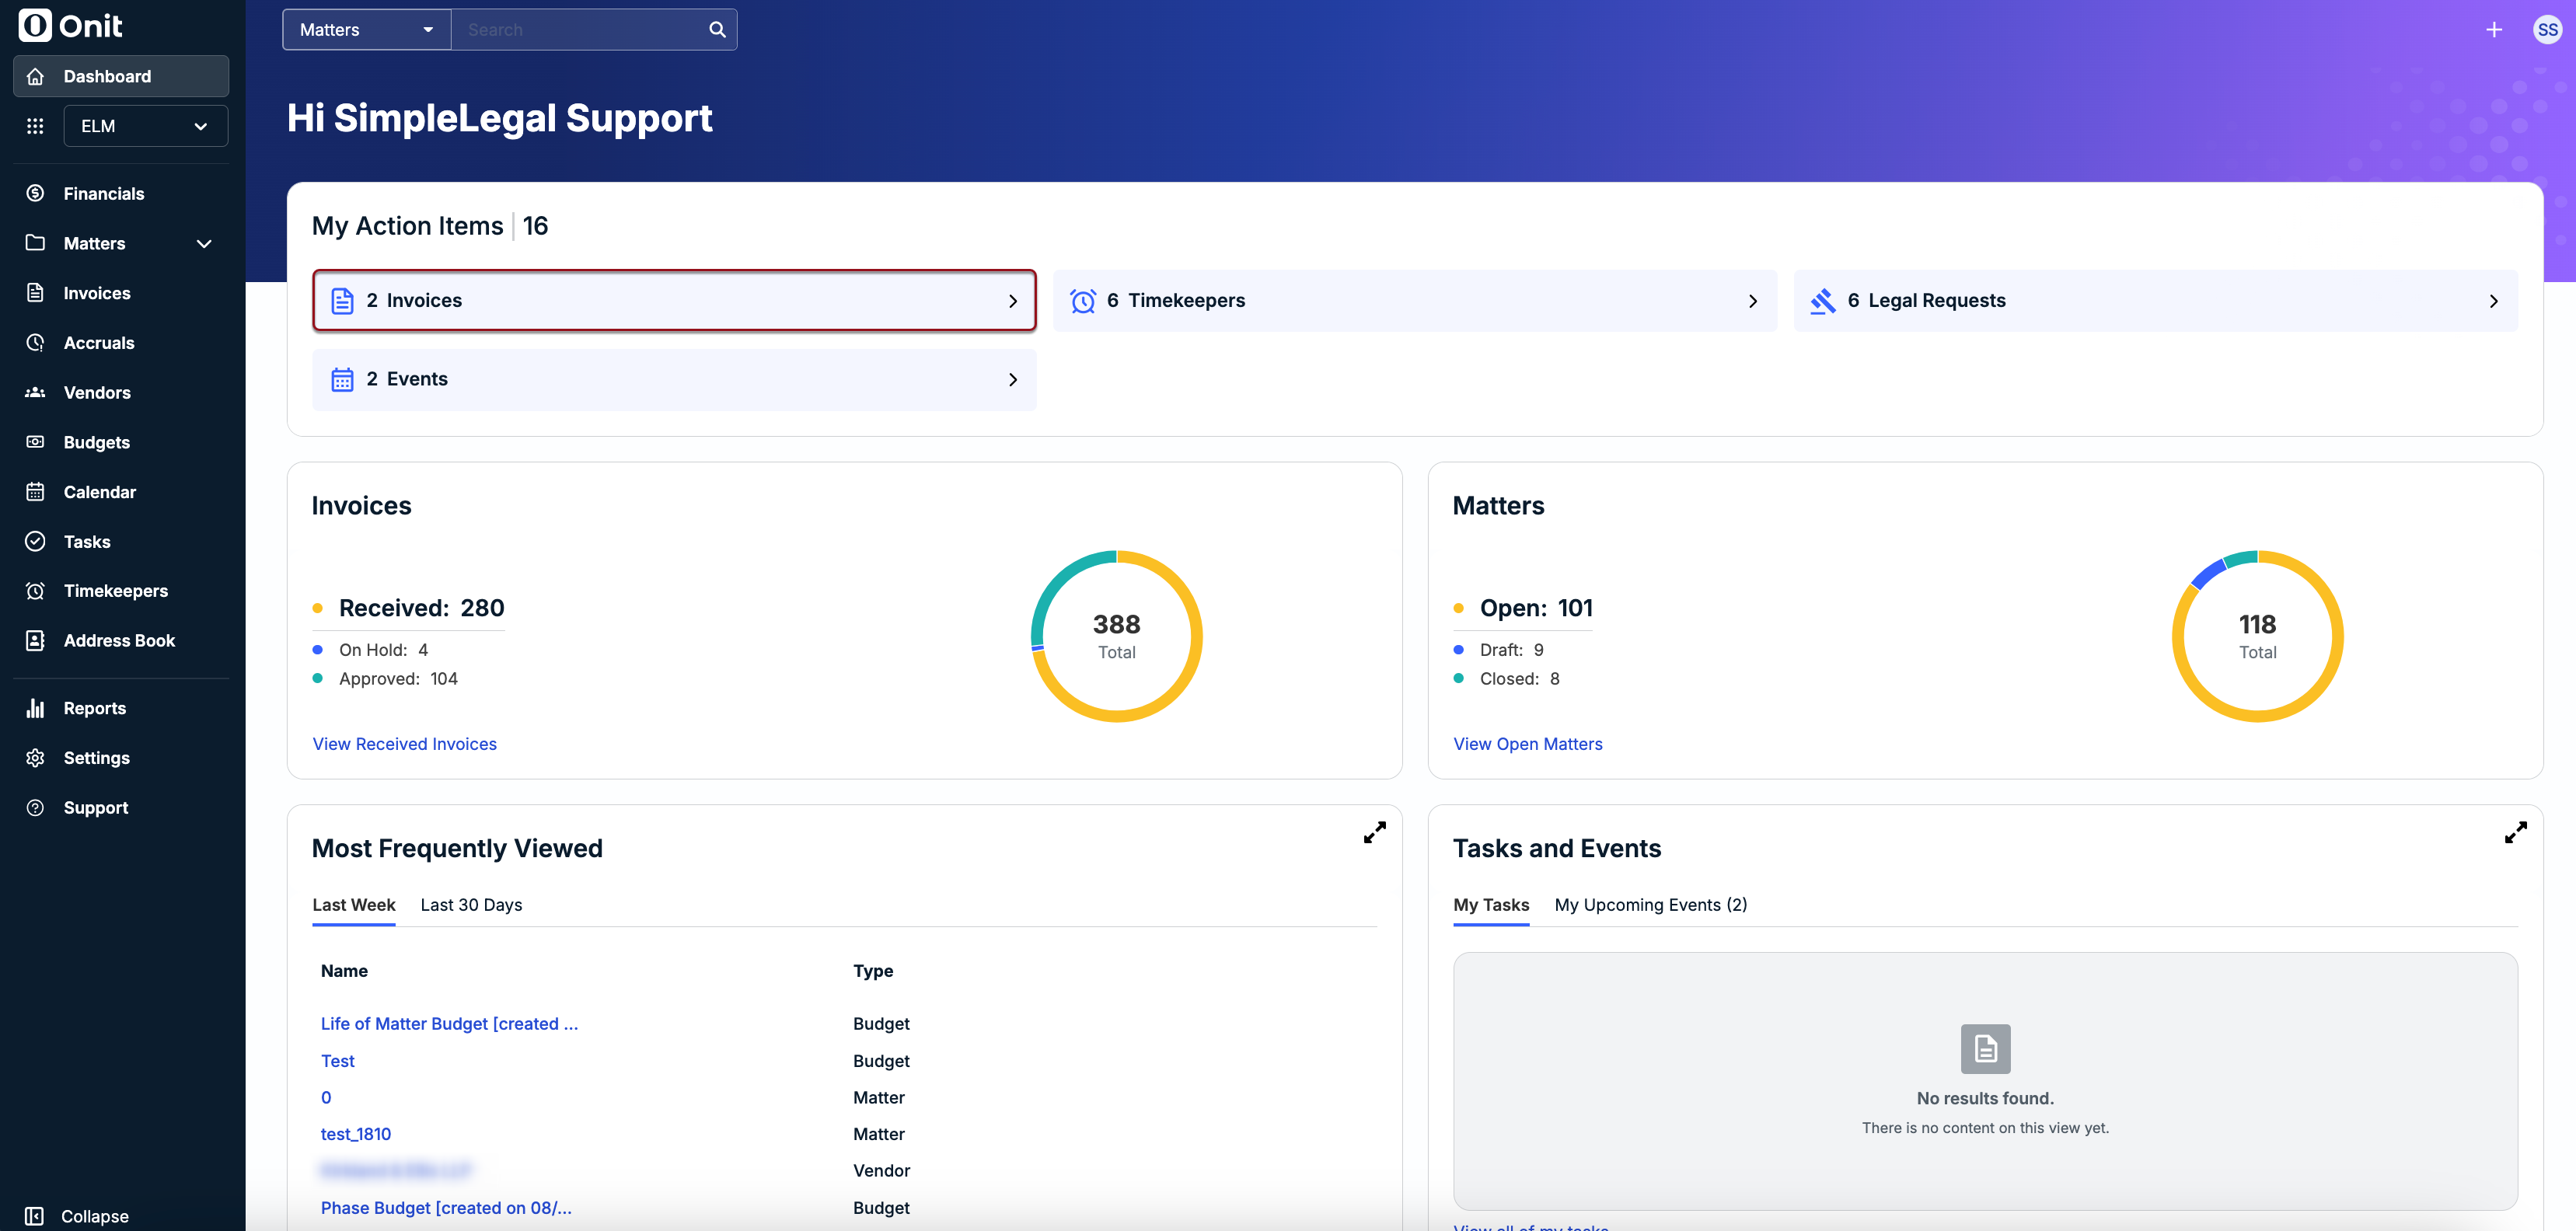
The option to reject an invoice only appears if you are assigned as a reviewer and it is your turn to review. To quickly check for invoices pending your review, click Invoices in the My Items section of your dashboard.
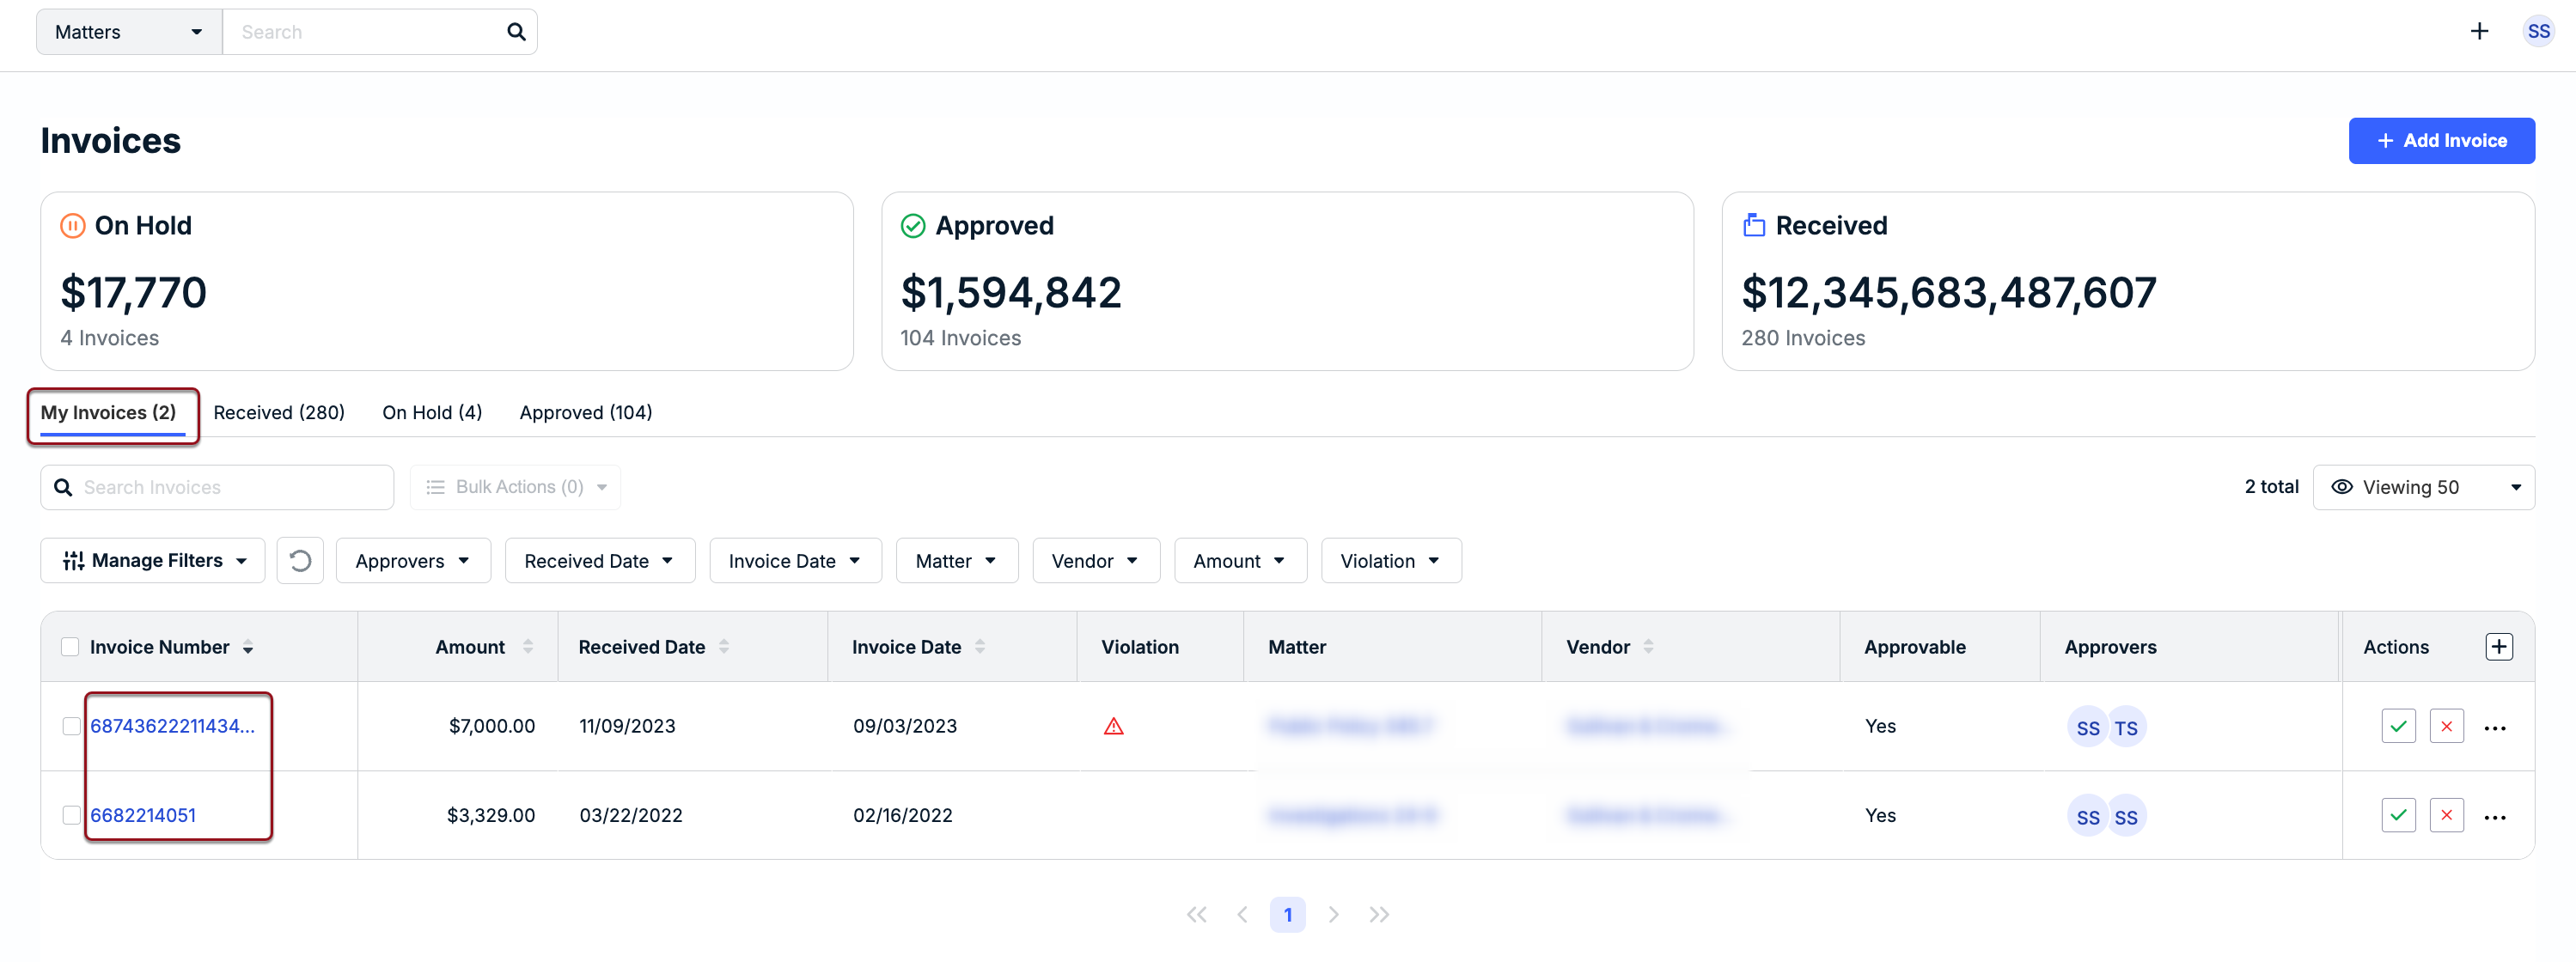
You can view the details of an invoice by clicking on the hyperlinked Invoice Number from the My Invoices tab. Make sure to review the invoice details, amounts, line items, and other information before proceeding. For more information on navigating the invoice details page, click here.
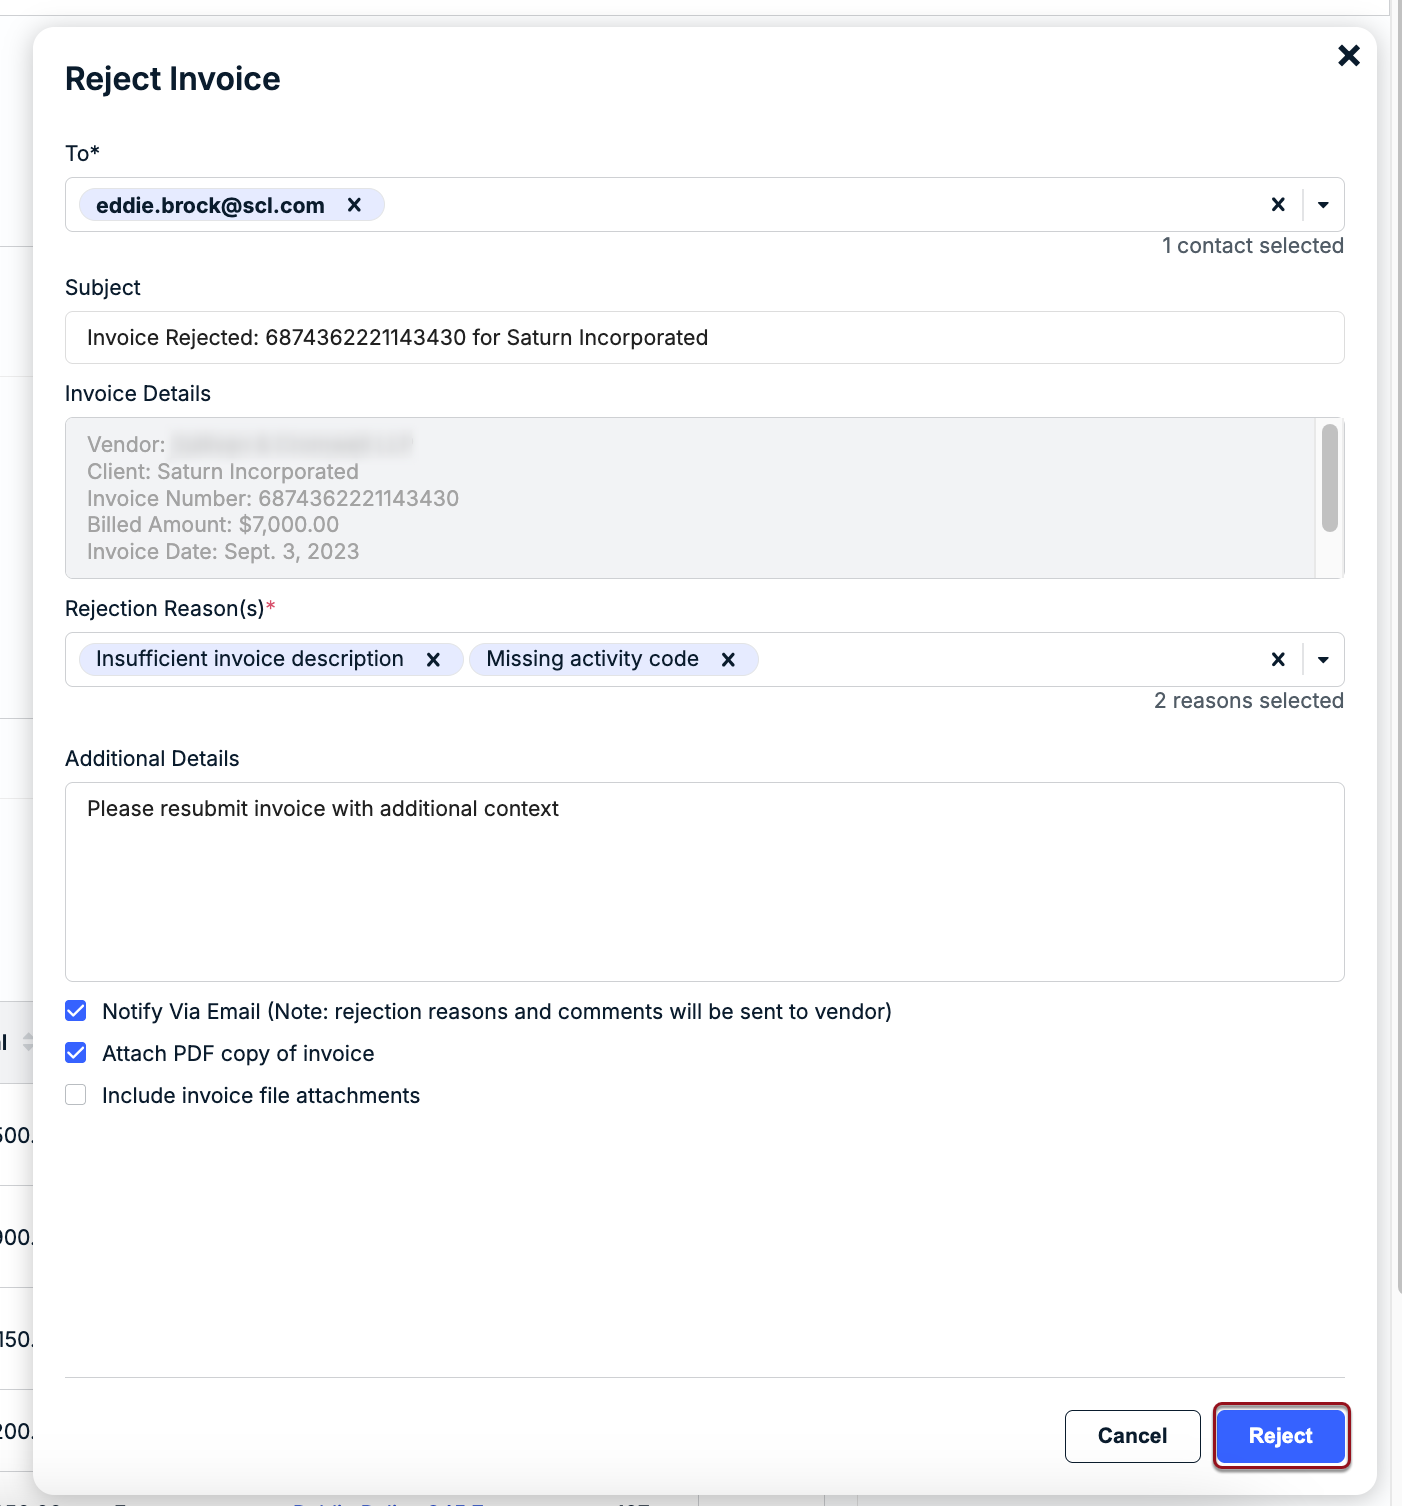
How to Reject an Invoice
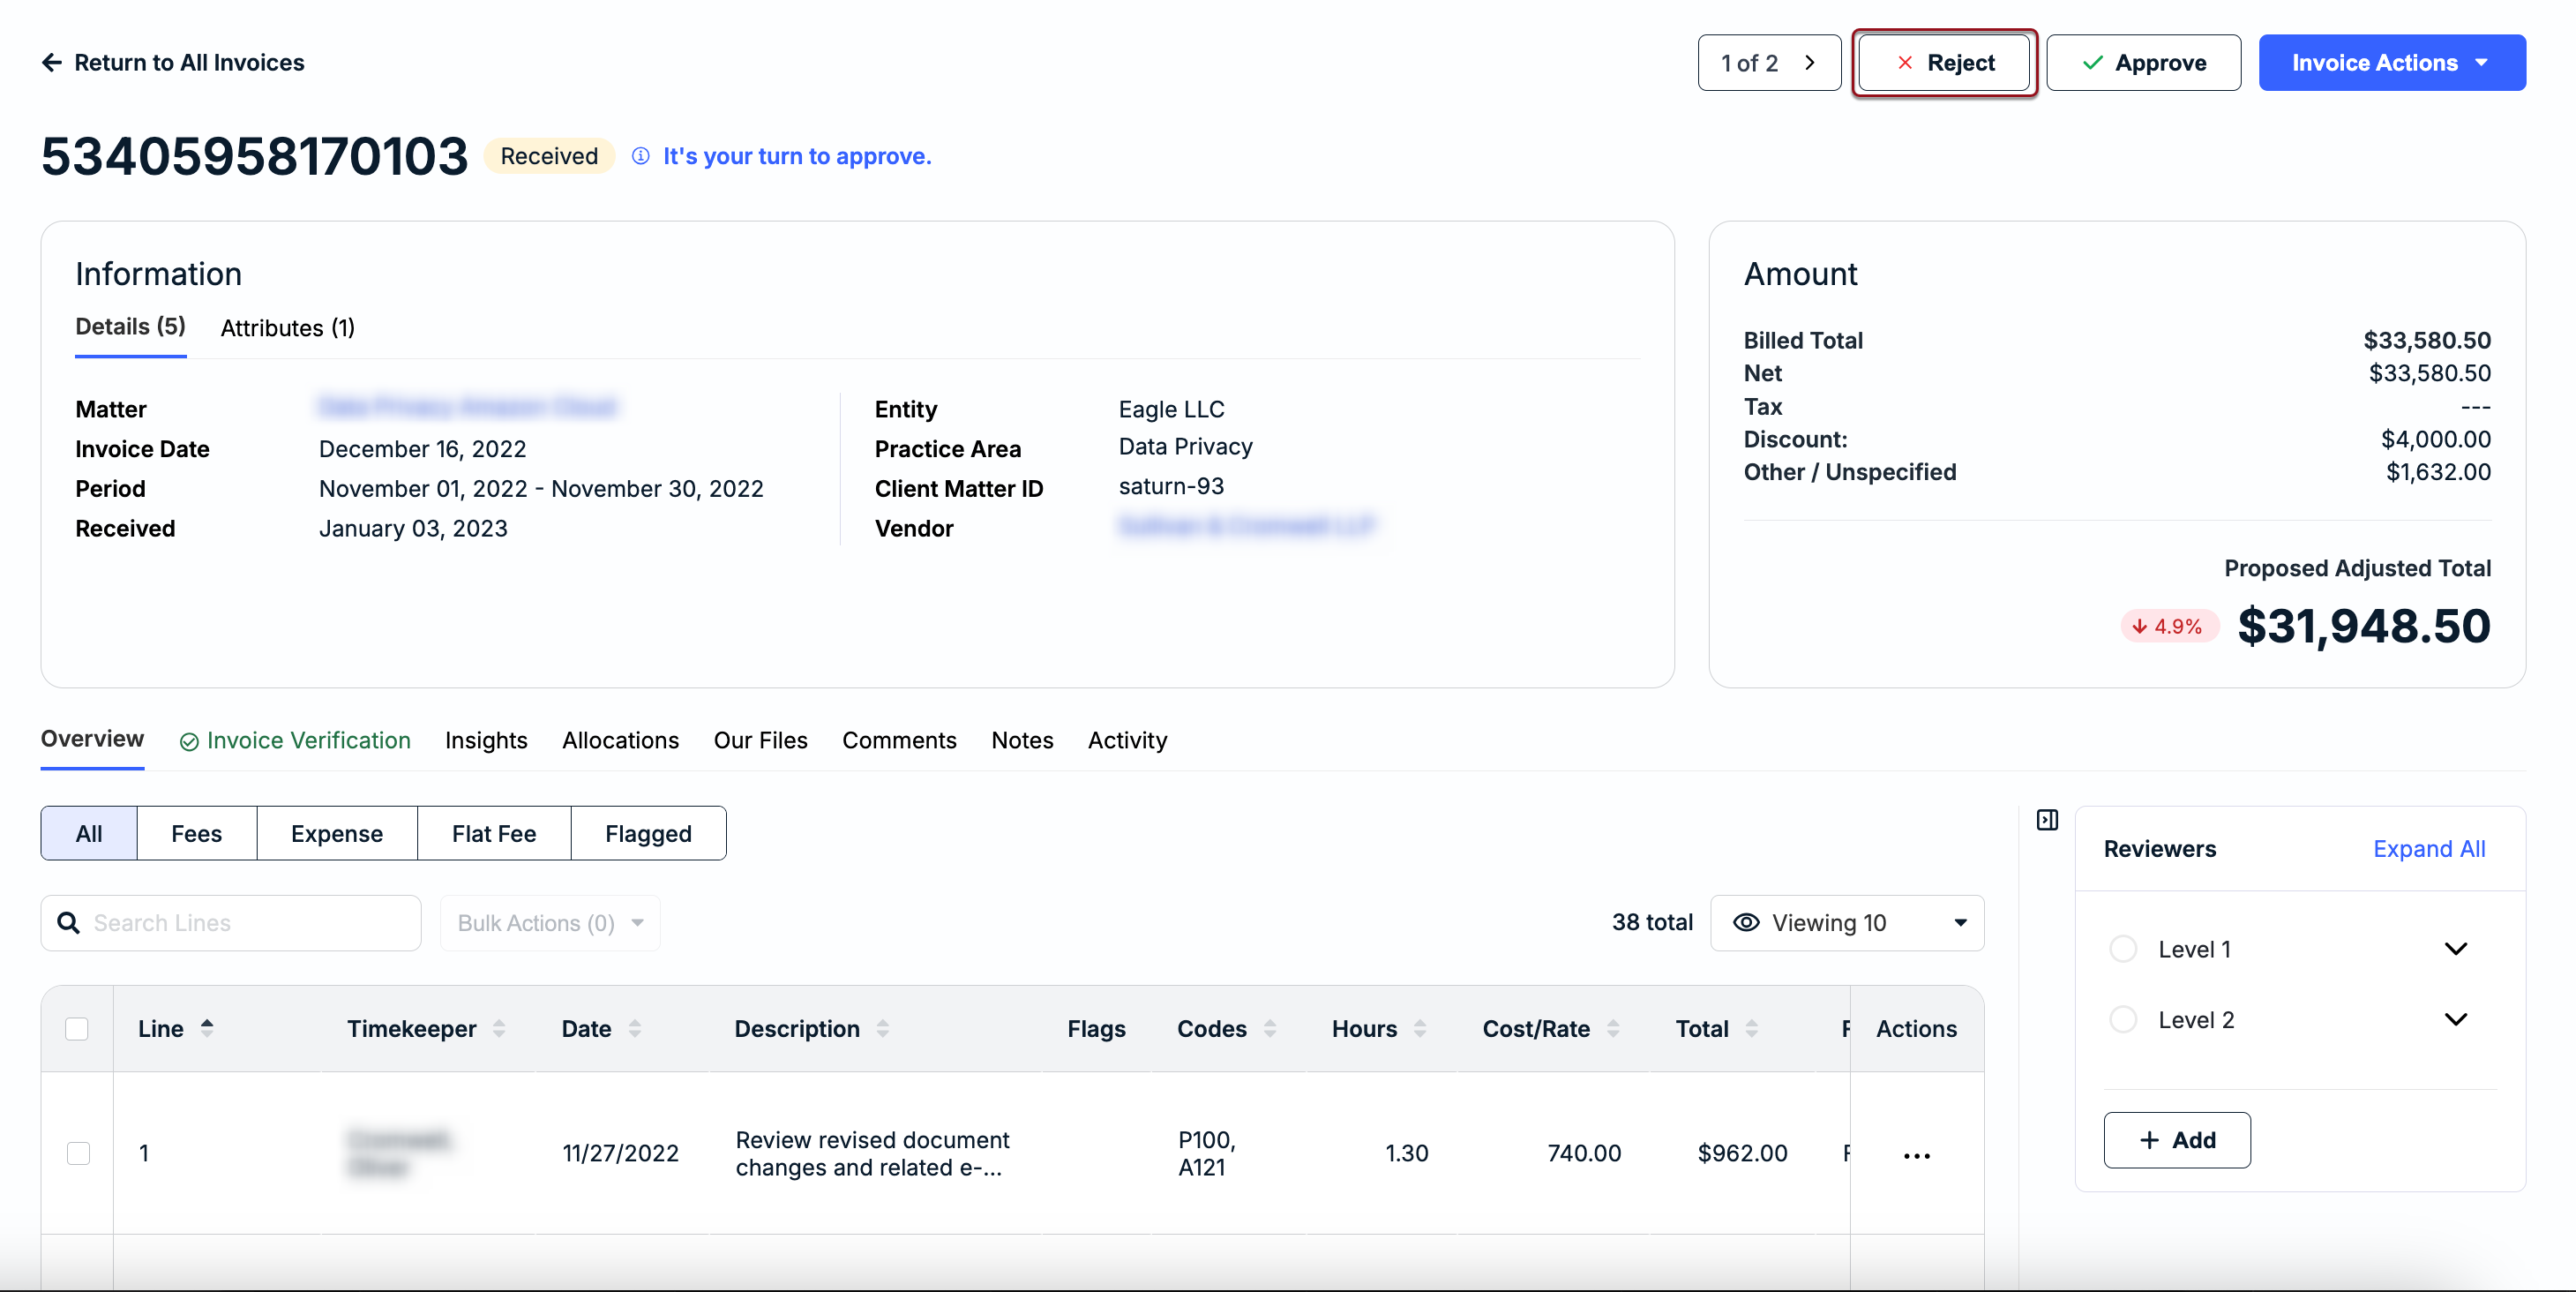
Click the Reject button in the top-right corner of the invoice details page.
The modal shown in the image below appears when you reject an individual invoice, allowing you to select the recipient(s), choose one or more rejection reasons, attach files, and notify the vendor (if applicable). Any required/mandatory fields are marked with asterisks or disabled, depending on your environment's settings. See the table below for more details.

| To | Click within the To field to find/select relevant internal and external contacts, or type in an email address. |
| Subject | Auto-populates the invoice action (e.g., Invoice Rejected), invoice number, and your company's name. Click within the field to change or customize the text if needed. |
| Invoice Details | Auto-populates the following invoice information (and cannot be edited):
|
| Rejection Reason(s) | Find/select a rejection reason from the dropdown by scrolling through the list or typing in a keyword to filter the options. This is a pre-defined list of rejection reasons managed by admins in your environment. You can select one or more reasons to help the vendor quickly understand why the invoice was not approved (e.g., wrong matter, duplicate work, etc.). The selected rejection reason(s) will appear in the vendor email notification (if Notify via Email is selected) and under the invoice details page in Counsel Exchange. NOTE: A red asterisk (*) next to this field means you are required to select at least one option to move forward with invoice rejection. If a rejection reason needs to be edited or added, contact an admin for assistance. |
| Additional Details | You can enter any additional comments for the vendor in this field before submitting the rejection. This appears in the email notification (if selected) and under the invoice details page in Counsel Exchange. IMPORTANT: This section is a standard field but is optional. Please be mindful that the text is external-facing and will be visible to vendors. It is highly recommended to include additional details when you need to clarify why an invoice is being rejected or when action is required. |
| Notify via Email | The Notify via Email checkbox is selected by default. Leave this as-is to send the vendor an automated email notification with general invoice information and any additional comments once the rejection is submitted. You can deselect this option if you do not want to send the vendor an email notification. If the checkbox is disabled, however, sending the notification is mandatory for all vendors when rejecting invoices in your environment. If notifying the vendor is optional, it is still highly recommended so that they know action is required. De-selecting this option will change the modal to only show the Rejection Reason(s) and Additional Details fields. Any information you enter or select will only appear to the vendor on the invoice page in Counsel Exchange. |
| Attach PDF Copy | This is selected by default to include an Onit PDF version of the invoice in the vendor email notification (if applicable). De-selecting this will exclude the PDF from the email notification. |
| Include Invoice File Attachments | Select this option if you uploaded additional files to the invoice and want to include them in the vendor email notification (if applicable). This is optional, and the files do not appear in Counsel Exchange. |
Click Reject in the bottom-right corner when ready.
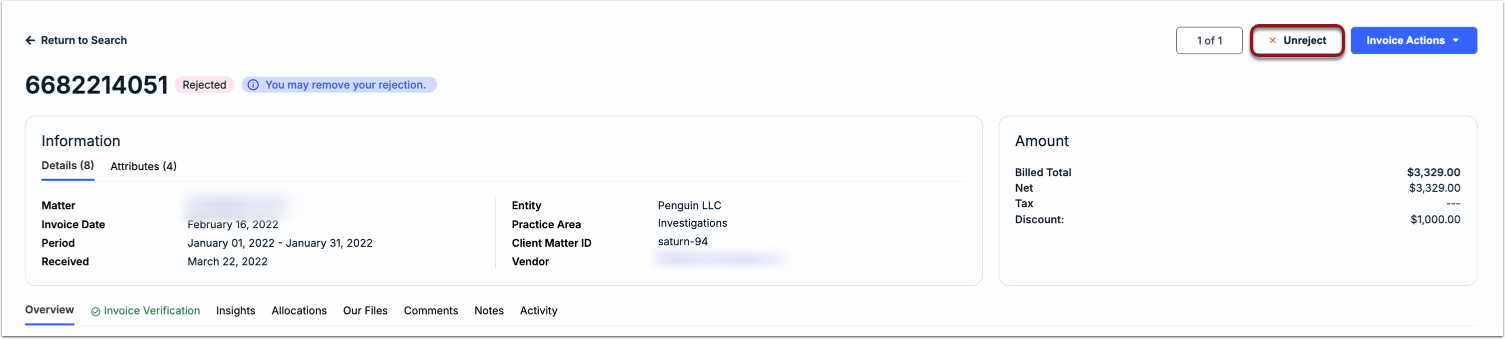
Rejecting an invoice will end the review cycle and prevent it from appearing in the review queue of any other assigned reviewers. If you need to revert the invoice status to Received and resume the review cycle, click Unreject at the top of the invoice details page.