Here's how to submit a new timekeeper rate within Counsel Exchange:
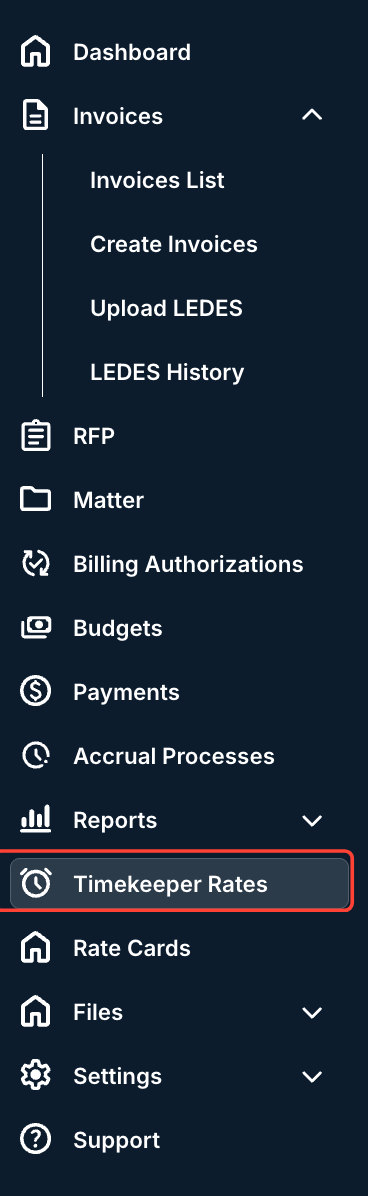
- Navigate to the Timekeeper Rates selection on the left-hand side menu.
- On the main Timekeeper Rates page, you'll see the directory of all the current timekeeper rates.
Here, you can toggle between Active, Pending, Disputed, and Archived rates.
The directory will show key information about timekeeper rates, including Name, ID, Classification, Approved Rate, Proposed Rate, Currency, any Comments, Practice Area, and the date Last Updated. Use the up/down arrow next to each column to sort by this information. You can also click on the Viewing bar to determine just how many records you want to see on the screen.
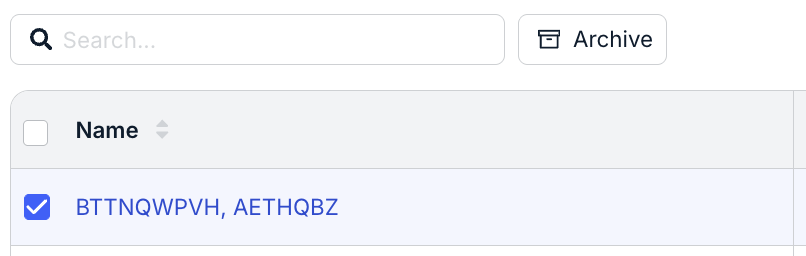
Use the Search bar to find timekeeper rates. You can also use the checkbox next to each name (or the top checkbox to select all rates) and click Download to download key information.
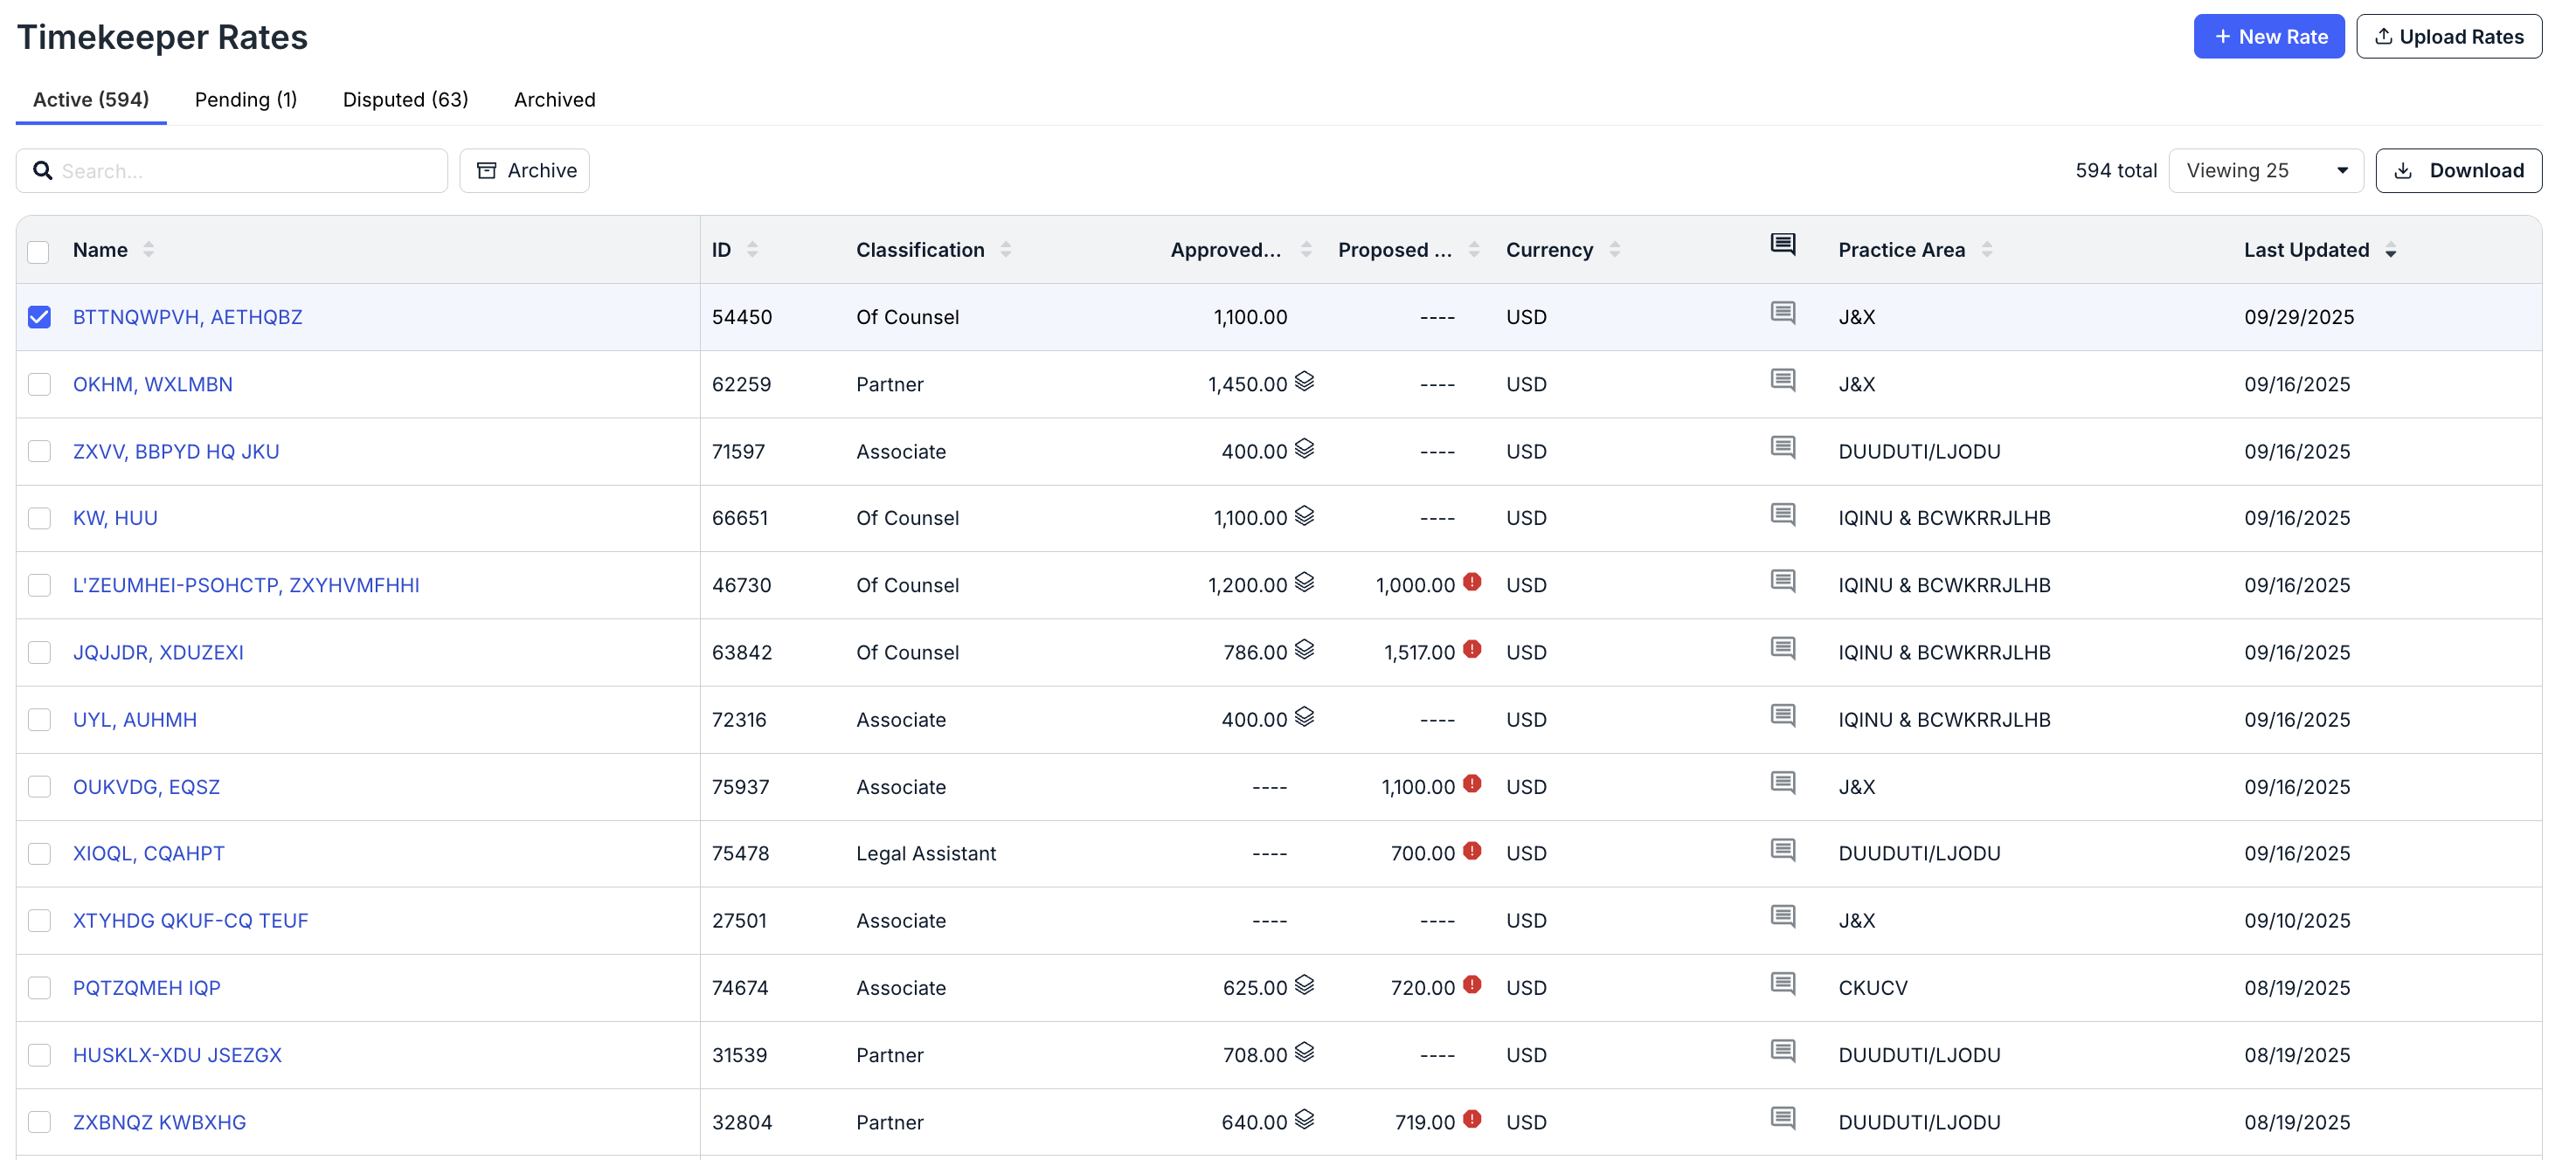
If you'd like to archive a rate or rates,click the check box next to the rate(s), and the Archive button will appear.
- On the main Timekeeper Rates page, you'll see the directory of all the current timekeeper rates.
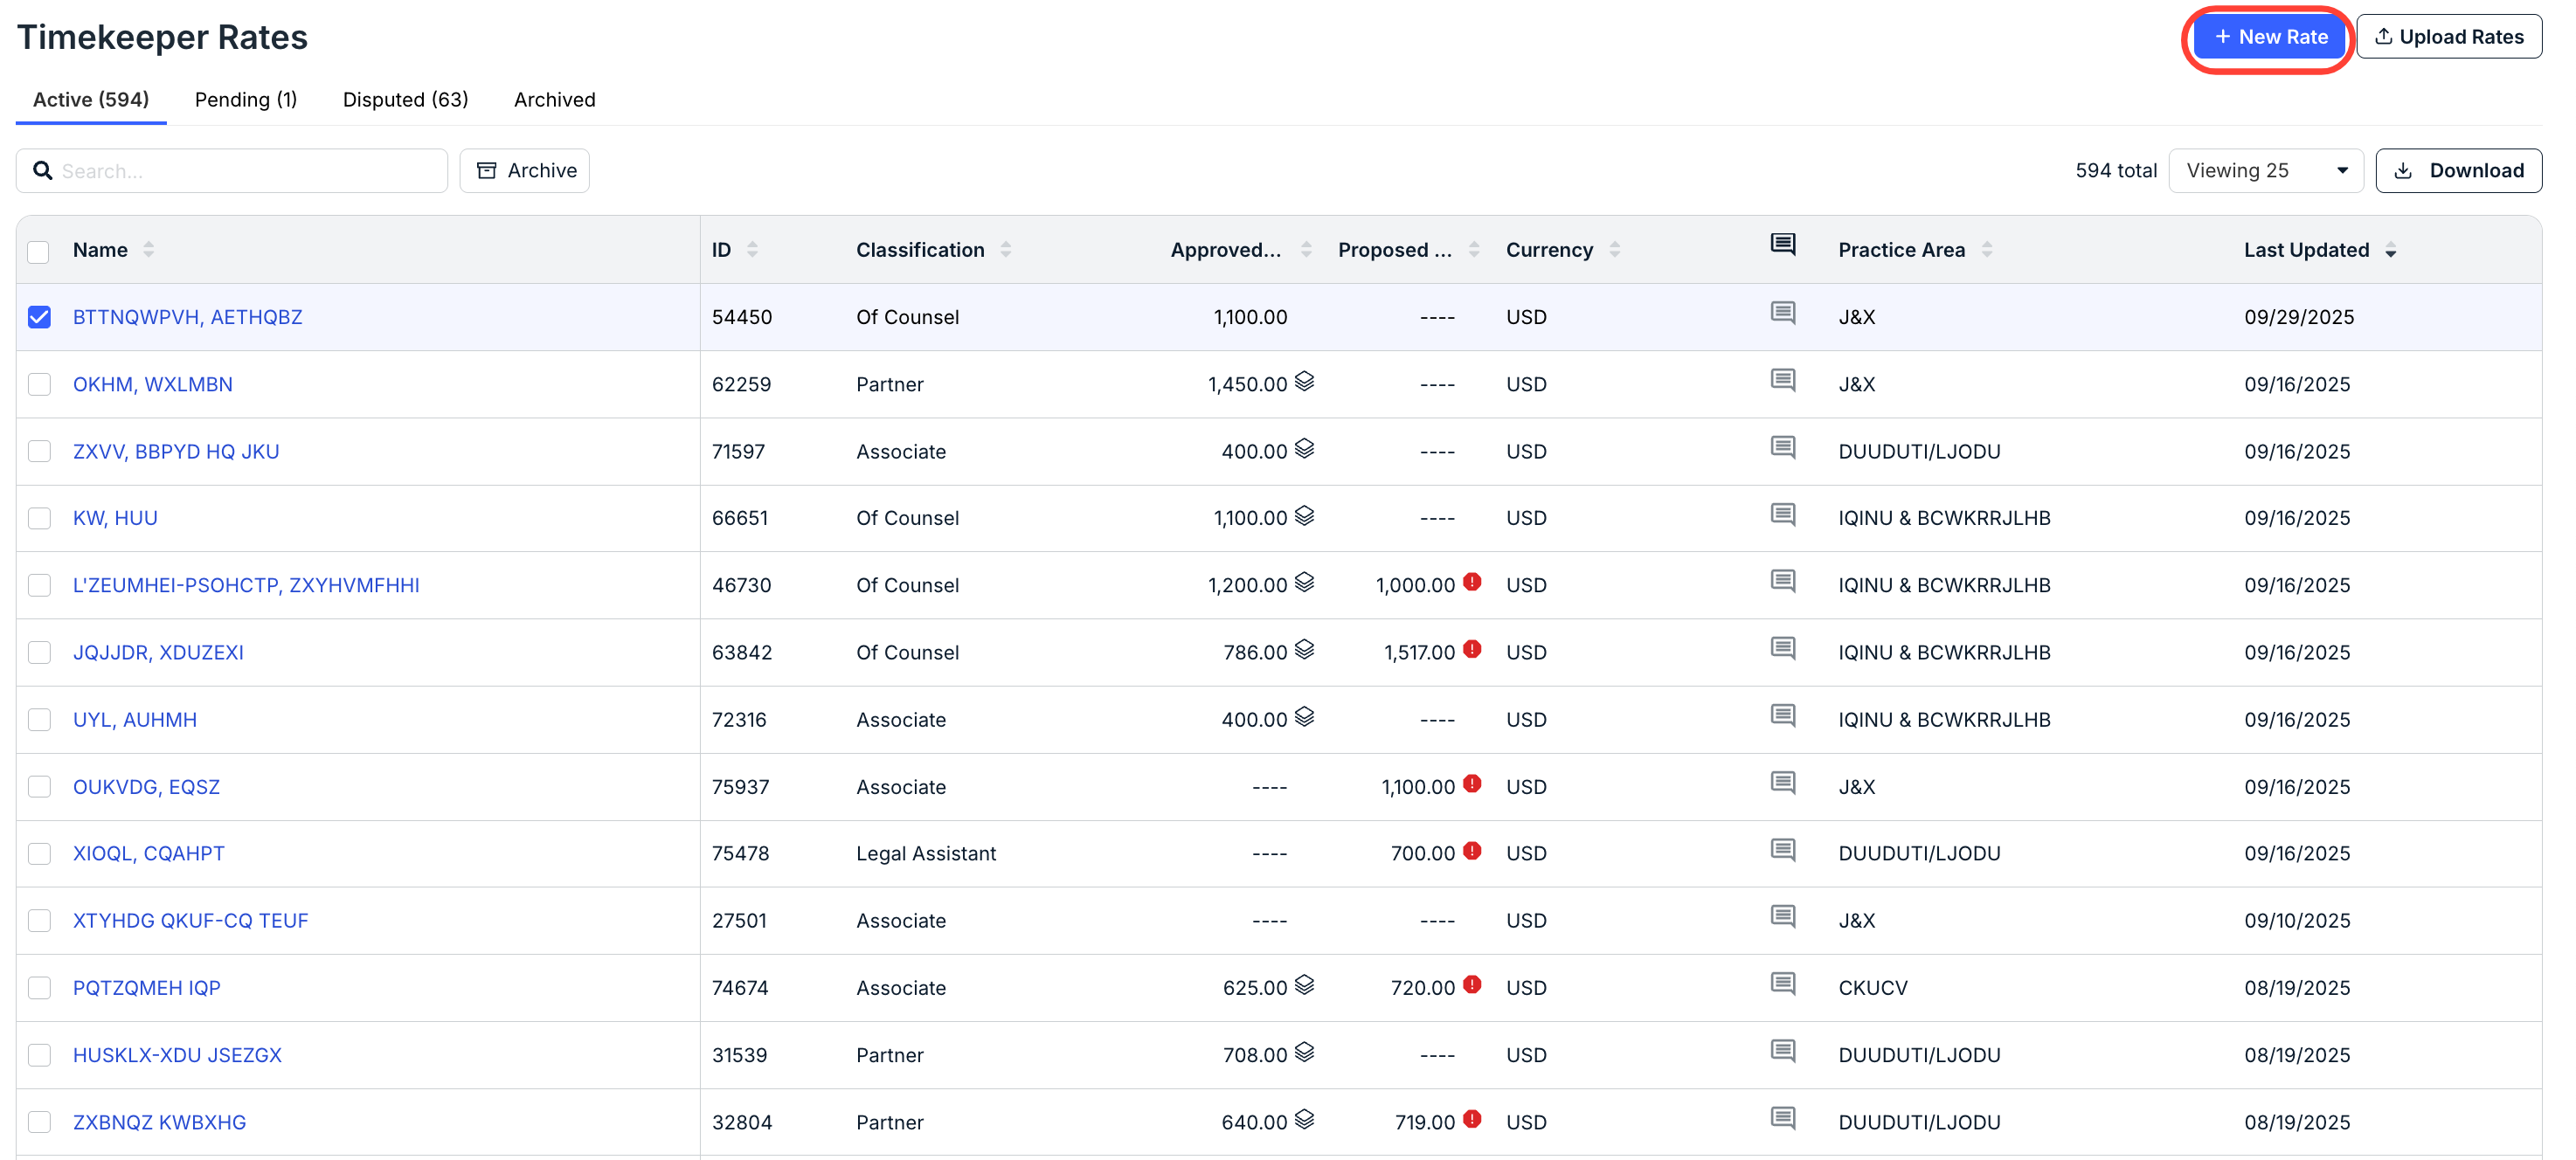
- Click on New Rate to add a new rate to the system.
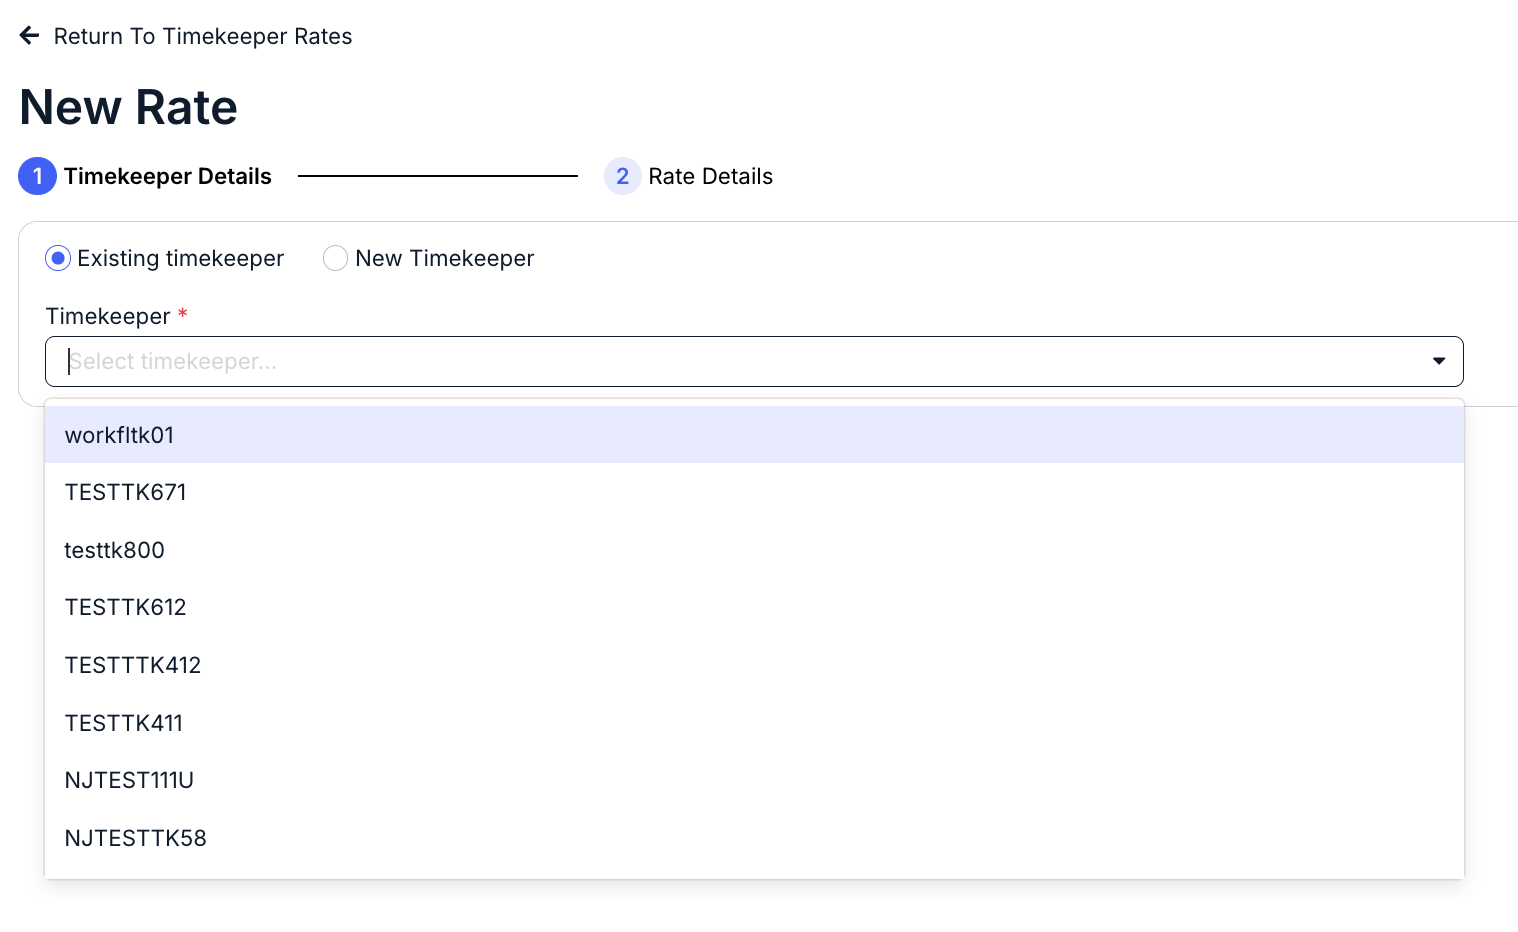
- You'll see the New Rate screen appear.
For an existing timekeeper, select the timekeeper from the drop-down menu.
For a New Timekeeper, click on the New Timekeeper button. You'll have to fill out the:
- Timekeeper ID
- Timekeeper Name
- Initials
- Office (drop-down menu)
- Staff Classification (drop-down menu)
- Rack Rate
- Currency (drop-down menu)
- Rack Rate Effective Date
- Whether the Timekeeper is a law graduate or not (check box); note that if you check this box, the Graduation Year box will appear as an option.
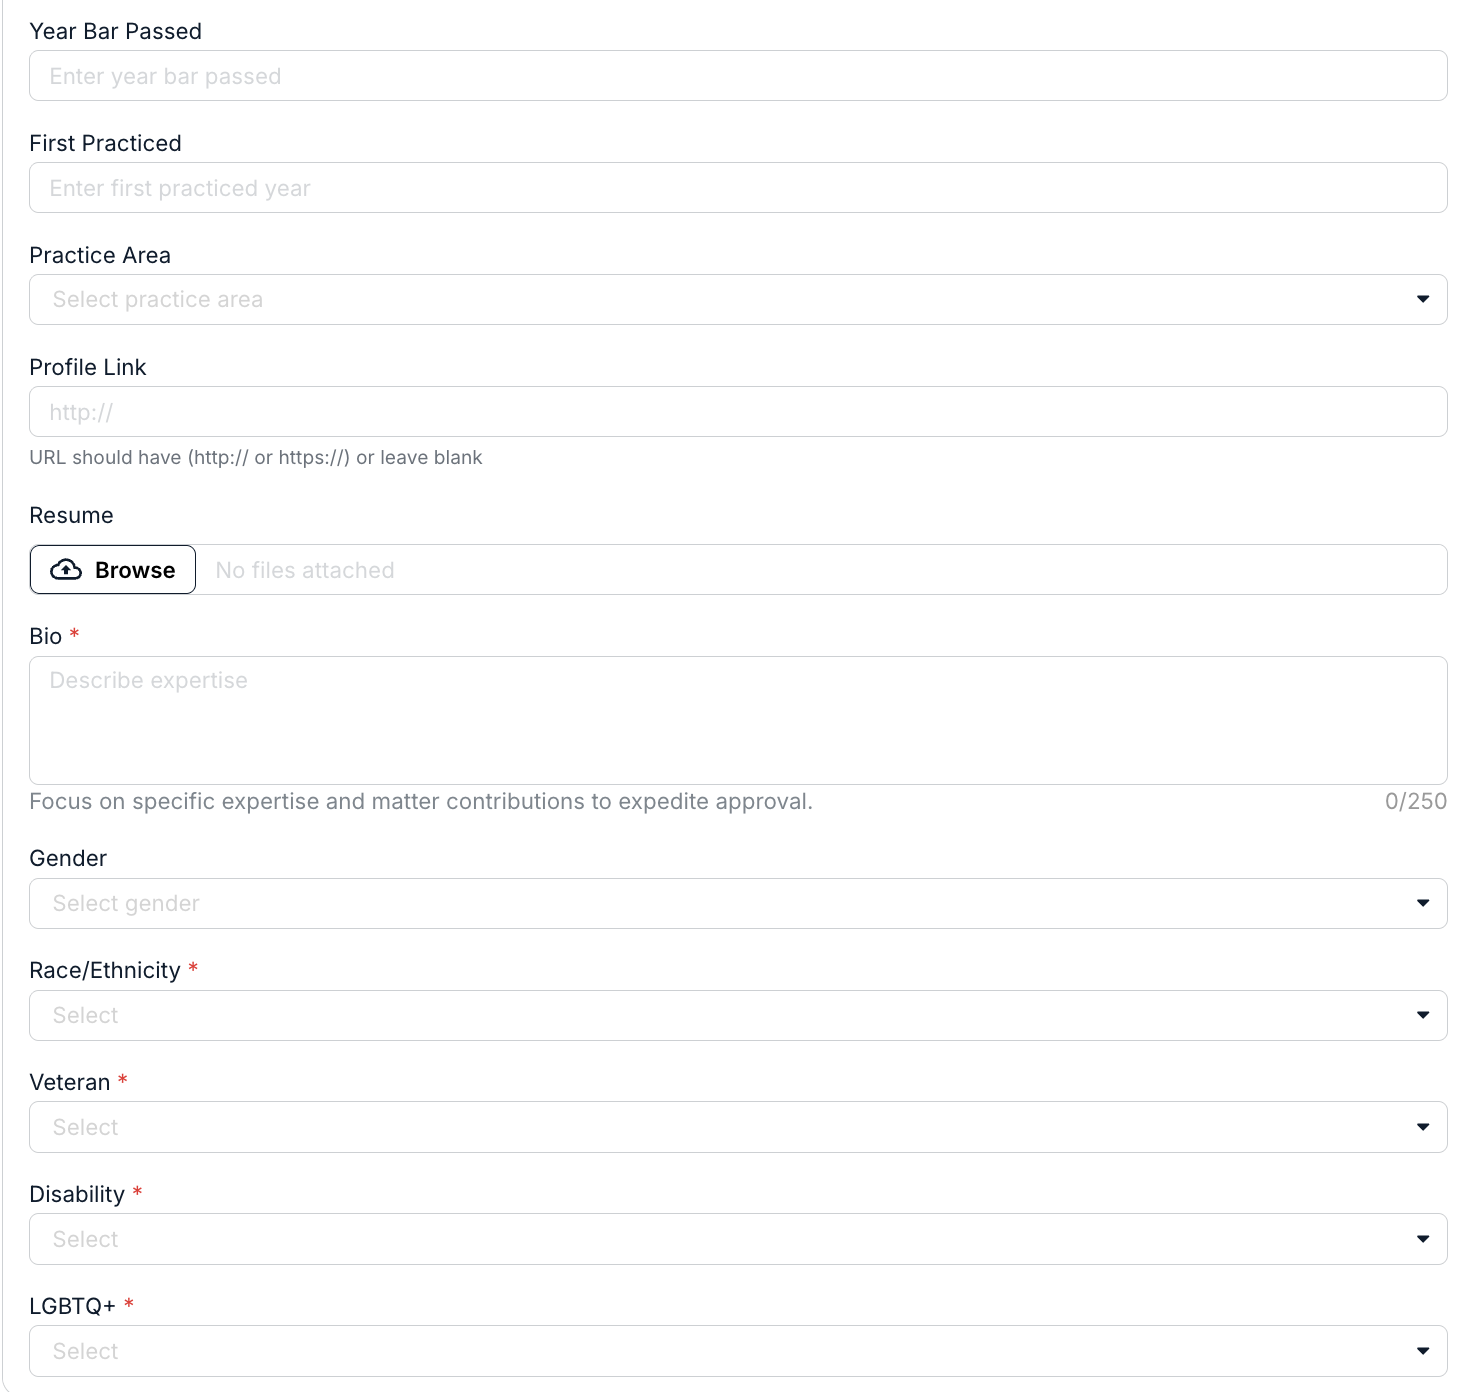
- Year Bar Passed date
- First Practiced date
- Practice Area (drop-down menu)
- Profile Link
- Resume (upload)
- Bio
- Gender (drop-down menu)
- Race/Ethnicity (drop-down menu)
- Disability status(drop-down menu)
- LGTBQ+ status(drop-down menu)
Note that fields with an asterisk (*) are mandatory.

For both existing and new timekeepers, click Save and Next to move to the next screen or Cancel to back out.

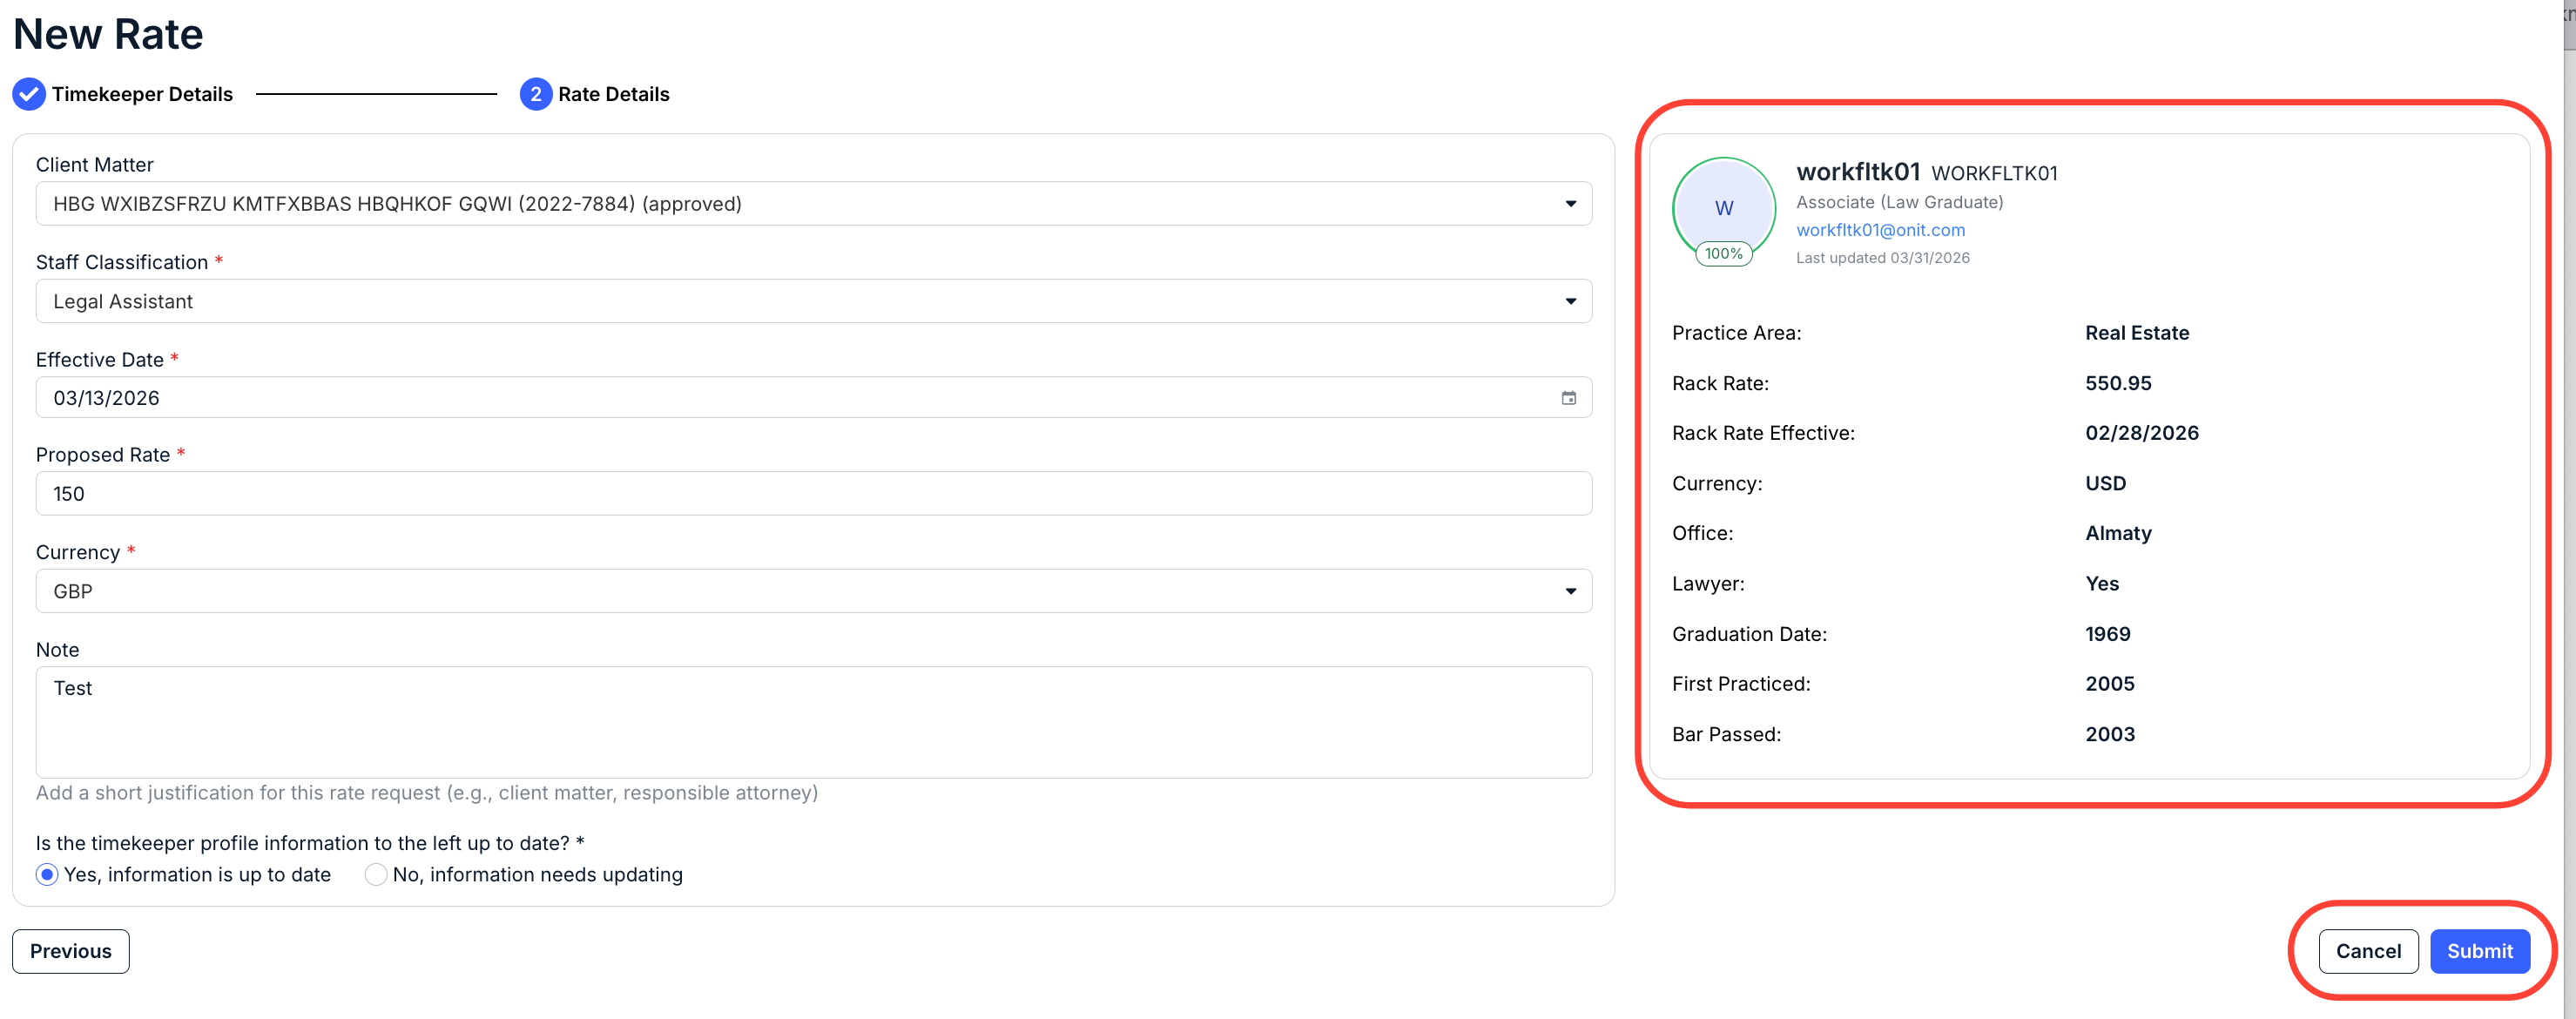
- You'll see the New Rate screen appear.
On the right-hand side of the screen, you'll see the key details of the timekeeper.
You'll have to fill out the:
- Client Matter (drop-down menu)
- Staff Classification (drop-down menu)
- Effective Date (date selector)
- Proposed Rate
- Currency (drop-down menu)
- Any Notes (if necessary, 250 character limit)
You'll also have to note whether the timekeeper profile information is up to date. Select Yes, information is up to date, or No, information needs updating.
Click Submit to send the rate in, Cancel to back out, or Previous to go back to the previous screen.
The new rate will appear in the main rate directory.
- You'll see the New Rate screen appear.