In Counsel Exchange, the Client and Master Settings views provide you with different features. This guide explains how to switch between the two and what you can do in each.
Switching Between Client and Master Settings
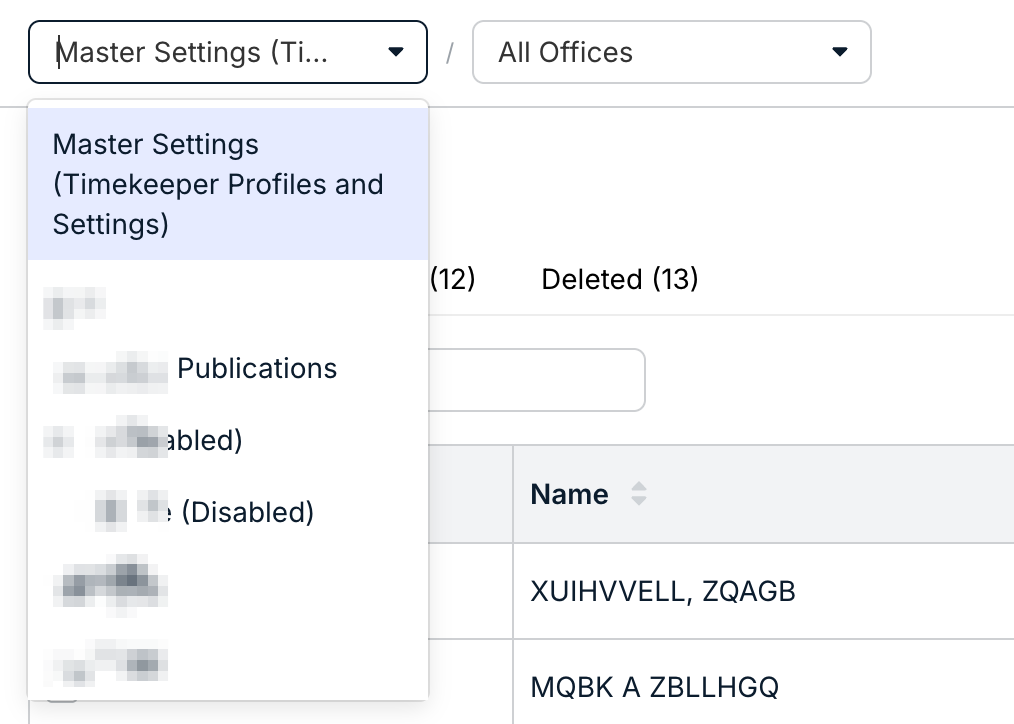
- Use the top drop-down menu to switch between Client settings and Master Settings.
The Master Settings (Timekeeper Profiles and Settings) option will be at the very top of the drop-down menu. Use the Offices drop-down menu to switch between offices.
Master Settings vs. Client Settings: Which One Are You In?
Within Master Settings, you'll see the Master Settings (Timekeeper Profiles and Settings) display in the upper left of the screen.

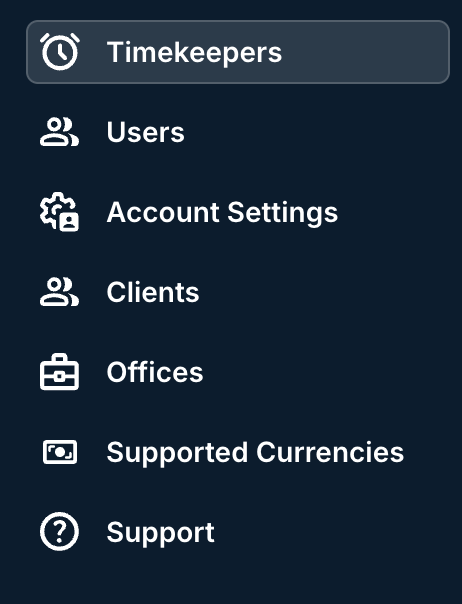
On the left-hand side menu, you'll see options for Timekeepers, Users, Account Settings, Clients, Offices, Supported Currencies, and the Resource Center.
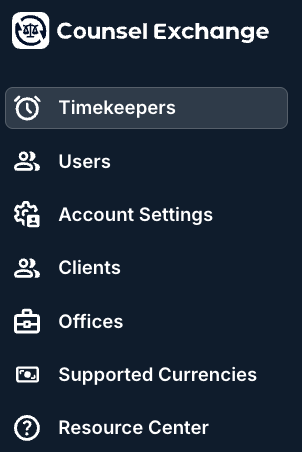
Within the Client View, you'll see the name of the client in the upper-left-hand corner.

The left-hand-side menus will depend on your specific product line.


Master Settings
Within Master Settings, you can:
- View, adjust, and add timekeepers
- View, adjust, and add users (admin users only)
- Manage account settings (admin users only)
- View clients
- View and adjust offices (admin users only)
- View, adjust, and add supported currencies
- Access the Support function