Here's how to manage and edit timekeeper rate cards in Counsel Exchange:
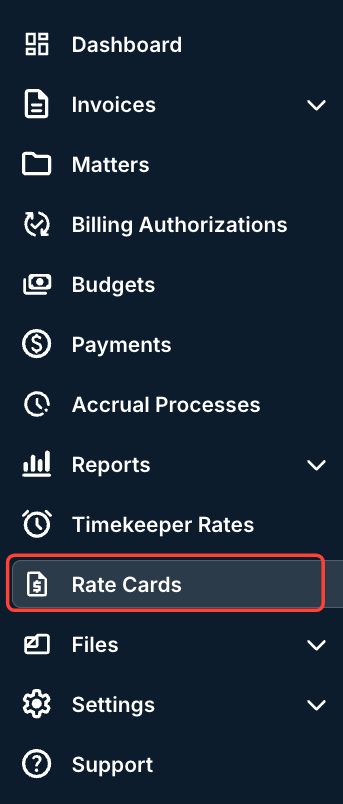
- In Counsel Exchange, go to the left-hand side menu and open up "Rate Cards."
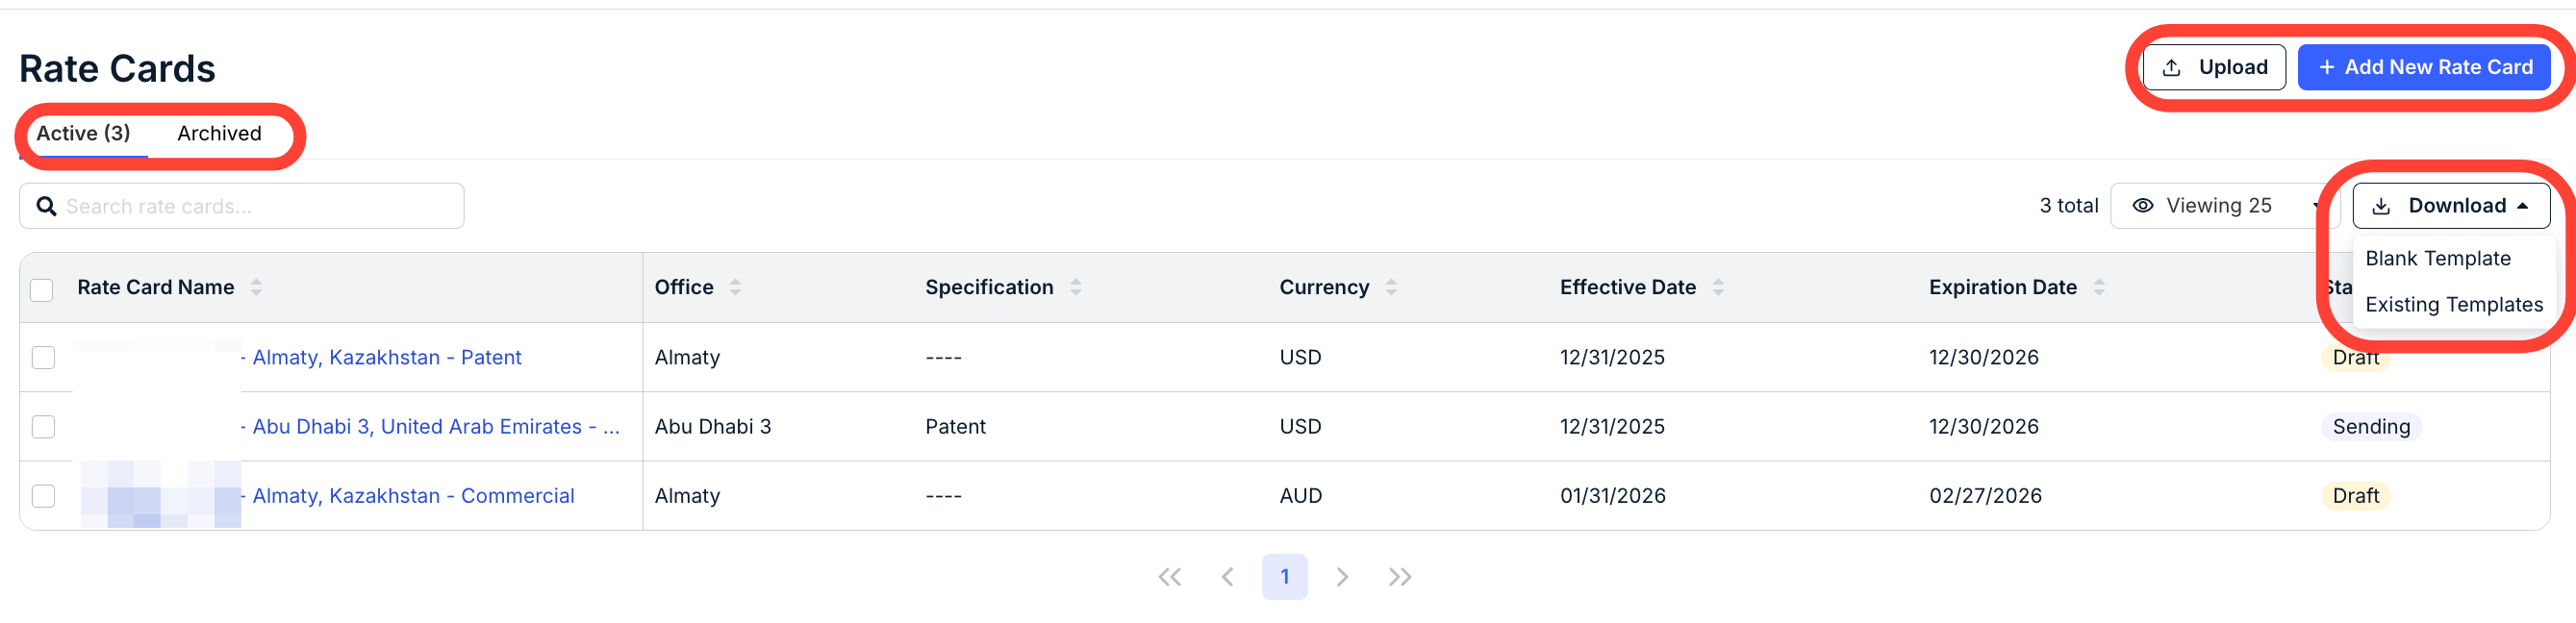
- The Rate Cards screen will appear.
You'll see the existing rate cards with key details, including Rate Card Name, Office, Specification, Currency, Effective Date, Expiration Date, and State. Click the up/down arrow at the top of each column to sort by that column. Use the search bar to search for a specific rate card. Use the Viewing drop-down menu to customize the number of rate cards you see on the screen. You can also switch between the Active and Archived tabs.
Click on Download to download either blank or existing templates; you can use them for Bulk Uploading Timekeeper rate cards. Click on Add New Rate Card to add a new rate card.
- To archive a file, click on the check box for the selected file.
You can also click the top check box next to Rate Card Name to select all rate cards.
Once you click the check box, the Archive option will appear. Click on Archive to archive the files.
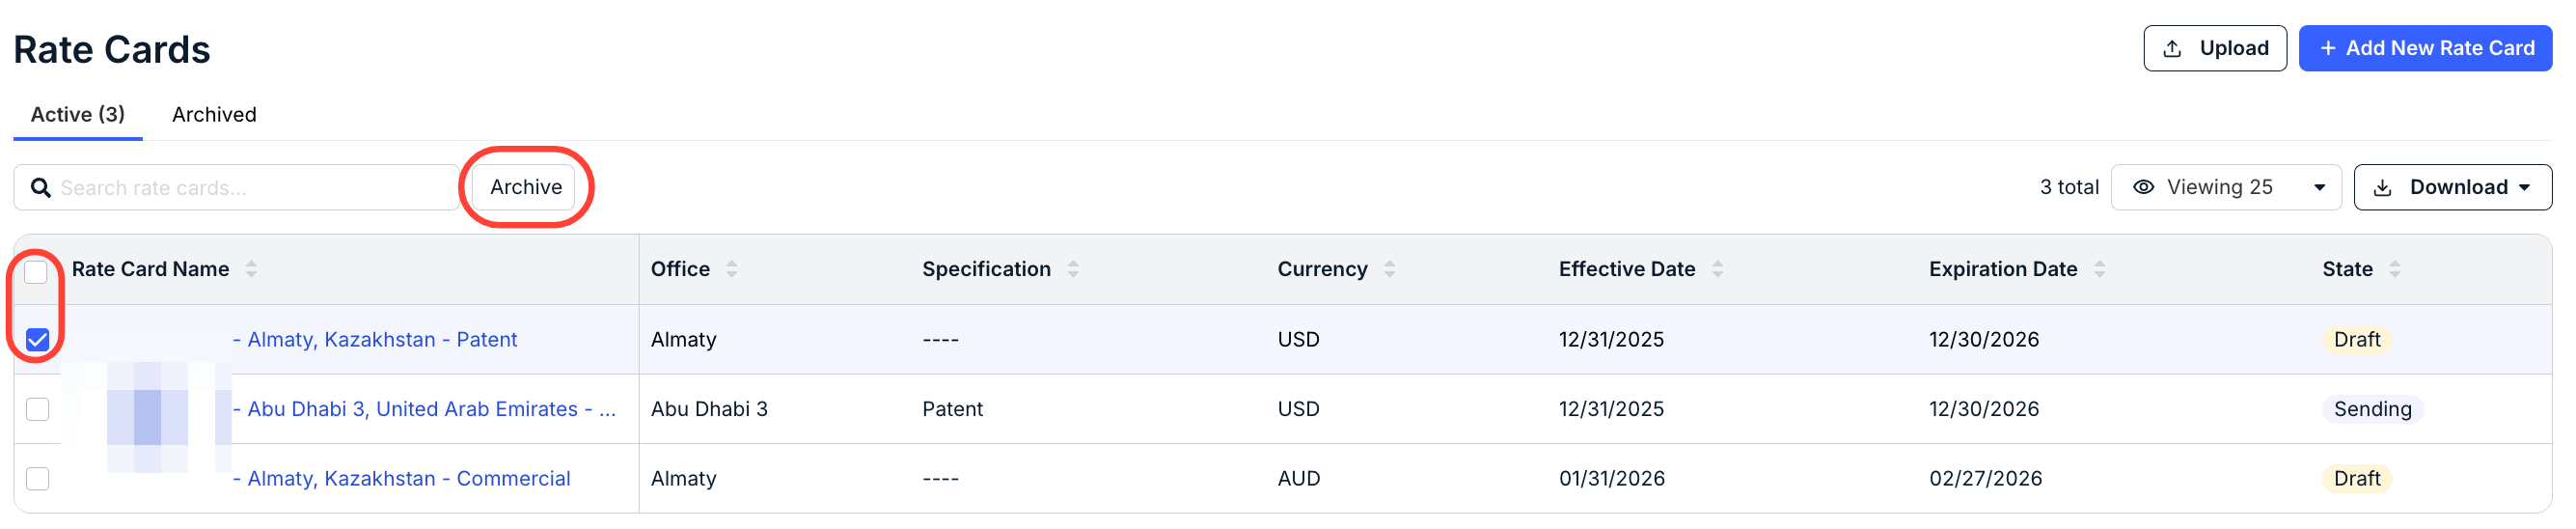
- To archive a file, click on the check box for the selected file.
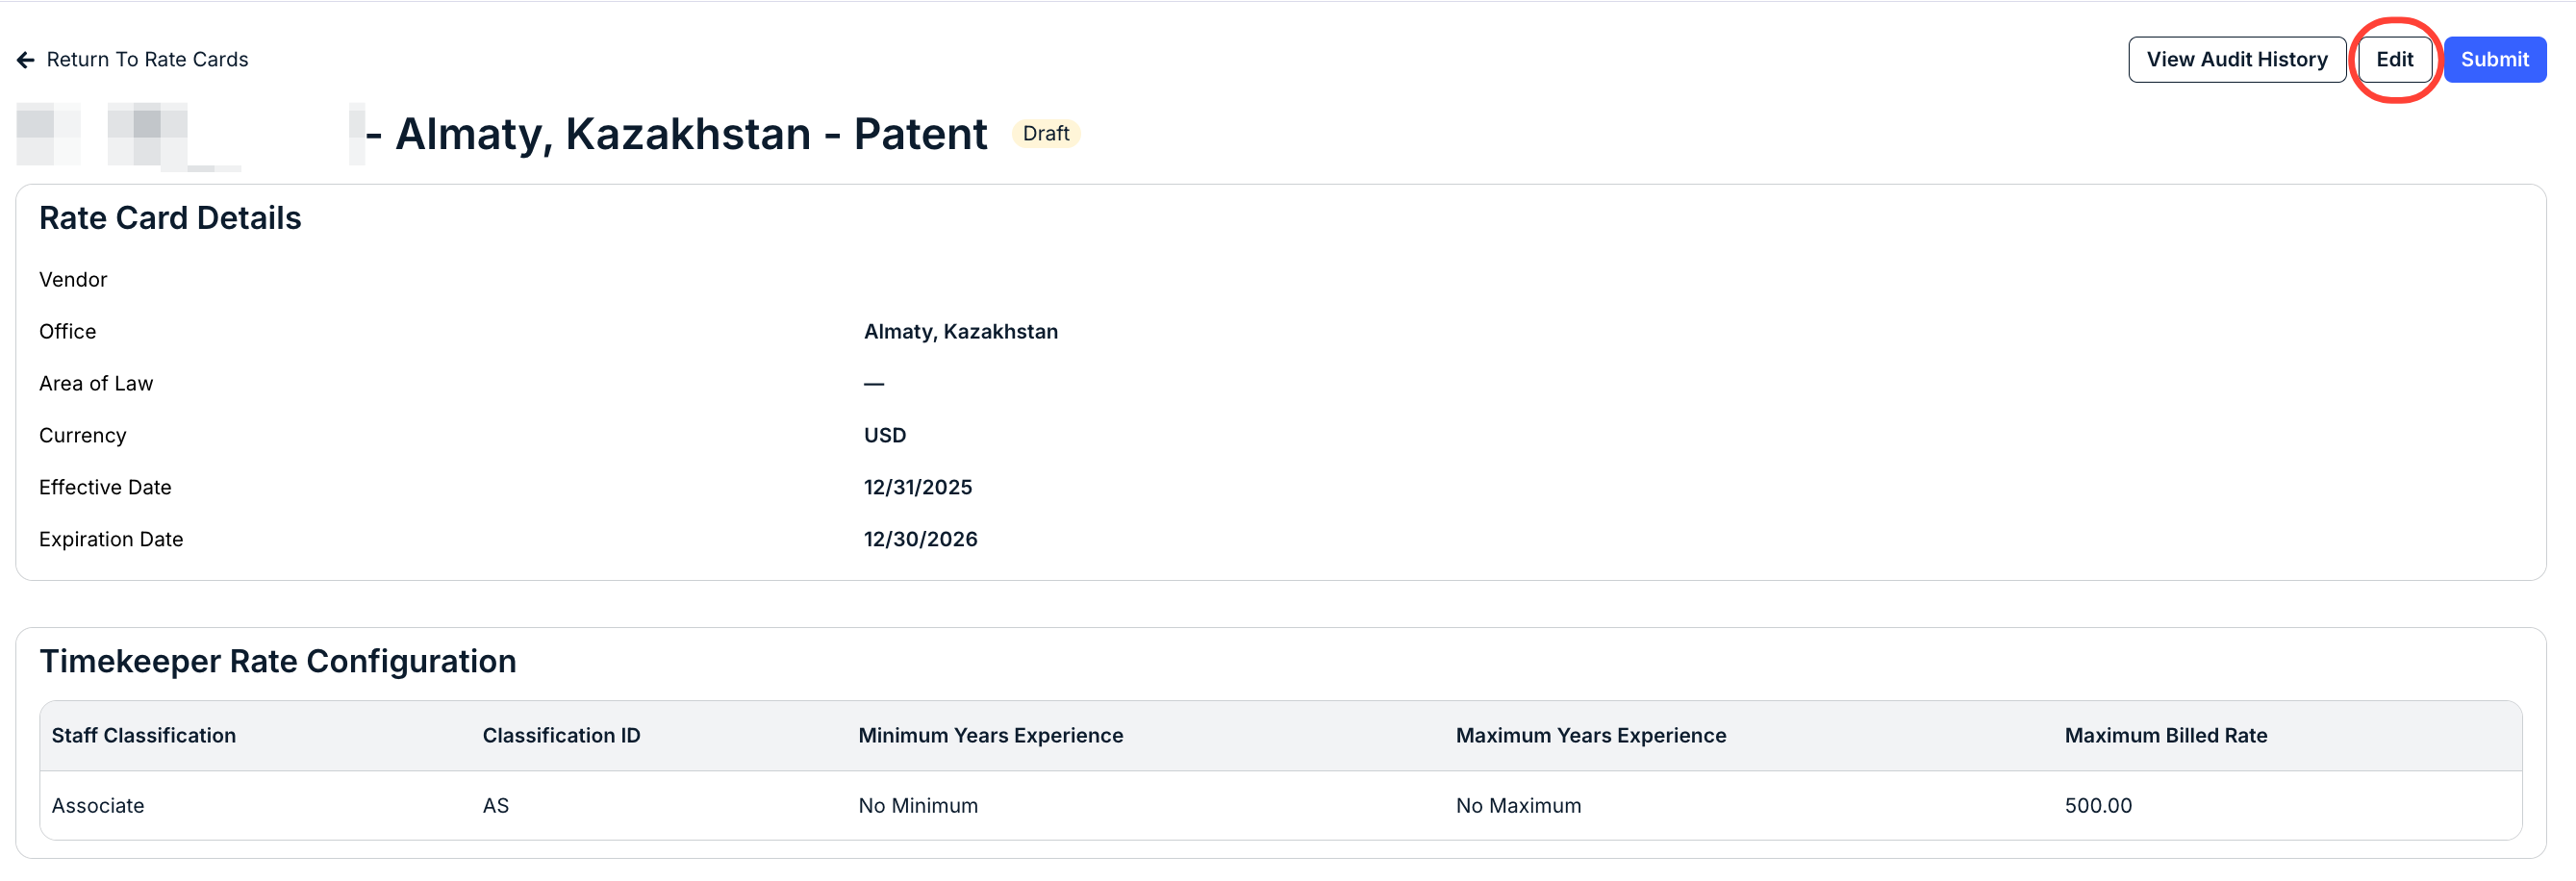
- Click an existing rate card to manage and edit it.
The rate card details screen will appear. Here, you can see the key rate card details, including Vendor, Office, Area of Law, Currency, Effective Date, and Expiration Date.
Click on View Audit History to view the audit history.
Click on Edit to edit the existing details.
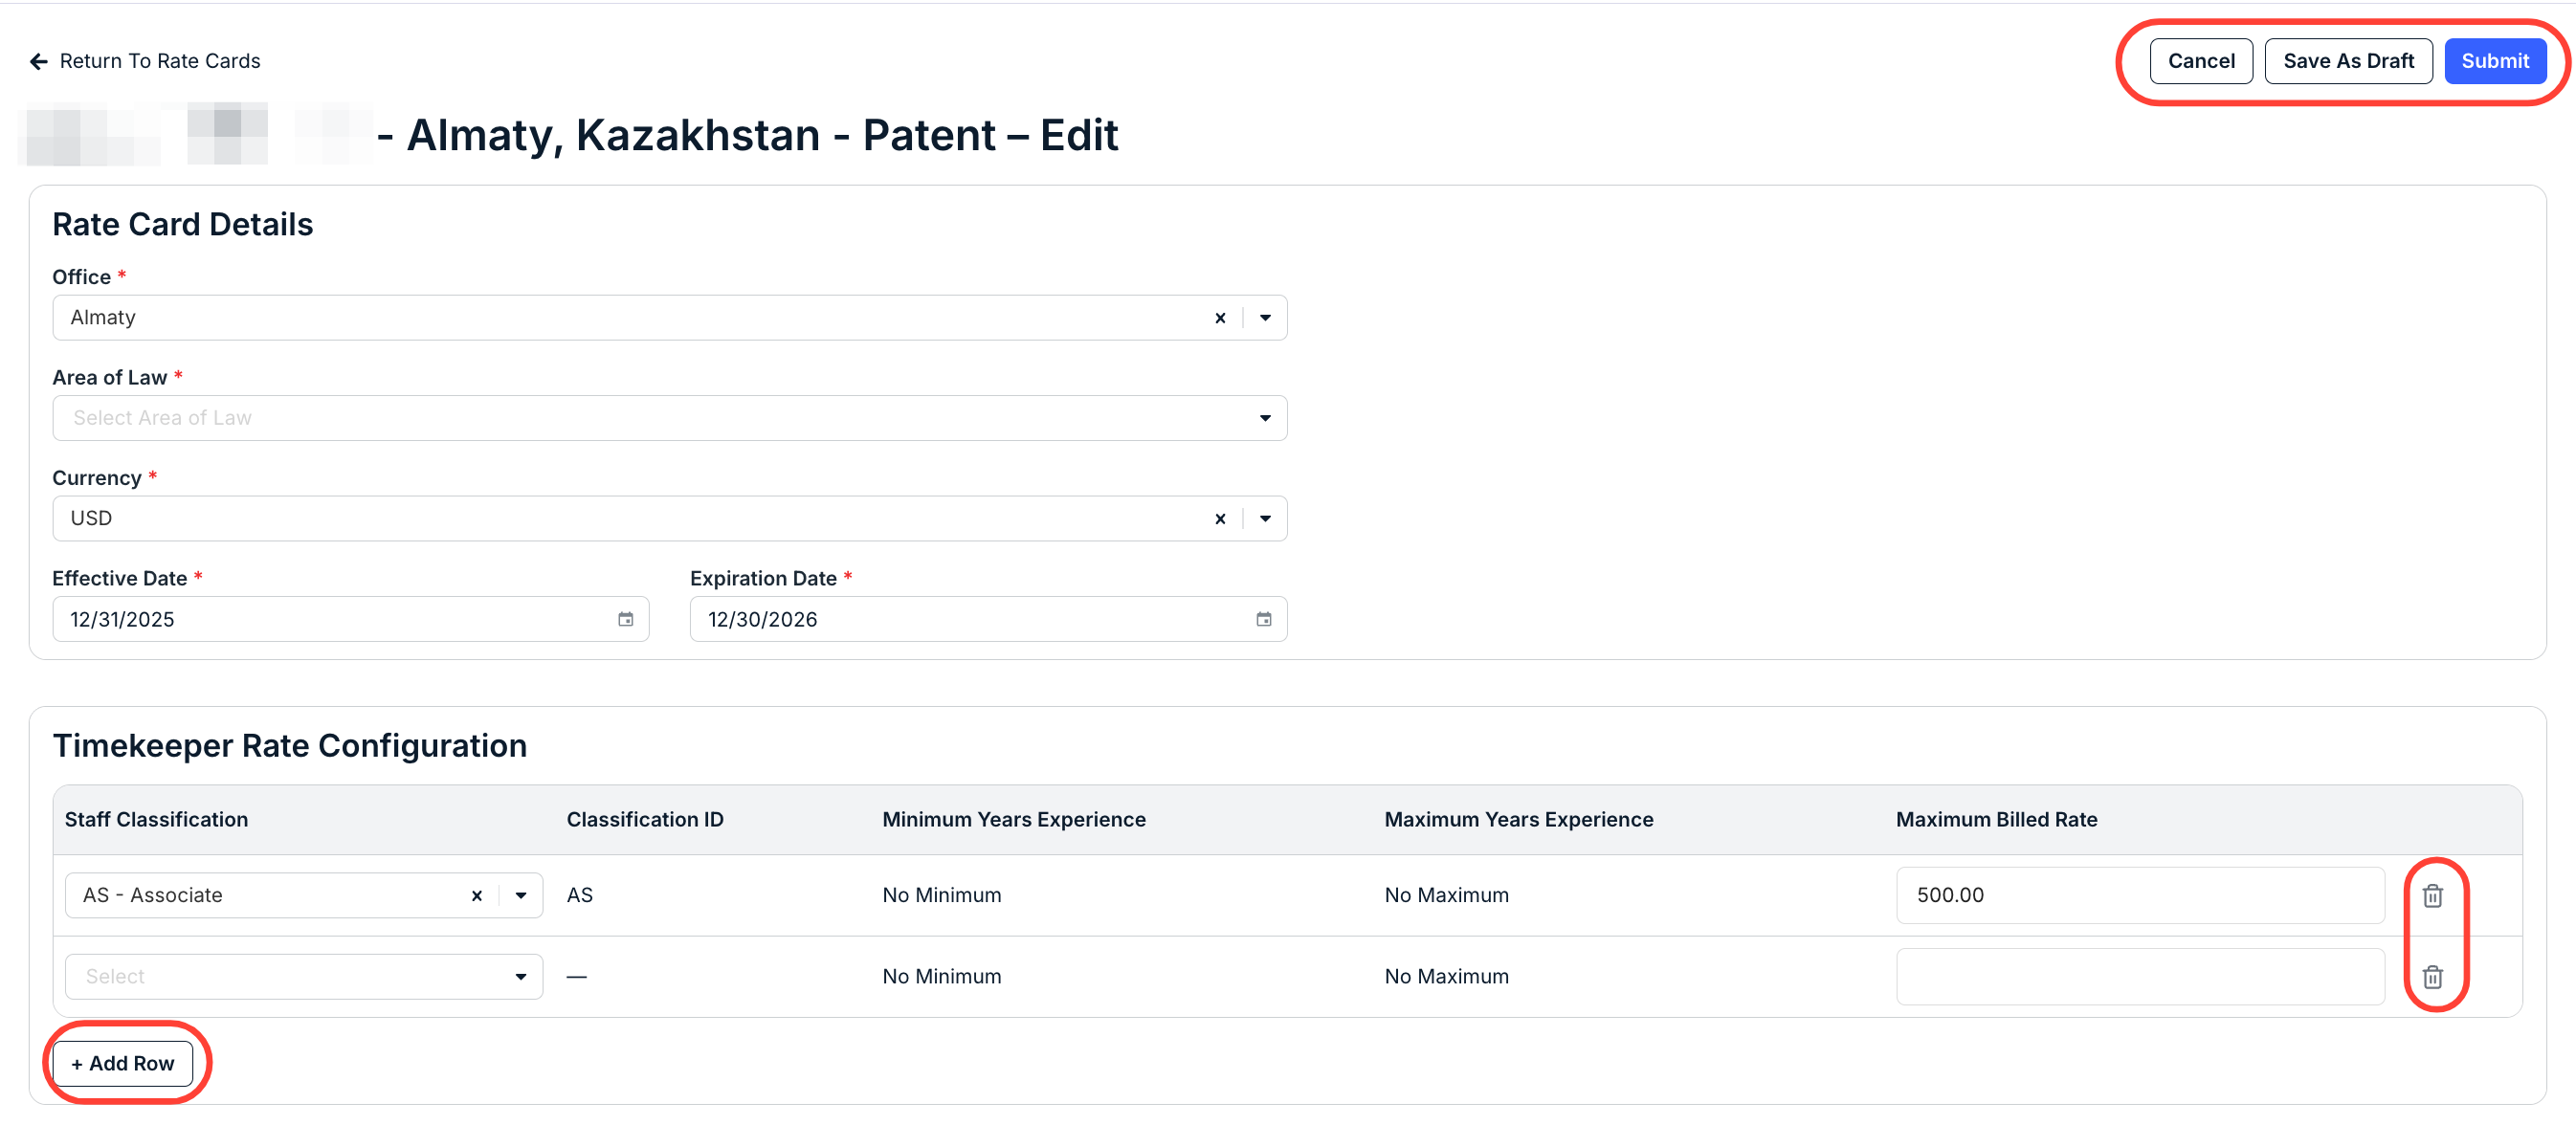
- On the Edit Rate Card screen, you can edit the key rate card details.
You can edit the Office, Area of Law, Currency, Effective Date, and Expiration Date.
Under Timekeeper Rate Card Configuration, you can adjust the Staff Classification and Maximum Billed Rate on each row. Click the Delete (trash can) option to remove a row.
Click Add Row to add another row to the rate card.
Once you're done, click on Submit to send to the client, Save as Draft to save as a draft and come back to the rate card, or Cancel to back out.
- On the Edit Rate Card screen, you can edit the key rate card details.