Here's how to upload a LEDES invoice file in Counsel Exchange:
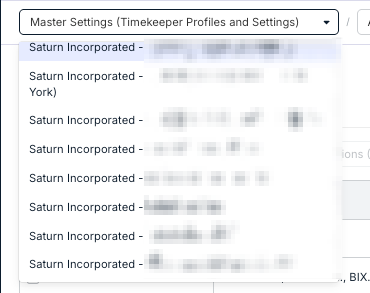
- Select your client from the top of the menu
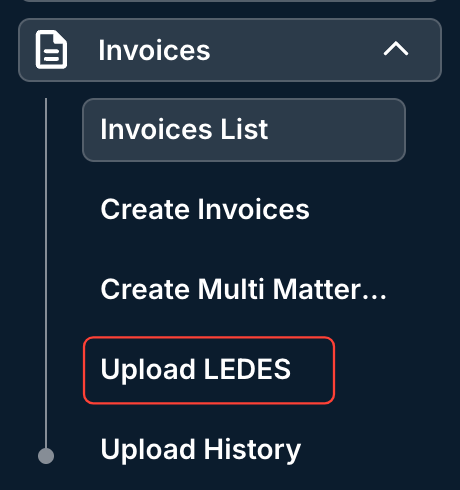
- Go to the Invoices section in the left-hand menu and click Upload LEDES.
-
- Fill out the Invoice Details & Upload screen.
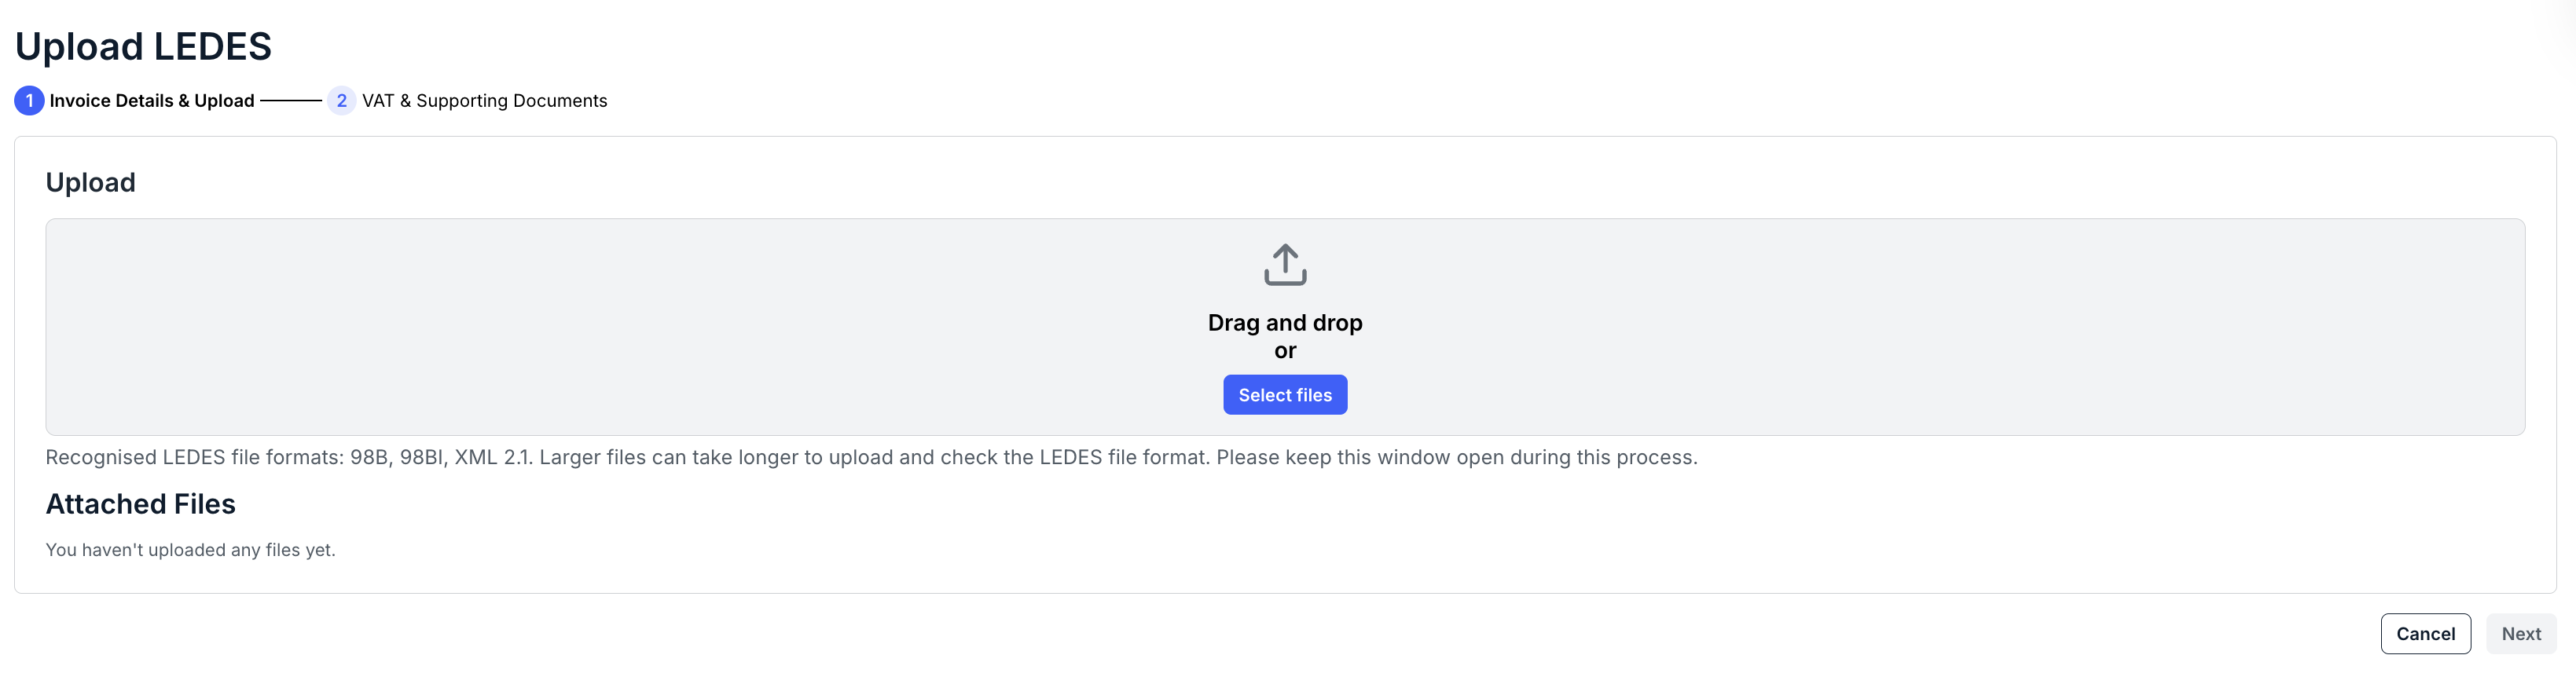
- Upload the LEDES file.
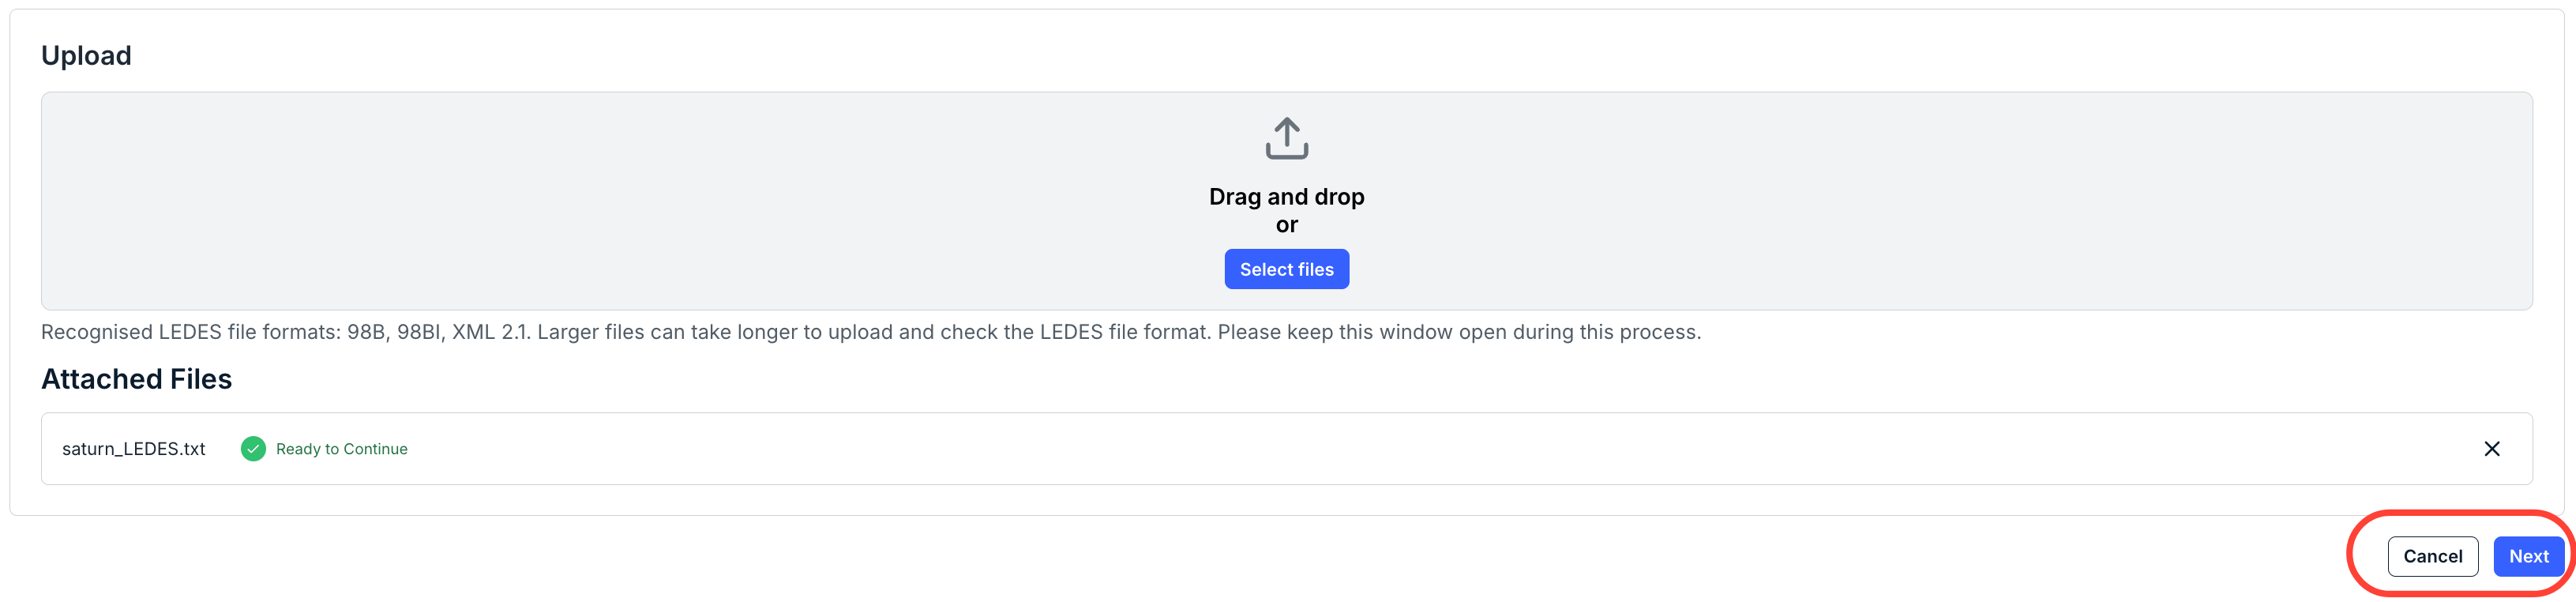
You can either drag-and-drop the LEDES file or click Select Files to find and upload the file. Supported files include: 98B, 98BI, and XML 2.1. Larger files can take longer to upload and check the LEDES file format. Please keep this window open during this process.
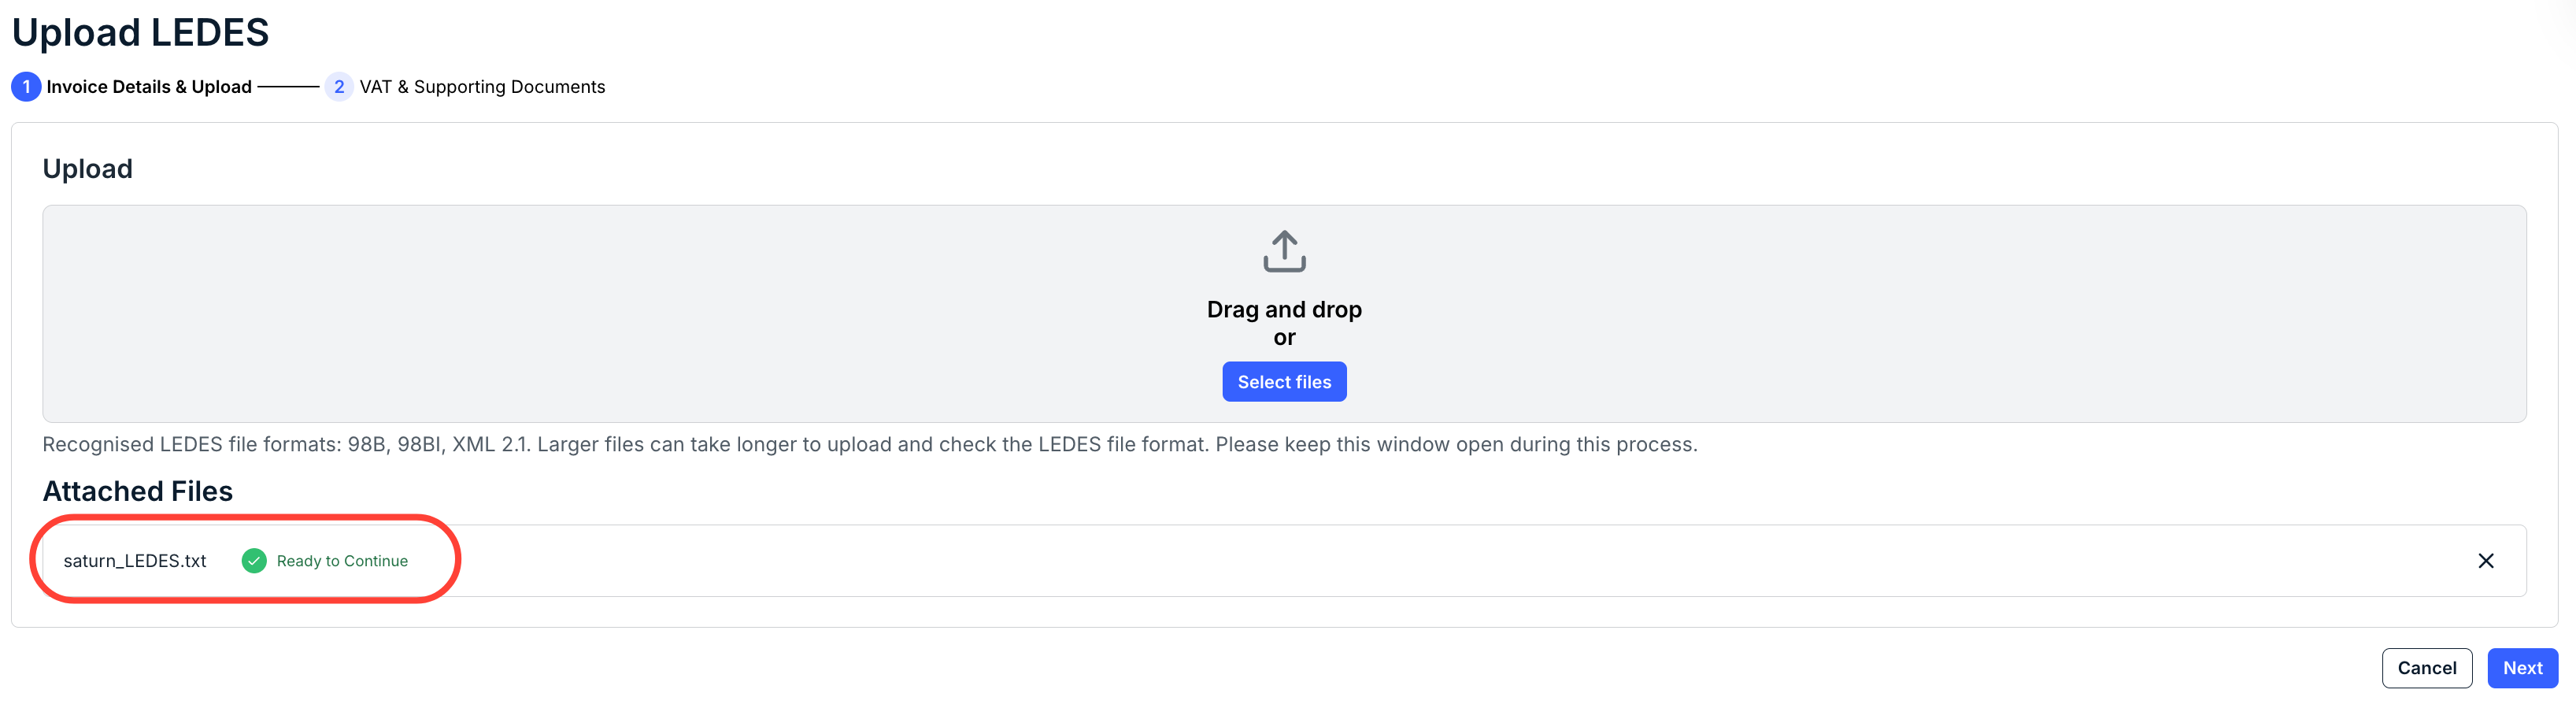
A successful LEDES upload will appear in the Attached Files section with the Ready to Continue message. Click the X to remove the upload.
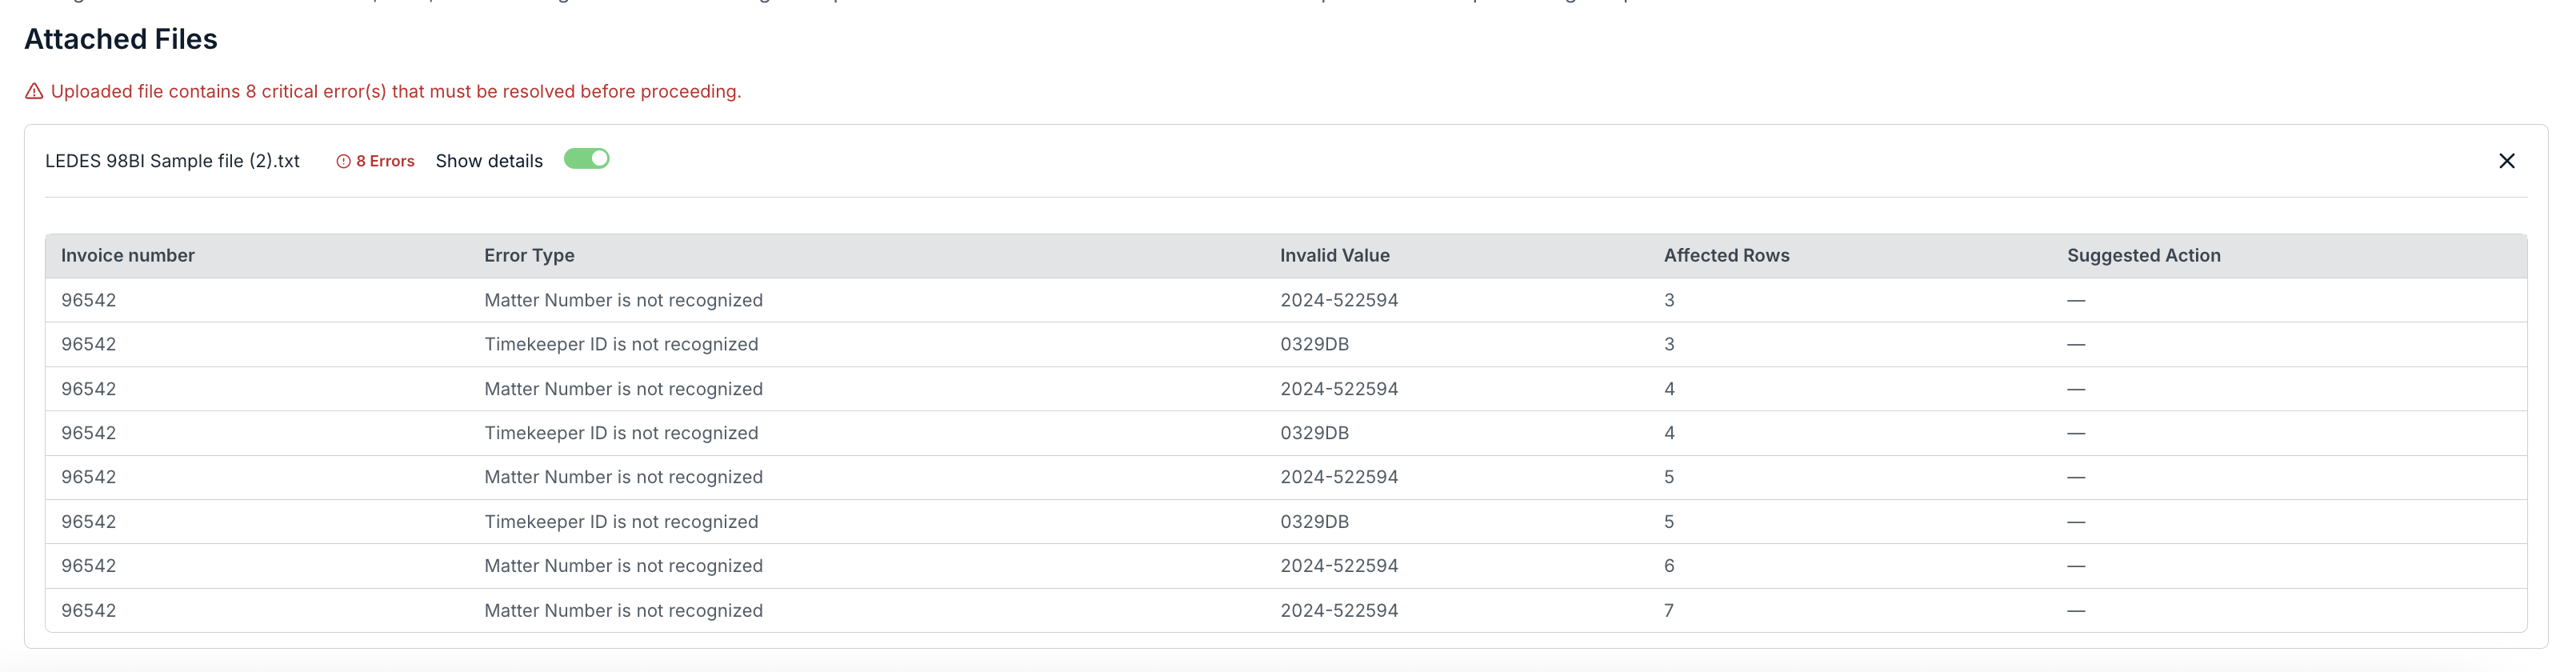
Unsuccessful LEDES uploads will show a Critical Error message. Toggle Show Details to see the details of the error. Resolve the error and re-upload the file.

- When you're ready to upload the file, click on Next.
You can also click on "Cancel" to back out.
- Upload the LEDES file.
- Fill out the VAT & Supporting Documents Screen.
Select the invoices that include VAT and add appropriate attachments.
You can toggle Save/Submit, Link to a Related Invoice from the drop-down menu, and Upload any appropriate attachments.

- Click on Submit to finish uploading the LEDES file.
You can also click on Cancel to back out. Click Previous to go to the prior screen.

The invoice will appear in the main Invoice directory.
- Click on Submit to finish uploading the LEDES file.
- To see your LEDES upload history, click "Upload History" under the "Invoices" menu.
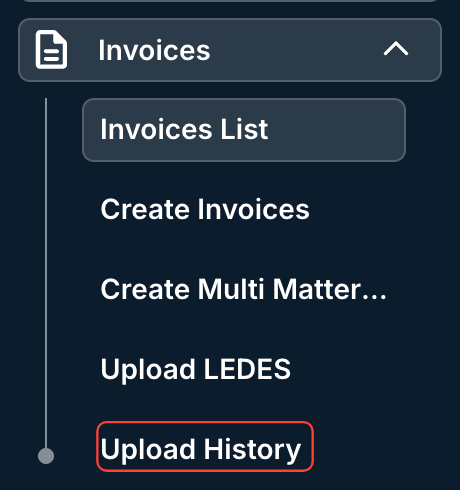
- The "Upload History" screen will appear.
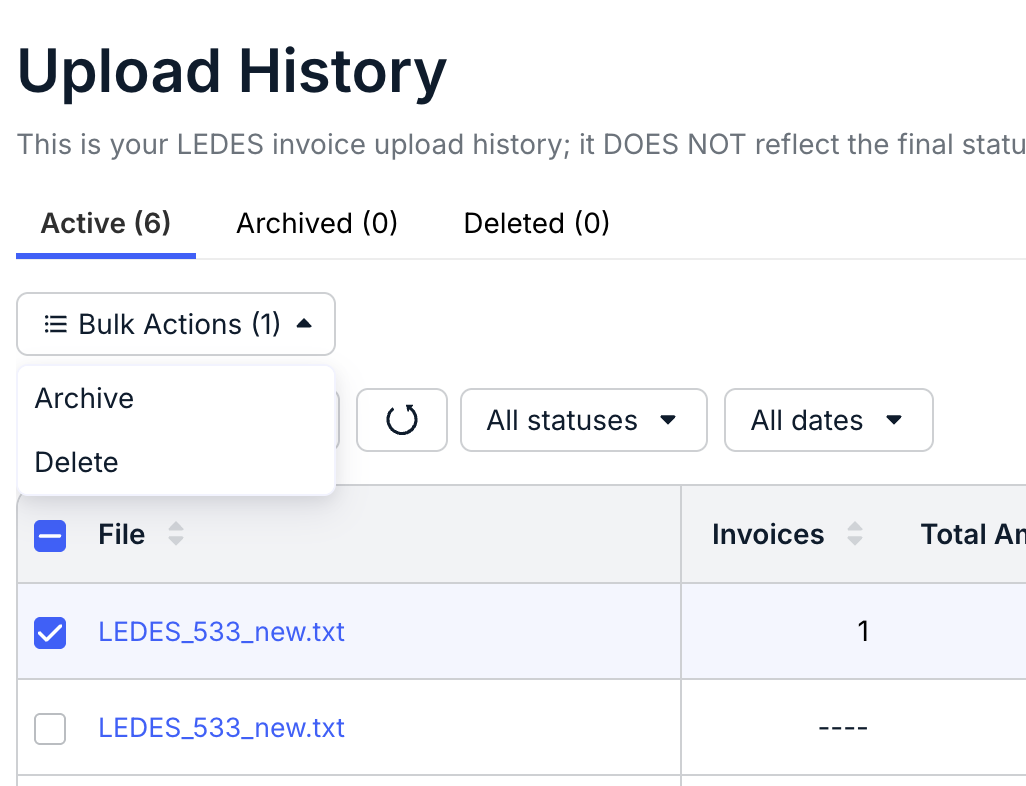
You can switch between the Active, Archived, and Deleted LEDES uploads.
On the main screen, you can see the name of the LEDES File, the number of Invoices, the Total Amount, Currency, Status, Error Message, and Uploaded On date. Use the Manage Filters and other drop-down menus to customize what you want to see on the screen. Use the Viewing drop-down menu to customize the amount of invoices you want to see on the screen.
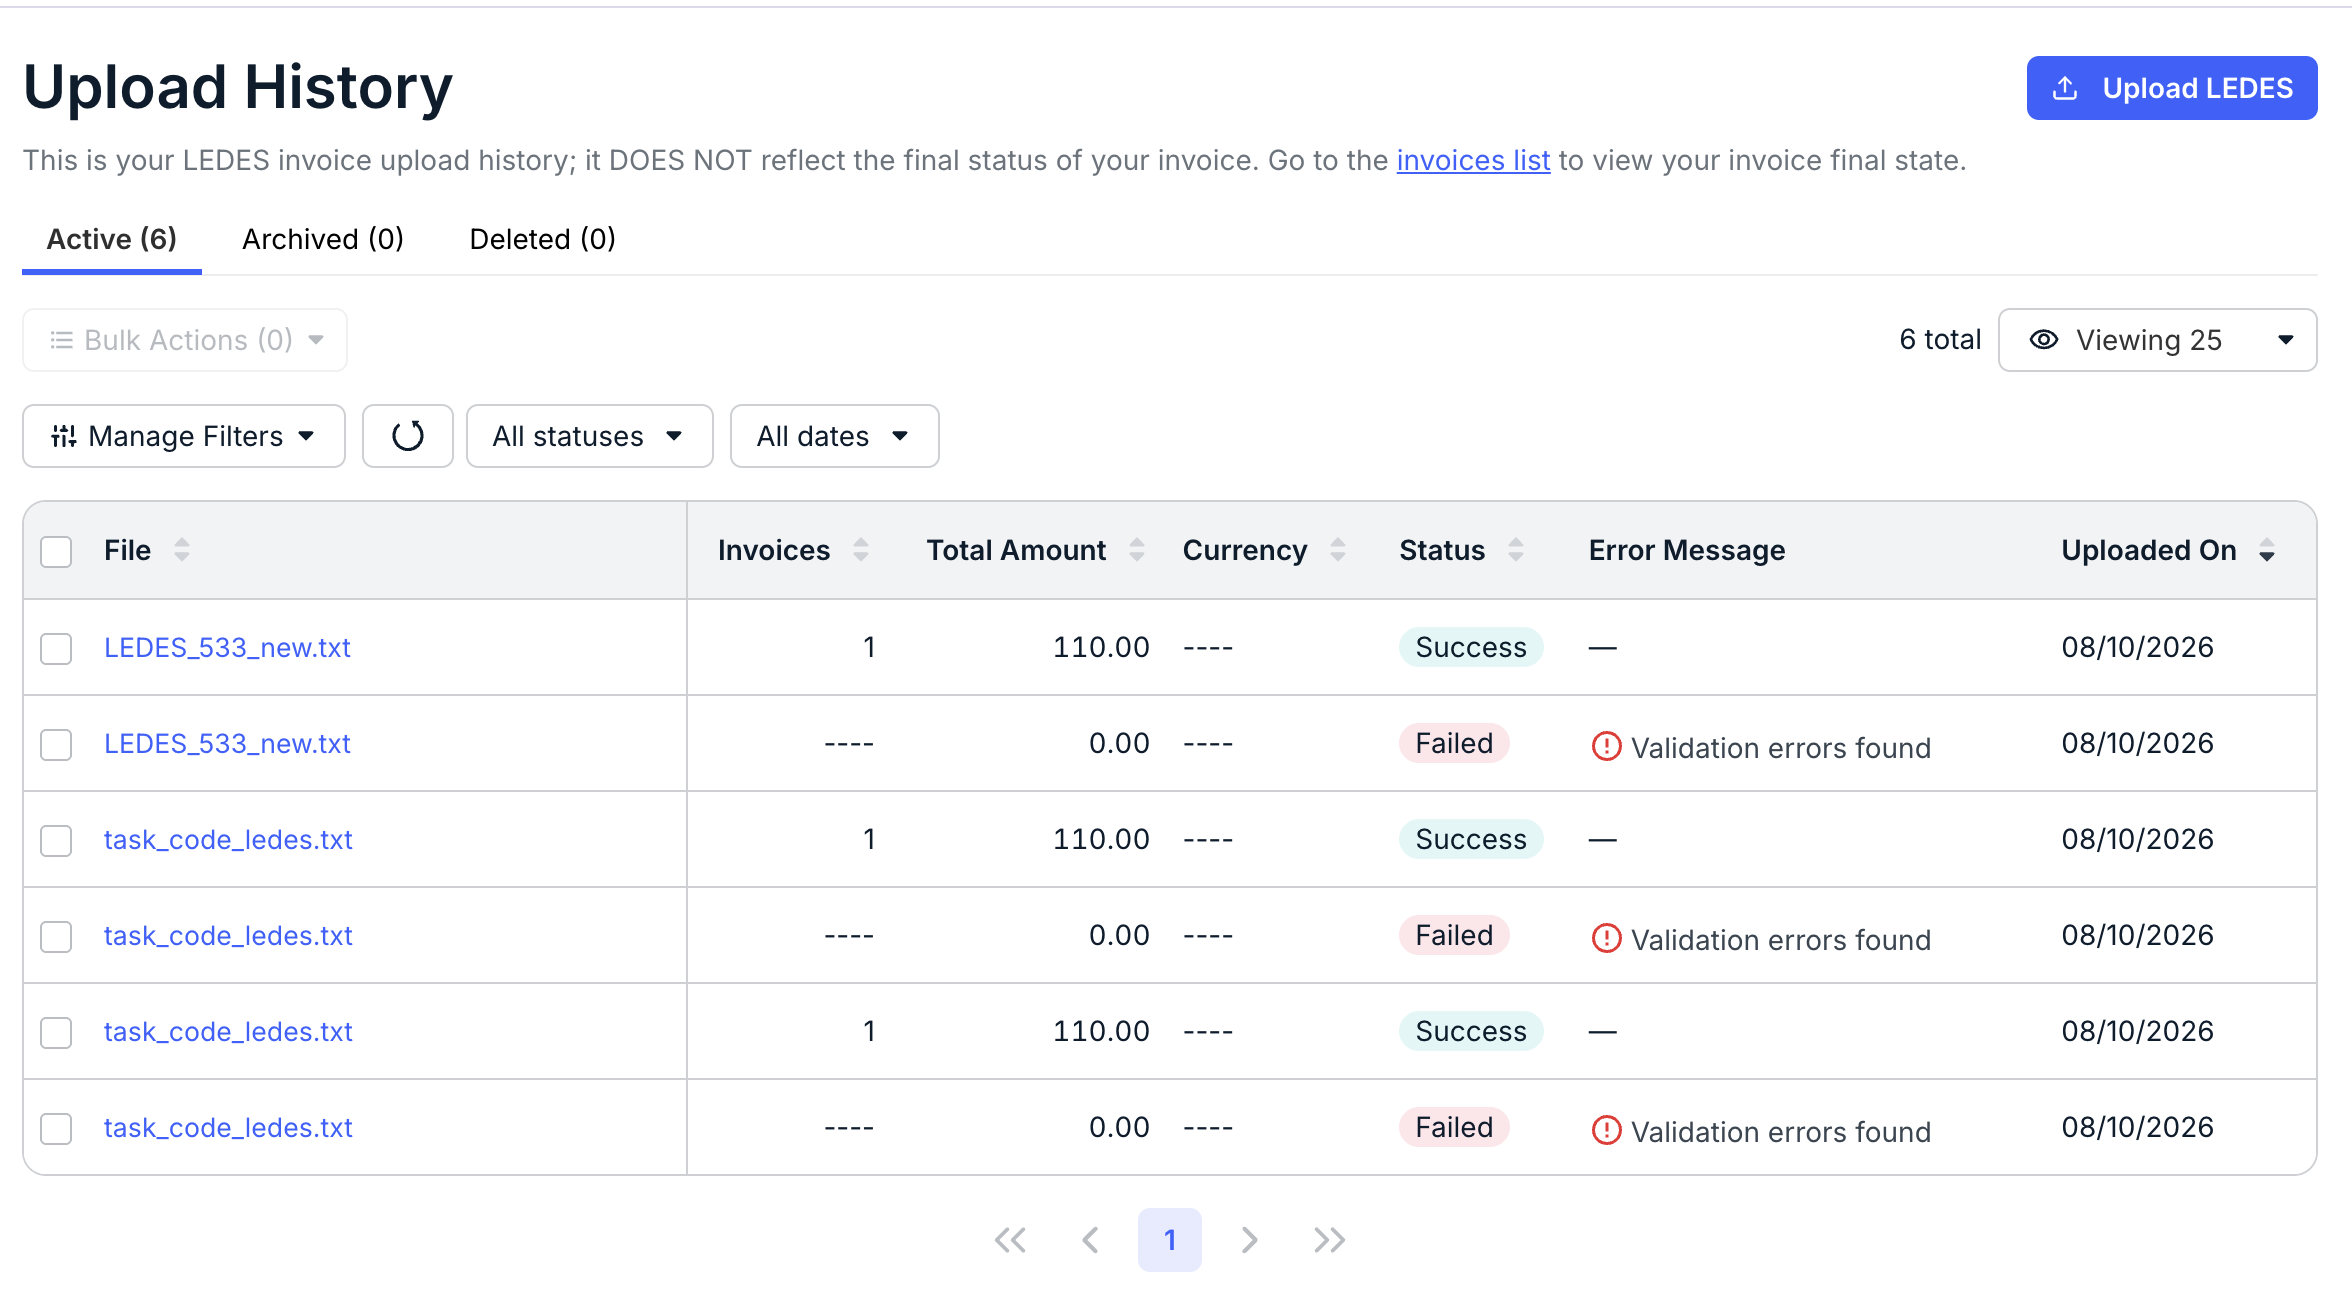
You can use the Bulk Actions drop-down menu and the check boxes next to individual files (or the top check box to select all) to bulk Delete or Archive files.
Common LEDES Errors
If you do not see any timekeepers populating on an invoice on the line items, but you do have timekeepers on line items in your LEDES file, there is likely a formatting issue with the file that must be address. Double-check the file format and attempt to upload again. Check this guide for examples to work off of. If the issue persists, submit a support ticket.
- The "Upload History" screen will appear.