The RFP feature in Counsel Exchange enables vendors to respond to client Requests for Proposal and provides a simple way to complete client questionnaires, outline their competitive advantages, and compete on price with other vendors.
For more information on using the Request For Proposal (RFP) feature to send proposals, click here to view the full user guide.
- If you have access to the RFP function in the Counsel Exchange, you will find RFP in the left-hand-side menu of Counsel Exchange after logging in to the standard client view.
- After logging in, you'll see the main Request for Proposal screen.
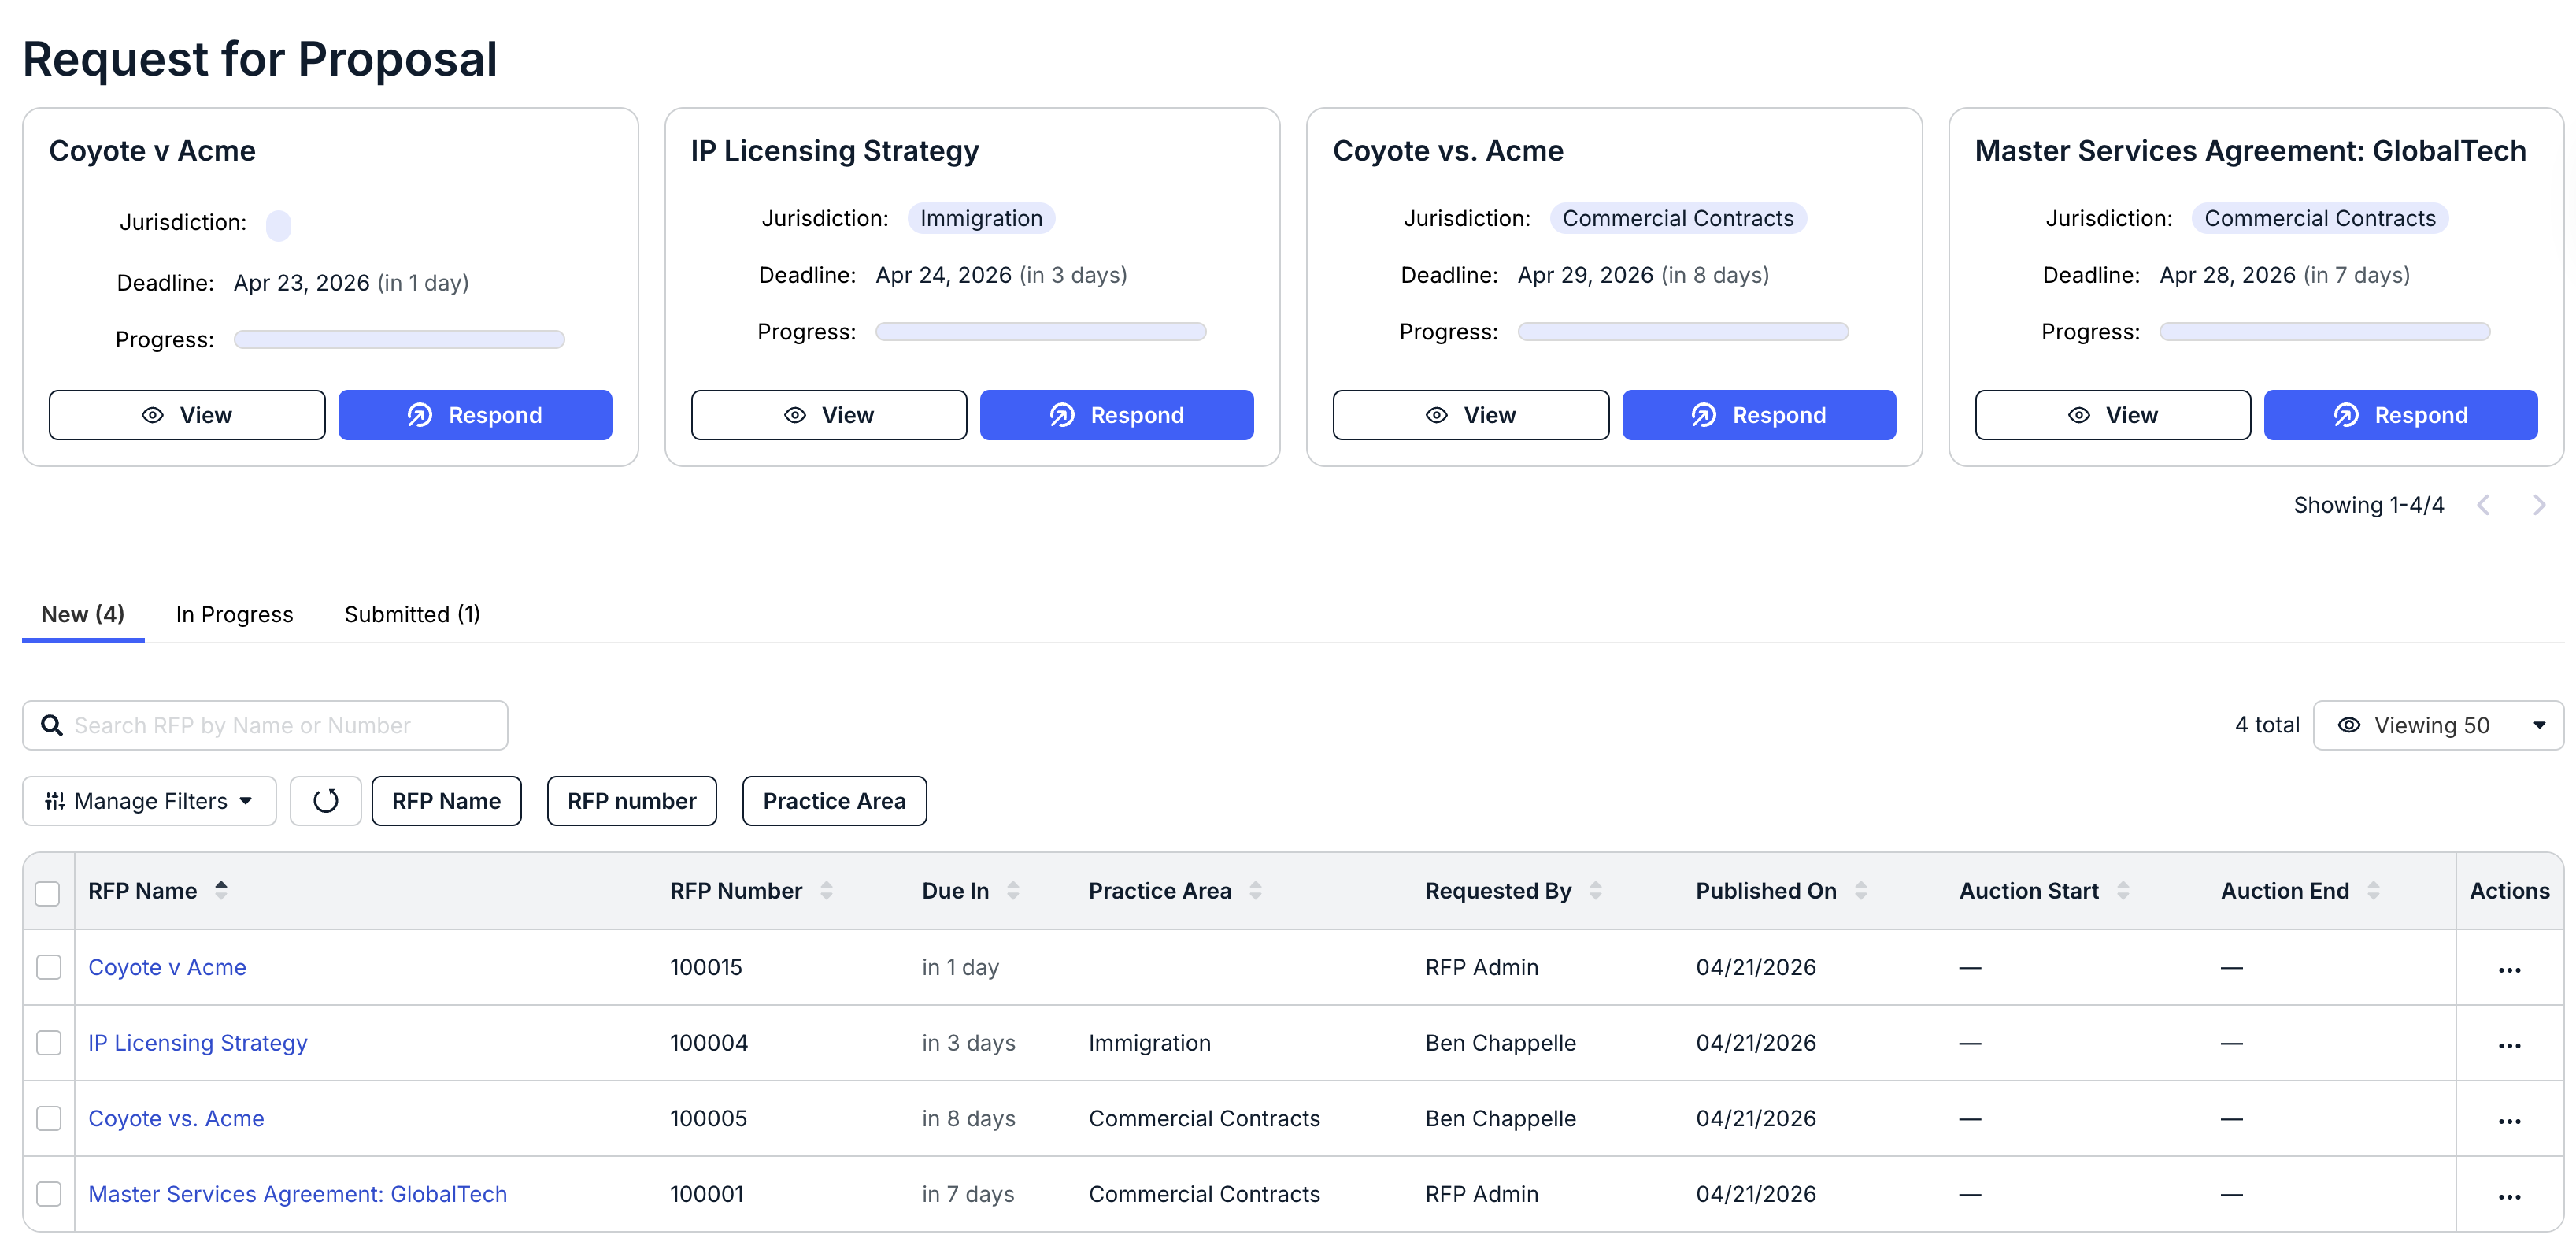
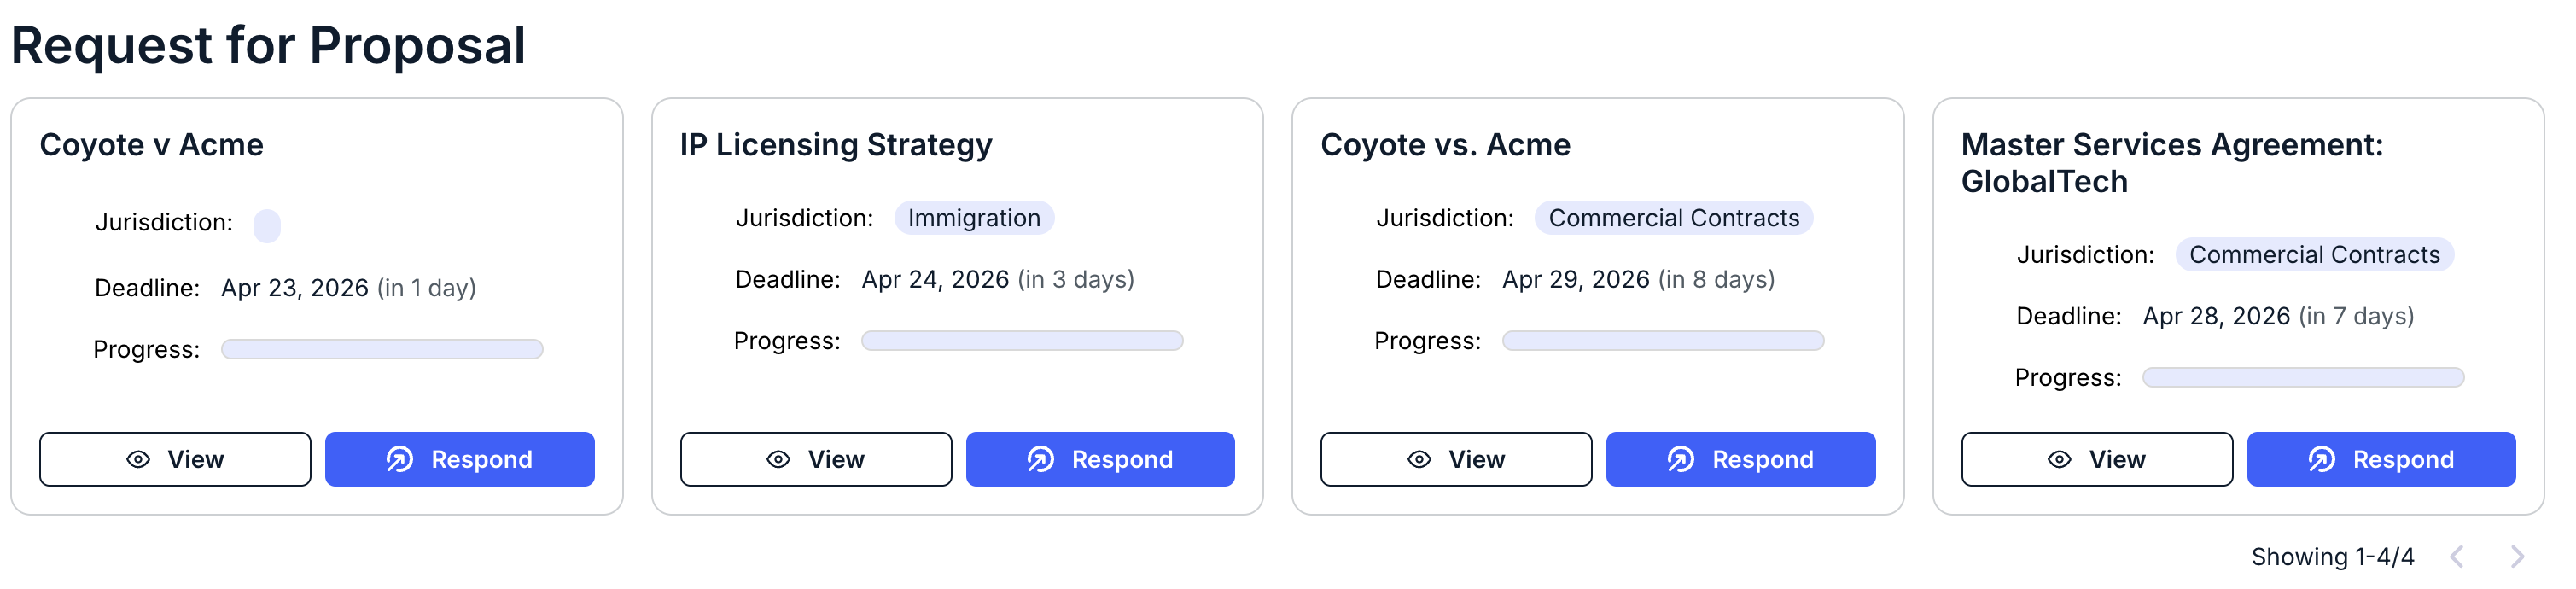
- The top of the screen will give you a quick look at new RFPs you can respond to.
You can see Jurisdiction, Deadline (and a countdown), and a Progress bar in each panel.
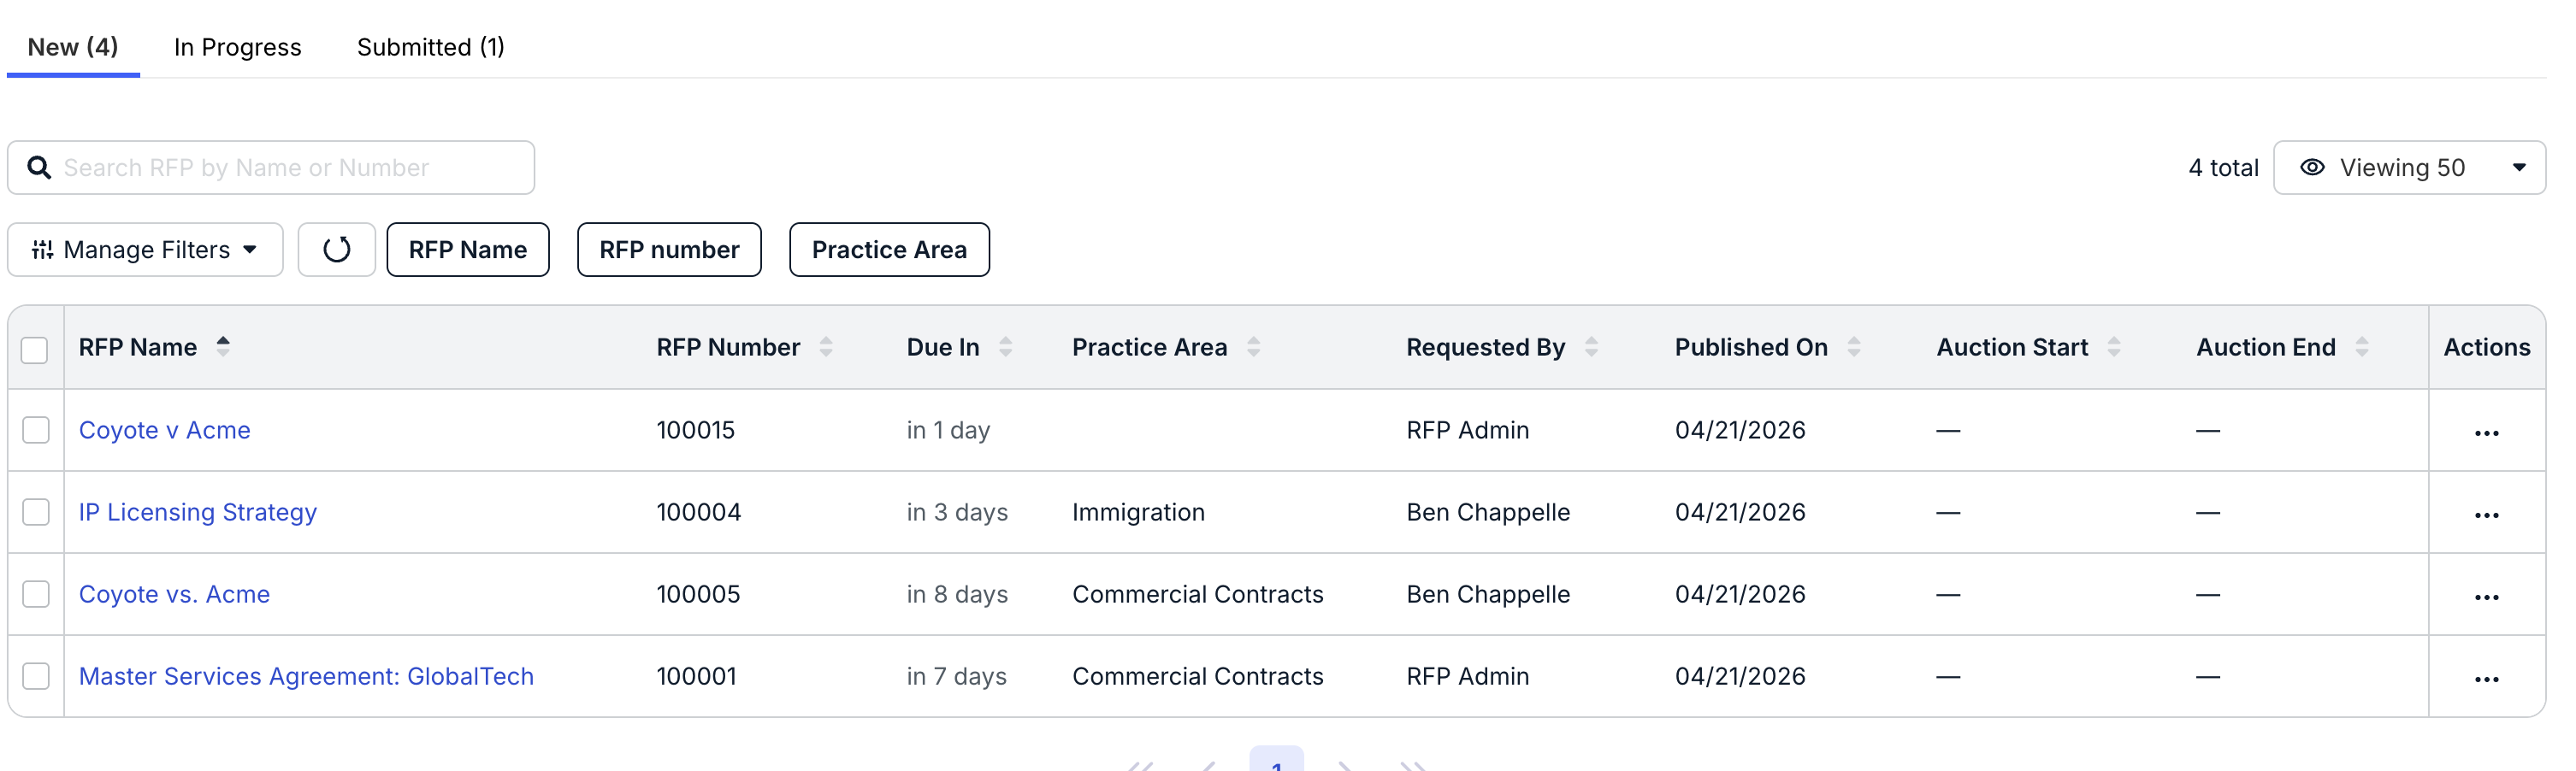
- The main directory shows you a list of all your RFPs: New, In Progress, and Submitted.
Use the top tab to toggle between New, In Progress, and Submitted RFPs.
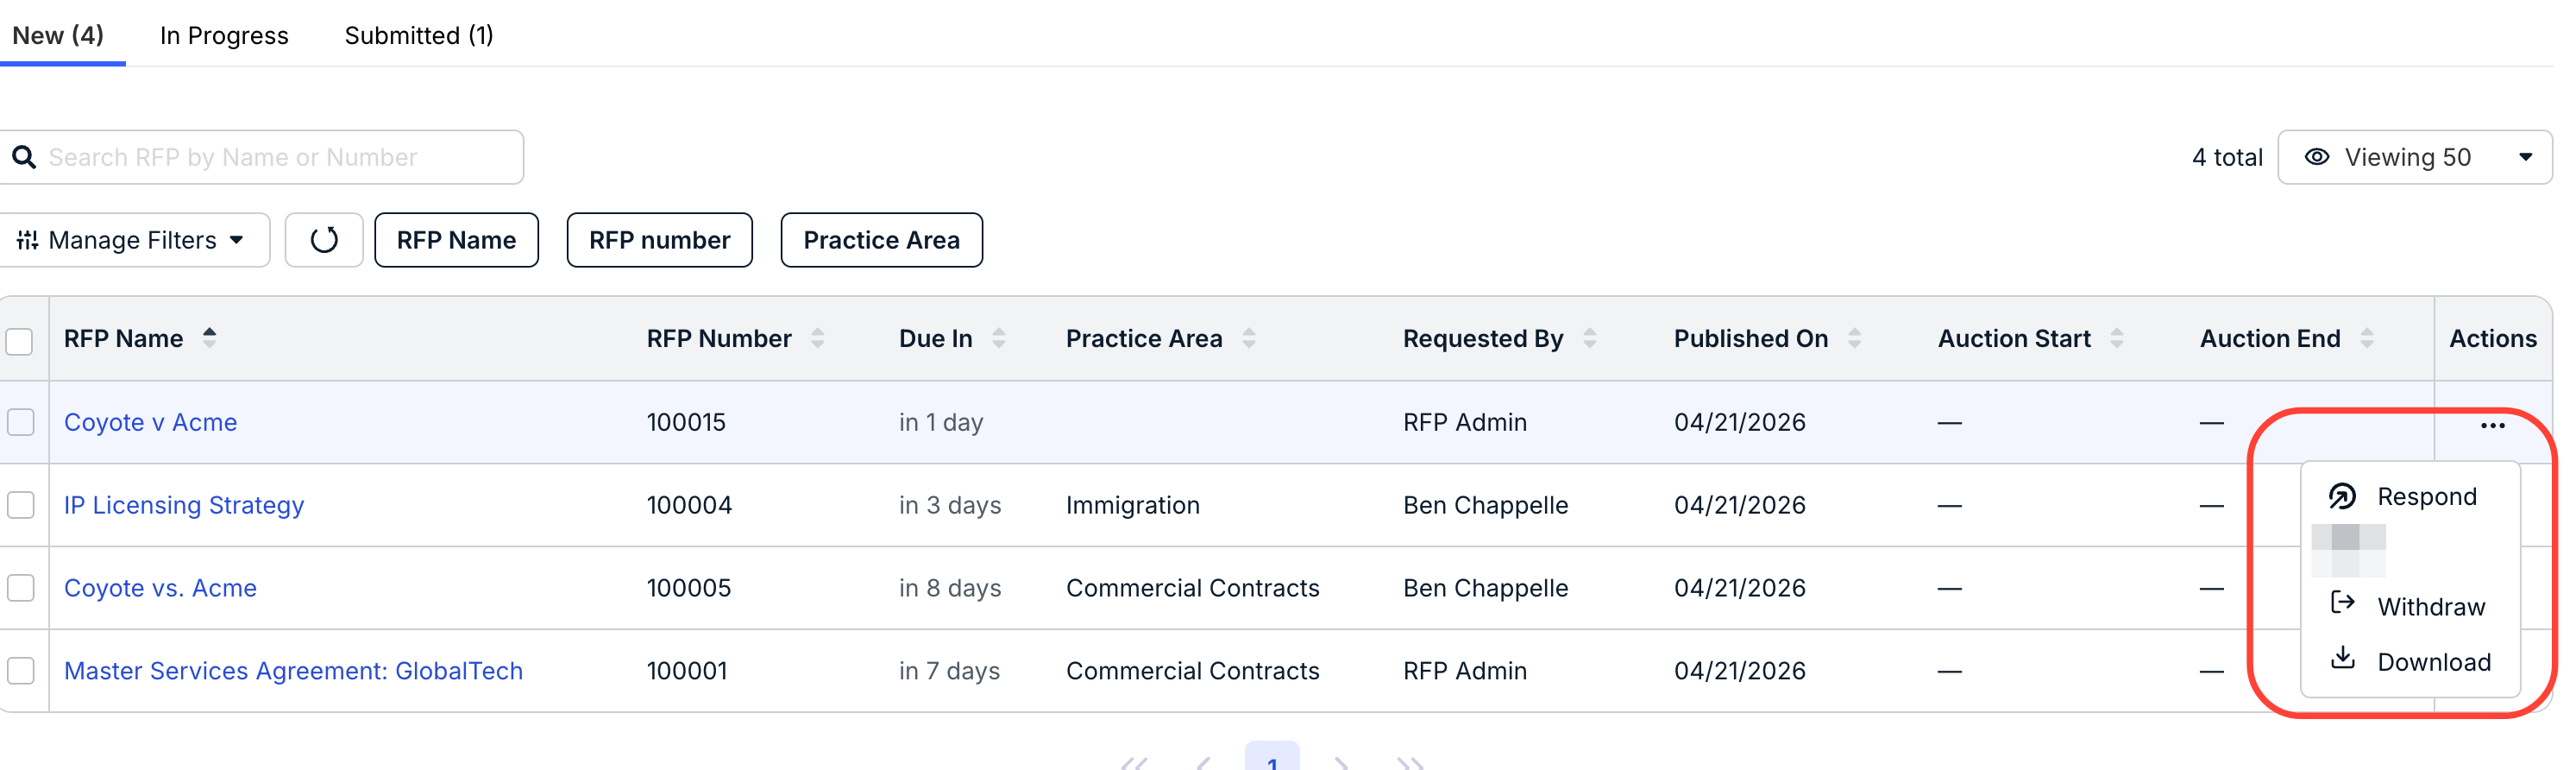
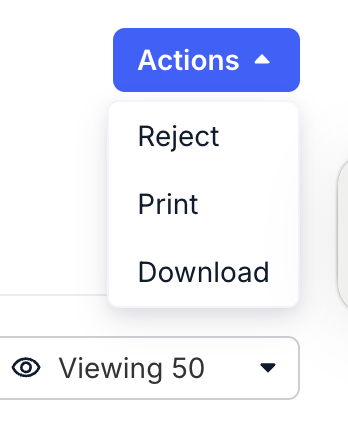
On this main screen, you can see the RFP Name, RFP Number, Due In countdown, Practice Area, Requested By name, Published On date, Auction Start and End dates, and an Actions tab. Click the arrow next to each column to sort by that column. You can also use the Manage Filters and other drop-down menus to filter for specific RFPs; use the Viewing drop-down menu to customize how many RFPs you want to see on the screen. Use the search bar to search for a specific RFP.
Under the Actions tab, you can:
- Respond to the RFP
- Withdraw (Decline) the RFP
- Download the RFP information
You can also click on a check box next to an individual RFP (or click the top check box to select all RFPs) and use the Bulk Actions menu to Decline (Withdraw) the RFP or Download the RFP information.

- To view the RFP information, click on "View" in the top panels or click on the RFP link in the directory.
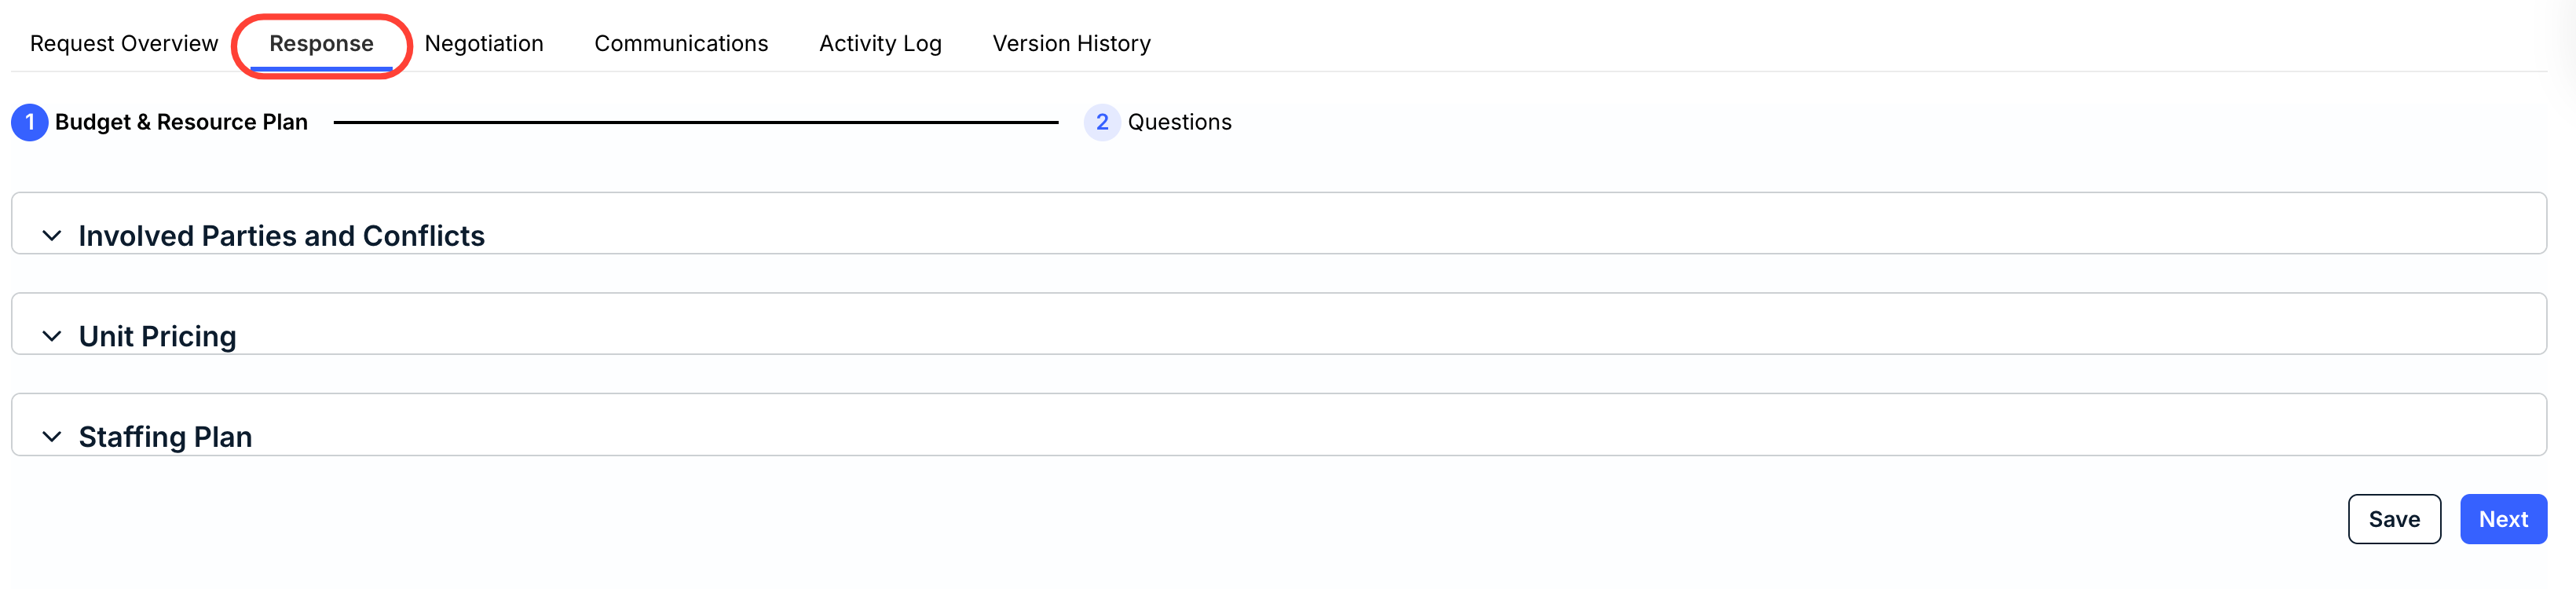
Either option will take you to the RFP details screen. There, you can see:
The Overview page, with RFP details, a summary, and an option to download attachments.

The Response page (more on that here).
The Negotiation page, for negotiation with the sender.

Any Communications with the sender.

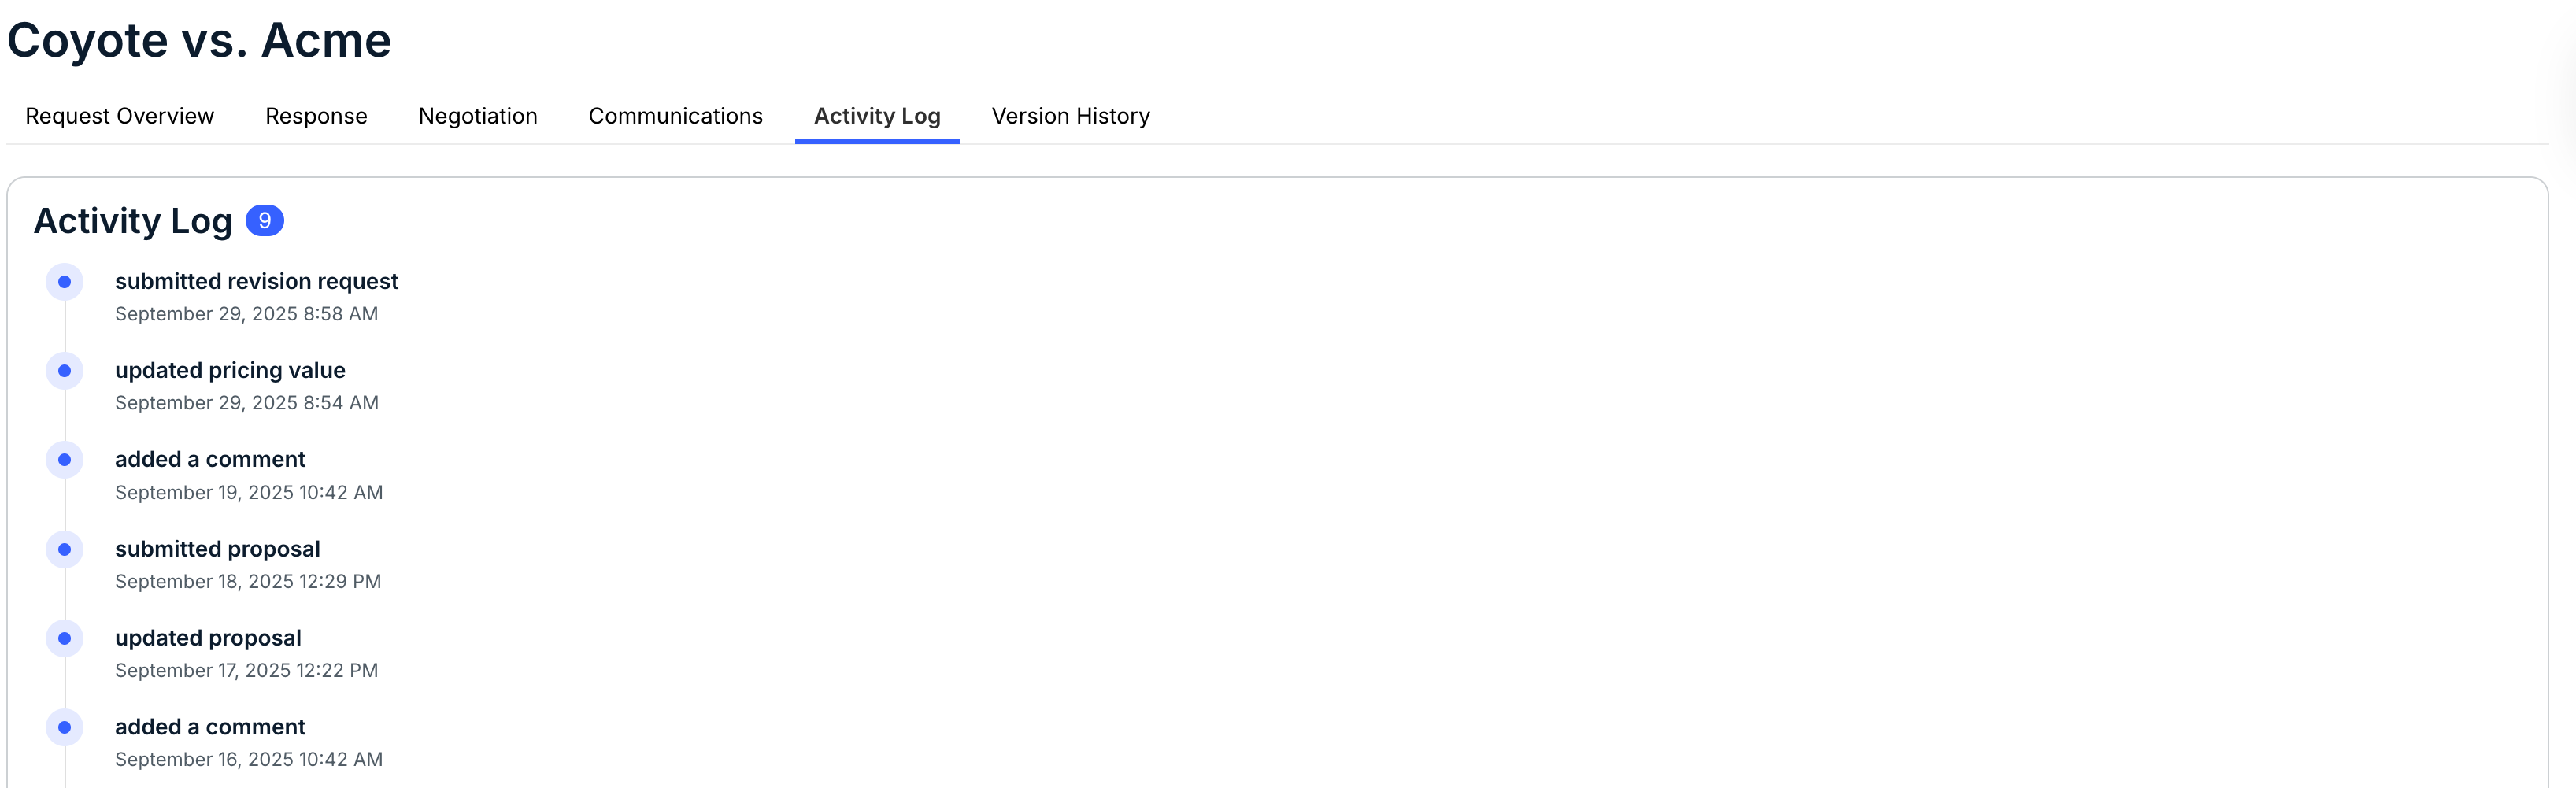
The Activity Log of actions taken on the RFP.
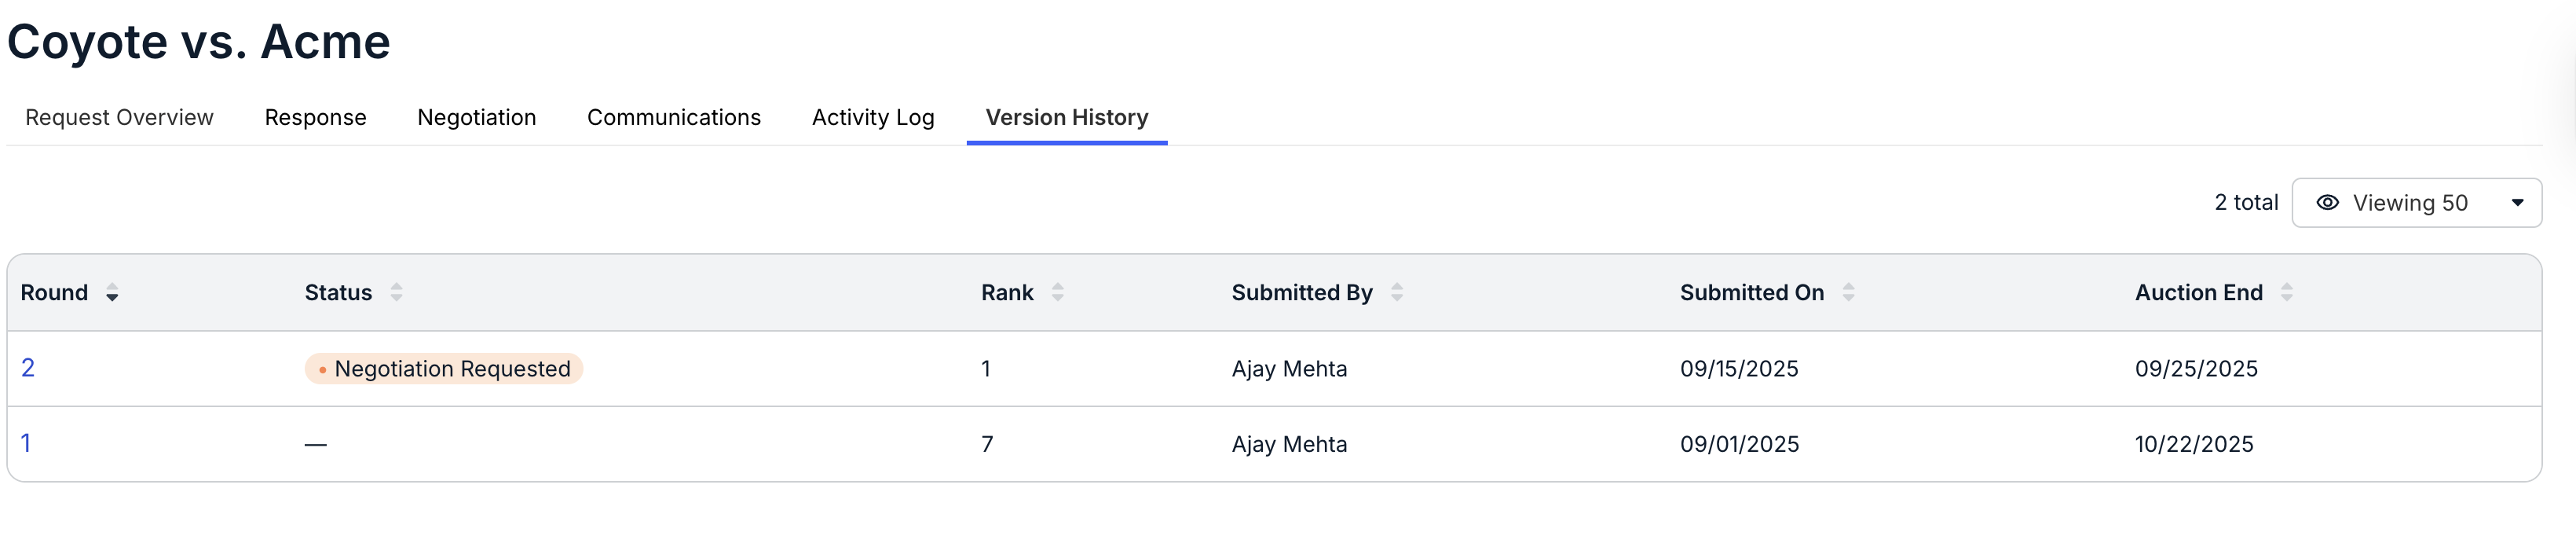
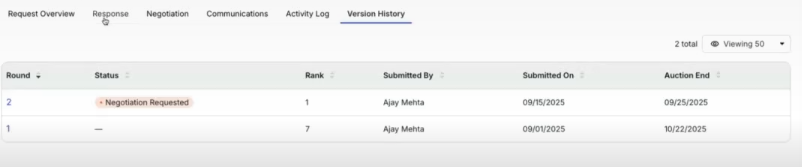
The Version History, whichdetails the different RFP versions throughout the process. Use the Viewing tab to determine how many versions you want to see on the screen.
At any time, you can use the Actions menu in the upper-right-hand corner to Reject/Decline/Withdraw, Print, or Download the RFP.
- The top of the screen will give you a quick look at new RFPs you can respond to.
- To Respond to the proposal, click the blue "Respond" button in the top panels or use the "Actions" menu in the main directory.
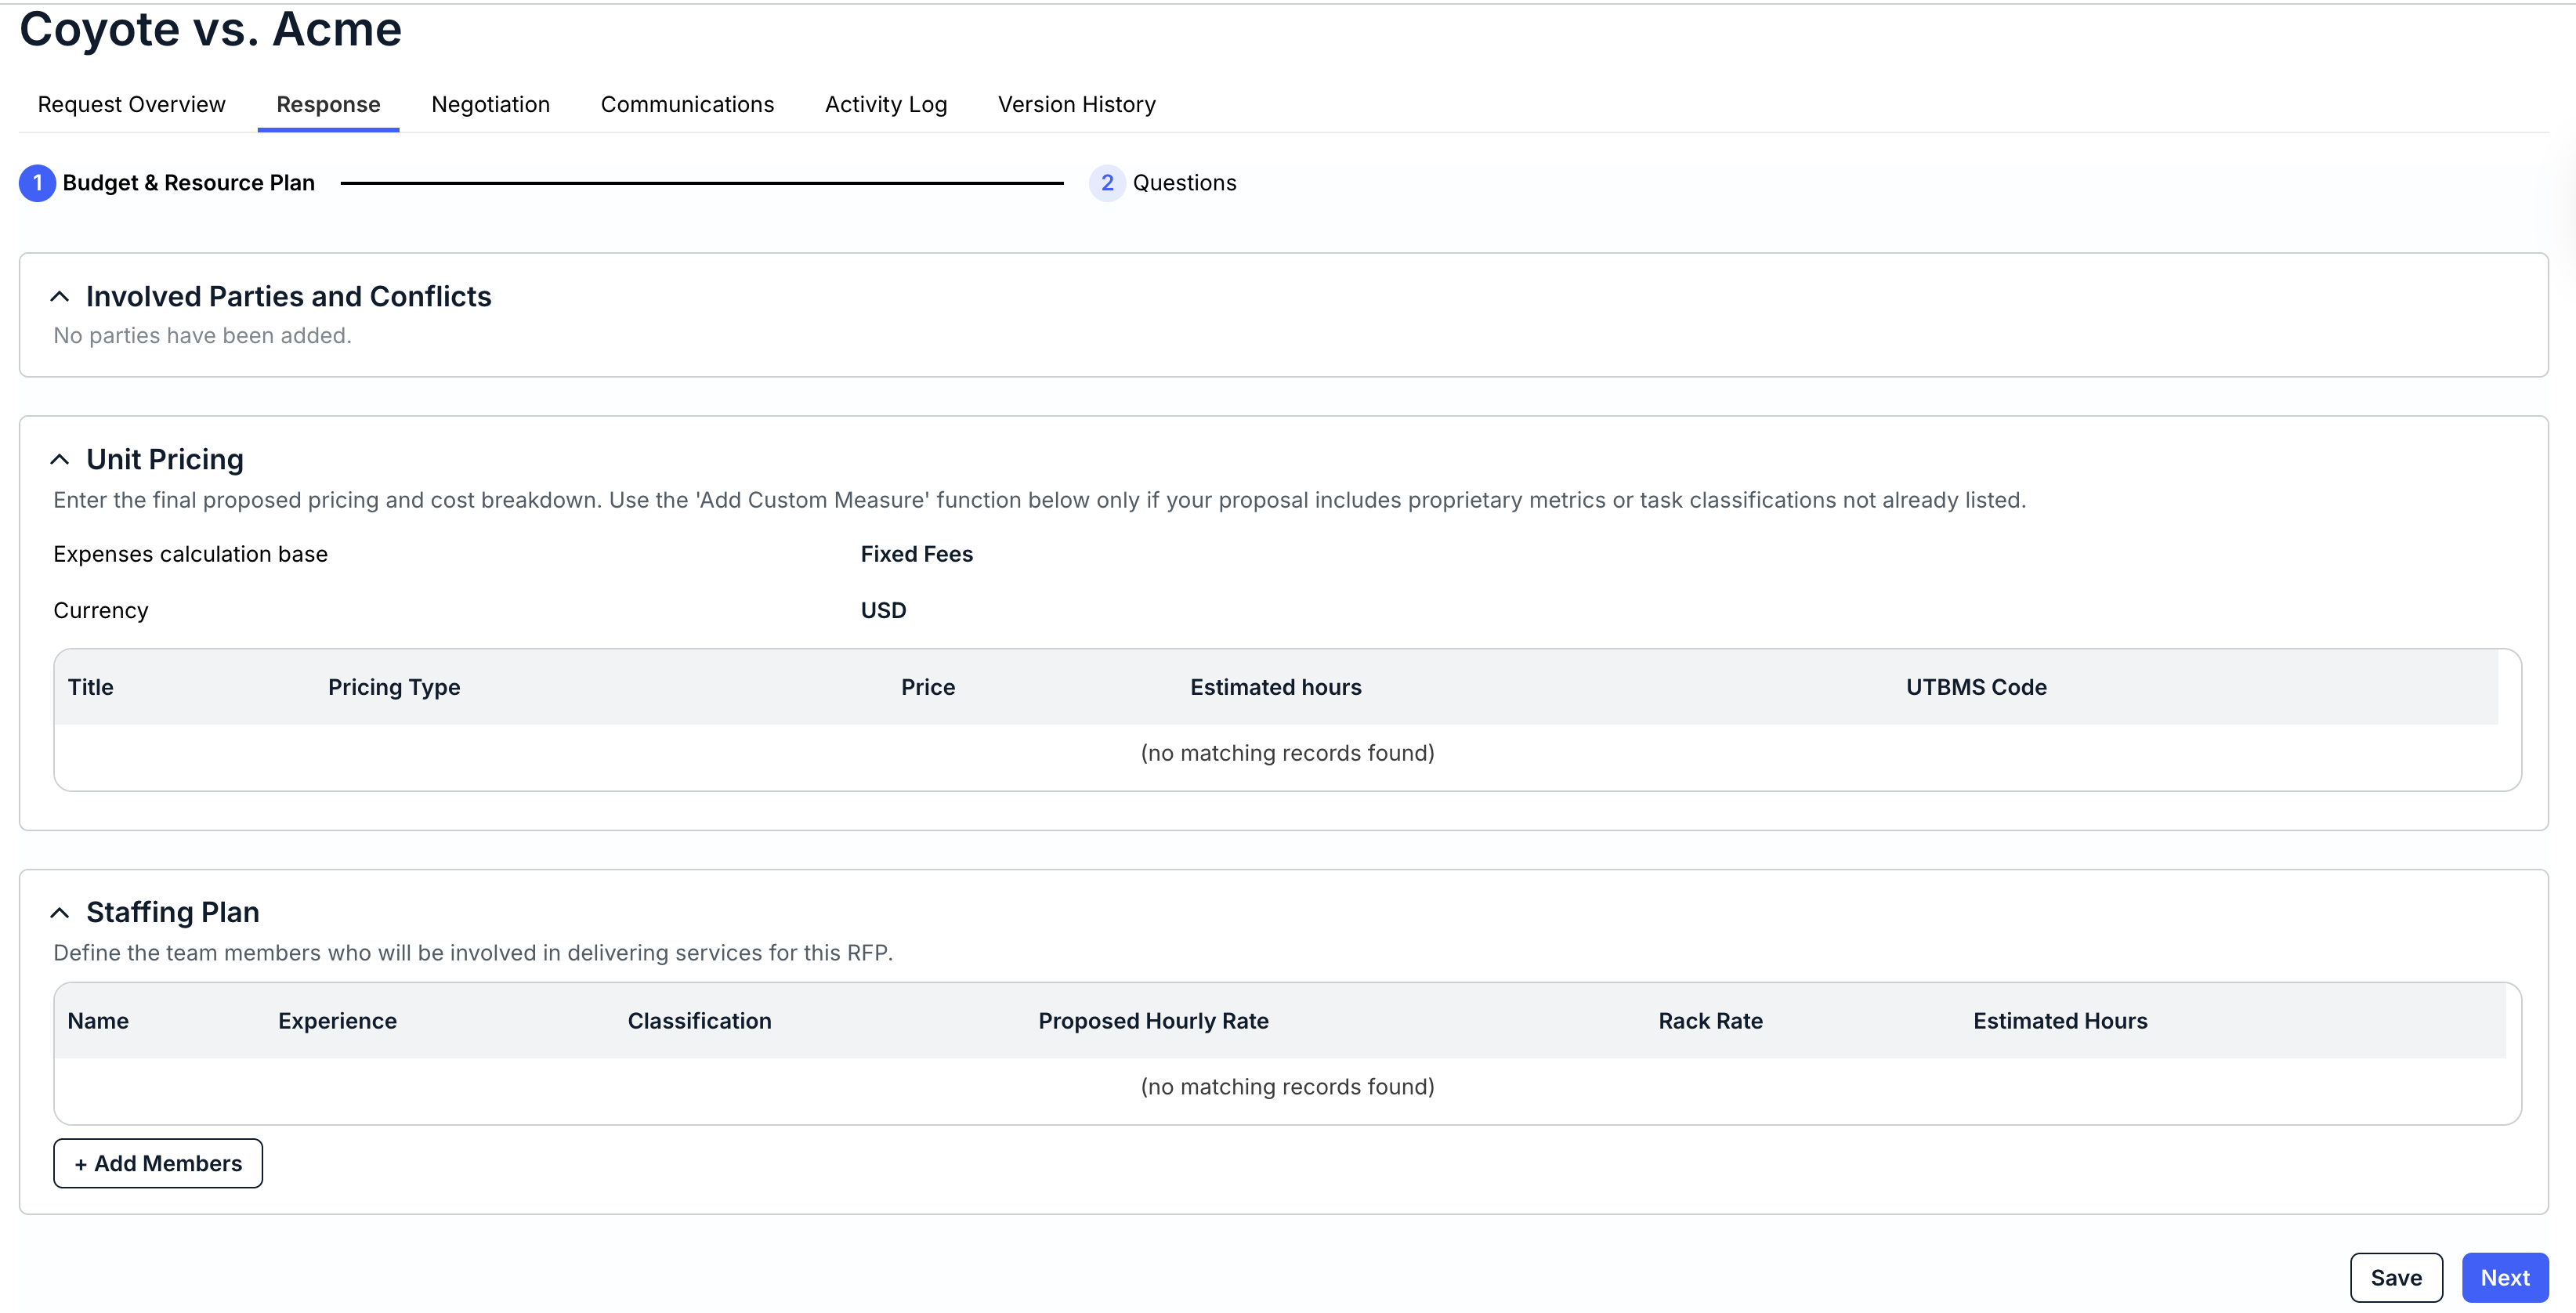
Either option will bring you to the RFP Details page. Click on Response to start your response.
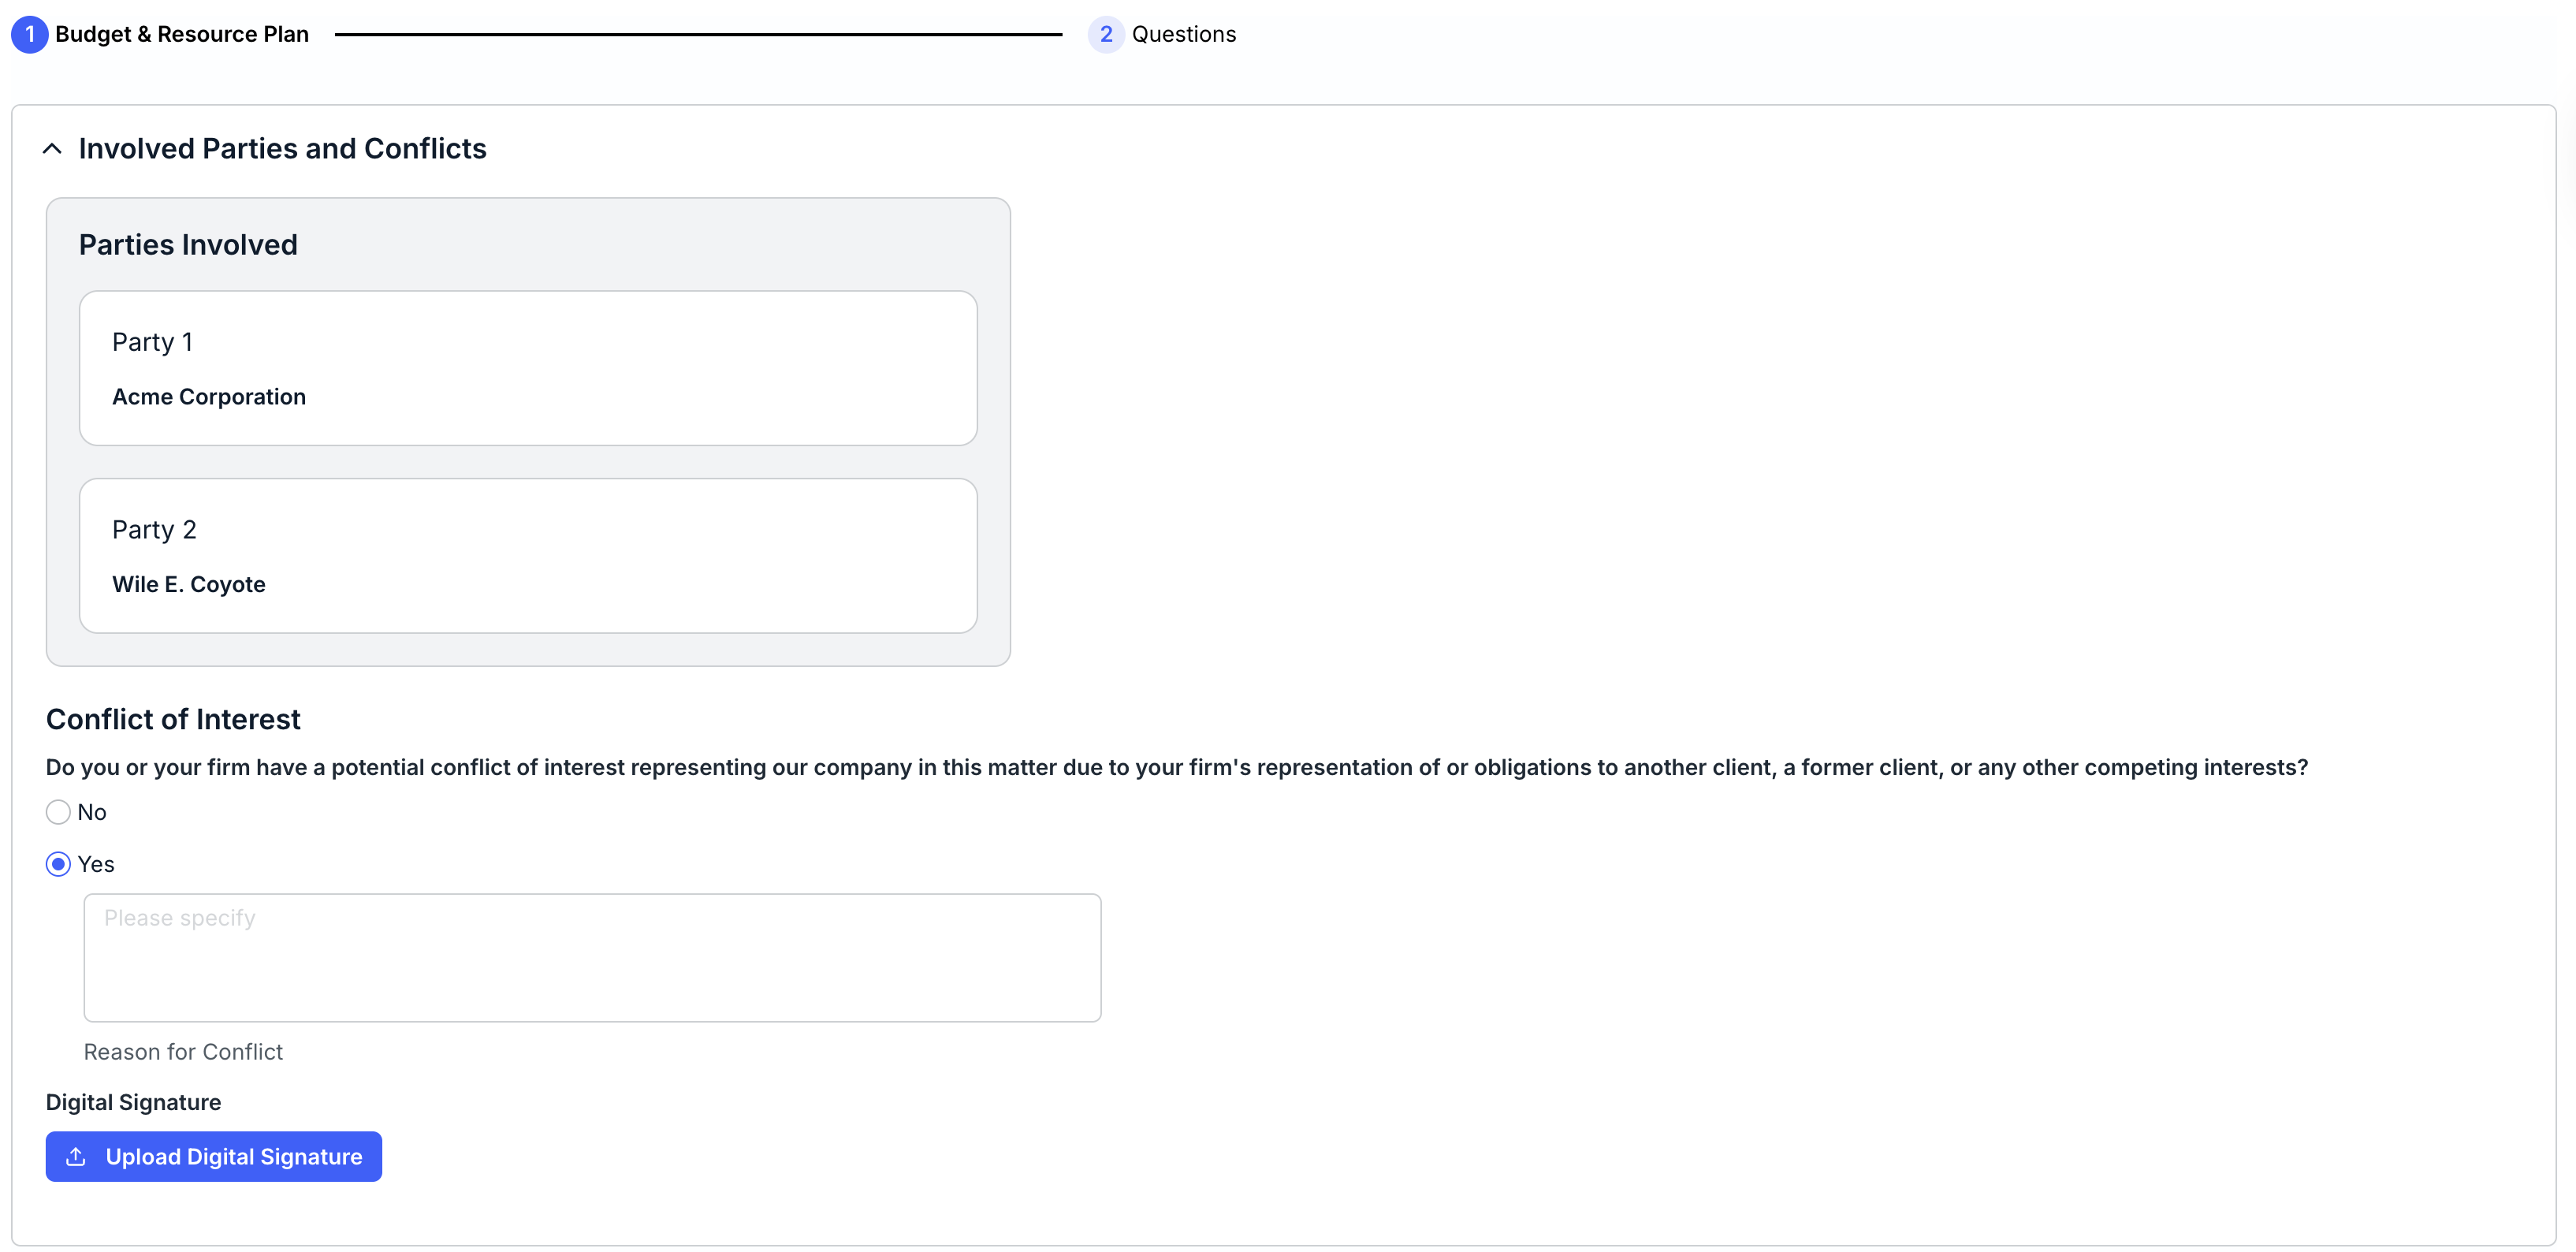
- Under Involved Parties and Conflicts, fill out any Conflict of Interest information
You can also upload a digital signature to the RFP.
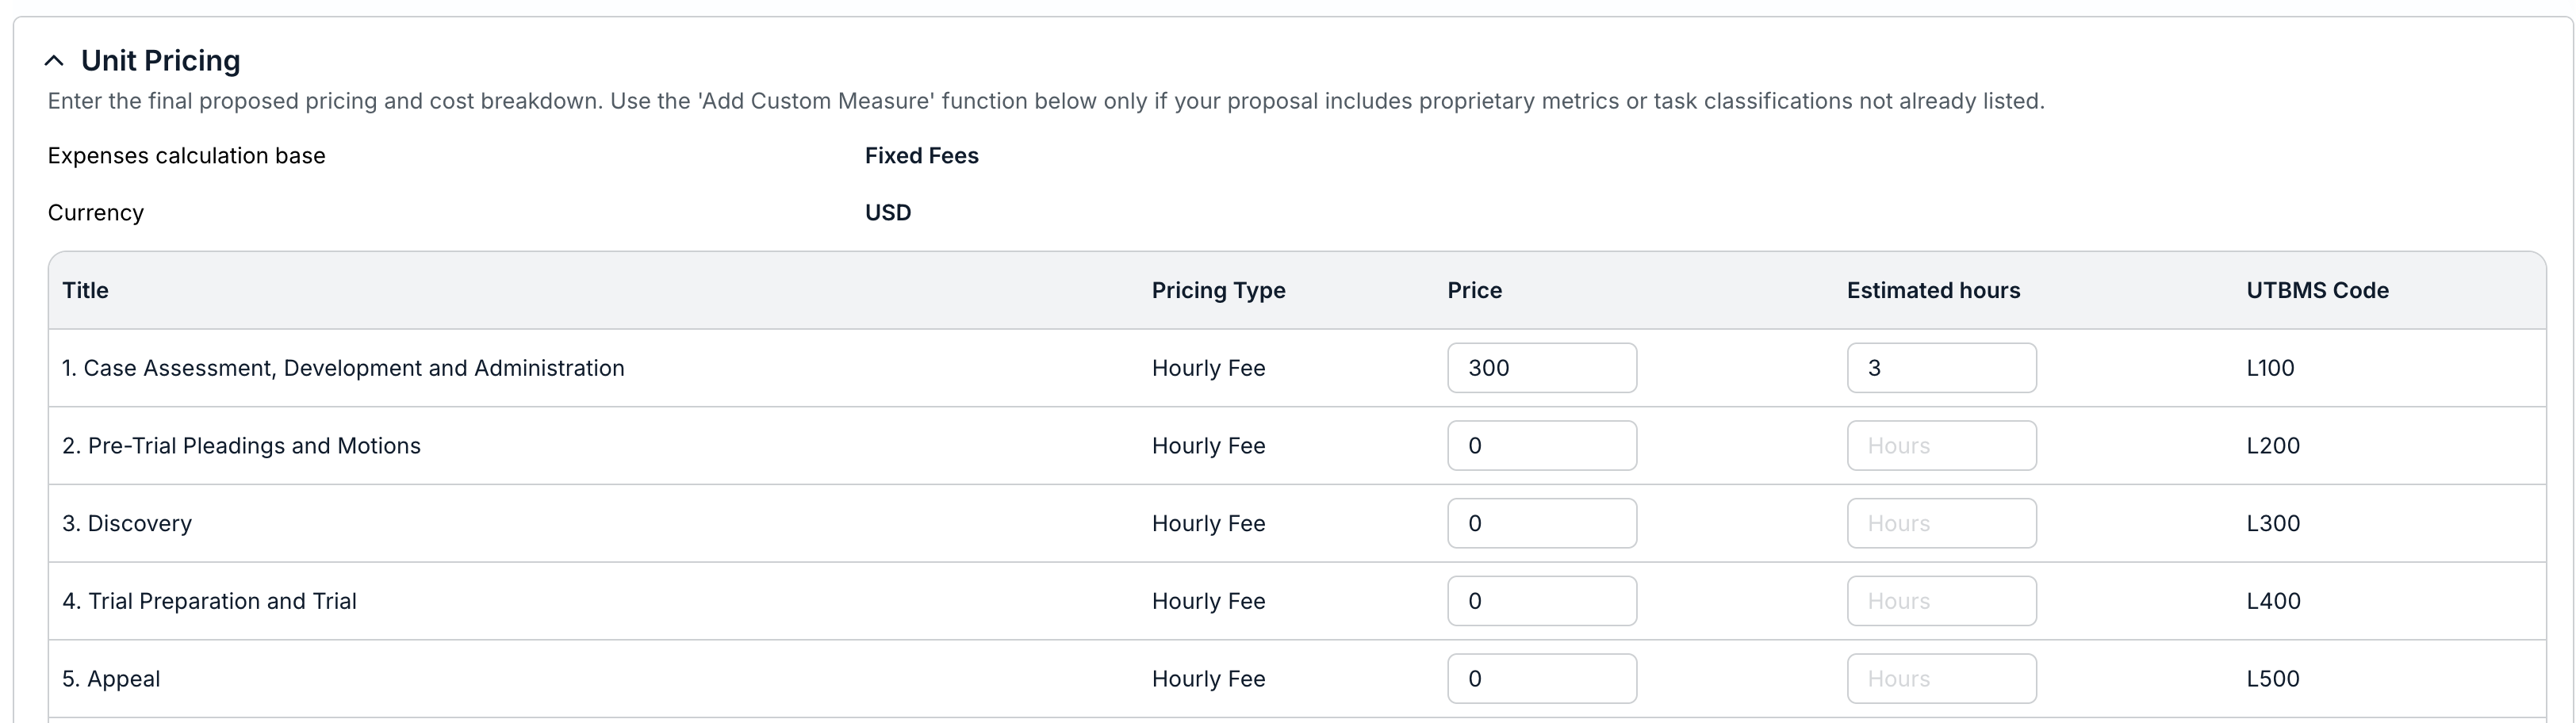
- Under Unit Pricing, enter the final proposed pricing and cost breakdown.
Use the Add Custom Measure function below only if your proposal includes proprietary metrics or task classifications not already listed.
- Under Staffing Plan, fill out the team members for this RFP.
This section is optional, but if you select a name, you'll also need to fill out Proposed Hourly Rate, Rack Rate, and Estimated Hours. Click the Delete (Trash Can) option to remove the team member. Click Add Members to add another member.
Click Next to proceed to the next screen, or Save to save your work and come back later.

- Under Involved Parties and Conflicts, fill out any Conflict of Interest information
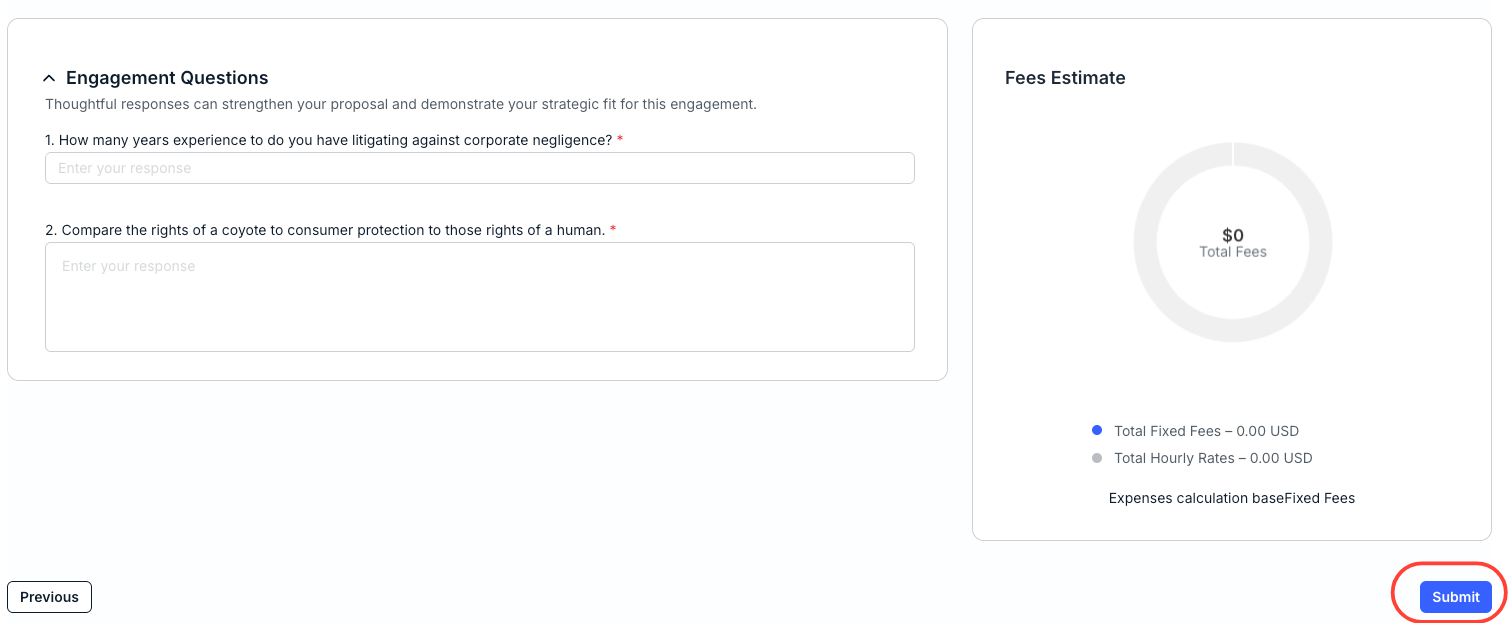
- Fill out the Engagement Questions.
The Fees Estimate section will automatically update with the calculated fees.
Click Submit to send the RFP in to the client, or hit Previous to go back to the prior screen.
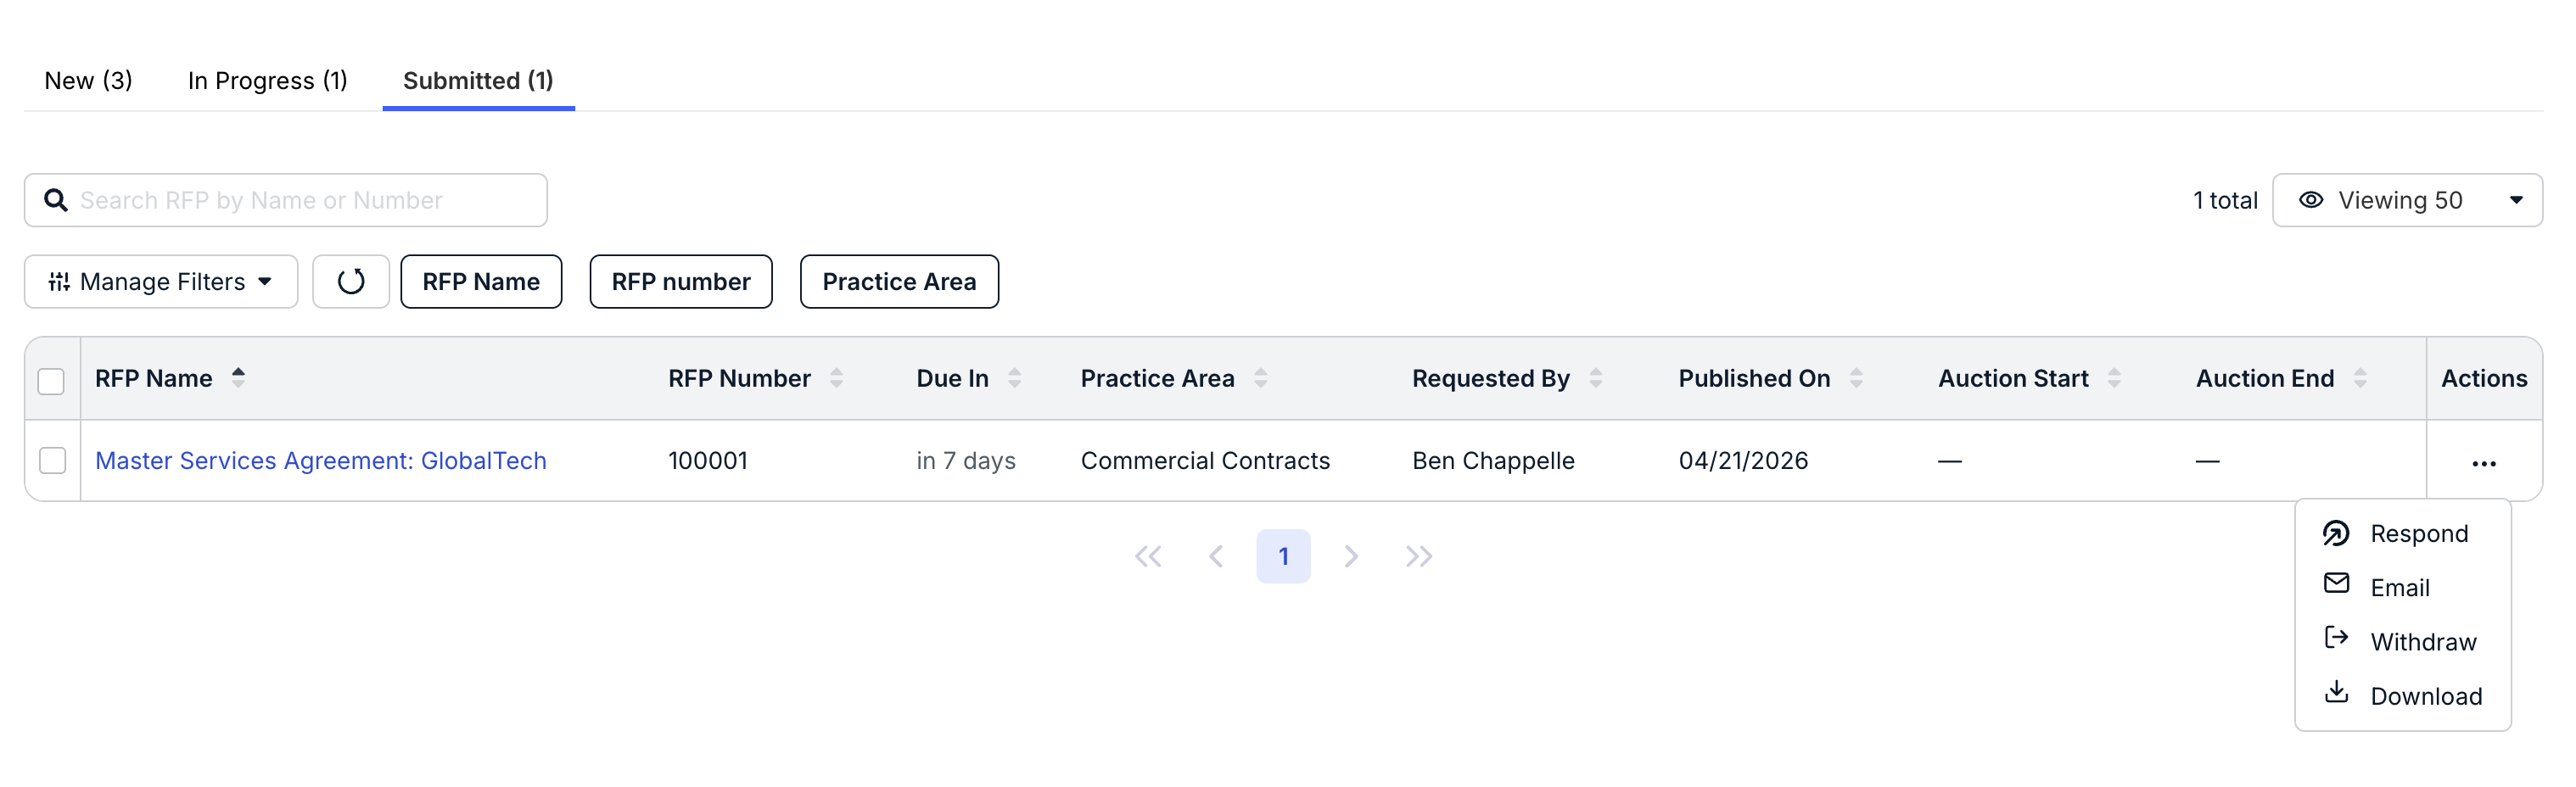
- You can see the submitted RFP under the "Submitted" tab.
Use the Actions menu to Respond to the sender again, Email the sender, Withdraw the RFP, or Download the RFP.
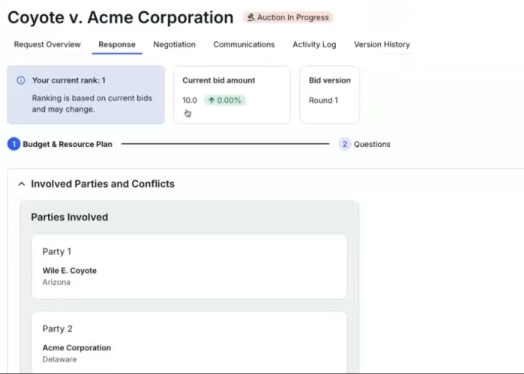
- If the RFP is a "Reverse Auction," you have additional options.
You'll see the Auction in Progress note next to the RFP name.
Under the Response tab, you'll see Your current rank (based on current bids), the Current bid amount, and the Bid version (the round the bidding is in); note that access to this information is dependent on the client-side setup.
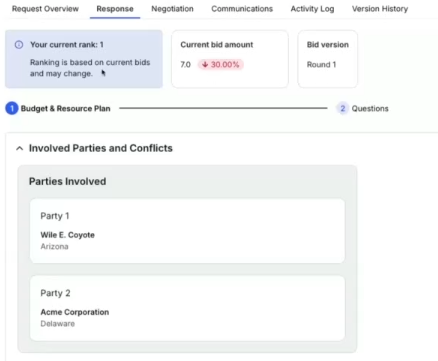
- From there, you can adjust your Unit pricing as necessary/desired.

The rankings on the top of the screen will adjust with the updated information.
You can click into Version History to see how the RFP has changed over time.
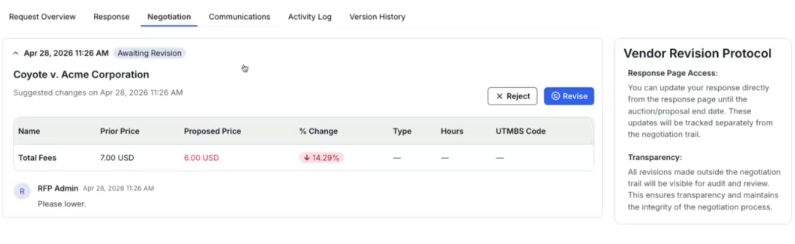
- The sender can also use the "Negotiation" tool to continue working with the proposal.
You can see their notes and proposed price under the Negotiation tab. Users can click Reject to reject this proposal or Revise to revise the proposal further.
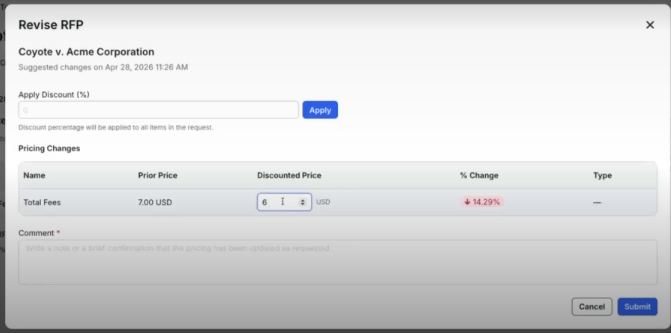
If you choose to Revise the proposed price, adjust your price (or use the Apply Discount percentage tool), add a Comment, and click Submit to send in or Cancel to back out.
If accepted, the client will send out an engagement letter to the vendor.
- From there, you can adjust your Unit pricing as necessary/desired.