As an Admin user, here's how to manage user roles and permissions in Counsel Exchange for Unity:
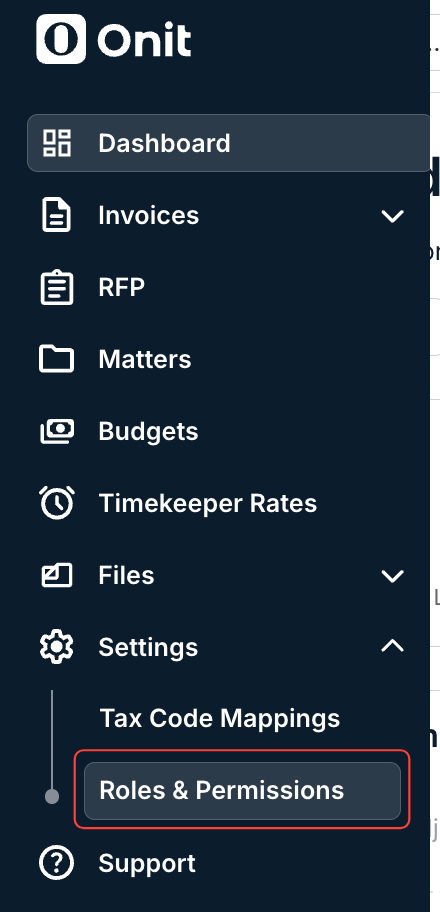
- On the main left-hand side menu, click on "Settings" and then "Roles & Permissions."
- The main "Roles & Permissions" screen will appear.
You'll see details including the user's Full Name, Email ID, Status, Created Date, and an Actions menu. Click on the up/down arrow next to the column title to sort by that column. Use the search bar to search through the users. Click the Viewing drop-down menu to customize how many users you want to see on the screen.
Users designated as admins will have Admin next to their name.

- Click on the three-dot Actions button to Edit or Deactivate the user.

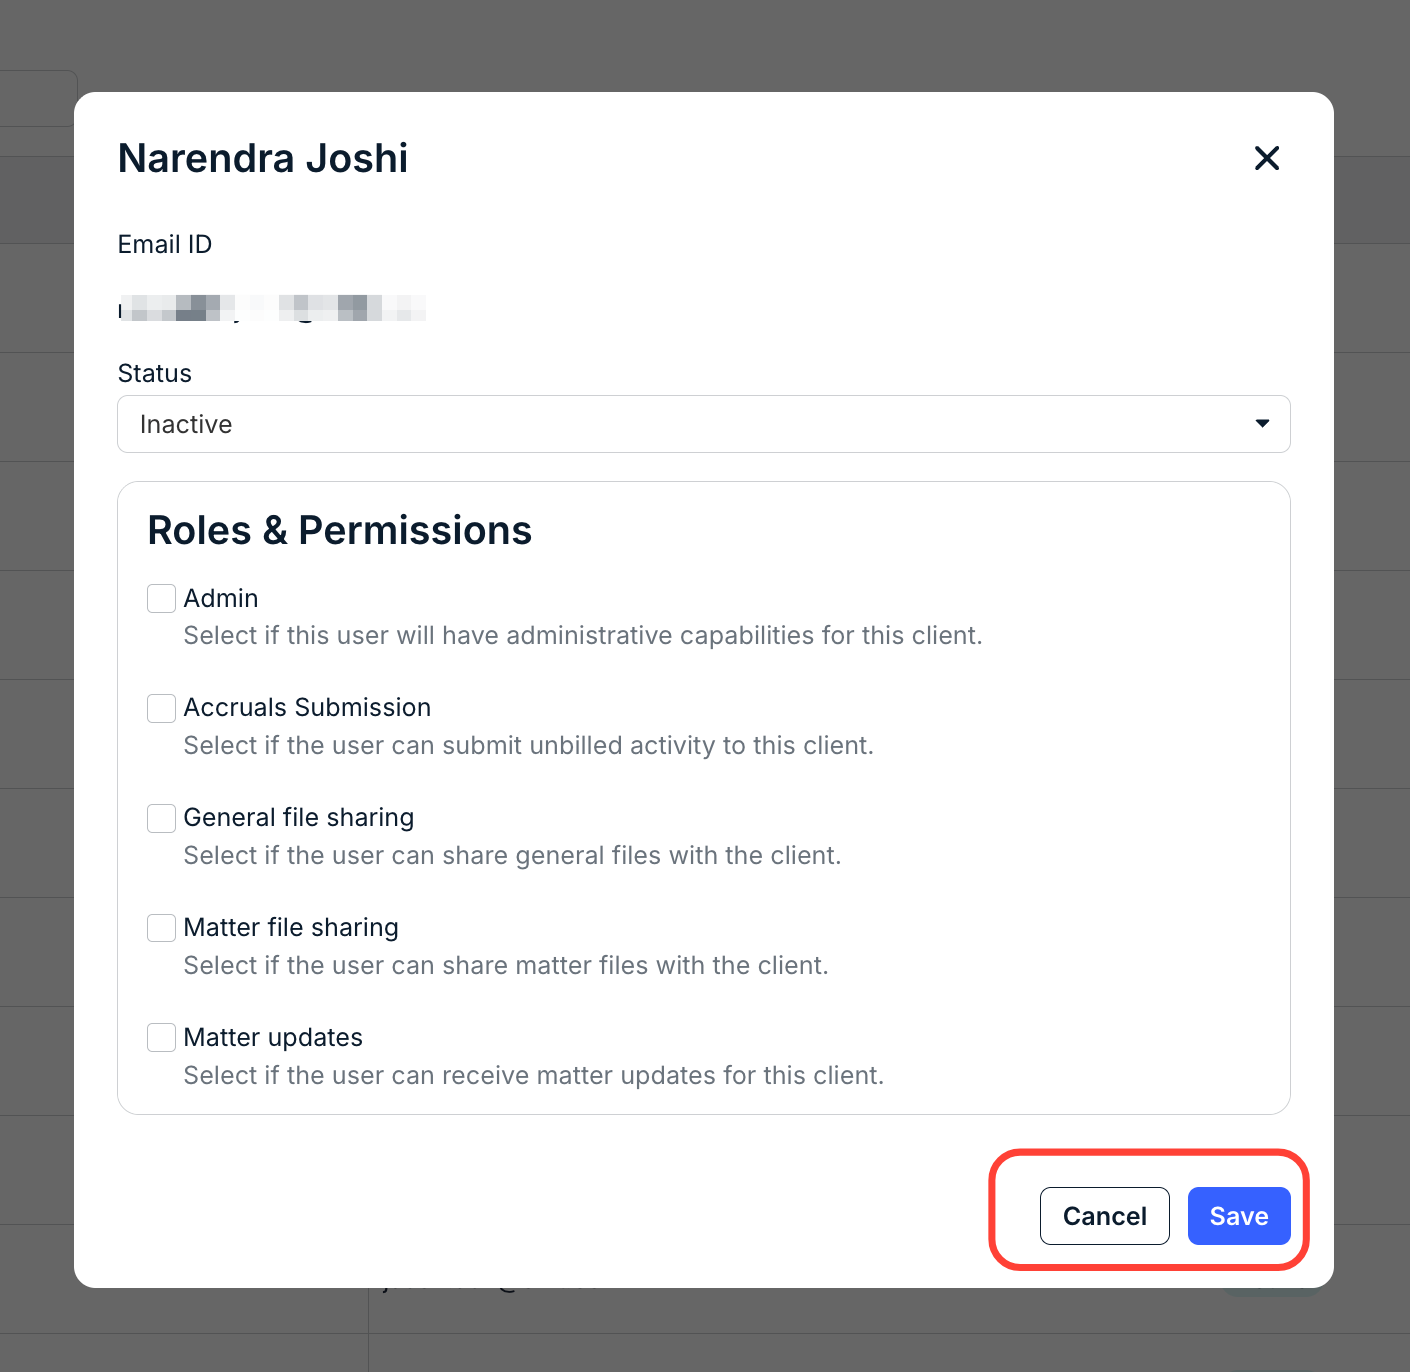
- Clicking Edit lets you change the user's status, roles, and permissions.
You can change the status to Inactive or Active.
For Roles & Permissions, you can:
- Check or Uncheck Admin (select if this user will have administrative capabilities for this client)
- Check or Uncheck Accruals Submission (select if the user can submit unbilled activity to this client)
- Check or Uncheck General file sharing (select if the user can share general files with the client)
- Check or Uncheck Matter file sharing (select if the user can share matter files with the client)
- Check or Uncheck Matter updates (select if the user can receive matter updates for this client)
Click Save to update the roles and permissions or Cancel to back out.
- Clicking Deactivate will deactivate the user.
Click Confirm to deactivate or Cancel to back out. You can re-activate a user by changing the Status detailed above.

- Click on the three-dot Actions button to Edit or Deactivate the user.