Granular, role-based access controls for vendors in Counsel Exchange help protect sensitive information while supporting appropriate access across vendor organizations. At present, Counsel Exchange features three options for vendor roles:
- Vendor Account Administrator (VAA) - The first user added to a new vendor account; has access to all clients, offices, and features for that vendor. Can create VAAs, VCAs, and non-admin users. Does not need an office or client assignment because access is vendor-wide.
- Vendor Client Administrator (VCA) - Scoped to one or more individual clients. Default module access for VCA includes invoices, matters, timekeepers, budgets, accruals, general file sharing, and RFP. Additional clients can be assigned after account creation. Have admin-level access within their assigned clients only and is restricted to their assigned office. A VCA can add other VCAs and non-admin users but cannot grant, revoke, or promote anyone to VAA.
- Non-Admin User - Receives a default access set of invoices, matters, timekeepers, and budgets; individual modules can be toggled on or off per user. Has no access to the user management screen and can only access the modules explicitly permitted to them.
- Invoices — Invoice submission and management; includes reports and payments.
- Matters — Matter management and tracking; includes matter file and matter updates (where applicable).
- Timekeepers — Timekeeper management and rates.
- Budgets — Budget management and cost tracking.
- Accruals — Accruals submission and tracking.
- General File Sharing — General file sharing and document exchange.
- RFP — Request for Proposal lifecycle.
You can see the access levels for users by clicking into the User Management screen after logging into Master Settings. Non-admin users will not have access to manage users.

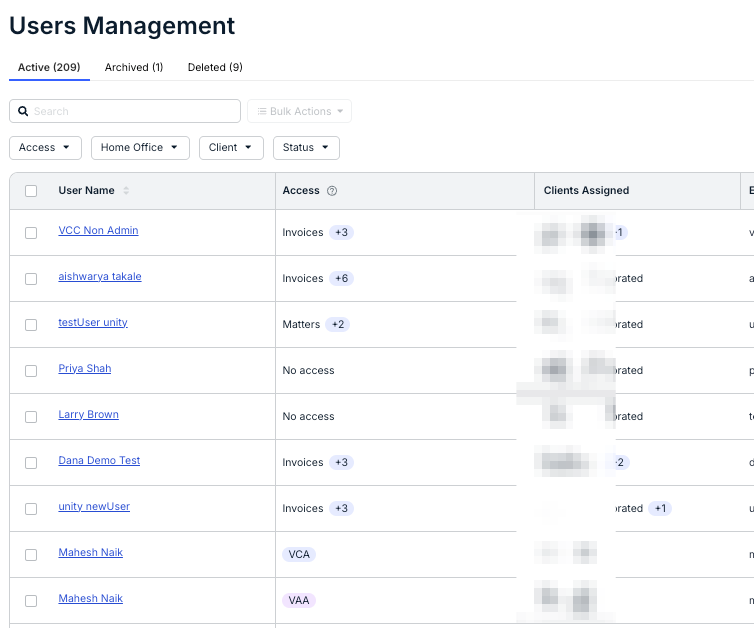
Under Access, you'll see the user designation: VAA, VCA, or a list of the modules a non-admin user has access to. You can also see the list of Clients Assigned.
Here's how to work with the different vendor roles in Counsel Exchange:
Vendor Account Administrator
To designate a user a Vendor Account Administrator, toggle the VAA - Vendor Account Admin button when creating a New User or editing an existing user.
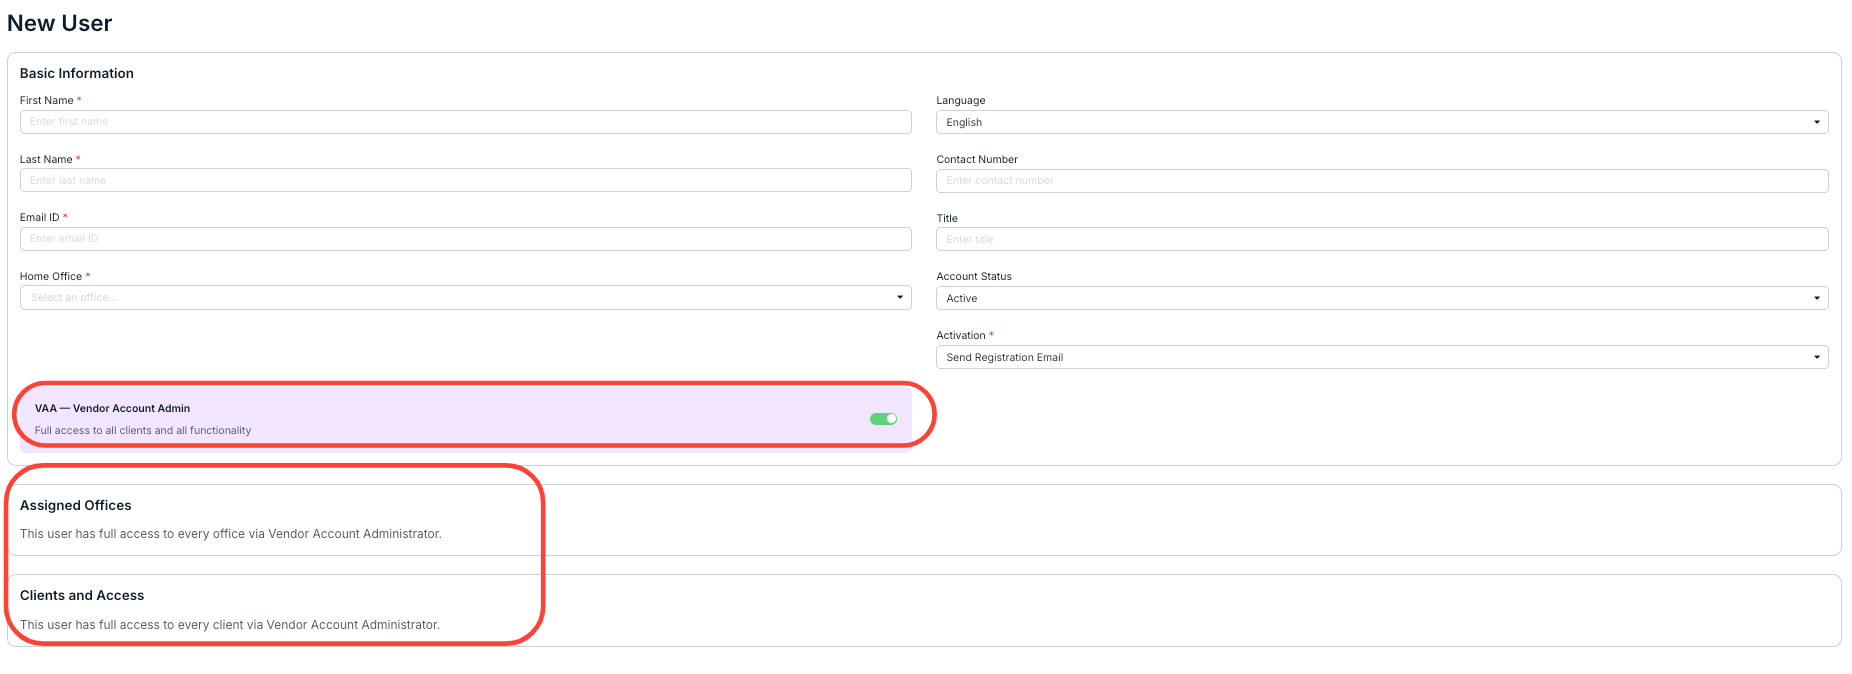
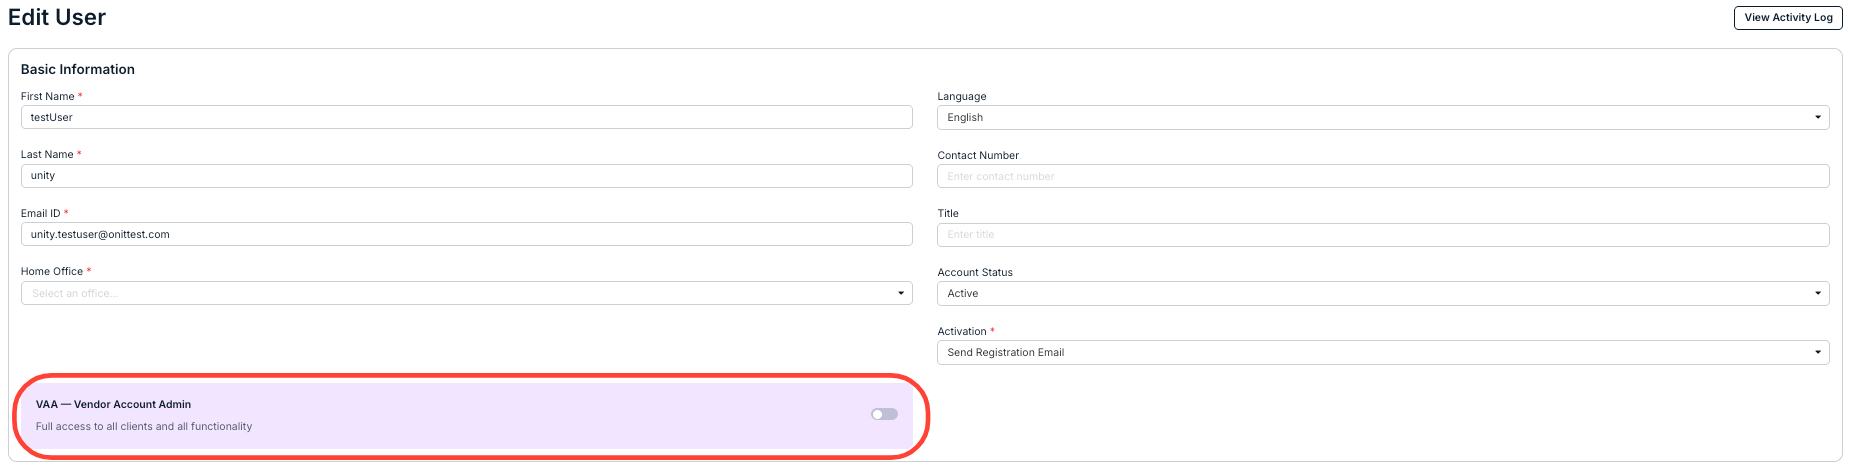
A Vendor Account admin can create VAAs, VCAs, and non-admin users; they do not need an office or client assignment because access is vendor-wide.
NOTE: The system enforces that at least one VAA must remain in active status. Attempting to delete or deactivate the last active VAA triggers a validation error requiring a new VAA to be added first.
Vendor Client Administrator
To designate a new user as a Vendor Client Administrator, specify their Assigned Offices and Clients and Access.
Choose the Assigned Office(s) from the drop-down menu; note that the home office is automatically selected. Click the X next to any selection to remove the office, or the far-right X to remove all selections.
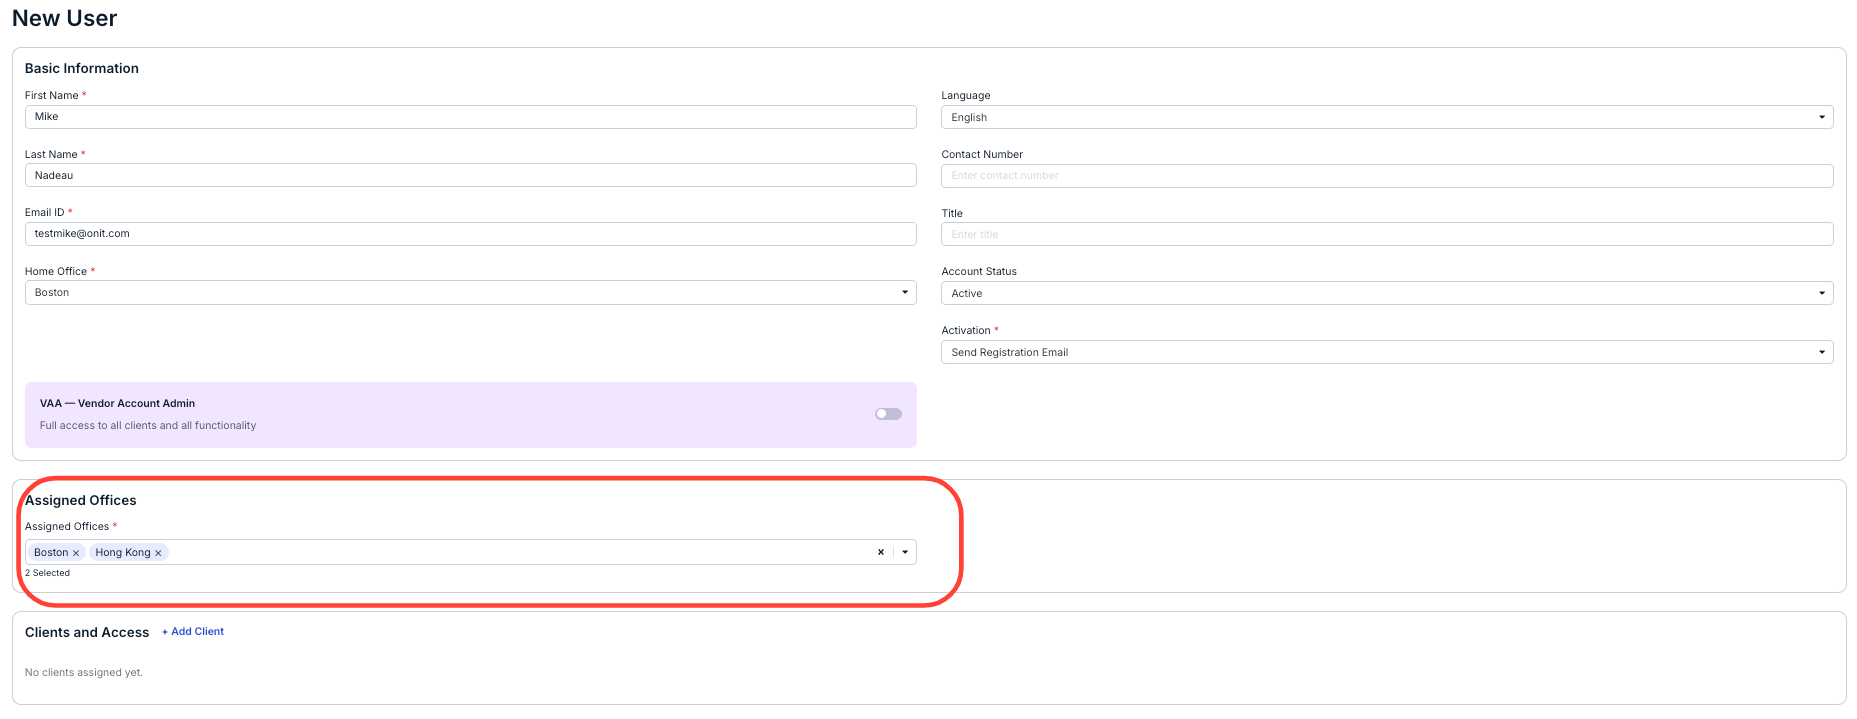
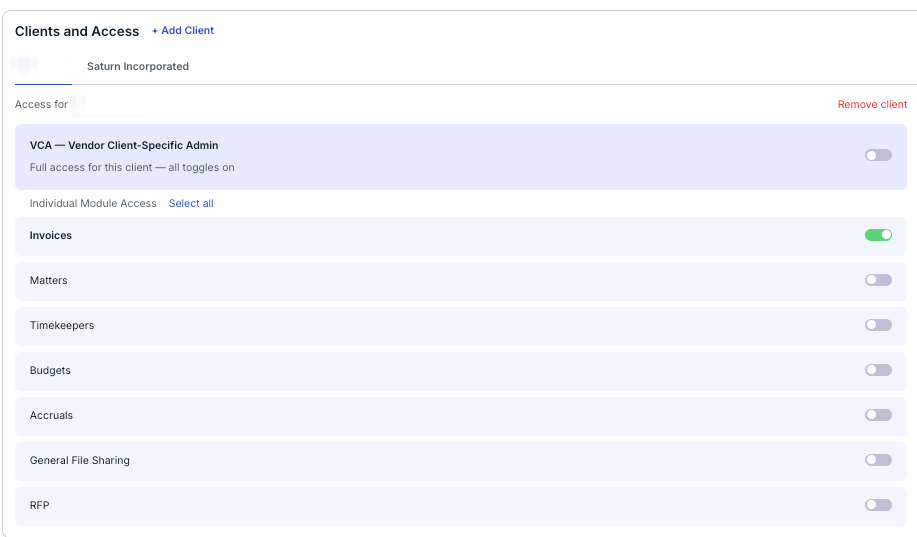
Click on the +Add Client button to specify clients, then toggle the VCA - Vendor Client-Specific Admin button to make the user a VCA. Click Remove Client to remove a selected client. Repeat the process to add all desired clients; use the top tabs to switch between clients.
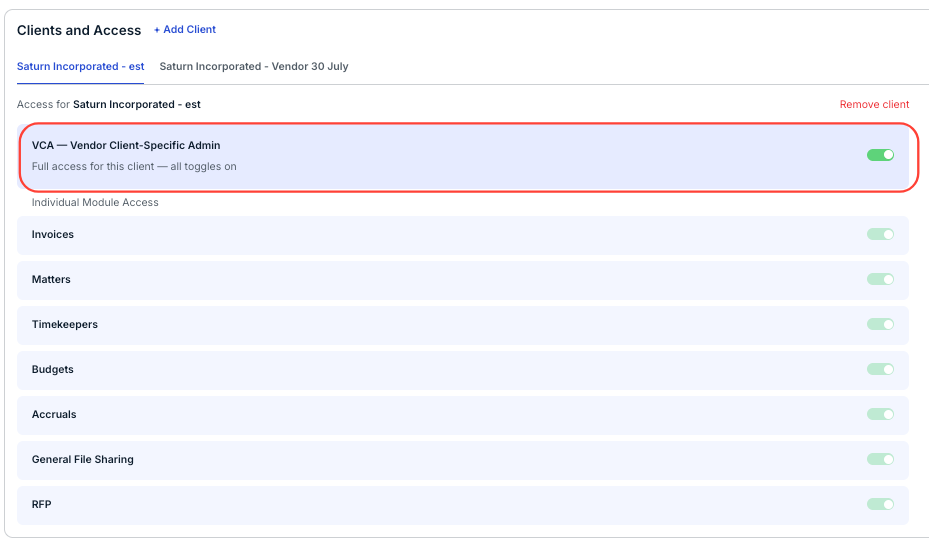
Default module access for VCA includes invoices, matters, timekeepers, budgets, accruals, general file sharing, and RFP. Additional clients can be assigned after account creation. VCAs have admin-level access within their assigned client only and are restricted to their assigned office(s). A VCA can add other VCAs and non-admin users but cannot grant, revoke, or promote anyone to VAA.
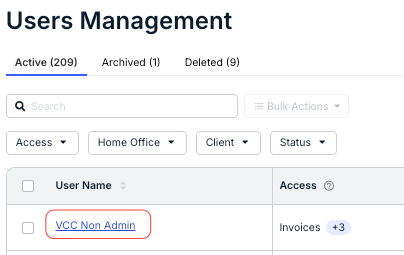
Note that existing users can also be designated as VCAs after clicking on the user's name within the main User Management screen.
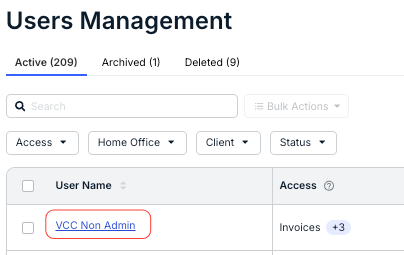
The Edit User screen will appear. Click on the VCA - Vendor Client-Specific Admin button and edit as detailed above.
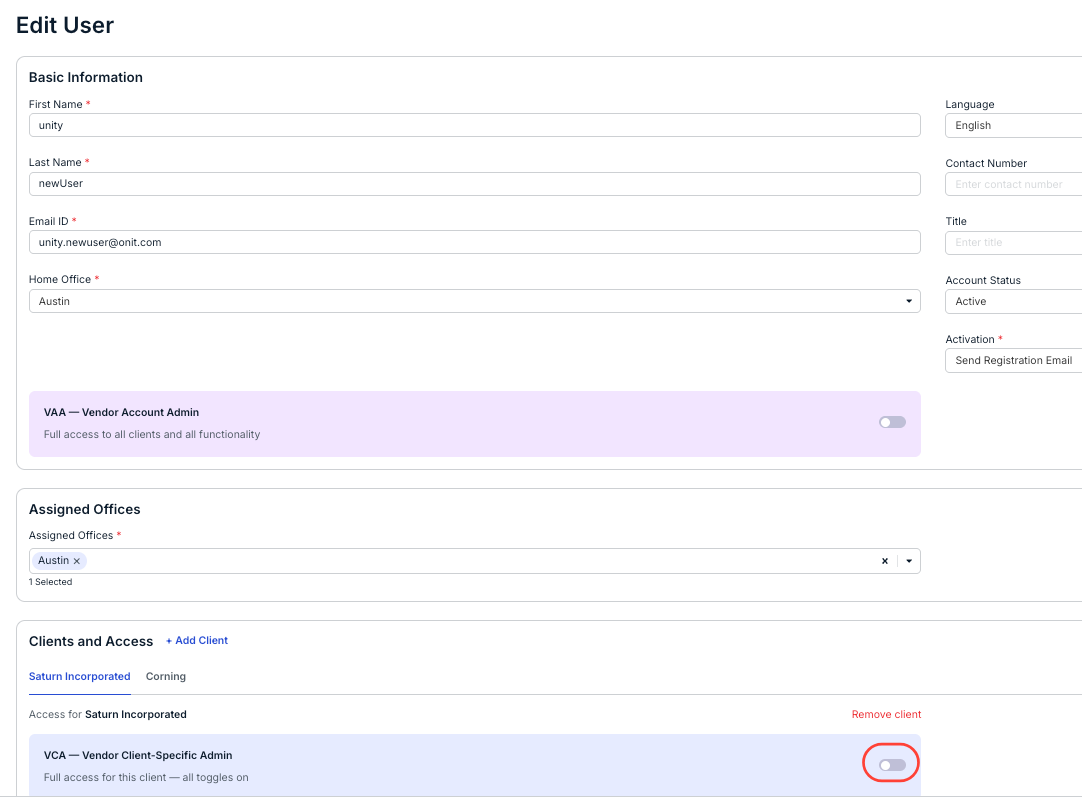
Click Save to save the user or changes.
Non-Admin User
VCAs and VAAs can create non-admin users.
To designate a new non-admin user, specify their Assigned Offices and Clients and Access.
First, choose the Assigned Office(s) from the drop-down menu; note that the home office is automatically selected. Click the X next to any selection to remove the office, or the far-right X to remove all selections.
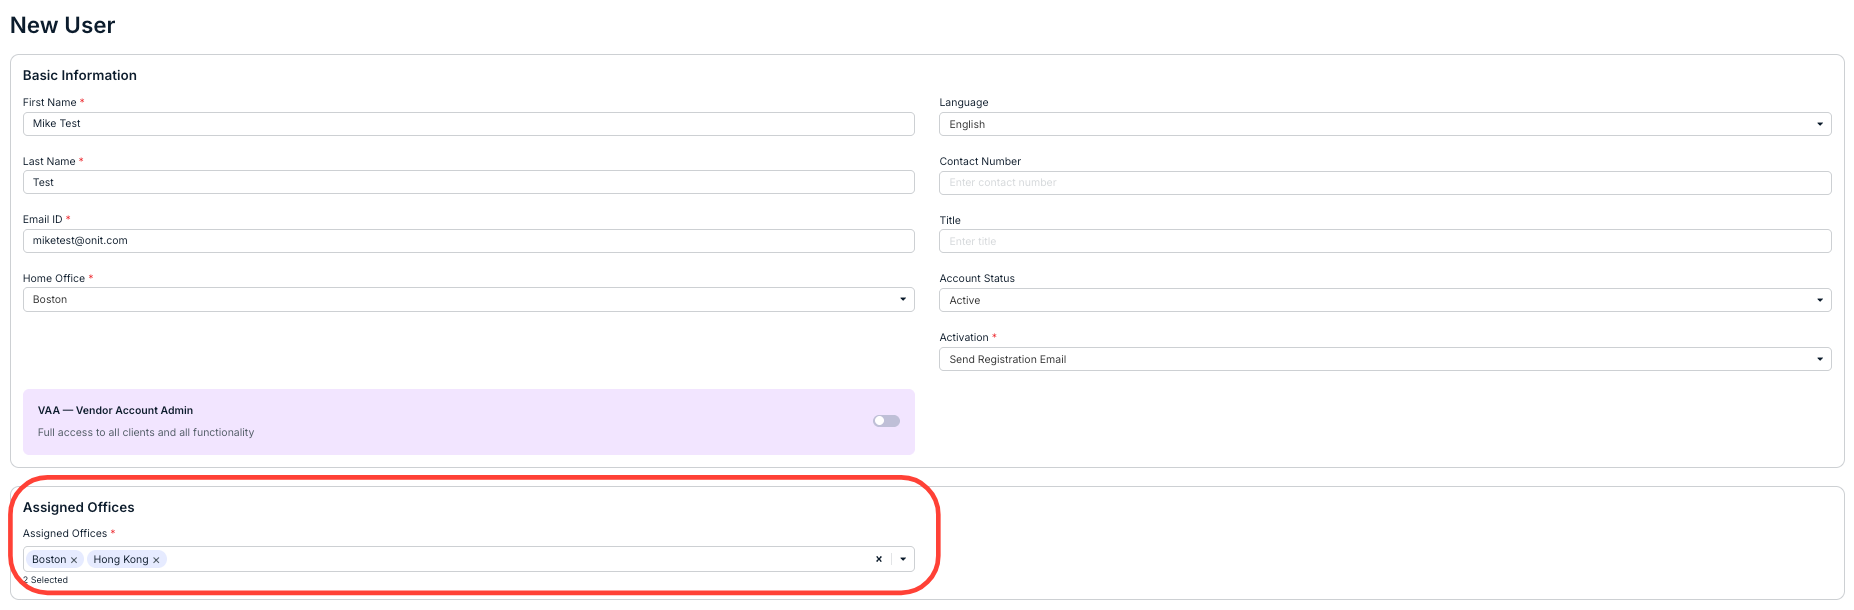
Click on the +Add Client button to specify clients. Click Remove Client to remove a selected client. Repeat the process to add all desired clients; use the top tabs to switch between clients. Add in the desired module access to the user; note that Invoices, Matters, Timekeepers, and Budgets are selected by default, but can be disabled. Add in other module access as necessary. Click on Select All to select all modules. Click Save to save the new user.
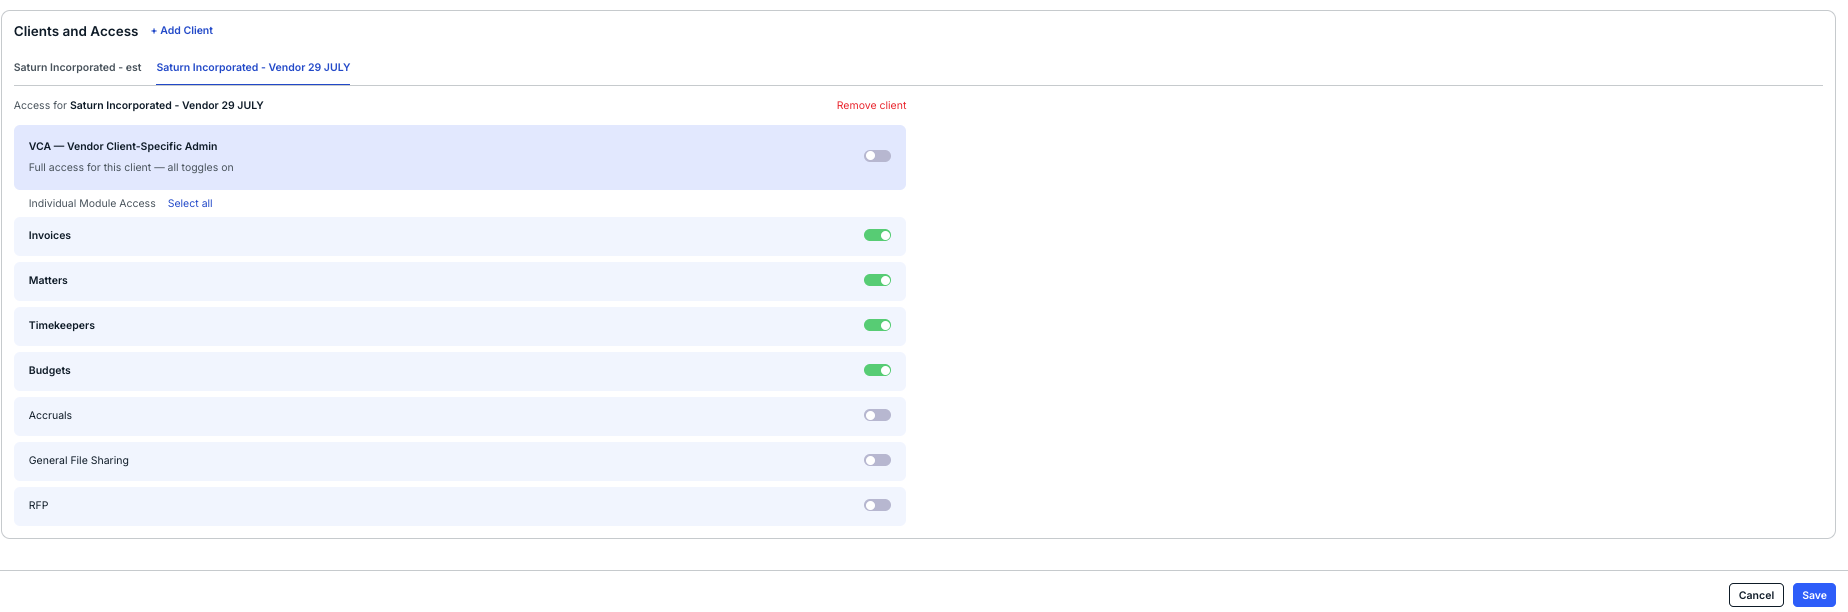
You can add or change existing non-admin user access after clicking on the user's name within the main User Management screen.
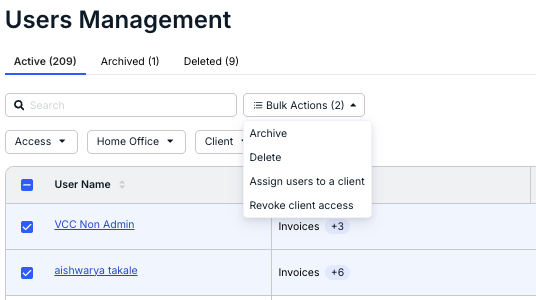
Bulk Actions
Users can use the Bulk Actions menu to bulk Assign users to a client or Revoke client access. Use the checkboxes next to the User Name to select the users to bulk edit.
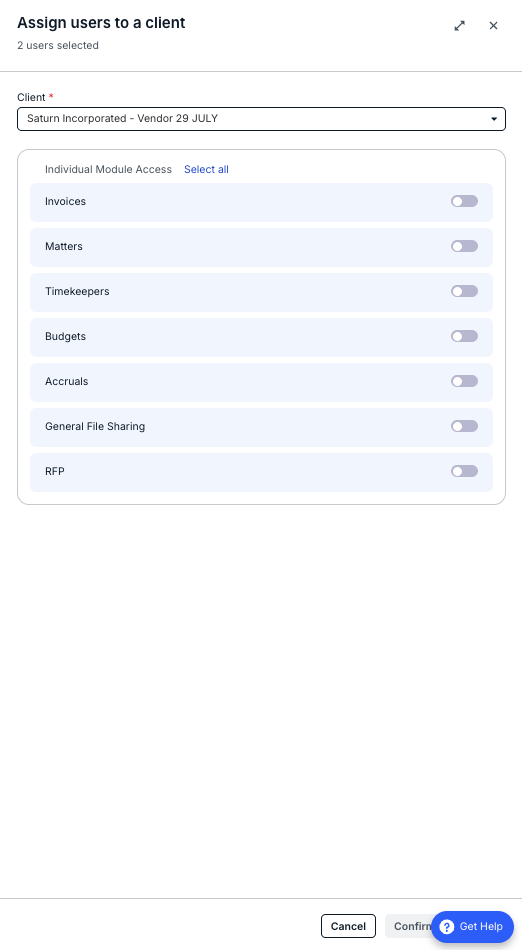
To bulk Assign users to a client, select the client from the drop-down menu and choose the Individual Module Access or Select All to select every module. Click Confirm to save or Cancel to back out.
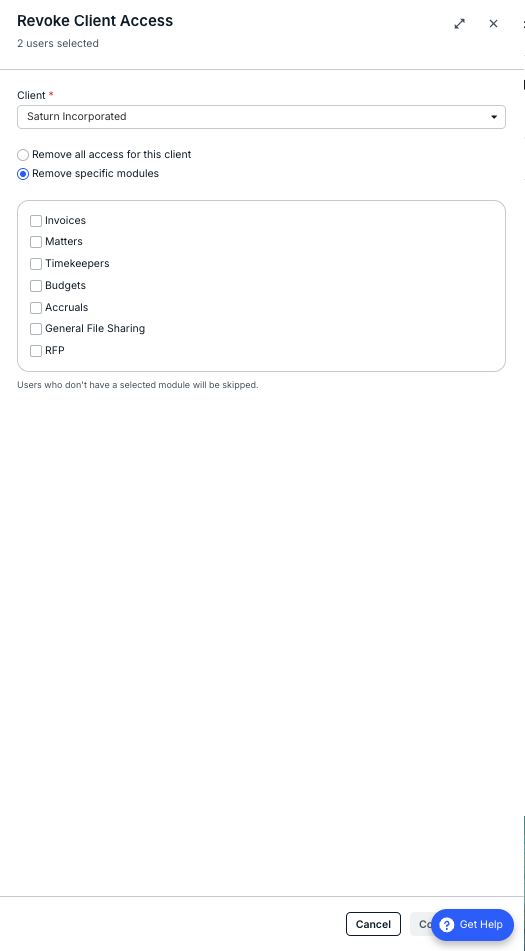
To bulk Revoke Client Access, choose the Client from the drop-down menu and click Remove all access for this client or Remove specific modules. Click Confirm to save or Cancel to back out. Note that users who don't have a selected module will be skipped.