Here's how to update a client office in Counsel Exchange:
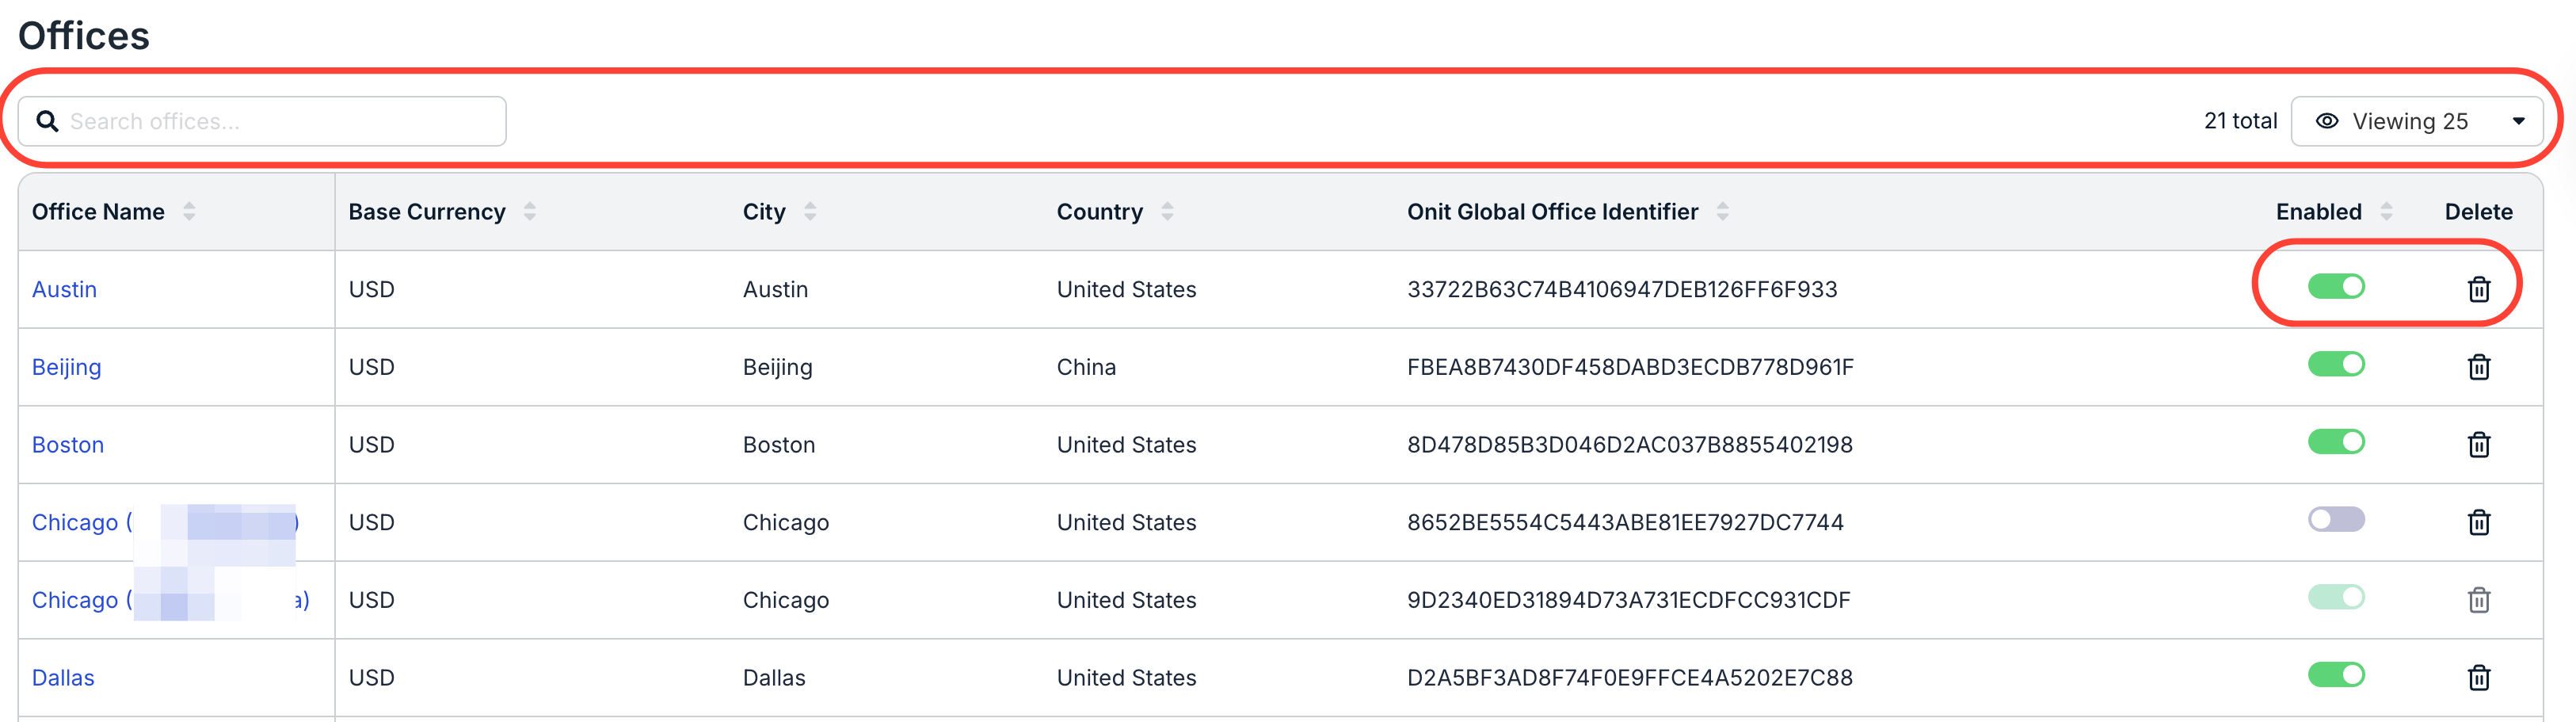
- After logging into Counsel Exchange and navigating to the Master Settings, click on "Offices" in the left-hand-side menu.
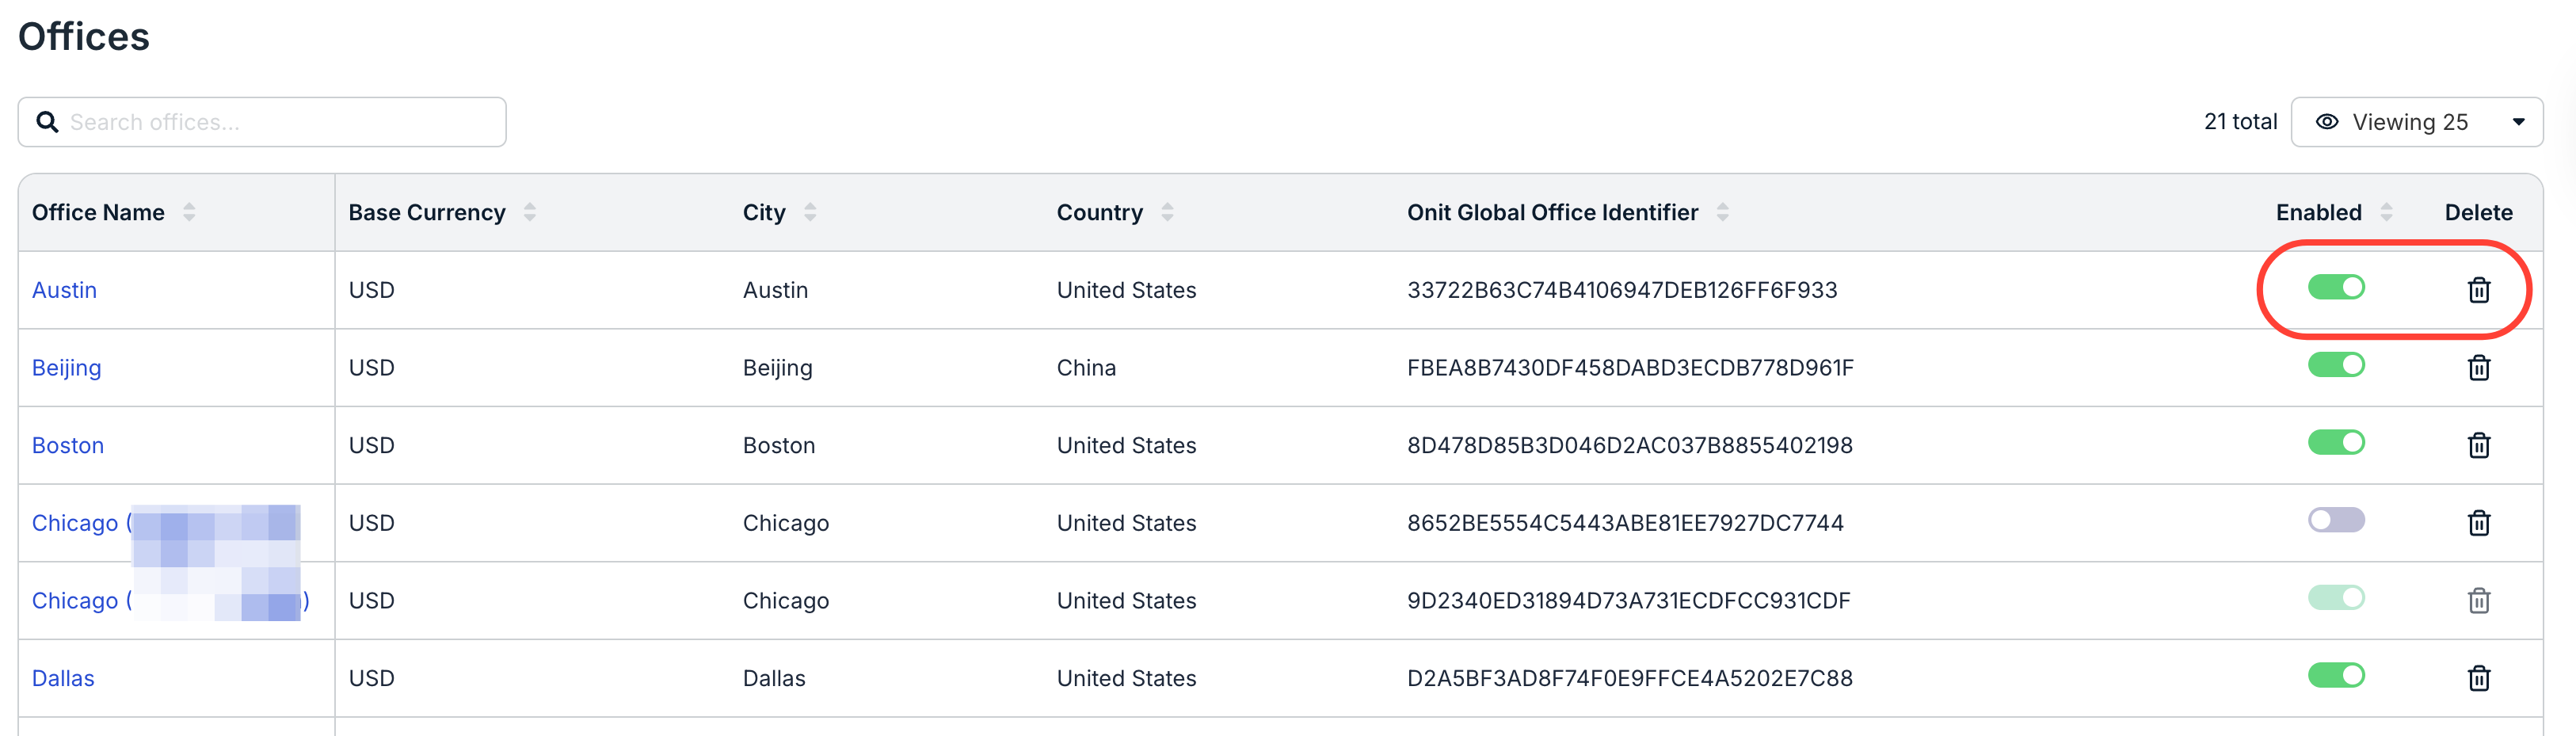
- You'll see all existing offices in the Offices directory.
The main directory will show the Office Name, Base Currency, City, Country, Onit Global Office Identifier, an Enabled toggle, and the Delete (trash can) icon. Use the up/down arrows to sort by the column.
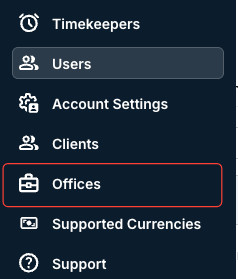
Use the search bar to search for specific offices. Use the Viewing drop-down menu to customize how many offices you want to see on-screen.
- Click on the office you want to edit.
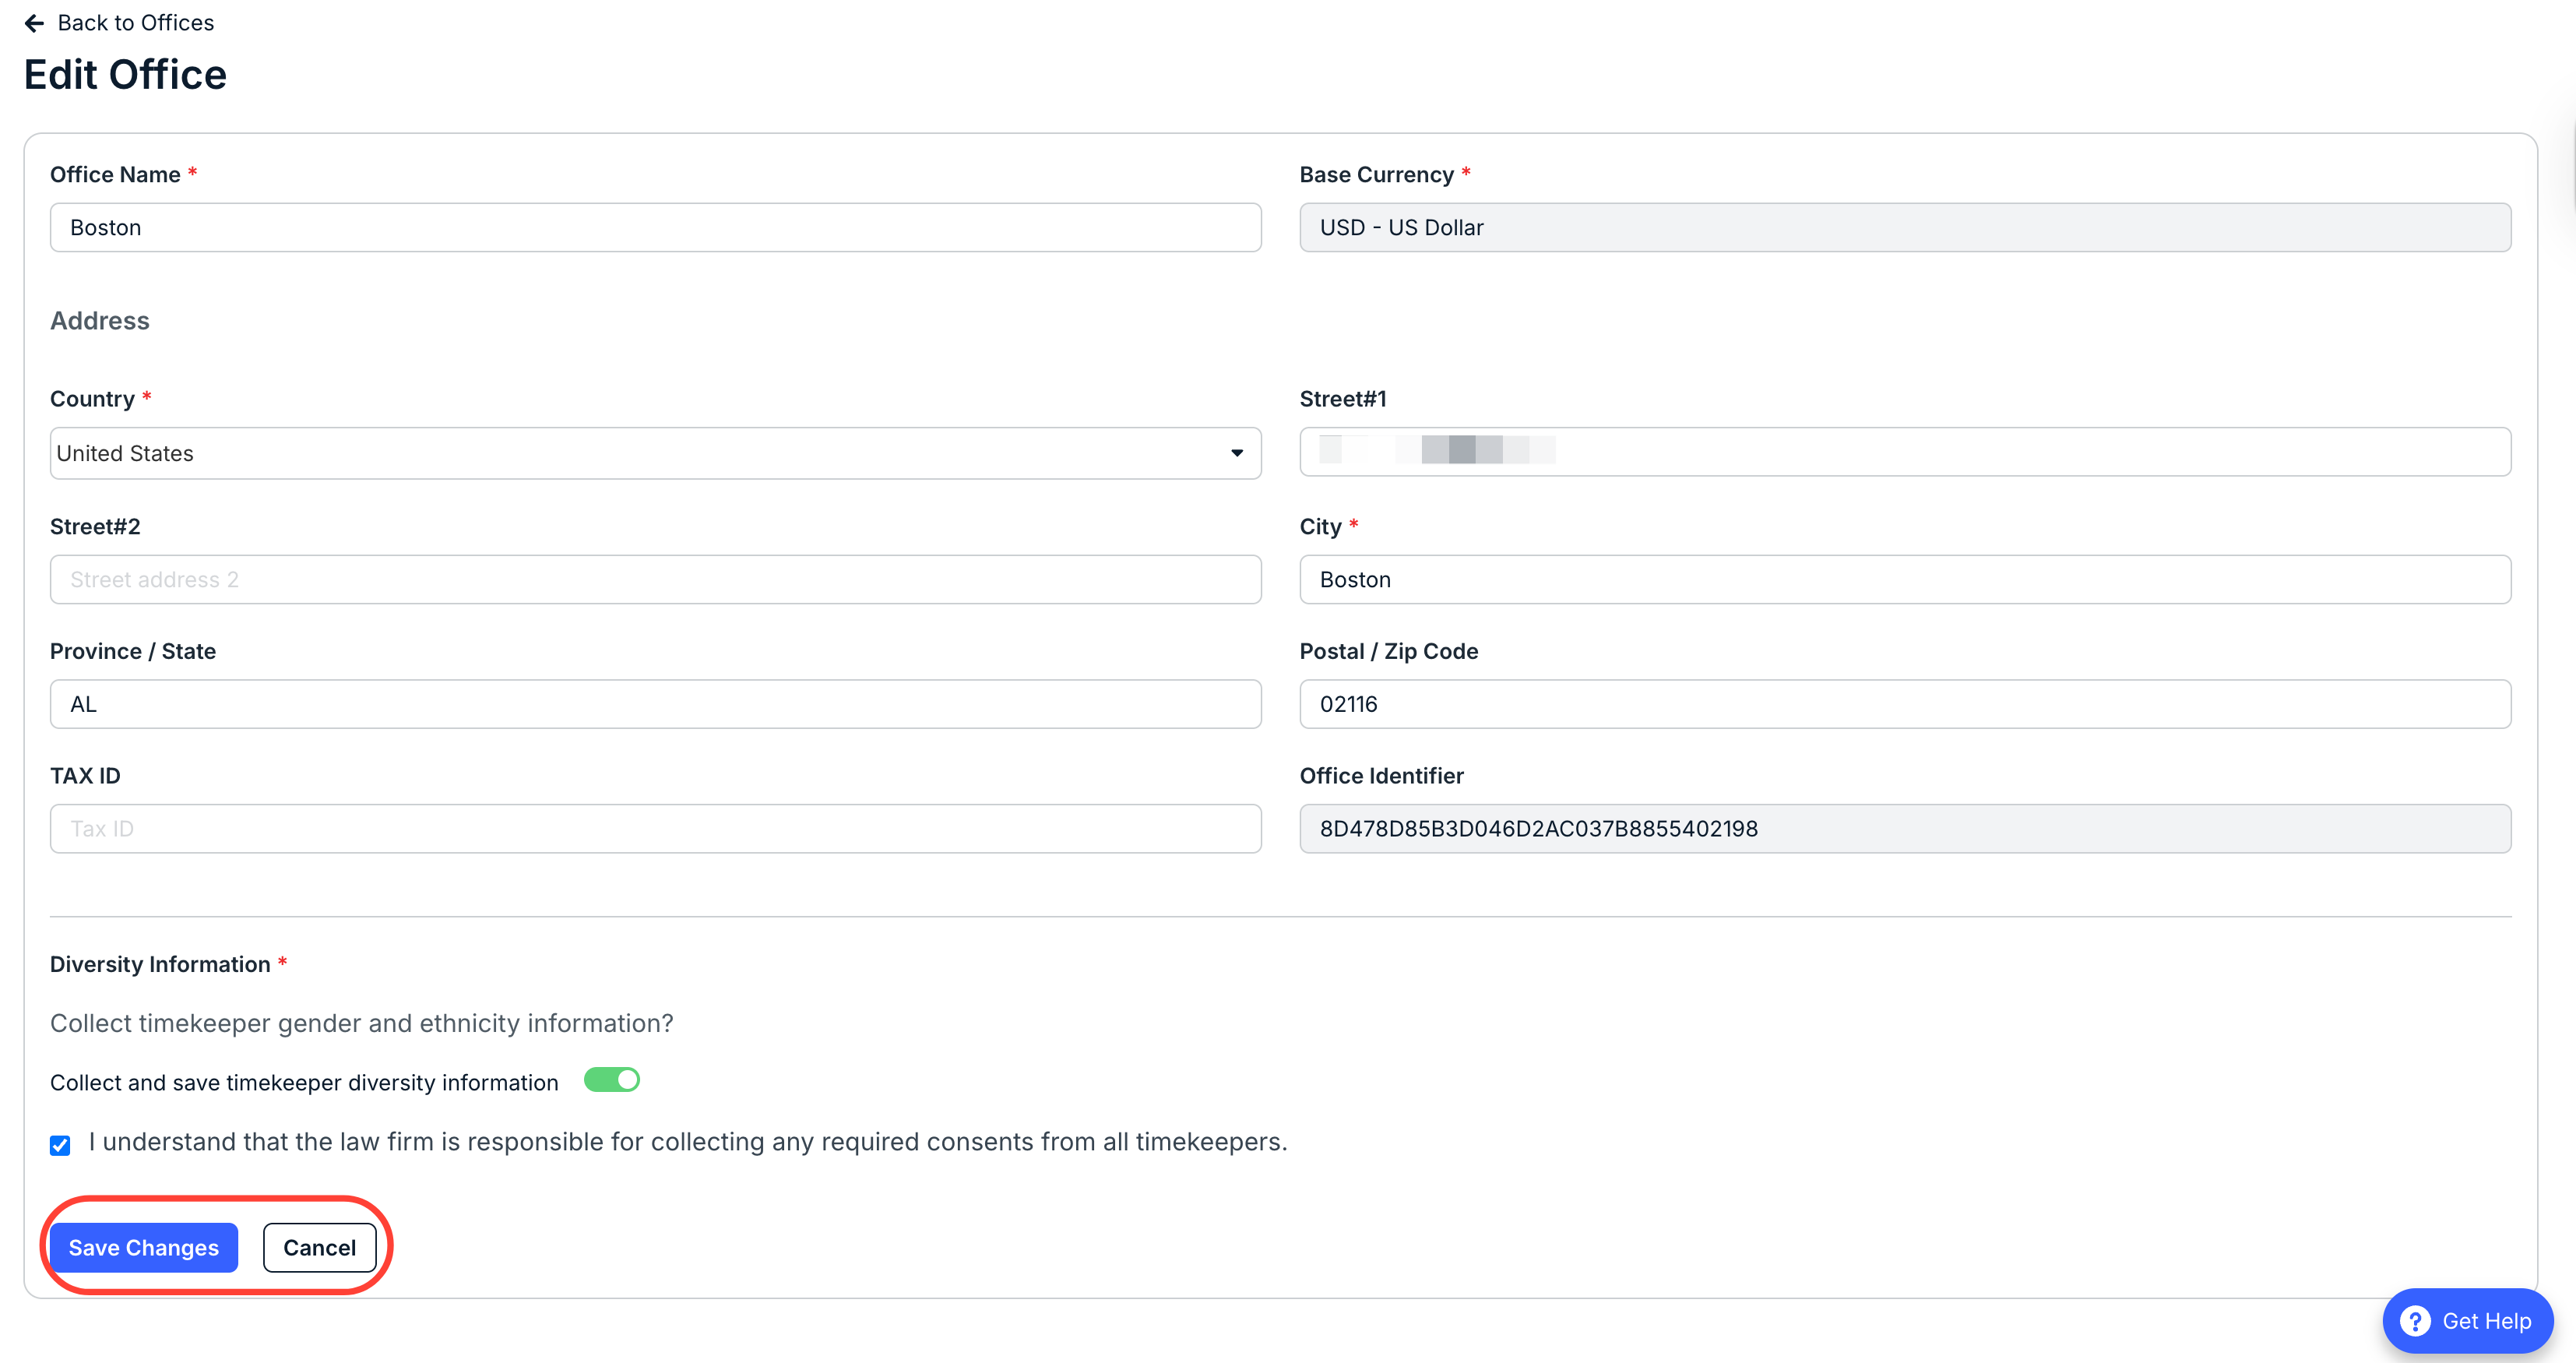
The Edit Office screen will appear. You can edit the Office Name, Address (Country, Street, Street #2, City, Province/State, Postal/Zip Code, Tax ID; you can also choose to Collect and save timekeeper diversity information.
Check or uncheck the I understand that the law firm is responsible for collecting any required consents from all timekeepers box.
Click Save Changes to save the changes or Cancel to back out.
The updated changes will appear in the main offices directory.
- You can use the main offices screen to Enable/Disable or delete an office.
Use the Enable toggle to either enable or disable the office. Click on the Delete (trash can) icon to delete an office.