1. Select your client from the Client dropdown menu.
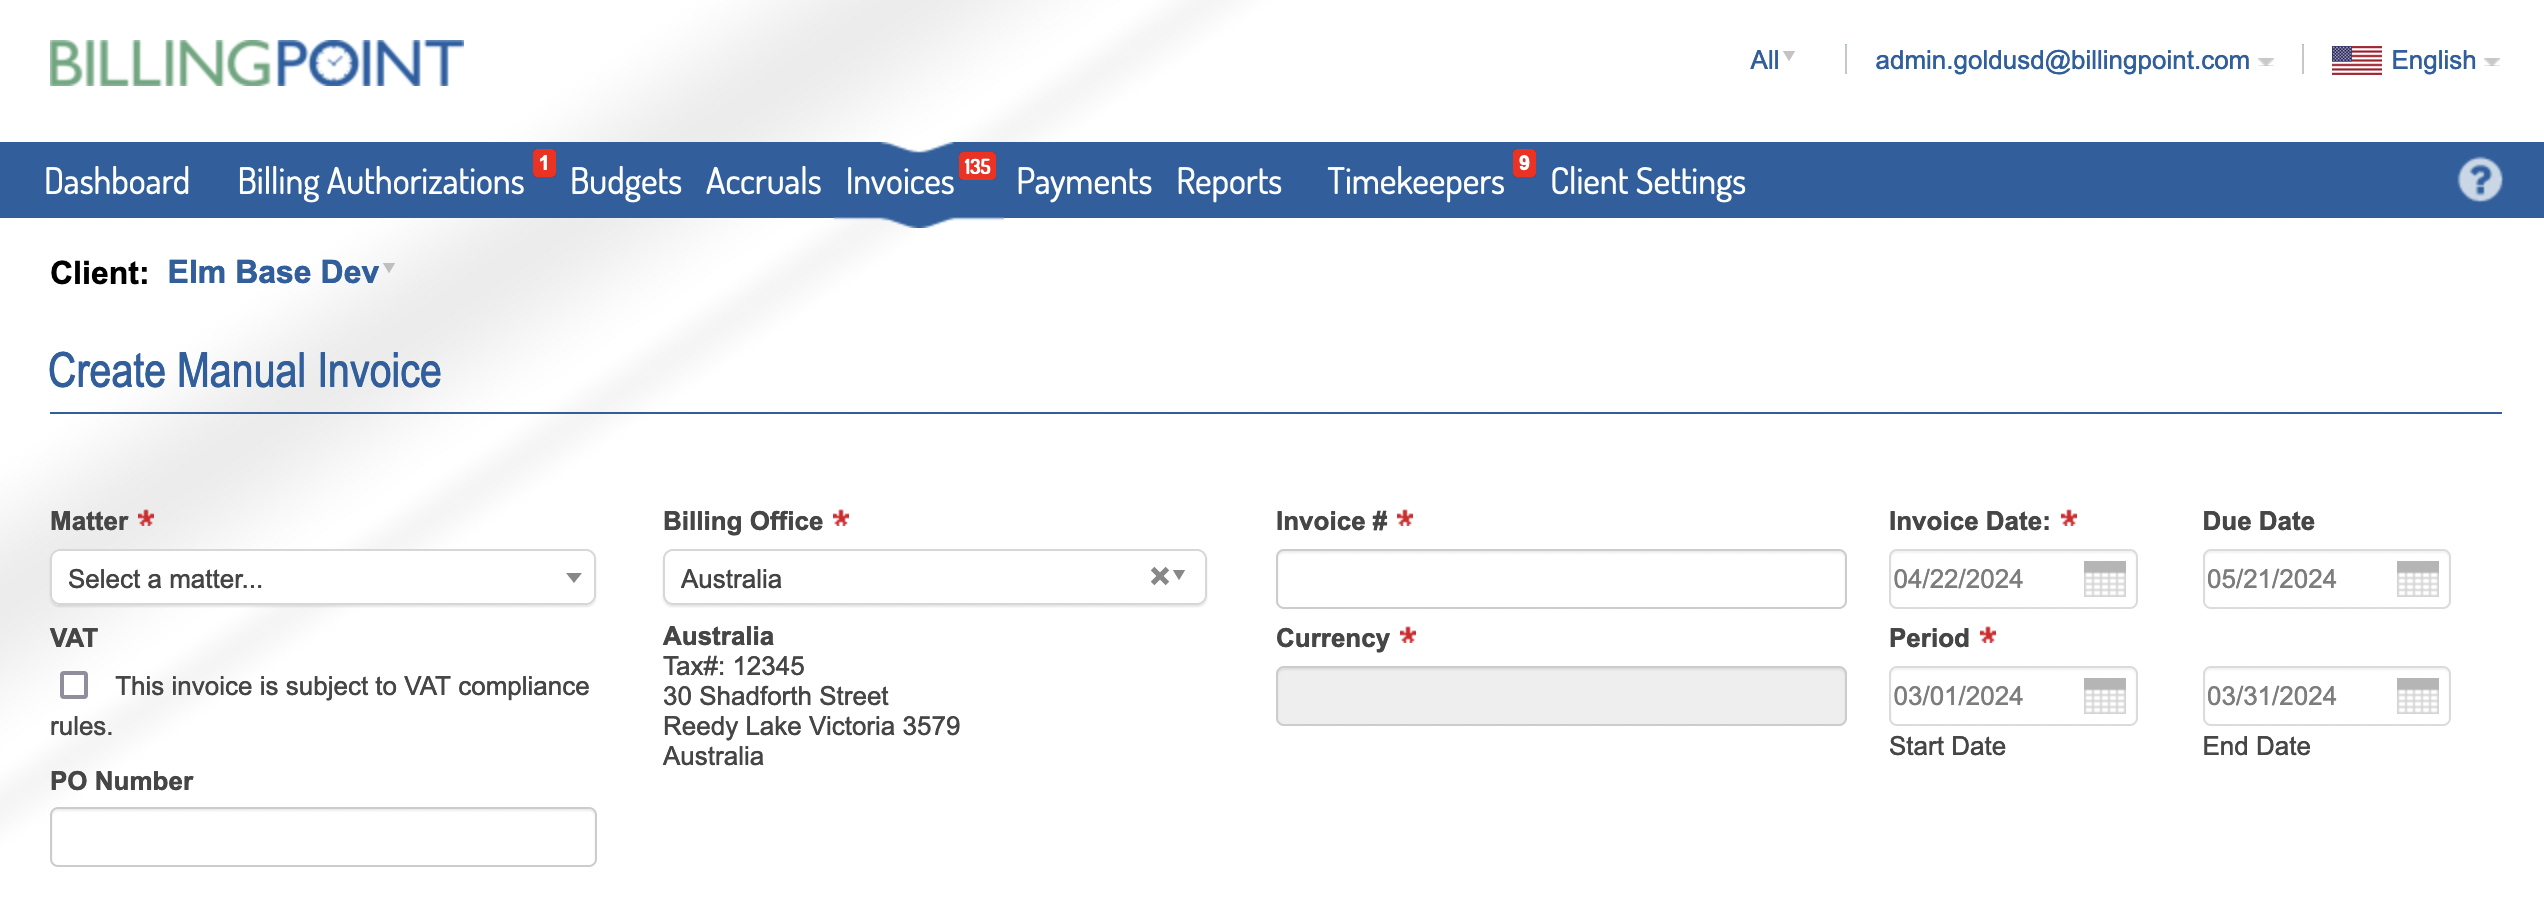
2. Choose Create Manual Invoice from the Invoices tab on the top blue bar. Or choose the Create Manual Invoice button at the top of your Invoices list.

3. Complete the required fields for the invoice header.
4. Add any fee line items. You can add as many line items as needed using the Add Fee button.

5. Add any expense line items. You can add as many line items as needed using the Add Expense button.

6. Add any discount and tax line items. You can add as many line items as needed using the Add Discount and Add Tax buttons.
Note: Discounts should be entered as negative numbers.


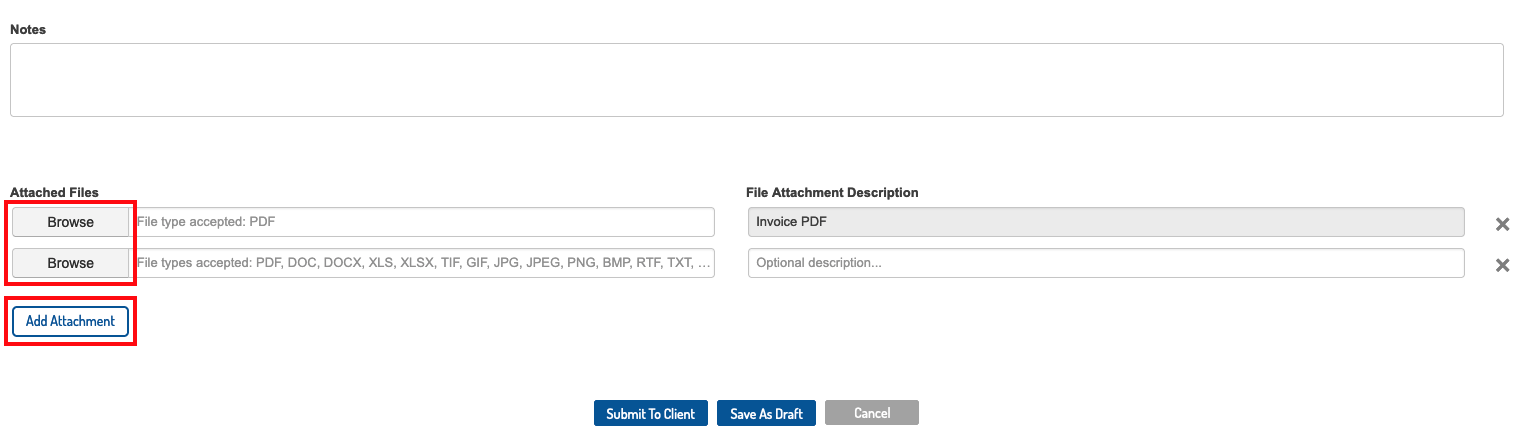
7. Add attachments needed by choosing Browse. You can add as many attachments as needed using the Add Attachment button.
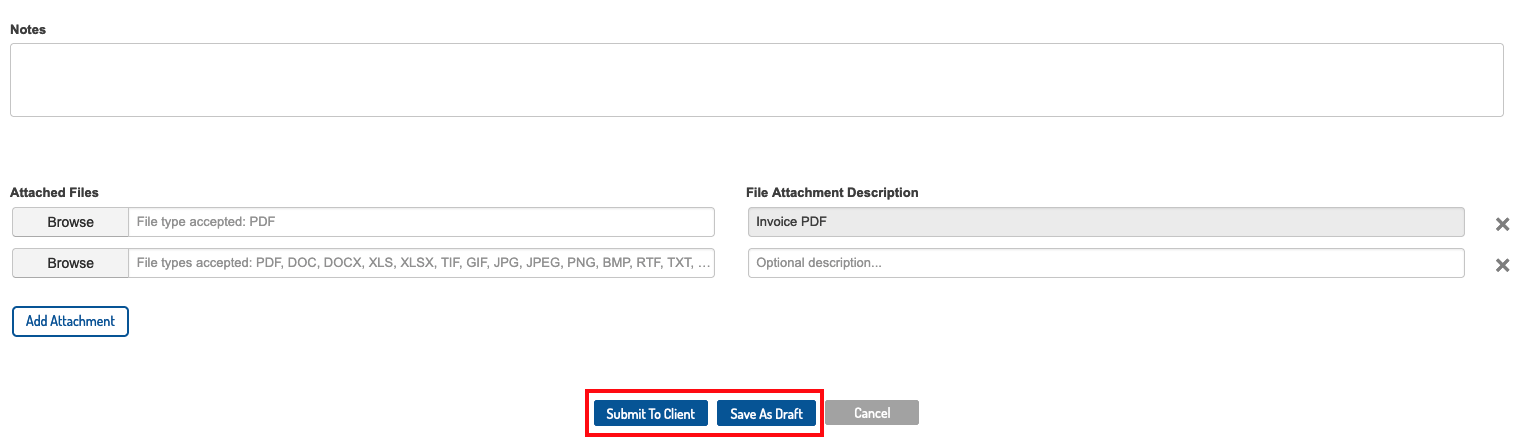
8. Send your invoice or Save as Draft.
9. When sending the invoice, ensure a status of Pending Approval to confirm successful submission to your client. If the invoice fails, it was not submitted and you will need to correct the errors listed and then reattempt submission.

