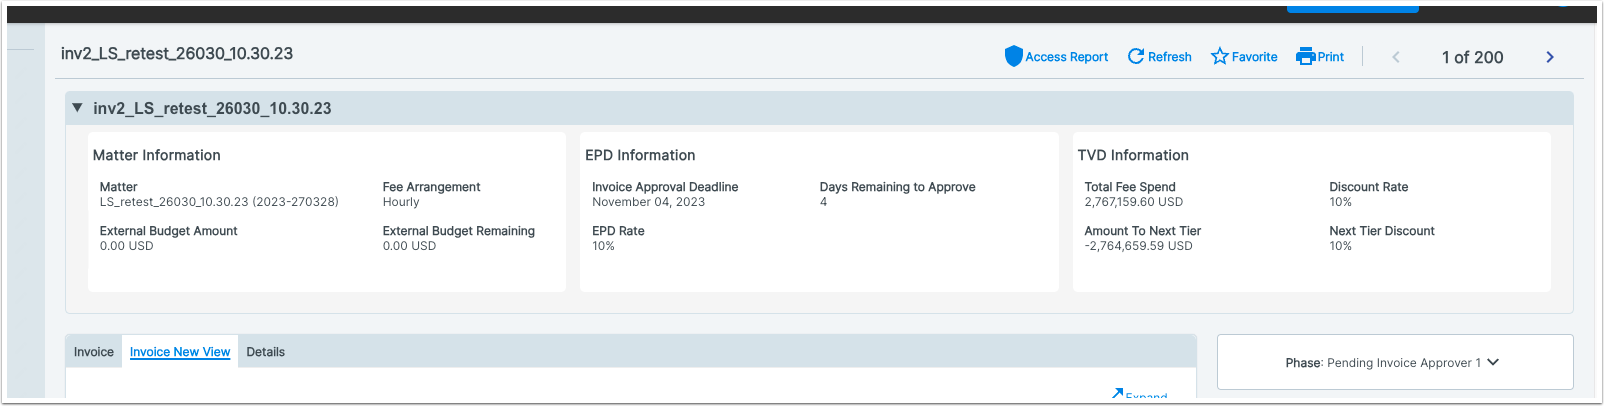
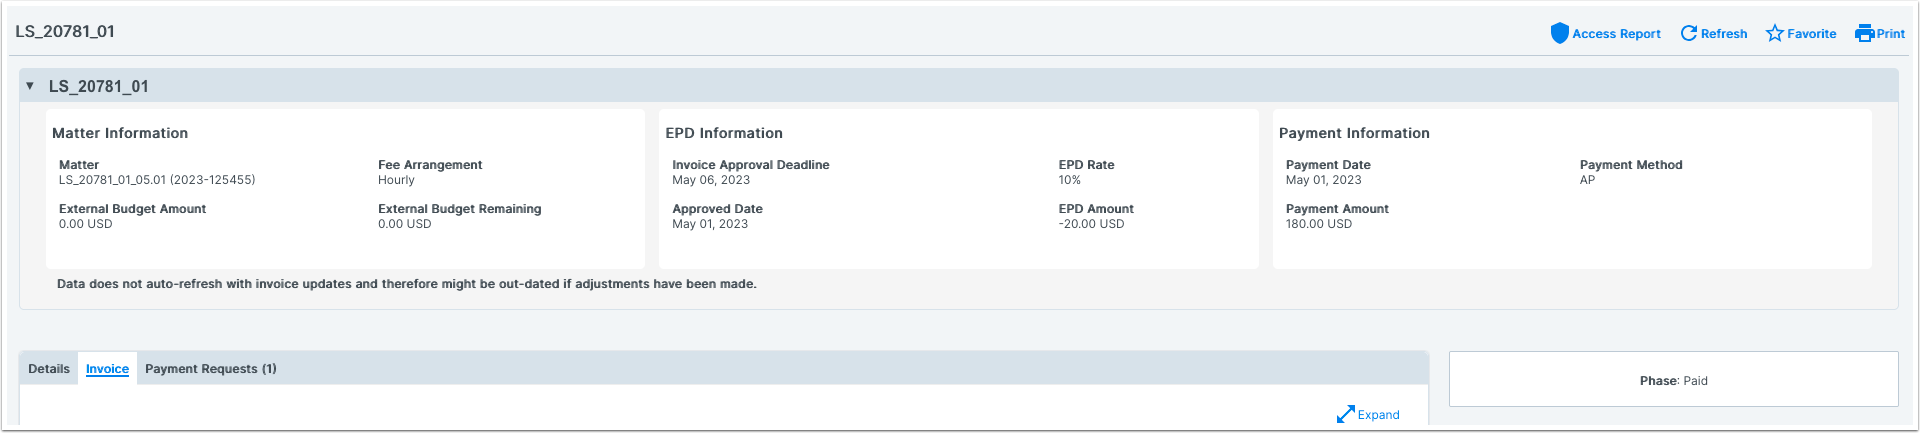
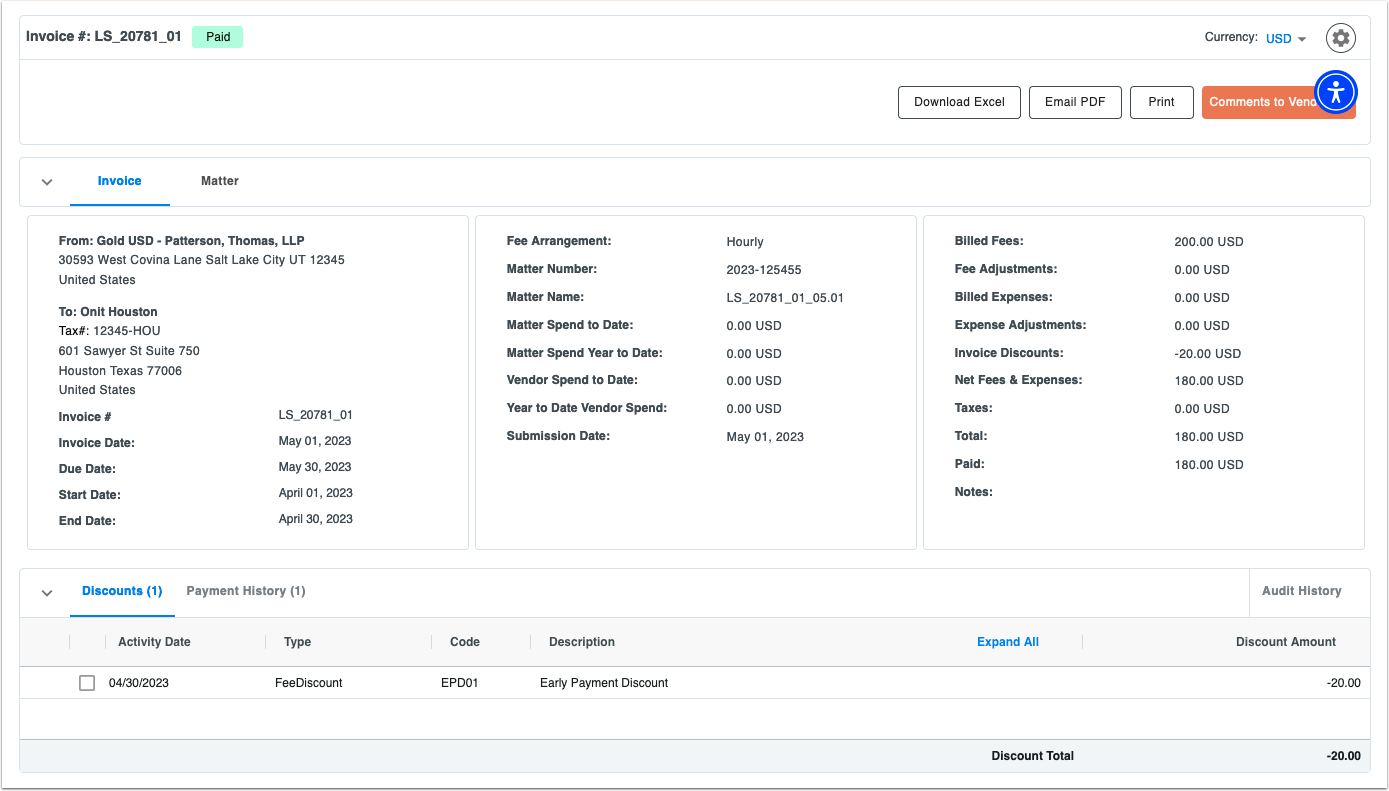
Onit's Early Pay Discounts feature offers an easy way to encourage prompt payments between vendors and clients, allowing for the easy setup and implementation of a discounted rate if an invoice gets paid within a specified time period.
Here, well take you step-by-step through setting up Early Payment Discounts in your system.
Using Early Payment Discounts
1. Click into the desired vendor record and click on Add Vendor Discount on the right-hand side.
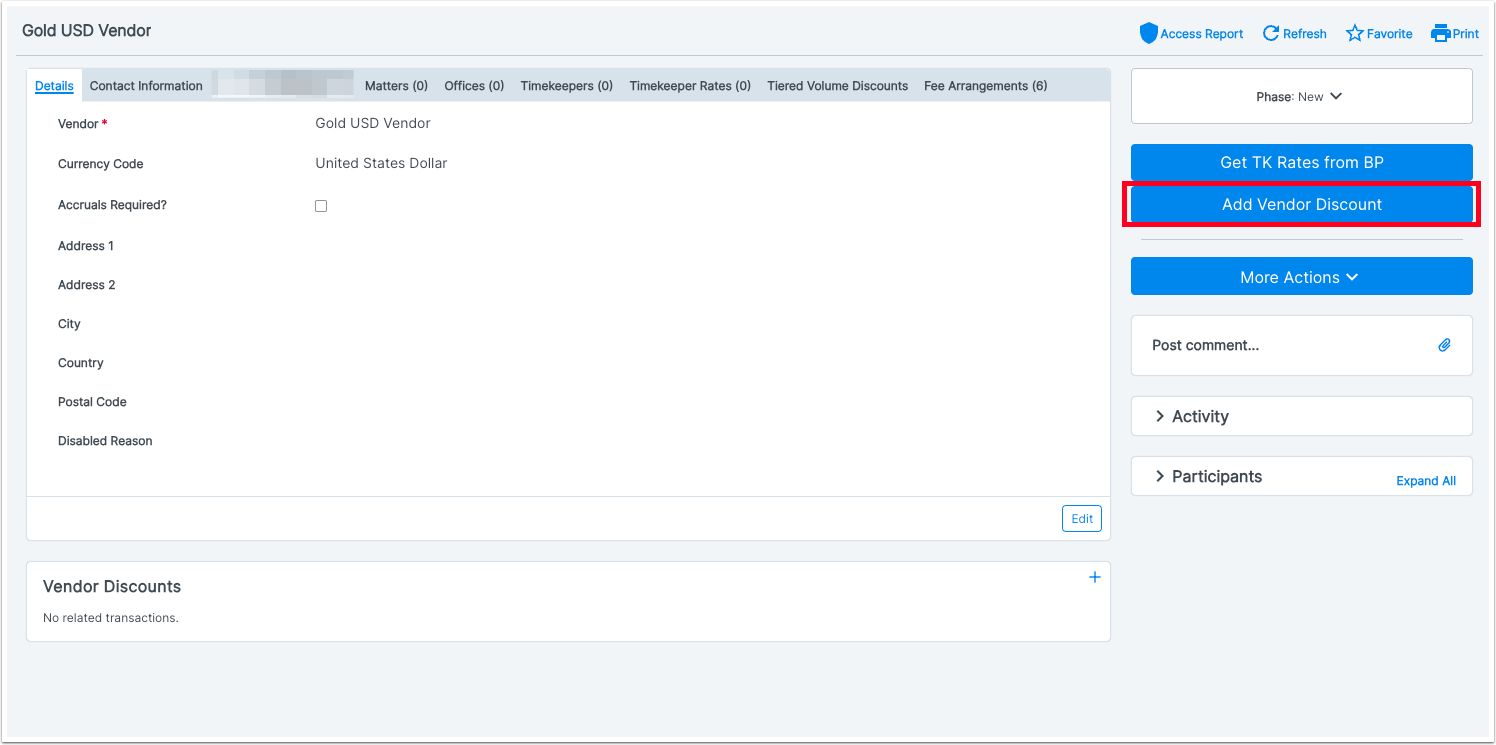
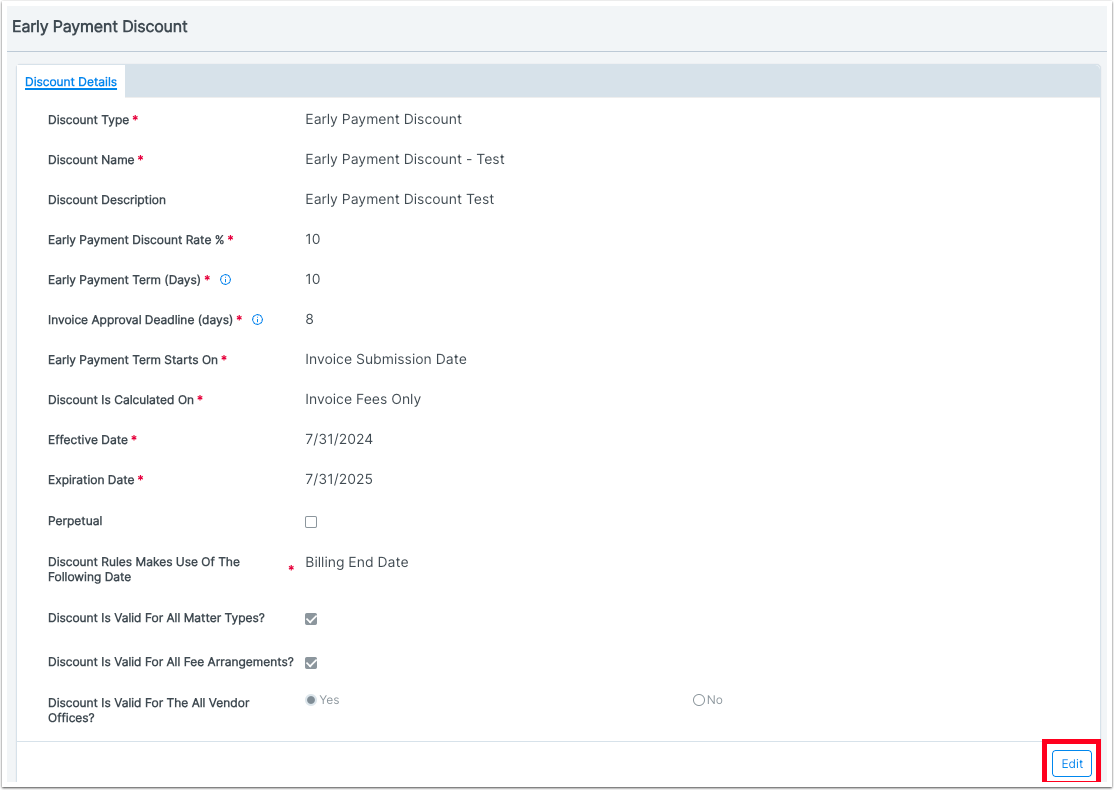
2. On the Vendor Discounts screen, select Early Payment Discount in the Discount Type section.
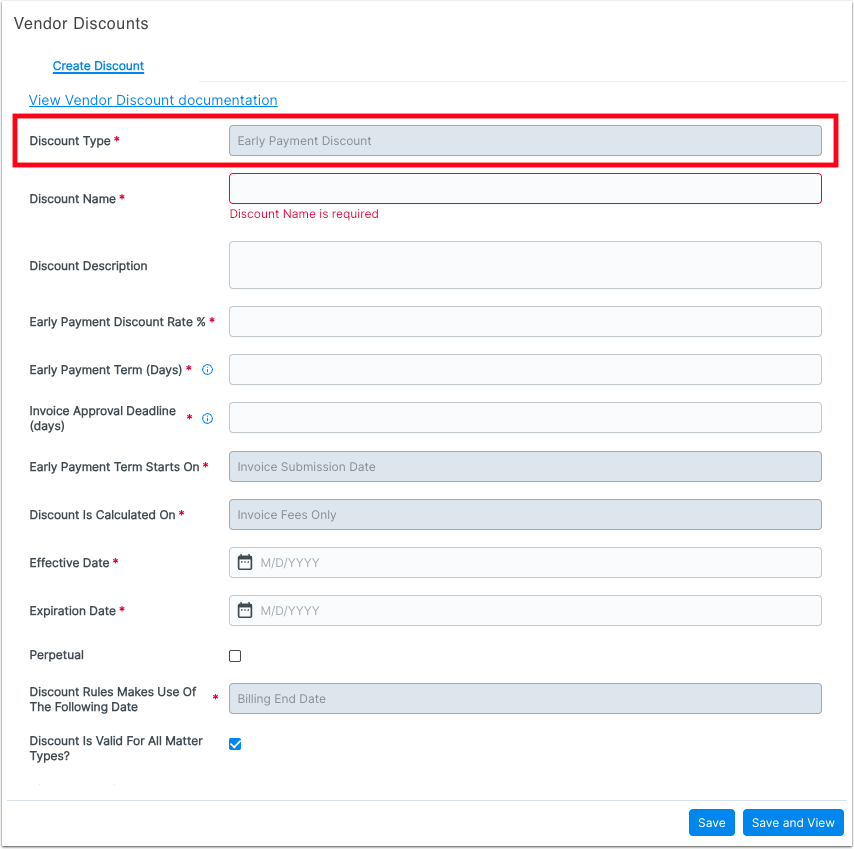
3. Fill in the Discount Name (this is required) and, if needed, the Discount Description.
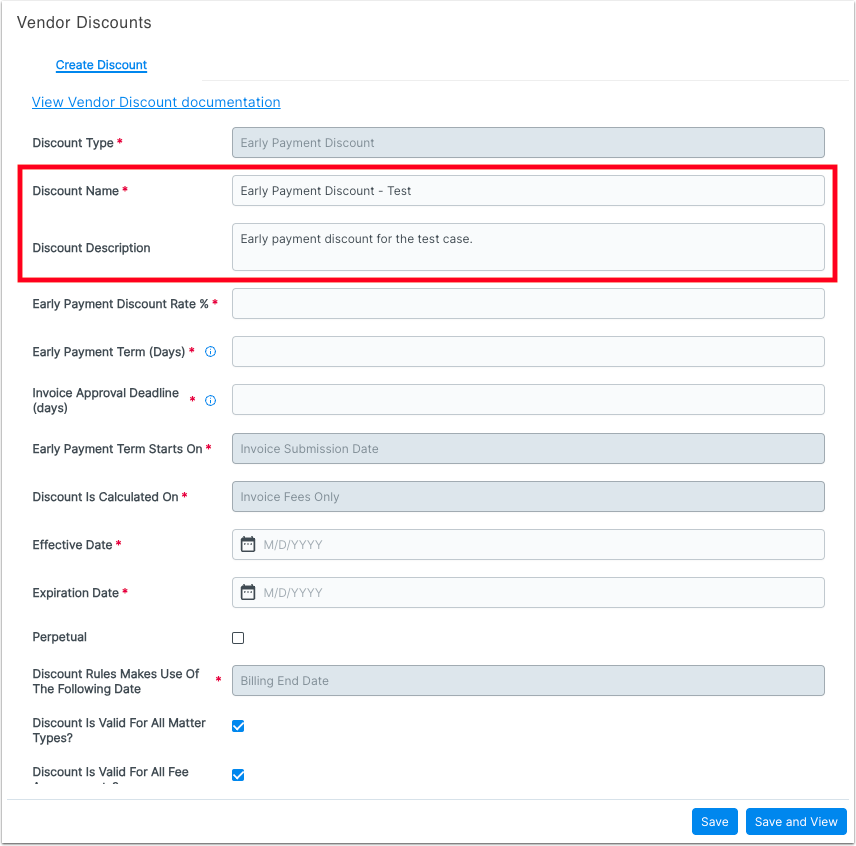
4. Fill in the Early Payment Discount Rate % (this is required and is required to be a numeric percentage). This is the agreed-upon discount rate.
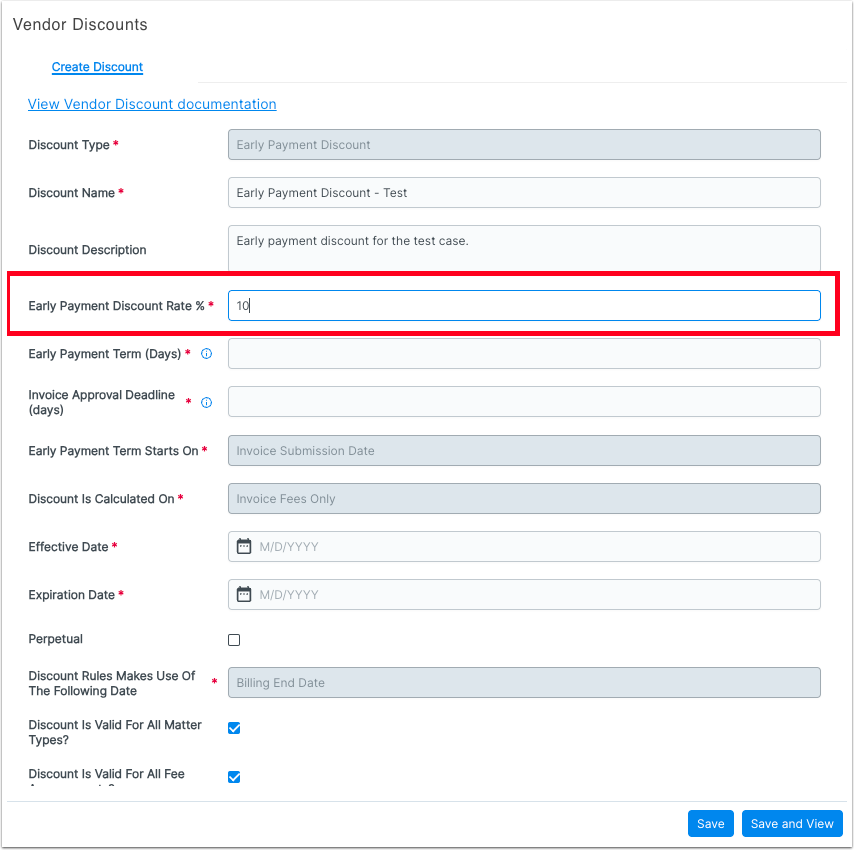
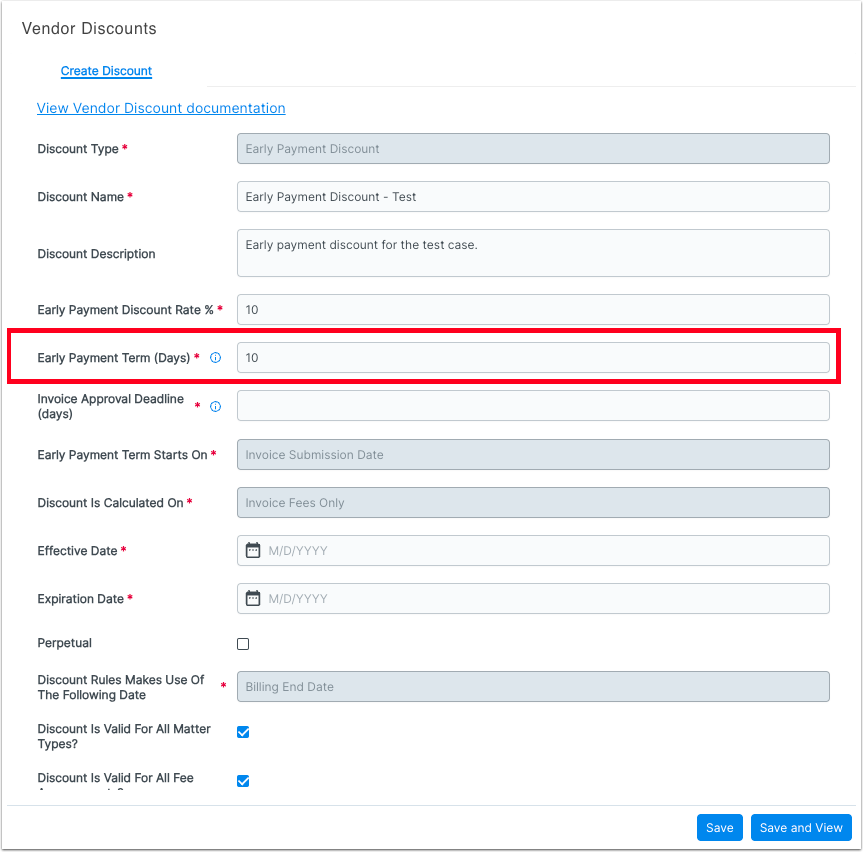
5. Fill in the Early Payment Term (Days). This is required. This is the total number of days in which the invoice must be paid for the early payment discount to apply.
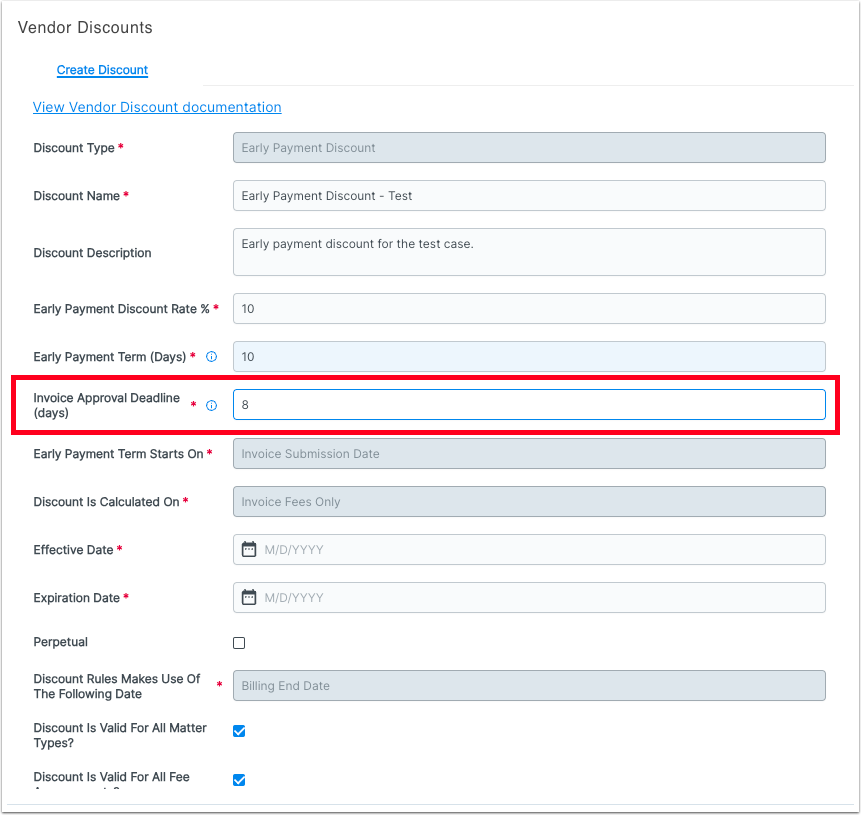
6. Fill in the Invoice Approval Deadline (Days). This is the number of days in which the invoice must be approved on the clients side before sending to Accounting / Accounts Payable.
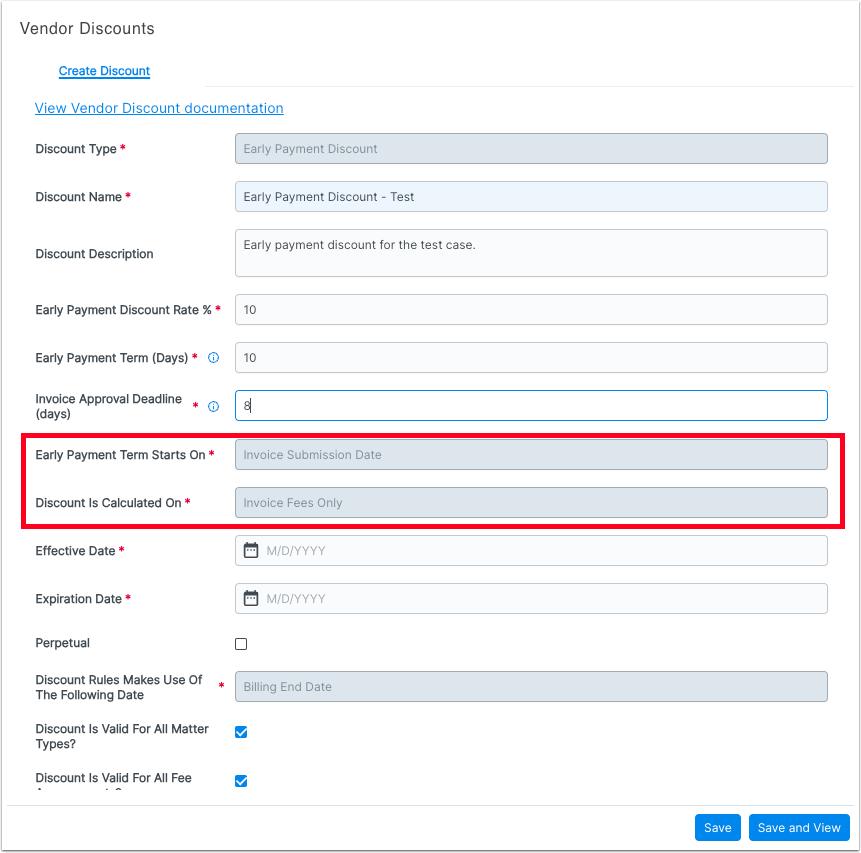
7. Note that the Early Payment Term Starts On and Discount is Calculated On fields are automatically filled in with the available options Invoice Submission Date and invoice Fees Only.
8. Fill in the Effective Date (when the Early Payment Discount starts) and the Expiration Date (when the Early Payment Date should end).
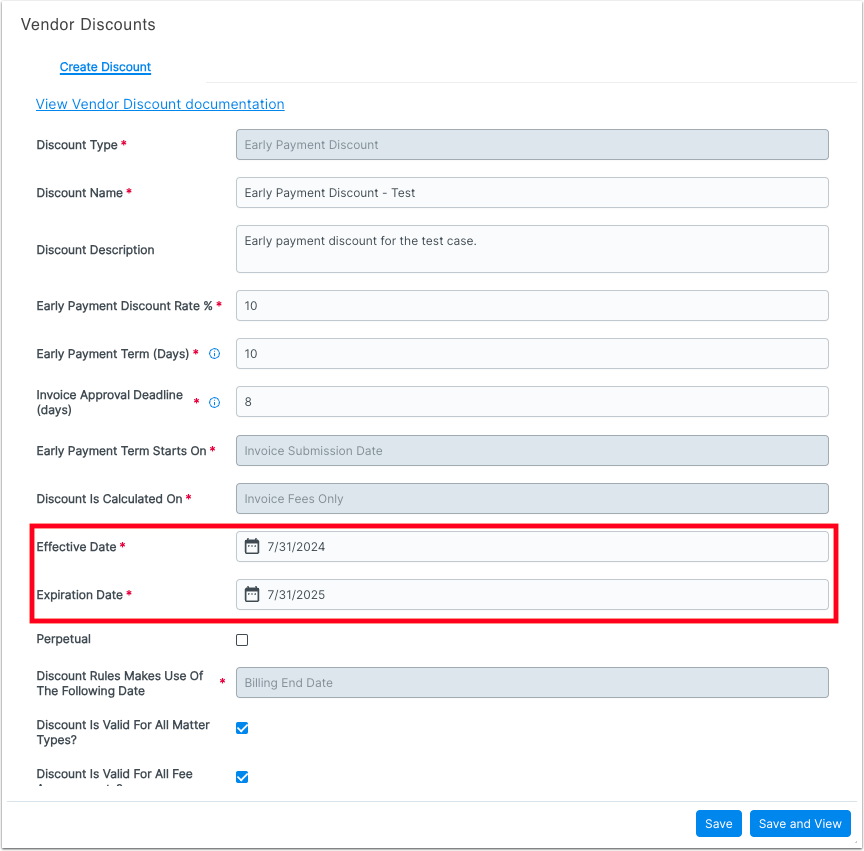
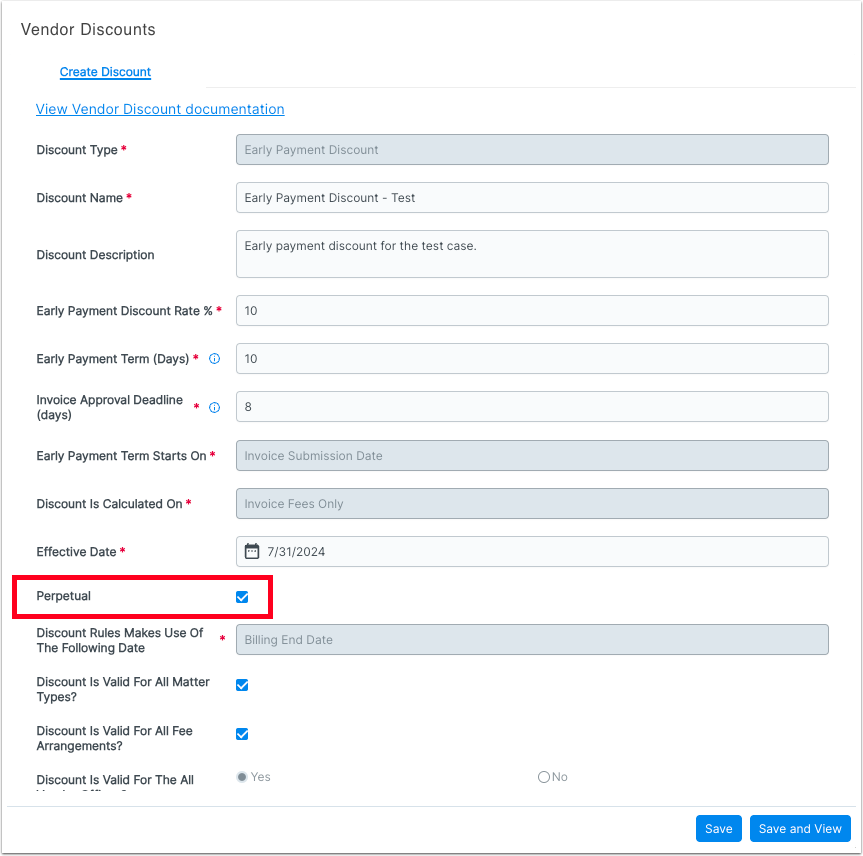
Additionally, you can click on Perpetual to ensure that this discount continues indefinitely. If you click on this button, the Expiration Date field will disappear.
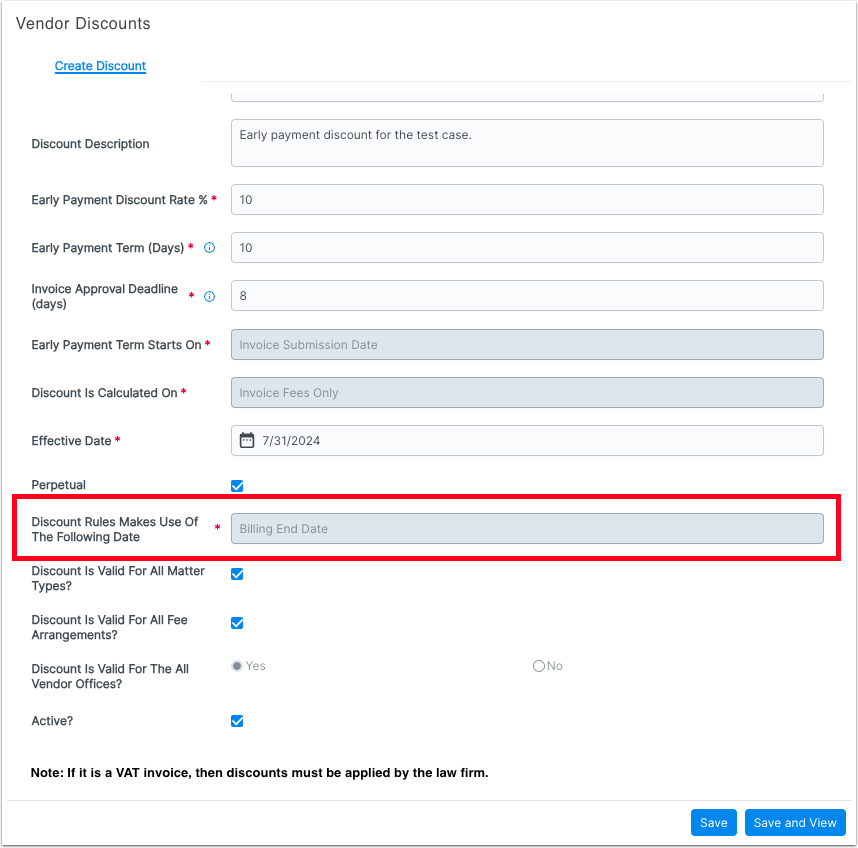
9. Note that the next field, Discount Rules Makes Use of the Following Date, is filled in with the default option of Billing End Date. This is the field on the vendors invoice that must fall within the effective and expiration dates for the discount to be valid.
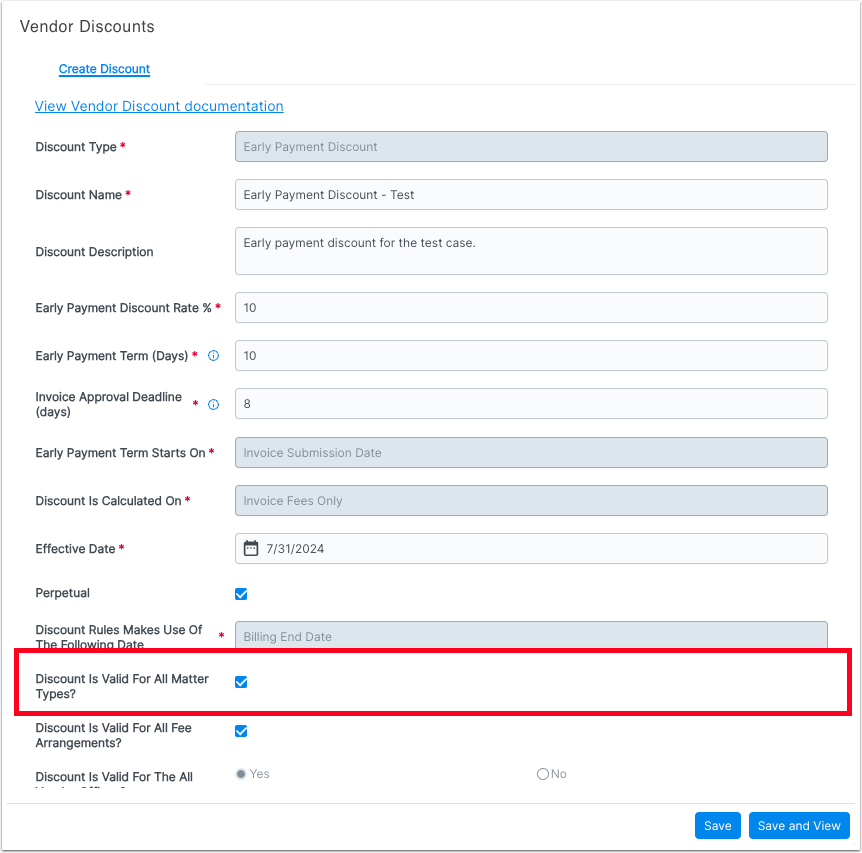
10. Check or uncheck the Discount is Valid for All Matter Types box. Keep it checked if you want this discount to apply to all matters.
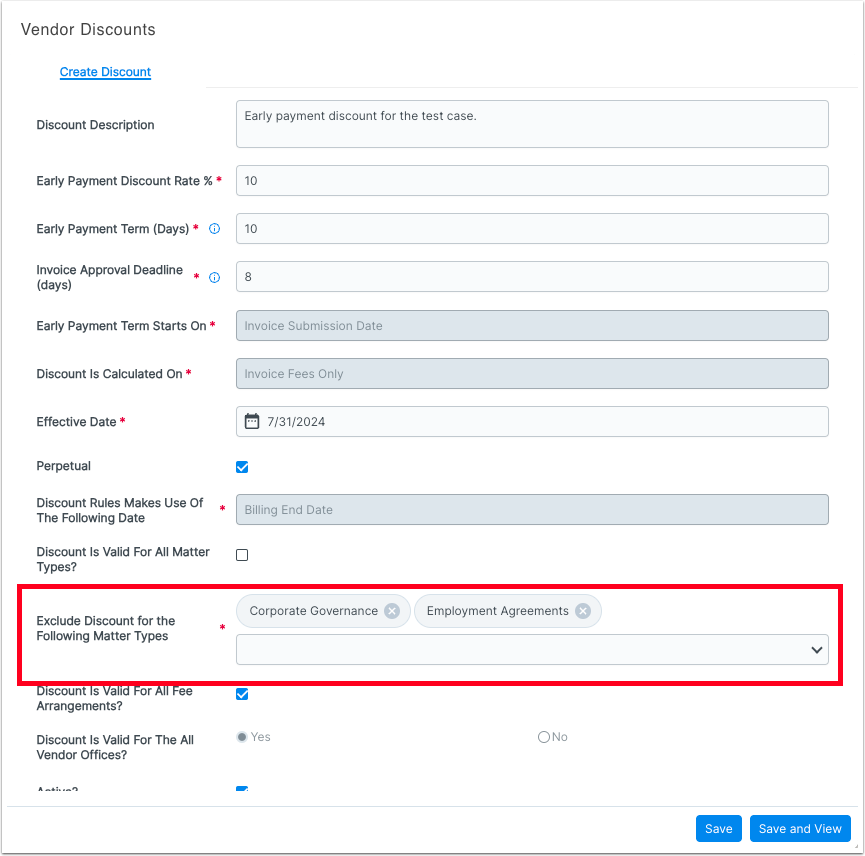
If you want to exclude specific matters from this discount, uncheck the box and select the matters that the discount should NOT apply to.
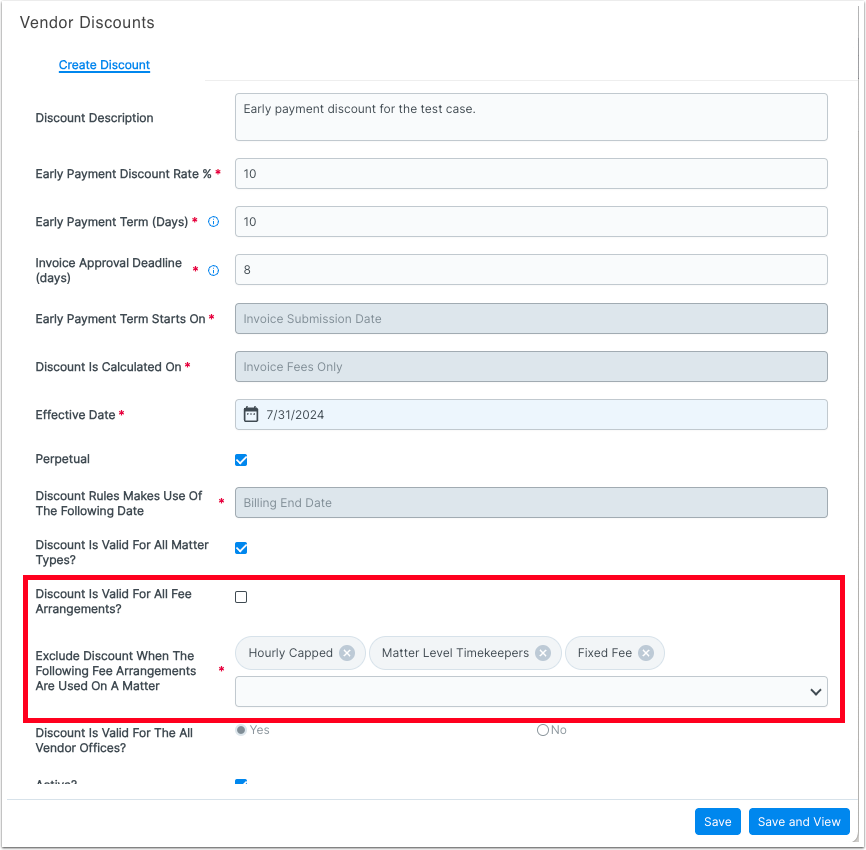
11. Check or uncheck the Discount is Valid for All Fee Arrangements box. Keep it checked if you want this discount to apply to all fee arrangements.
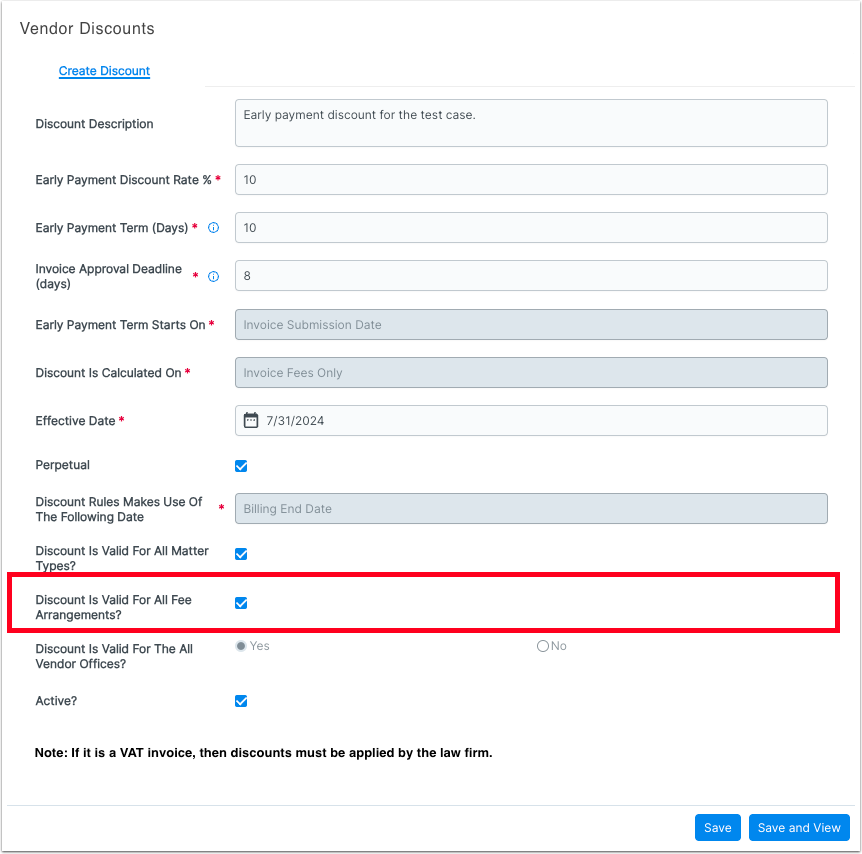
If you want to exclude specific fee arrangements from this discount, uncheck the box and select the fee arrangements that the discount should NOT apply to.
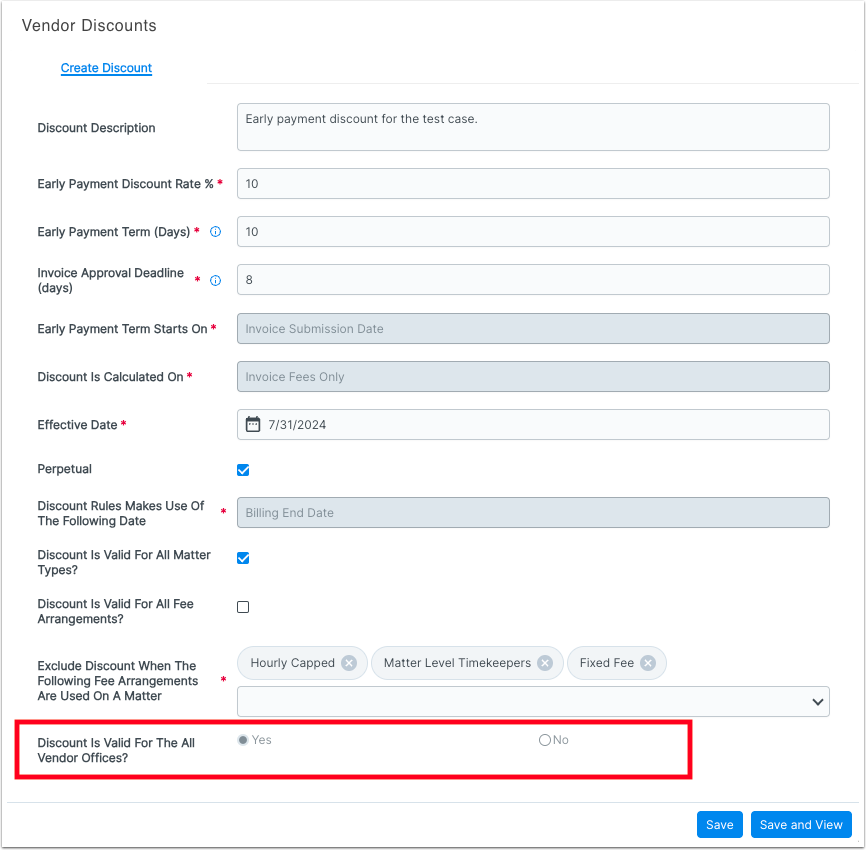
12. Click "Yes" or "No" on the Discount is Valid for All Vendor Offices field. Clicking "Yes" applies the discount for invoices coming from all vendor offices; if you click "No" you'll be able to select the specific offices this discount should apply to.
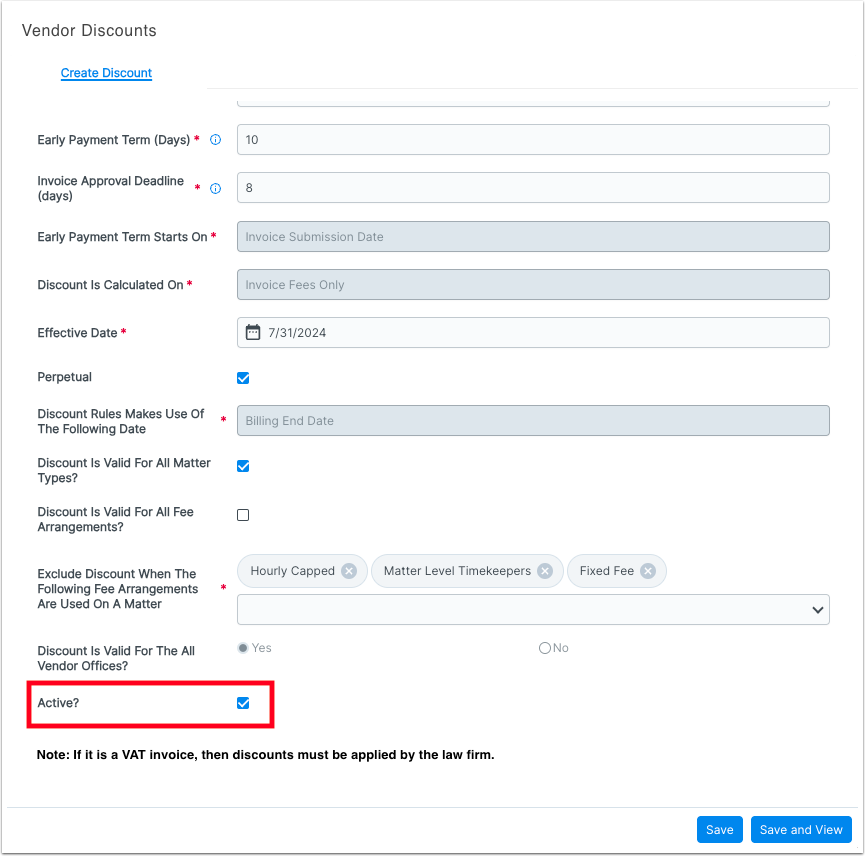
13. Finally, make sure the Active box is checked to ensure that the discount is active. Unchecking Active is a way of pausing the discount.
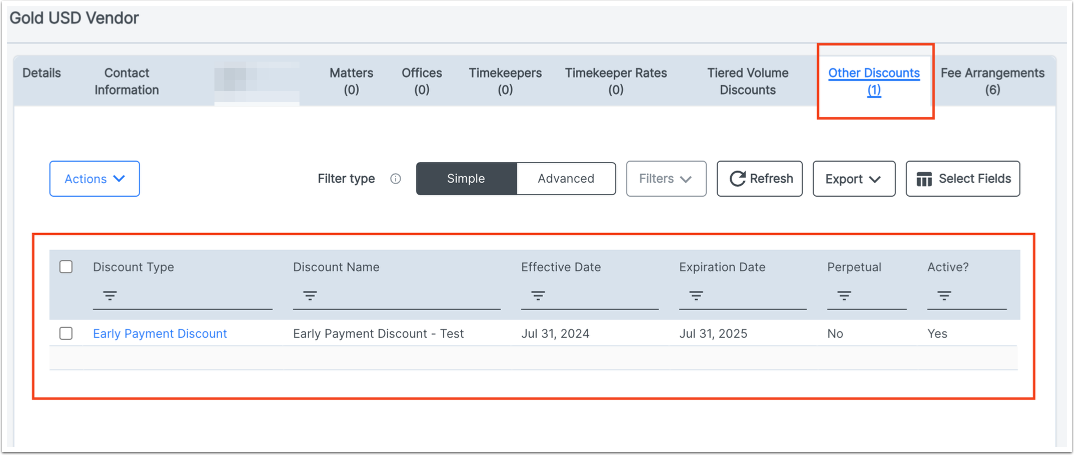
14. Click into the Other Discounts section on the Vendor page to view and edit the Early Payment Discounts.
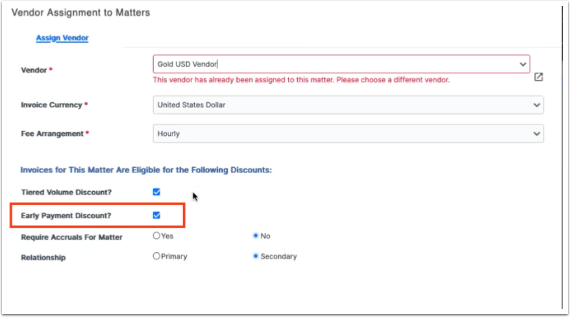
15. To make sure this discount is implemented, ensure that Early Payment Discount is checked on the Vendor Assignment to Matter (VATM) screen.