Onit's new Vendor Communication app allows users to message one or more vendors directly via ELM.
Here's how to use Vendor Communication within ELM:
- Click on "Vendor Communication" in the left-hand-side menu.
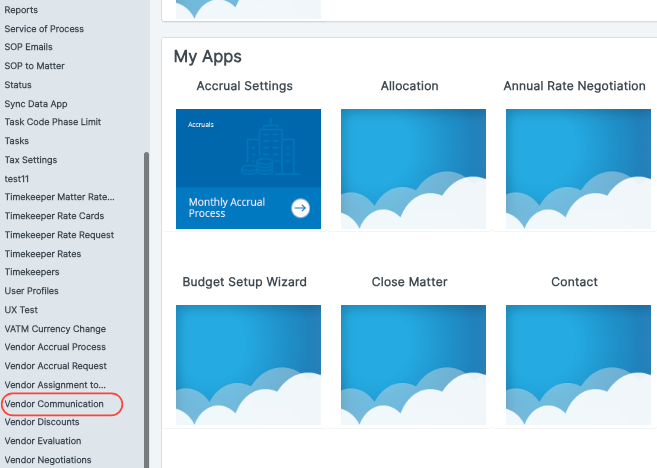
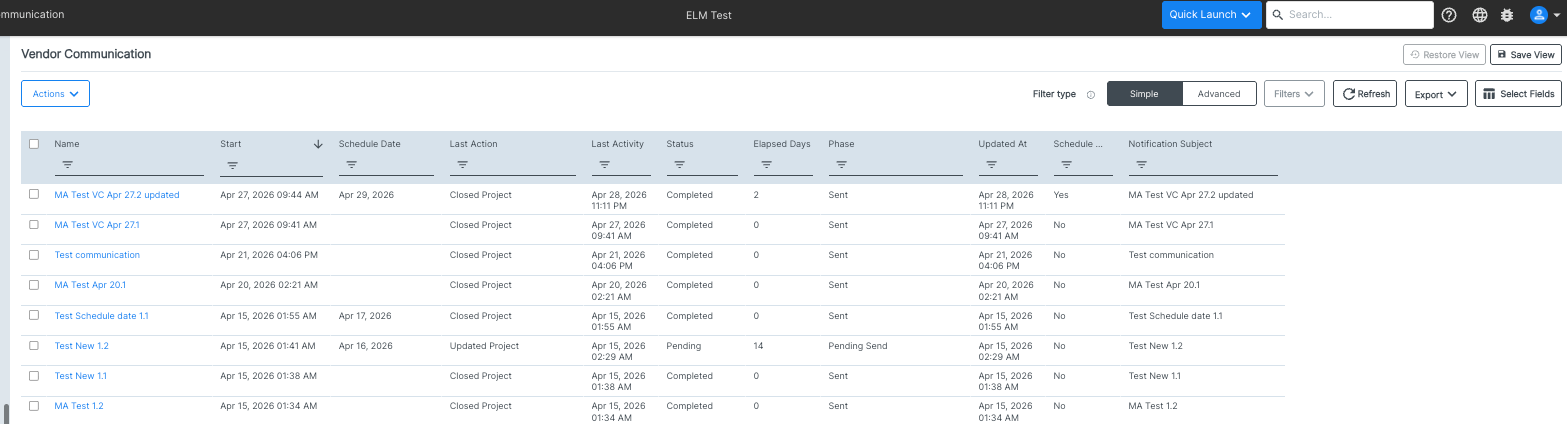
- The "Vendor Communication" main screen will appear.
Here, you'll see the existing vendor communications. You can see the Name, Start Date, Schedule Date, Last Action, Last Activity, Status, Elapsed Days, Phased, Updated At, Schedule, and Notification Subject. Click into any column title to sort and search by that column. You can use the Filter Type and View buttons to customize what you want to see on the screen.
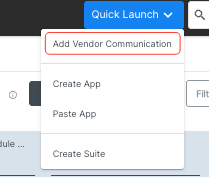
- Click on Quick Launch and then "Add Vendor Communication" to start a new vendor communication.
- The Vendor Communication screen will appear.
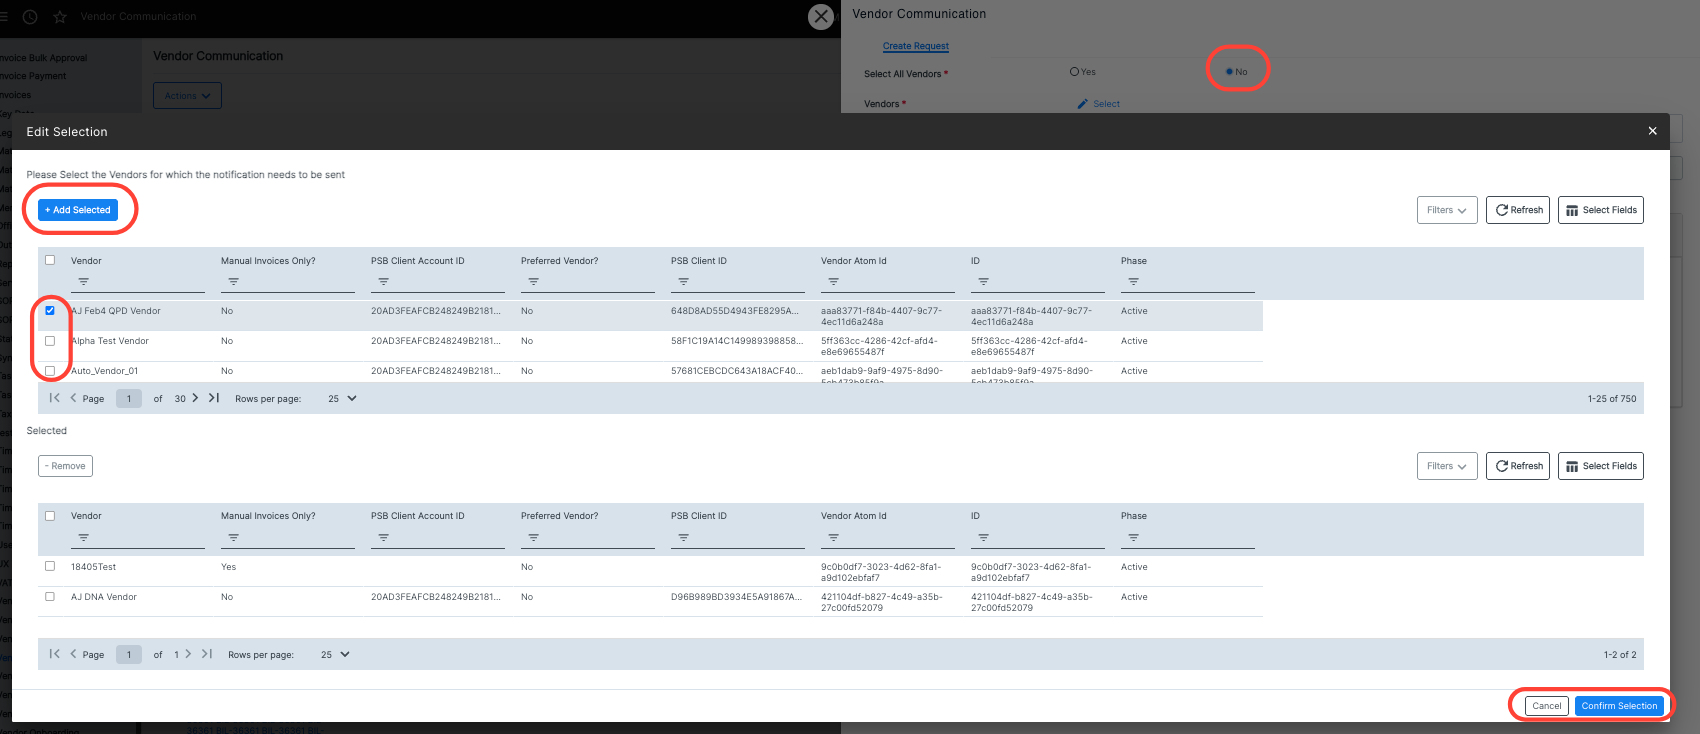
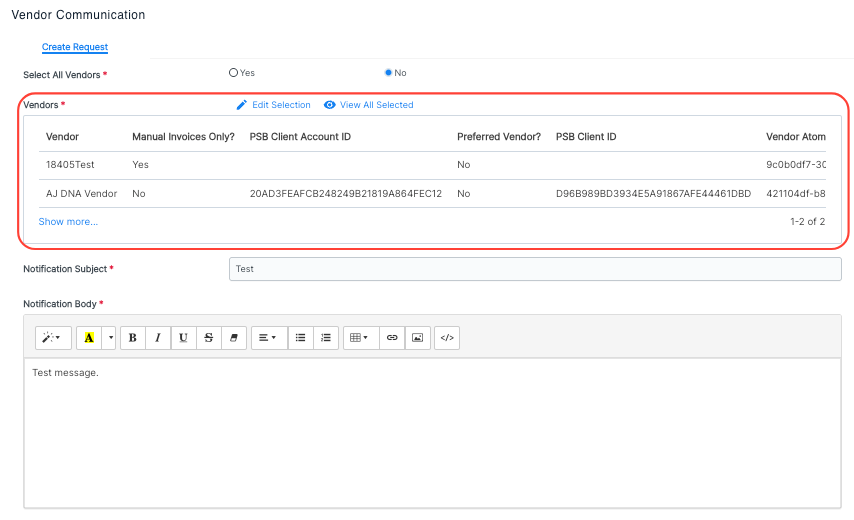
Choose whether you want to Select All Vendors or click on No to select individual vendors.
If you click No, the Select Vendors screen will appear. Select your vendors, click Add Selected, and then click Confirm Selection to add the vendors to your send list or Cancel to back out.
Selected vendors will appear on the Vendor Communication screen.
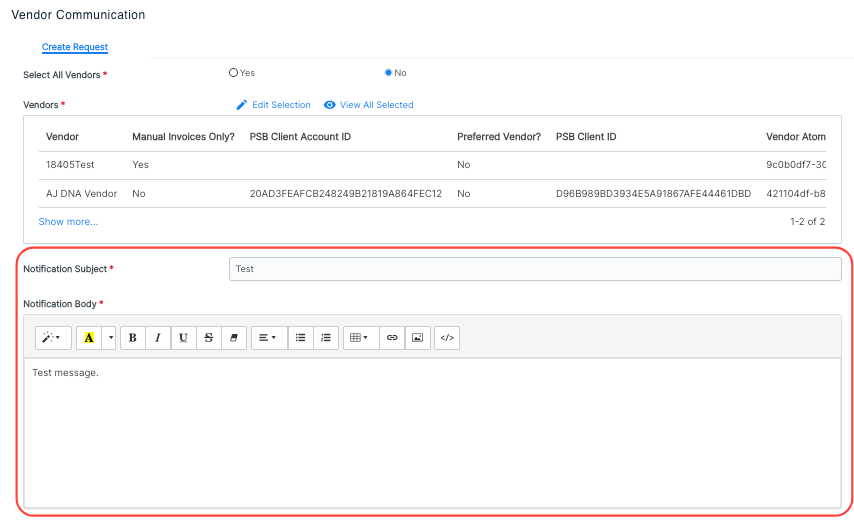
Fill out the Notification Subject and Notification Body. You can use the format menu to adjust the formatting of your message, insert images, etc.
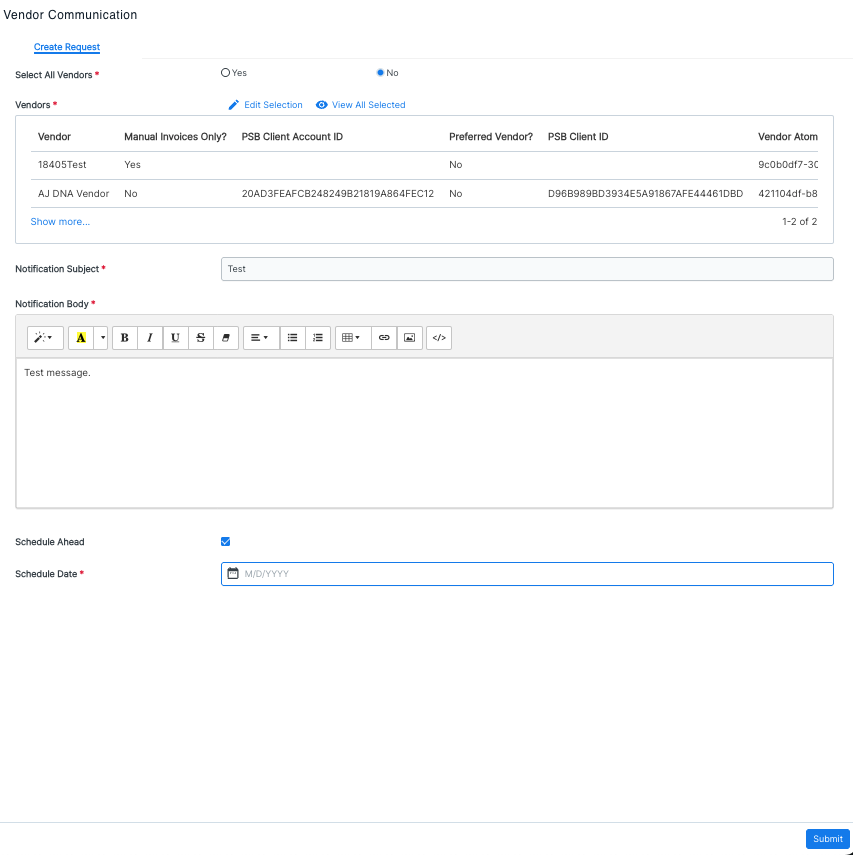
You can click on Submit to send the communication ASAP, or you can click on Schedule Ahead to send it at a later date.
After clicking Submit, you'll see the communication appear in the Vendor Communication directory. The record will show a status of Completed and be closed automatically after the notification has been sent.
