Intake Admins are notified via email when a new request is submitted. Click on the link from the email or go to Legal Service Requests from the left-side navigation bar in the portal and switch to the In Triage tab.
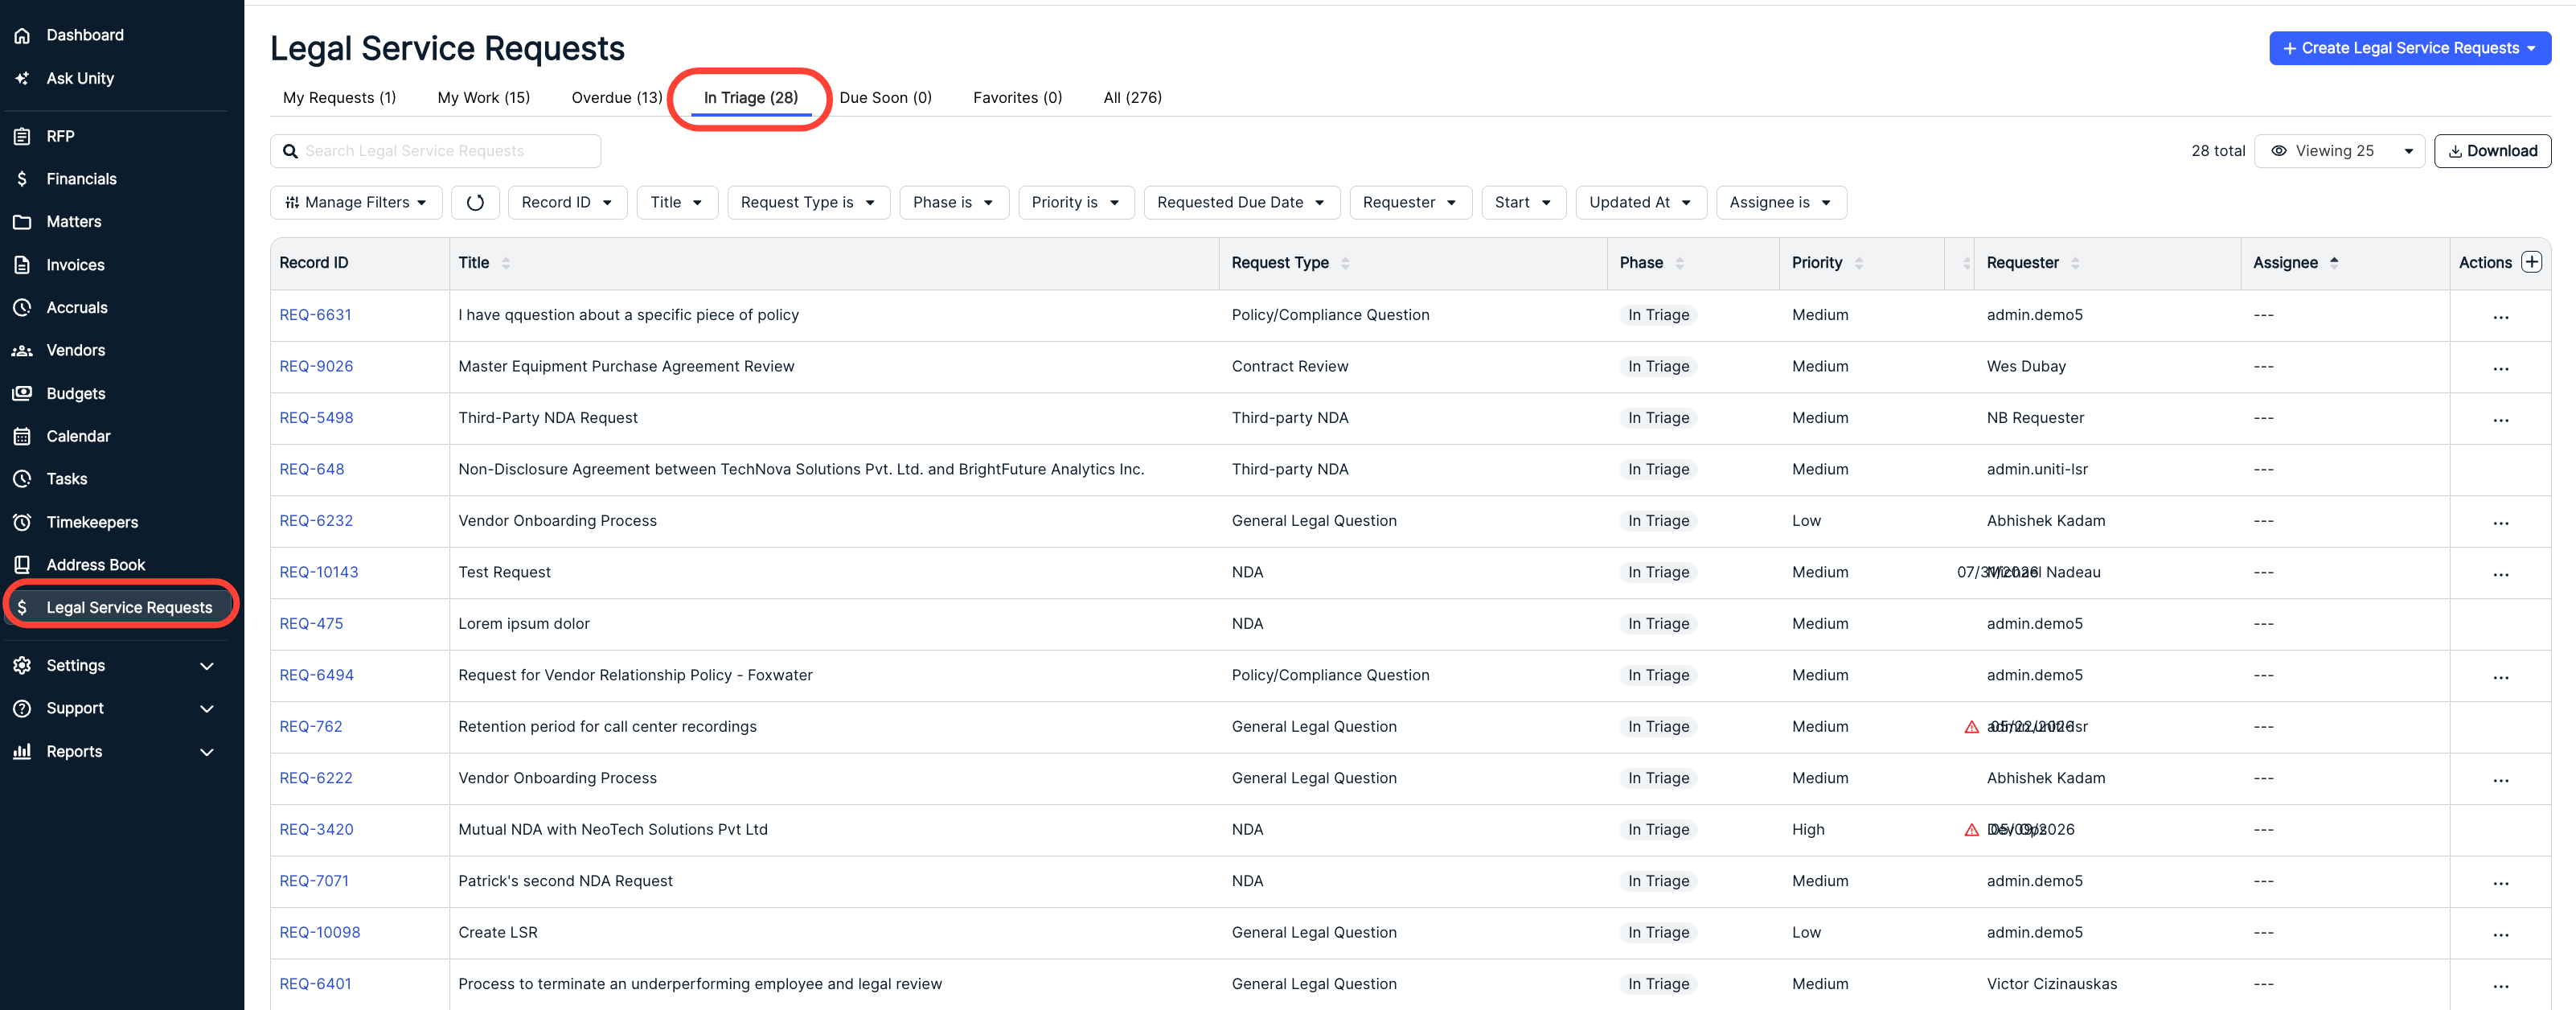
Click on the hyperlinked request name from the list to view details and take additional actions. The request record is separated into four tabs: Overview, Comments, Files, and Participants.
This article covers the following topics:
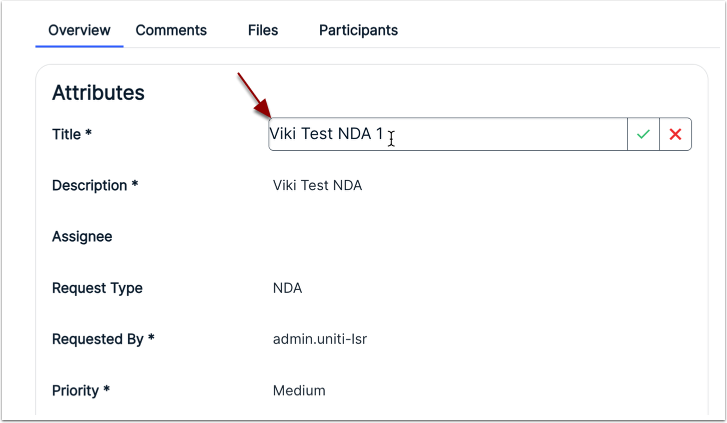
Overview
The default fields below appear under Attributes for all requests. Additional fields may appear based on the type of legal service request.
- Title
- Description
- Assignee (an assignee can only be modified by using the Service Requests Actions menu; click here for details)
- Request Type
- Requested By
- Priority
- Requested Due Date
- Tags
- Change Type
To update the information, click on the value for a field to enable editing. Enter or select the information and then press enter/return (or click Apply, where applicable for dates and multi-select dropdown fields).
If you are ready to assign the request or need to take other actions, such as merging the record with a duplicate request, requesting additional information from the requester, or complete a quick request, skip below.
Comments
The Comments tab stores notes other details left by the intake admin, assignee, requester, and/or other participants with access to the service request.
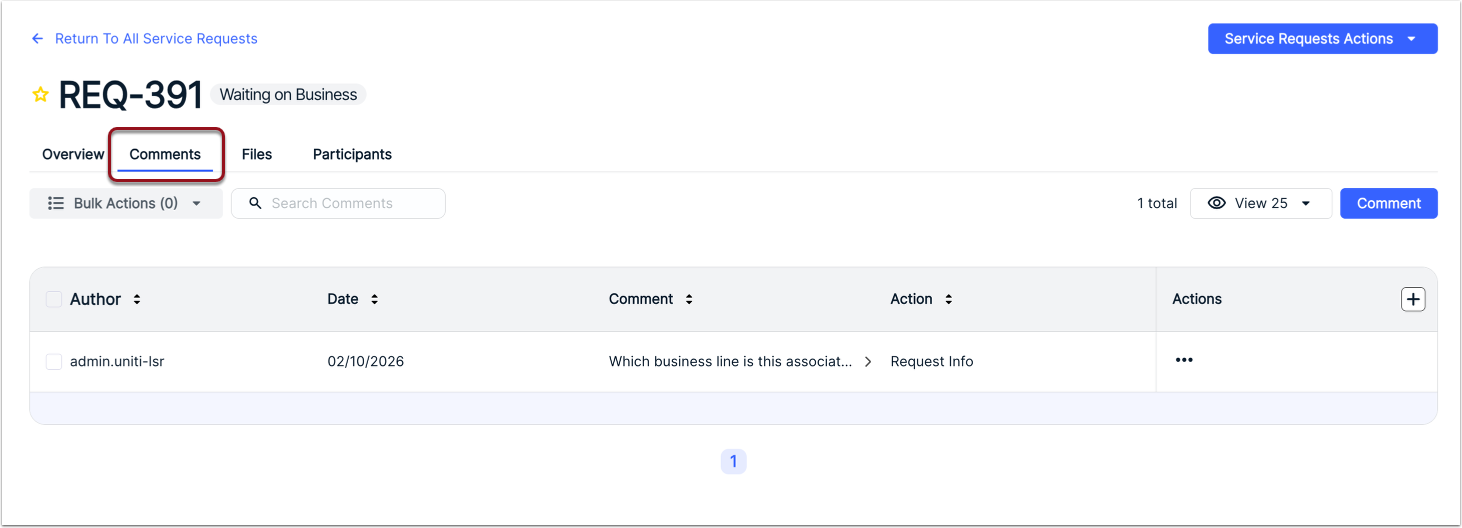
Click Comment in the top-right corner, enter the text, and click Save.
Files
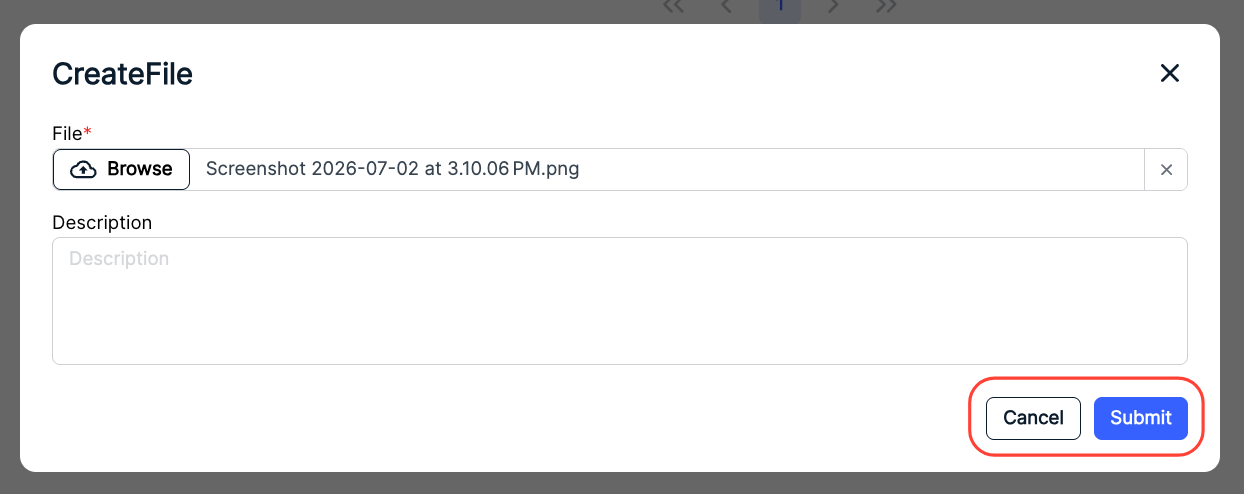
Documents (e.g., contracts, addendums, revised terms, etc.) added by you or other users for a service request appear under the Files tab. Click Add File in the top-right corner to add a document.

Click within the files field to find/select the document, enter a description (optional), and click Submit to send in or Cancel to back out.
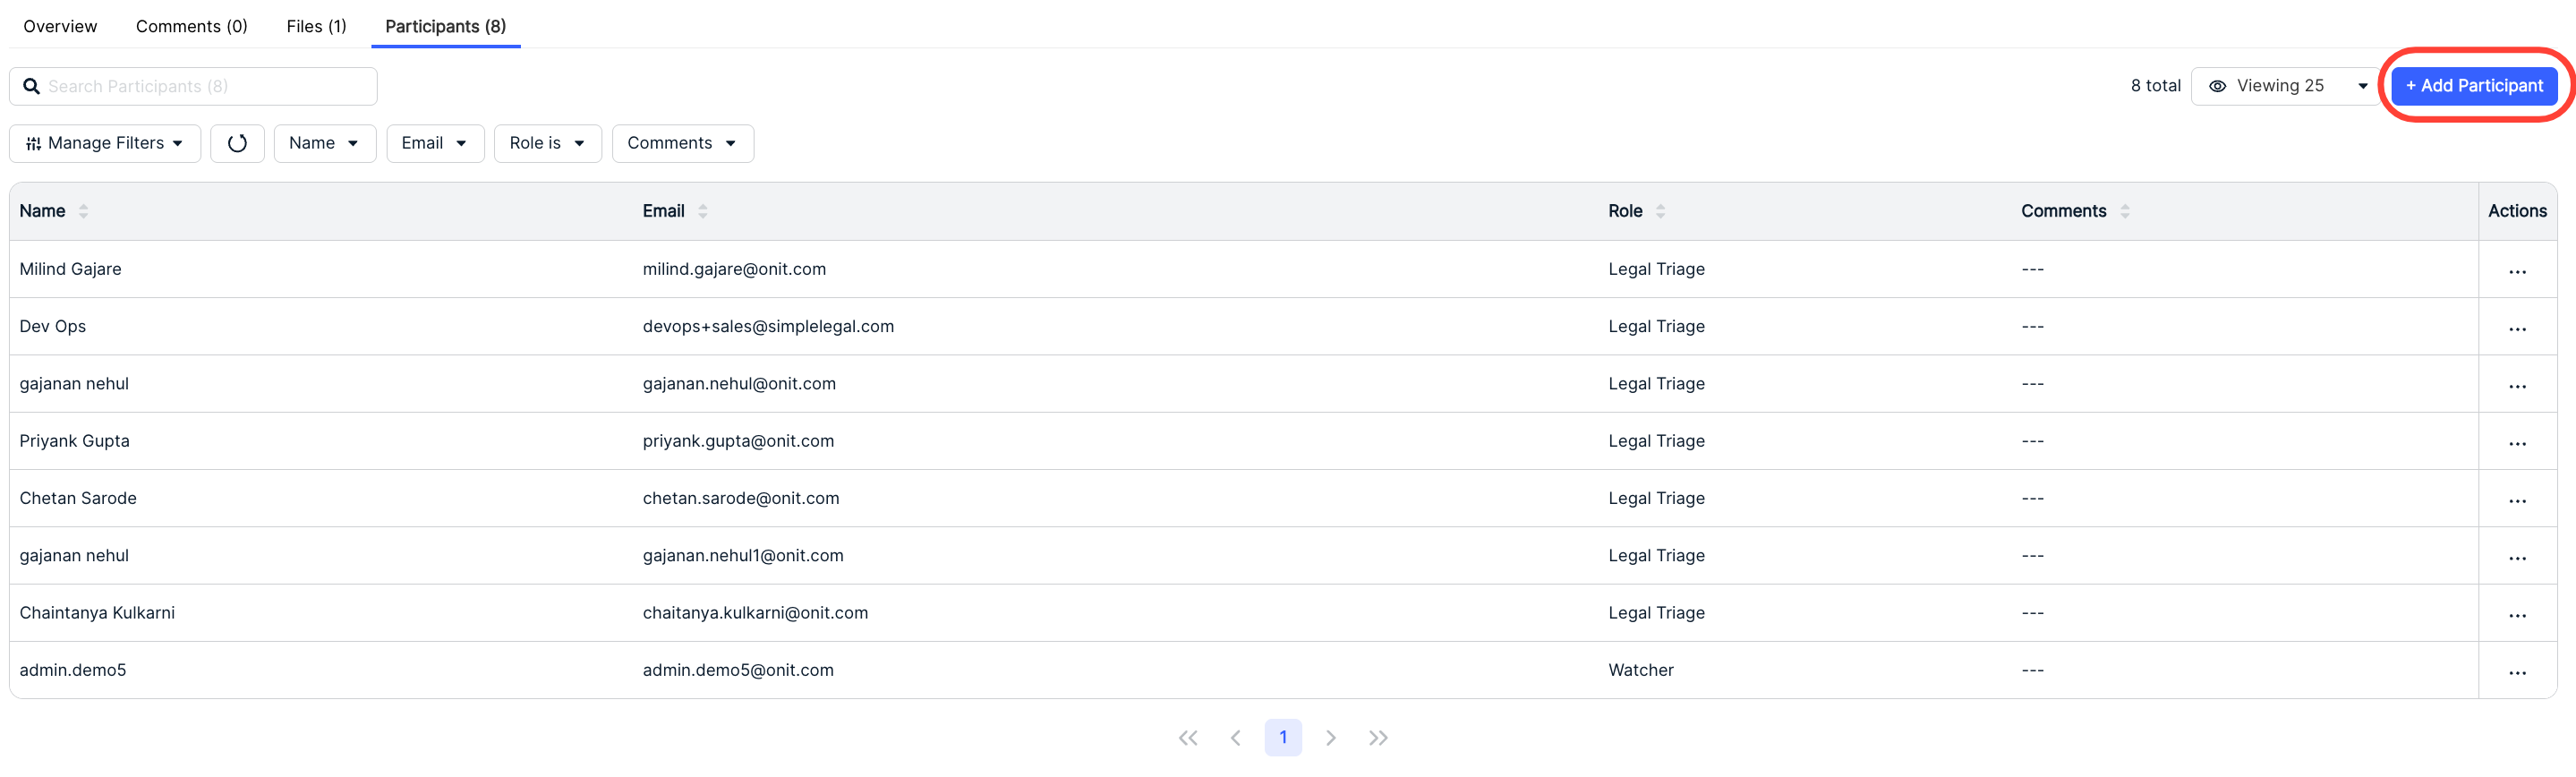
Participants
Use the Participants to add other users who should have access or need to remain informed of the service request, such as a backup assignee, watchers, or secondary requesters. Click Add Participant in the top-right corner.
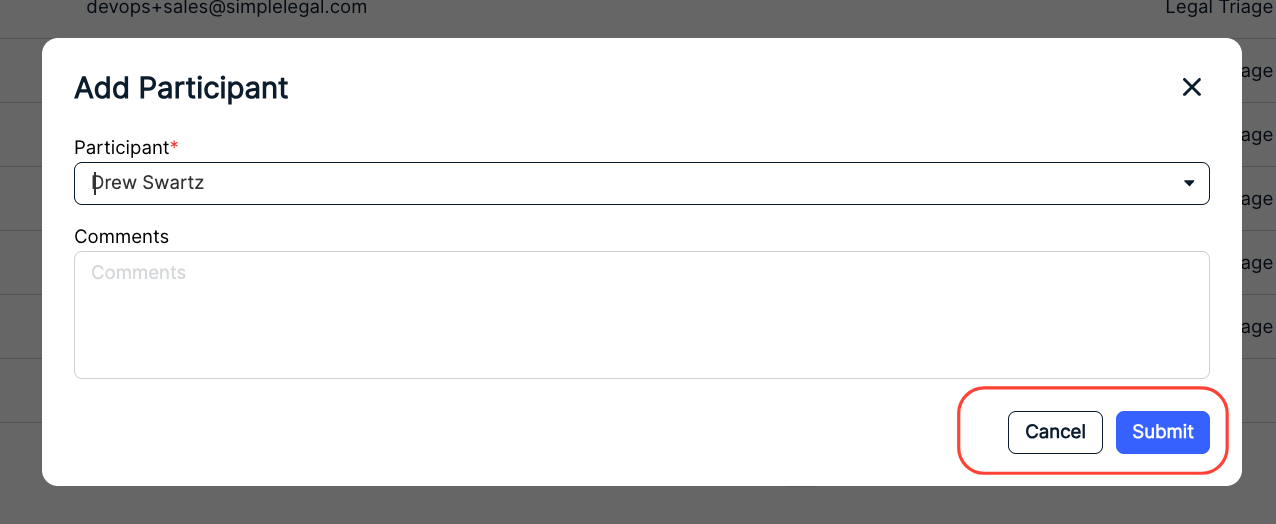
Select the user from the list, enter any comments (optional), and click Submit.
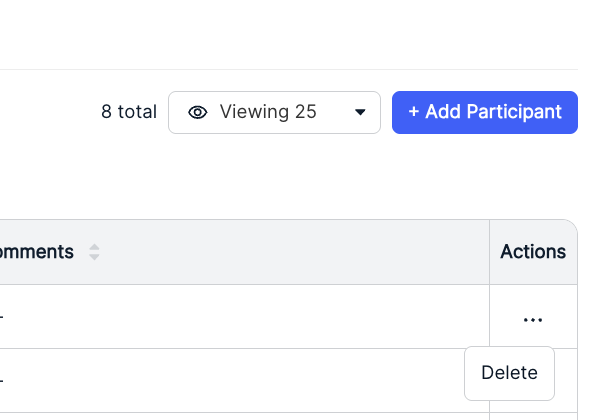
You can also Delete participants by using the three-dot menu under Actions.
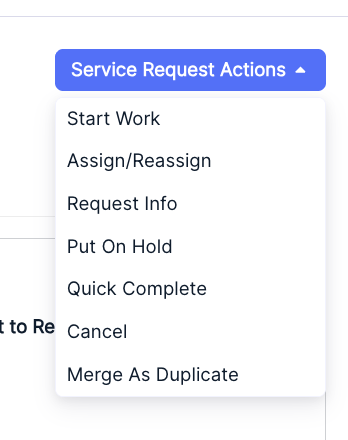
Service Request Actions
The Service Requests Actions dropdown menu displays options available for the request depending on the type and status (e.g., assigning the request, starting work on the request, answering a general question, etc.). Review the sections below for additional details on how to move forward.
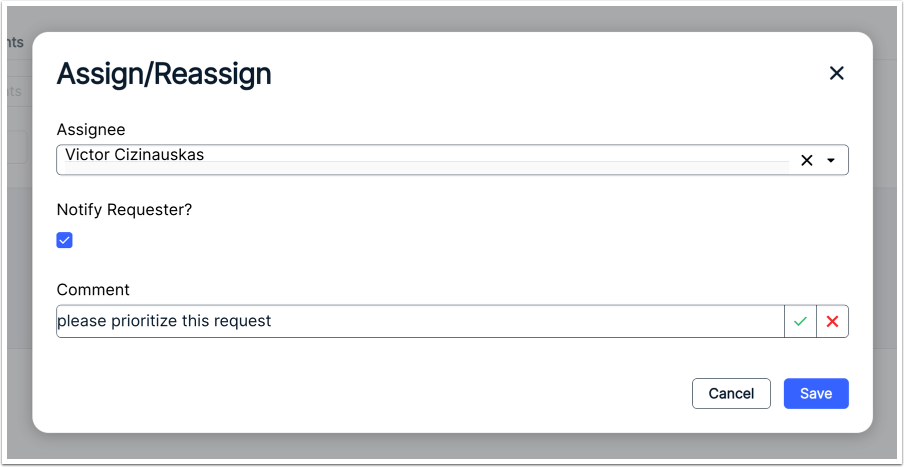
Assign/Reassign
Choose this option to select the user who will work on the request and enter any comments (optional) about the assignment. This triggers an automated notification to the selected user. You can also notify the requester about the update (optional) by selecting the Notify Requester? box. Click Save when finished or Cancel to back out.
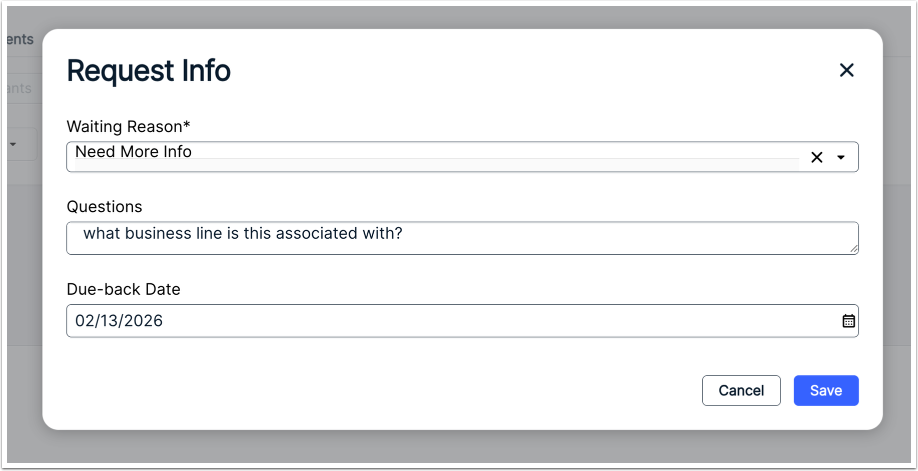
Request Info
If additional information is required to continue with assignment or start on the request, choose the Request Info option, provide the following details, and then click Save. This will change the status to Waiting on Business and prompt the requester to take action.
Start Work
The Start Work option changes automatically assigns the request to you and changes the request’s status from In Triage to In Progress. To move forward, enter any relevant comments (optional). Click Save when finished or Cancel to back out.

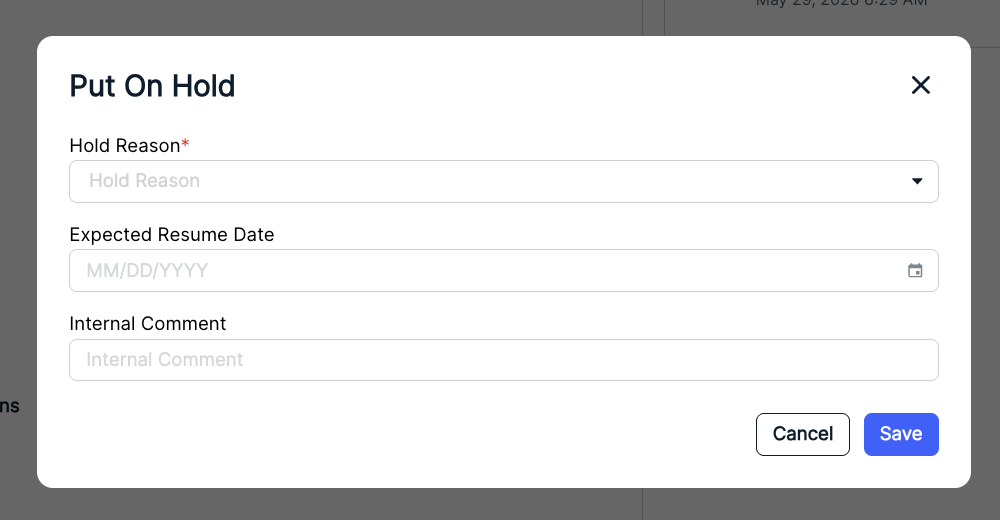
Put on Hold
The Put on Hold option puts a hold on any work for the request. Fill out the Hold Reason from the drop-down menu, along with an Expected Resume Date and any Internal Comment (if necessary). Click Save when finished or Cancel to back out.
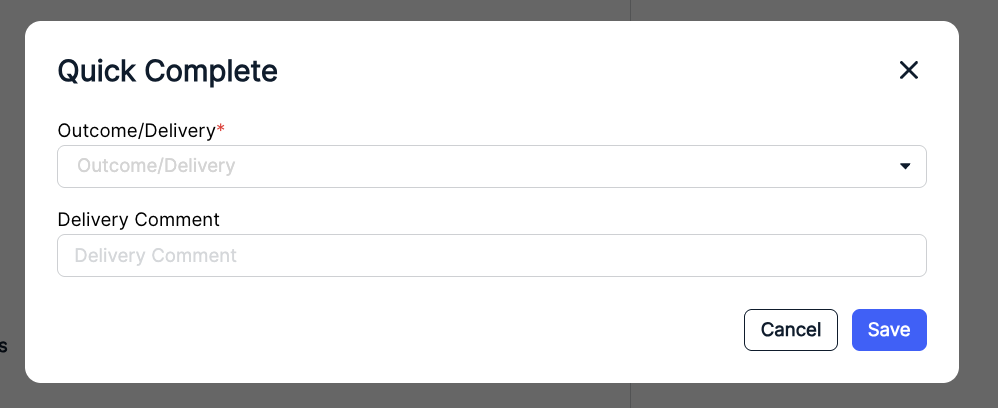
Quick Complete
Quick Complete allows you to quickly mark the request as complete. You'll have to fill out the Outcome/Delivery from the drop-down menu (required) and add a Delivery Comment (if necessary). Click Save when finished or Cancel to back out.
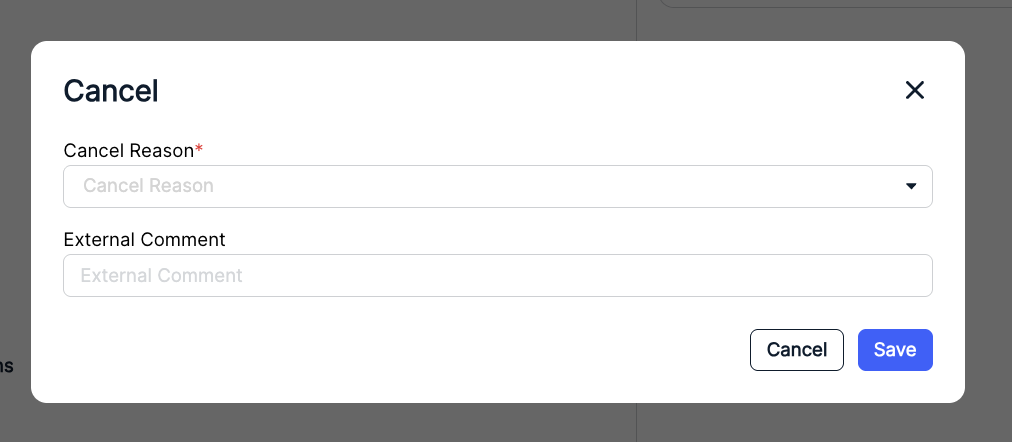
Cancel
Cancel allows you to cancel the request. Fill out the Cancel Reason from the drop-down menu and add an External Comment if necessary. Click Save when finished or Cancel to back out.
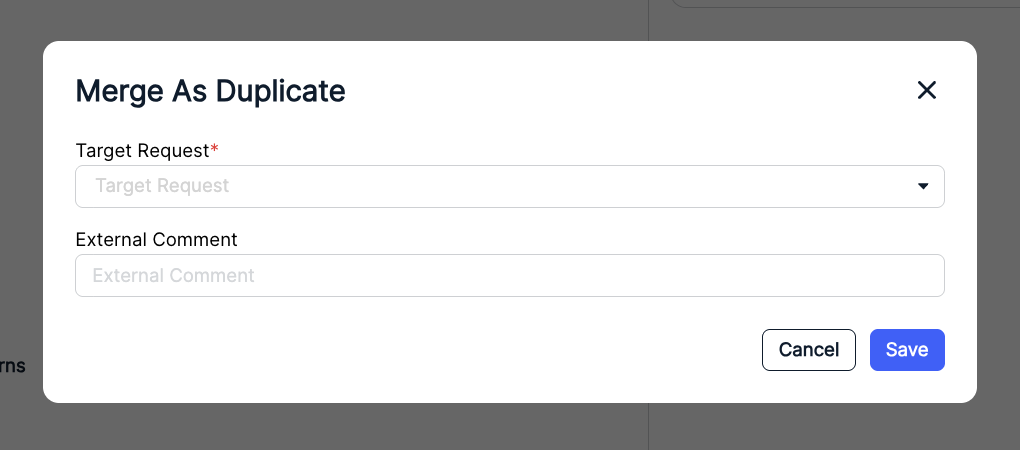
Merge Duplicate
Merge Duplicate allows you to combine this request with another request in the system. You'll have to select the Target Request (request to merge with) and fill out an External Comment (if necessary). Click Save when finished or Cancel to back out.