With a small amount of configuration, you can build a simple User Preferences App that stores a record of each user in your system and their details. User Preferences Apps are helpful when:
- Your business logic is dependent on the attributes of your users. For instance, you may have an invoice approval workflow that determines which user should be added as an invoice approver based on that user’s approval authority.
- You are setting up a Suite in your environment. A User Preferences App is an essential component of a Suite configuration and is where landing pages and navigation within a Suite are determined for each user.
This tutorial will cover how to configure the User Preferences App and provide an example of how to build a workflow off data in a user’s Record in this App.
Before We Start ...
This tutorial will assume you understand the following concepts:
Let's Get Started!
1. Create a new App
You'll need an app that contains Records for each user. Add a new App and name it User Preferences.
2. Configure User Preferences App Fields
Add the Fields below to your new App. Although the Field names can be customized to your environment, we will use these names to keep things simple for now.
| Field Name | Field Label | Field Type | Additional Configuration |
|---|---|---|---|
| requester_name | Requester Name | Text | |
| requester_email | Requester Email | ||
| name | User Email | Text | |
| user_name | User Name | Text | |
| default_suite_name | Default Suite Name | Text | |
| default_navigation_item | Default Navigation Item | Text | |
| suite_navigation_items | Suite Navigation Items | Text | |
| preferred_locale | Preferred Locale | List Combo | List: "Locales" Search Column: "name" Value Column: "key" |
You can also add Fields that you'll need to track data about your users, such as their approval authority, the country they work in, etc.
3. Configure a User Preference Provider
Head over to your User Preferences App's Advanced Designer page.
Select the User Preferences Providers node from the left-hand menu.
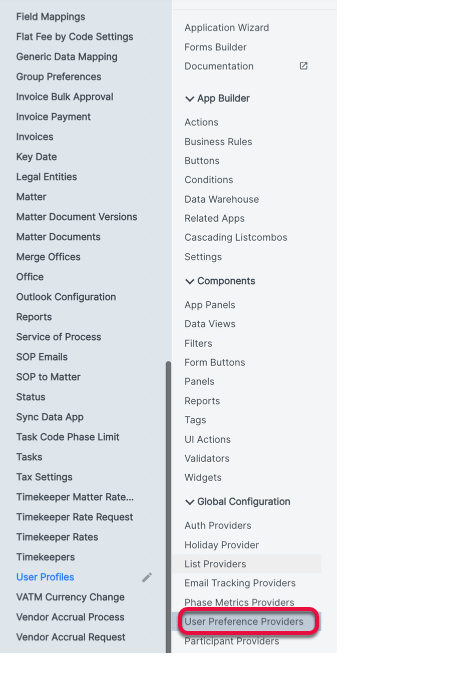
Click the Plus button to create a new User Preferences Provider.
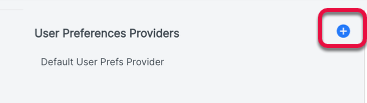
Provide your new User Preferences Provider with a Name.
Next, select your new User Preferences App for the App property. Then, assign each Field created in the last step the appropriate property.
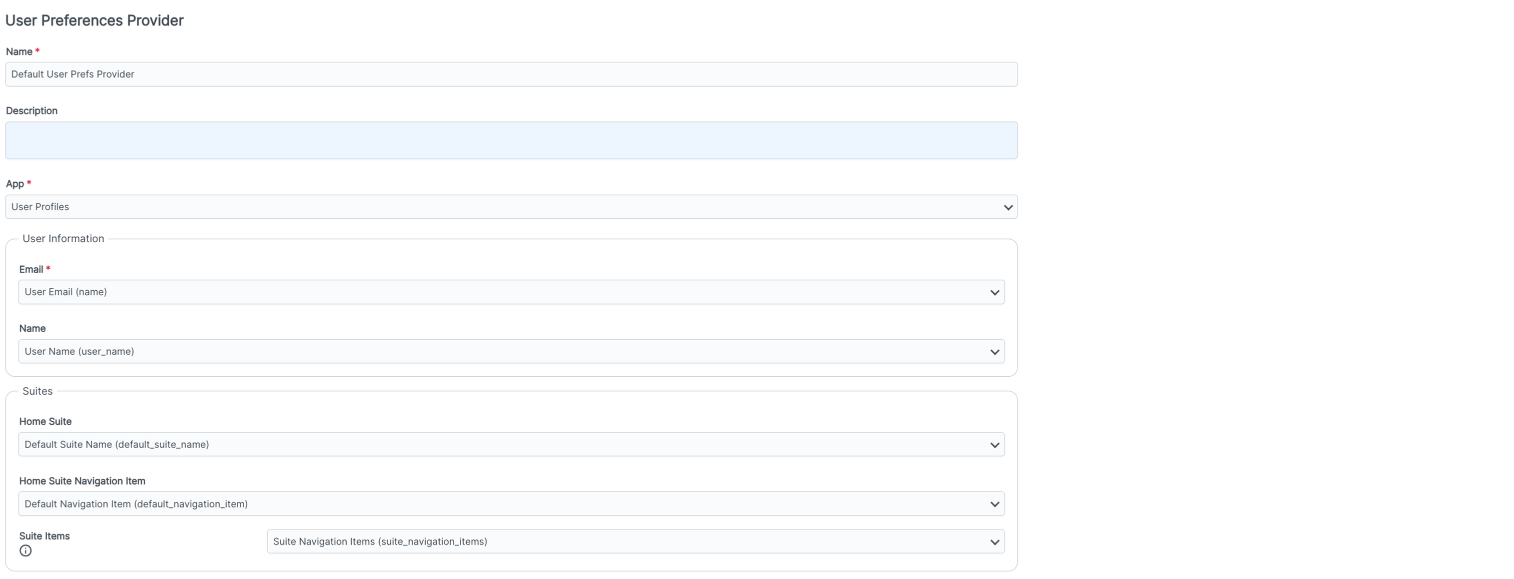
Select OK to save this configuration.
All set
That's all there is to setting up a basic User Preferences App.
Try adding a new user to your environment by adding them as a participant to a Record on a different App or through the corporation's Administration page. Afterward, check your User Preferences App, and you'll see a new Record created for that user.
Building Workflow with User Attributes
You can customize your User Preferences App to include the information necessary to build your workflows and business logic.
For instance, you can add a Field to track a user's approval authority and build a Condition to determine whether they should be assigned as an approver to an invoice based on the Field's value.
You'll need to use the following specific Liquid filter to find a user's attribute:
user_preferences_for_userAdditionally, your Liquid script must pass a user object to the filter. You can use either current_user or, to filter for a specific email address, add the filter email_to_user.
So, to find the value of a Field named approval_authority for the current user, you would use the following script:
{% assign my_user = current_user | user_preferences_for_user %}{{my_user.approval_authority}}To find the value of the same Field for a specific user's email address, the following script would be used instead:
{% assign my_user = '[email protected]' | email_to_user | user_preferences_for_user %}{{my_user.approval_authority}}